Generative Fill in Photoshop: How to Extend an Image
Learn how to use Generative Fill in Photoshop to magically extend your image, transforming a portrait shot into an amazing landscape photo using the unbelievable power of generative AI. The future of image editing is here!
Download PDF: Extend Images With Generative Fill
Generative AI in Photoshop is here thanks to a mind-blowing new feature called Generative Fill. And with it comes a whole new way of using Photoshop. Things that would have taken forever for even the most highly skilled Photoshop user can now be done by anyone in just a few minutes. Generative Fill turns Photoshop into a playground for your imagination, and the world of image editing is now open to everyone.
In this tutorial, I’ll show you how to use Generative Fill, powered by Adobe’s generative AI named Firefly, to magically extend an image and turn a portrait shot into a landscape photo right before your eyes.
As we’ll see, Photoshop fills the extended area with original AI-generated content that matches the lighting, the shadows, the perspective and even the depth of field of the original photo. You need to see it to believe it.
Which version of Photoshop do I need to use Generative Fill?
As of Photoshop 2024, Generative Fill is out of beta and now available in the official Photoshop release.
If you have an active Creative Cloud subscription, use the Creative Cloud Desktop app to make sure that your copy of Photoshop is up to date.
Let's get started!
How to extend an image with Generative Fill
Here’s how to use Generative Fill in Photoshop to extend an image. I’ll start by showing you how to extend one side of an image, and then once we’ve covered the basics, we’ll look at how to extend both sides at the same time.
I’ll also show you how to clean up minor problems with the AI-generated content using Photoshop’s new Remove Tool which is another AI-powered feature.
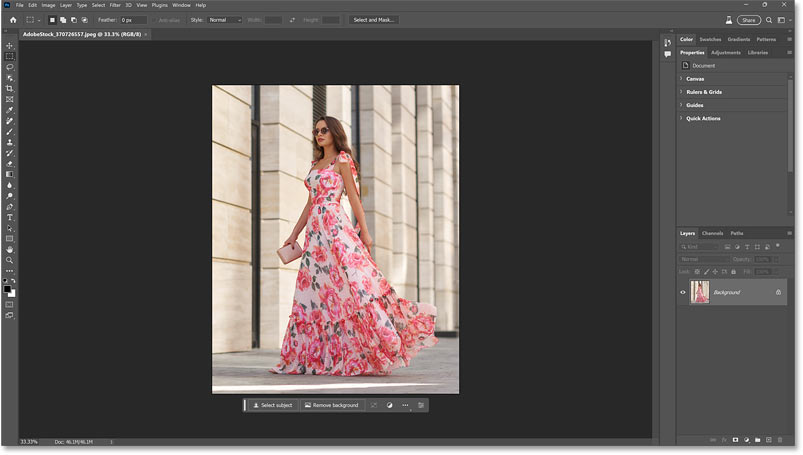
You can follow along with your own image. I’ll use this image from Adobe Stock.
See Also:
- New! How to generate AI images in Photoshop (beta)
- Expand images faster with AI Generative Expand
- Remove people from photos with Generative Fill
Step 1: Select the Crop Tool
First we need to extend the canvas, so select the Crop Tool from the toolbar.

In the Options Bar, make sure the aspect ratio is set to Ratio and that the Width and Height boxes next to it are both empty.

Video: How to extend an image with Generative Fill
Step 2: Extend the left or right side of the canvas
Click on the crop border’s left or right side handle and drag it out to extend the canvas.
With my image, I want to add more space on the left (the direction the woman is facing). So I’ll drag the left side crop handle outward.

Release your mouse button and Photoshop fills the extra canvas with your Background color, which by default is white.
Press Enter (Return on a Mac) on your keyboard to accept it.

Step 3: Select the Rectangular Marquee Tool
Next we need to select the area we just added. So grab the Rectangular Marquee Tool from the toolbar.

Step 4: Drag a selection around the extended canvas
Then drag a selection outline around the new part of the canvas.

Make sure your selection outline overlaps a bit of the image as well so the AI-generated content can blend seamlessly with the original detail.

Step 5: Click Generative Fill in the Contextual Task Bar
Directly below your selection outline is Photoshop’s new Contextual Task Bar.

If you don’t see it, go up to the Window menu in the Menu Bar and make sure that Contextual Task Bar has a check mark next to it.

Then in the Contextual Task Bar, click the Generative Fill button.

Step 6: Click Generate
A prompt box appears where you can enter text to describe what you want to fill the selected area with.
But when you just want to extend the edge of your image, leave the prompt box empty so Photoshop knows to fill the area with content that matches the original photo.
Then click the Generate button.

Photoshop sends the file over the internet to Adobe’s AI servers where the magic happens, and a progress bar appears showing how much longer you’ll need to wait.
In my experience, generating the AI content usually takes around 10-15 seconds which is a small price to pay for what you’re about to see.

The area is filled with AI-generated content
When it’s done, the extended canvas is instantly filled with new and original AI-generated content. And in my 20 years of using Photoshop, I’ve never seen anything like this.
With my image, Generative Fill extended the side of the building to perfectly match the perspective and depth of field of the original photo. It also extended the woman’s shadow, as well as the light shining on the ground in front of her, to maintain the same light source and direction.
Generative Fill even added subtle reflections in the dark pane of glass in front of her.

Do More with Generative Fill: Add Amazing Water Reflections in Seconds!
Photoshop’s new Generative layer
In the Layers panel, a new kind of layer called a Generative layer appears above the image. Notice the new Generative layer icon in the lower right of the thumbnail.
Also notice that the Generative layer includes a layer mask so that the AI-generated content appears only within the area we selected.

Step 7: Choose from three variations
In the Properties panel, you’ll find three variations of the AI-generated content to choose from. Click the thumbnails to switch between them and choose the one you like best.
I’ll try the second of the three variations.

This gives me a different result. This second one is okay, but I think the column on the far left is too dark. I like the first result better.

You can also cycle between variations using the left and right arrows in the Contextual Task Bar.
I’ll click the right-pointing arrow to switch to the third variation.

But this third one is my least favorite of the three. The side of the building looks like it needs a wash. I still like the original result the best.

Step 8: Click Generate again for three more results (optional)
If you don’t like any of the initial three results, click Generate again in the Properties panel to generate three more.

You’ll see another progress bar, and then three new variations will appear above the previous ones. You can generate as many results as you like without losing the ones you had.
Then click on each new variation to try it out.

With generative AI, you never really know what you’re going to get.
Some results will look weird, like this fourth one. It doesn’t match the rest of the building at all. But that’s okay, we’ll just try another one.

This fifth result is much better. The only thing I don’t like is the distracting blue reflection in the bottom of the glass. Otherwise, good effort.

I’ll click Generate one more time in the Properties panel to see if I can get something even better.

This gives me three more variations, so I’ll try the first of the three.

And this time we have a winner! This result looks the best.
There's a couple of distractions though, so I’ll show you how to quickly remove them using the Remove Tool next.

Use Photoshop’s Remove Tool to clean up problems
If the AI-generated content looks great overall but you notice a few distractions, you don’t need to keep clicking Generate hoping for a perfect result. Instead, use Photoshop’s Remove Tool, another new AI-powered feature, to easily clean them up. Here’s how it works.
Step 1: Add a new layer above the Generative layer
Since we can’t edit the Generative layer directly, we need to clean up the distractions on a separate layer. So click the Add New Layer icon at the bottom of the Layers panel.

A new blank layer appears above the Generative layer.

Step 2: Select the Remove Tool
The Remove Tool is found in the toolbar nested in with the Spot Healing Brush and Photoshop’s other healing tools.
Click and hold on whichever healing tool is visible and select the Remove Tool from the fly-out menu.

Step 3: Select Sample all layers
and Remove after each stroke
In the Options Bar, make sure Sample all layers and Remove after each stroke are both checked.

Step 4: Paint over distractions to remove them
Use the left and right bracket keys on your keyboard to resize the Remove Tool’s brush. Then simply paint over any distracting elements to remove them.
For example, Generative Fill added a small artifact at the bottom of the glass. So I’ll paint over it with the Remove Tool. Photoshop highlights the spot where we painted in magenta.

Release your mouse button to remove the distraction, and it’s gone. The Remove Tool replaces it with AI-generated content.

I’ll also paint over a distracting brown spot on the ground.

And again the Remove Tool replaces it with new content.
Photoshop’s Remove Tool is the perfect companion to Generative Fill and you can learn much more about it in my separate Remove Tool tutorial.

Summary: Using Generative Fill to extend an image
And that, believe it or not, is how easy it is to extend an image using Generative Fill in Photoshop.
- Extend the canvas using the Crop Tool.
- Drag a selection around the area with the Rectangular Marquee Tool.
- Click Generative Fill, then Generate.
- Let Adobe’s generative AI do all the work.
- Pick the variation you like. Click Generate again if needed.
- Clean up any distractions with the Remove Tool, and you’re done.
How to extend both sides of an image
But what if you want to use Photoshop’s Generative Fill to extend both sides of an image at the same time? There’s a couple of ways to do it. The first way is faster but the second gives you more flexibility. Let’s start with the faster way.
I’ll switch to my second image from Adobe Stock.

Extending both sides of the canvas at once
Start by selecting the Crop Tool in the toolbar just like we did before.

Then to extend both sides of the canvas at once, hold the Alt key (the Option key on a Mac) on your keyboard and drag out one side of the crop border.
The other side extends outward at the same time, adding an equal amount of space on both sides.
Press Enter (Return on a Mac) to accept it.

Selecting each side of the canvas
Grab the Rectangular Marquee Tool from the toolbar, again like we did before.

Then drag out a selection outline around the canvas on the left of the image. Make sure to include some of the image itself in the selection.

Then to add the right side of the canvas to the selection, hold Shift on your keyboard and drag a selection outline around it. Again make sure to include some of the image in the selection. A little is all you need.
Both sides are now selected.

Generating content for both sides at the same time
At this point, the steps are the same as what we learned earlier.
- In the Contextual Task Bar, click the Generative Fill button.
- Leave the prompt box empty and click the Generate button.
When the progress bar disappears, Photoshop fills both sides with new AI-generated content.
And wow, look at that result. Not only does the new content match the original photo perfectly, but Generative Fill even kept the shallow depth of field so that the background and the immediate foreground are nicely blurred.

In the Layers panel, we see the new Generative layer above the original photo.

And in the Properties panel, we have three variations to choose from. Or you can click Generate to create three more. But I like the first result the best.
And that’s the fastest way to extend both sides of your image using Generative Fill in Photoshop.

Using a separate Generative layer for each side
But instead of using a single Generative layer for both sides, it’s better to generate the content for each side separately. That way, if you like the result on one side but not the other, you can keep the side you like and try again on the side you don’t.
Also, you can use prompts (which we’ll do in a moment) to create unique content for each side. Let me quickly show you what I mean.
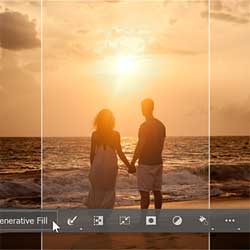
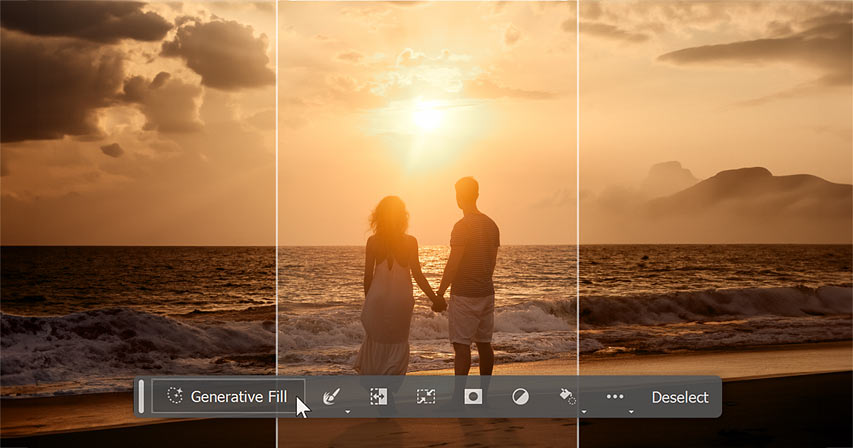
For this third and final image, I’ve gone ahead and extended the canvas on both sides using the Crop Tool.

So I’ll use the Rectangular Marquee Tool to draw a selection outline around the left side.

Then instead of adding the right side to the selection like I did with the previous image, I’ll click Generative Fill in the Contextual Task Bar, and then Generate.
Photoshop fills the left side with AI-generated content which looks great.

So now I’ll draw a selection around the right side of the canvas.

Then I’ll click Generative Fill in the Task Bar, and then Generate to fill the right side with new content.
What an amazing result. No one would guess that this is not the original photo.

Changing the content on each side separately
In the Layers panel, notice that I now have not one but two Generative layers. The top layer is the one I just added that holds the AI-generated content for the right side of the image, and the layer below it is for the left side.
This means I can now go back and change the content for each side independently.

For example, I’ll select the Generative layer for the left side of the image.

Using prompts to generate specific content
Then in the Properties panel, I could simply click Generate again to get three more variations that will match the original photo.
Or I can enter a description of something specific into the prompt box.
I’ll enter storm clouds
as my prompt, and then I’ll click Generate.

And just like that, Photoshop adds an approaching storm on the left side of the image, while the right side remains unchanged.
Notice how even the angle of the sunlight hitting the clouds matches with the original photo.

Then I’ll select the Generative layer for the right side of the image.

And in the Properties panel, I’ll enter a different prompt for the right side. I’ll try for something mysterious, like island shrouded in fog
. Then I’ll click Generate.

This time I had to click Generate a few times before getting a result I liked, but Generative Fill did finally give me exactly what I was looking for.

And there we have it! That’s how to extend an image using Generative Fill, powered by Adobe’s generative AI and now available in Photoshop 2024. Welcome to the future.
Related tutorials:
- Turn photos to paintings with Generative Fill
- New! How to generate AI images in Photoshop (beta)
- Generative Fill: Remove People and Objects from Photos
- Generative Fill: Add Amazing Water Reflections
- Upscale photos to 4X with Super Resolution in Camera Raw
- Remove people and objects with the Remove Tool
Don't forget, all of my Photoshop tutorials are now available to download as PDFs!