
Add Multiple Strokes to Text with Photoshop Layer Effects
Learn how to add multiple strokes around text in Photoshop using layer effects, and how to save the strokes as a layer style preset! A step-by-step tutorial.
In this tutorial, you'll learn how easy it is to add multiple strokes around your text using layer effects in Photoshop! Specifically, I'll show you how to add rainbow color strokes, but you can use these steps with any colors you like. And you can add as many strokes as you like, up to a maximum of 10. I'll also show you how to save the strokes as a layer style preset so you can apply the effect to other text with a single click. And at the end of the tutorial, we'll look at a problem you'll run into when adding a drop shadow behind the strokes, and the simple way to fix it!
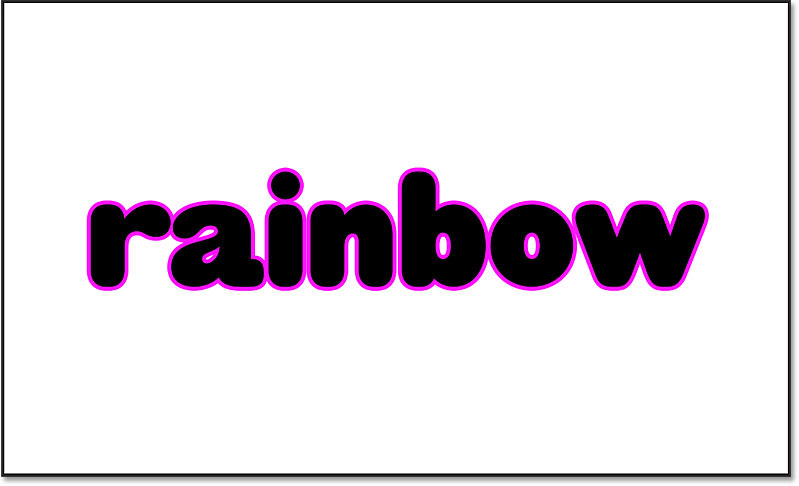
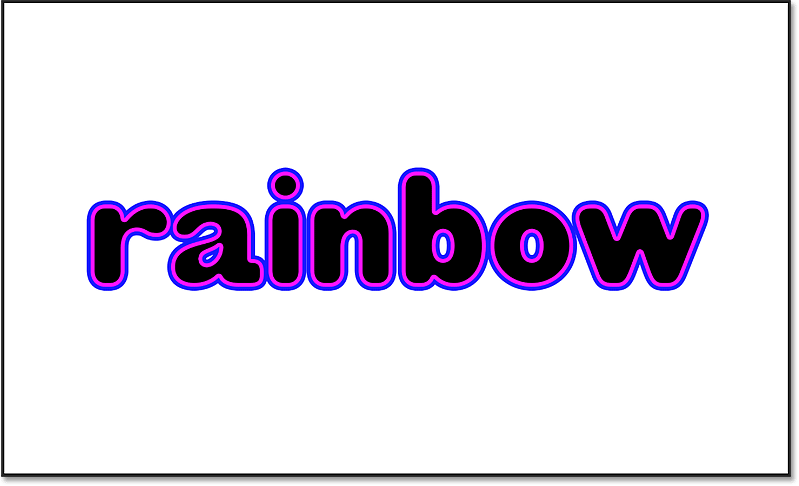
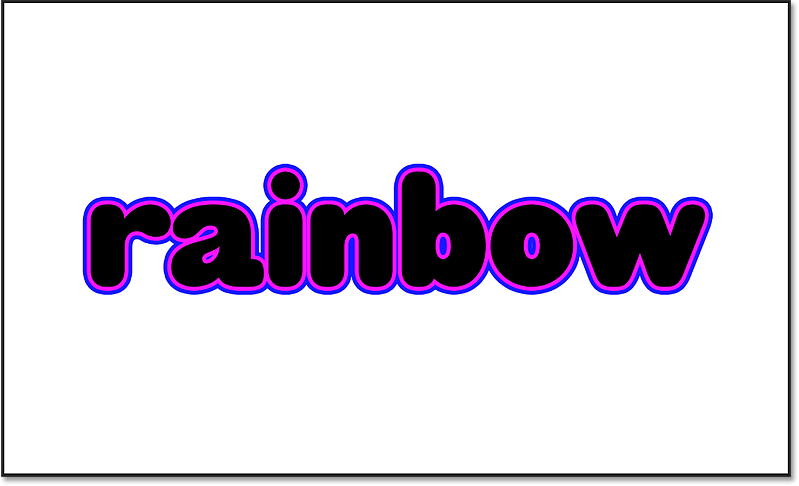
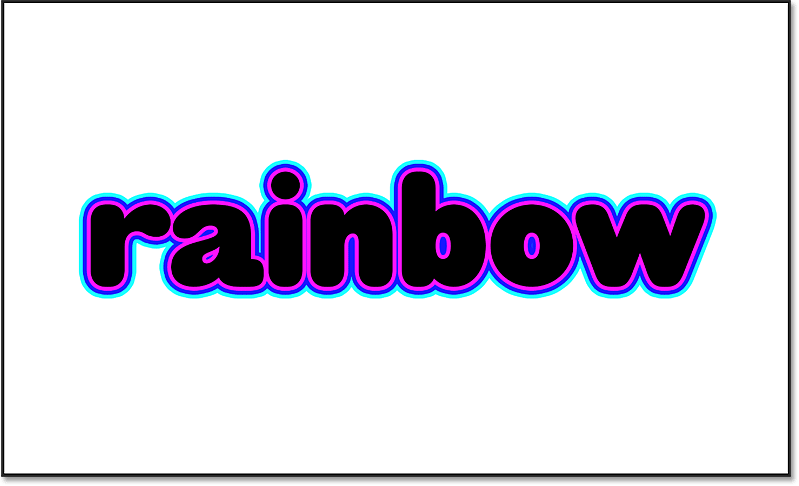
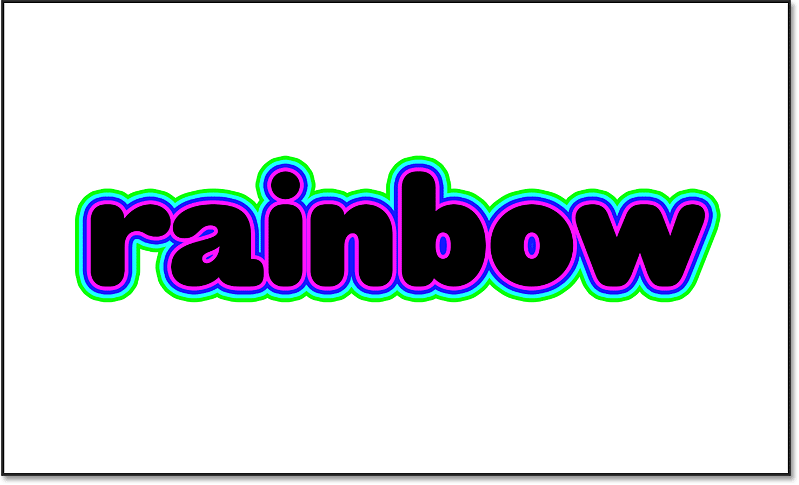
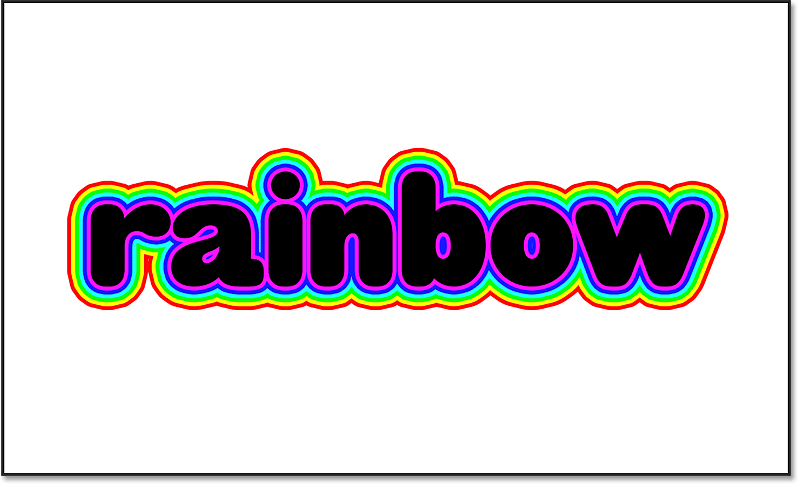
Here's what the final "rainbow strokes" effect will look like when we're done:

Let's get started!
Which Photoshop version do I need?
The option to add multiple strokes to the same layer was added fairly recently to Photoshop. So to follow along, you'll need to be using a recent version, preferably Photoshop 2020 or later. Get the latest Photoshop version here.
How to add multiple strokes around your text
We’ll start by learning how to add more than one stroke around your text, and then I’ll show you how to save the result as a layer style preset.
Step 1: Create a new document
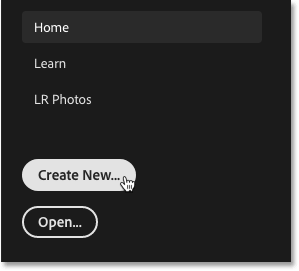
Start by creating a new Photoshop document. If you are on the Home Screen, click the Create New button:
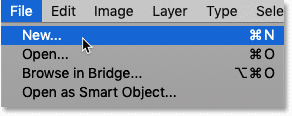
Or if you are not on the Home Screen, go up to the File menu in the Menu Bar and choose New:
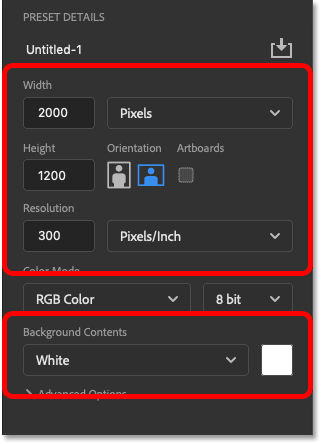
Then in the Preset Details section of the New Document dialog box, enter a Width and Height for your document. I'll set the Width to 2000 pixels and the Height to 1200 pixels, but you can use whatever size you need. The Resolution value does not matter because it only applies to print, so I'll leave it at the default setting. And finally, set the Background Contents to White:
Then click the Create button to create the document:
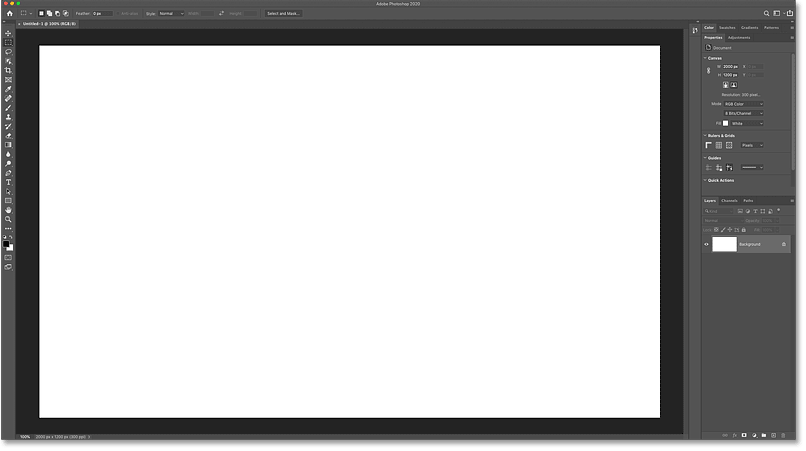
And the new document appears:
Step 2: Add your text
To add your text, select the Type Tool from the toolbar:
And then in the Options Bar, choose your font. I'm using HWT Gothic Round which I downloaded from Adobe Typekit, but any font will work:

The default type color is black, but you can choose a different color by clicking the color swatch in the Options Bar and then choosing a new color from the Color Picker. I'll use black for now, but later on, I'll show you how to change the text color using layer effects:
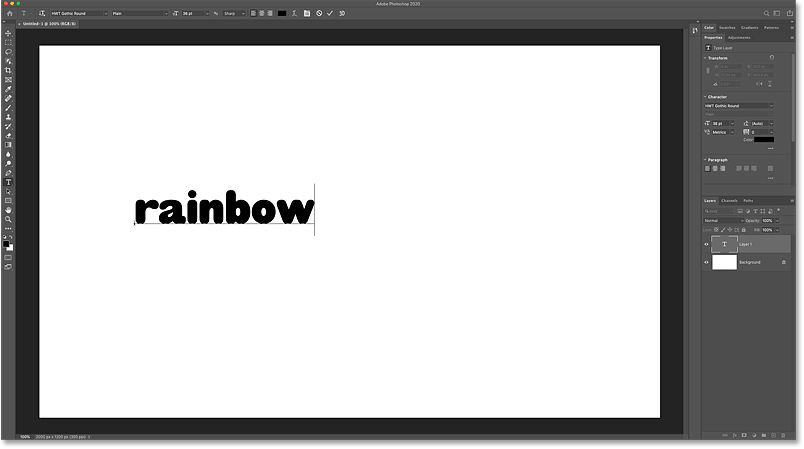
Then click in the document and add your text. I'll type the word "rainbow":
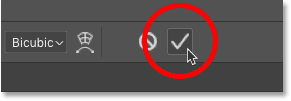
To accept it, click the checkmark in the Options Bar:
Step 3: Resize the text with Free Transform
To resize the text, go up to the Edit menu and choose Free Transform:
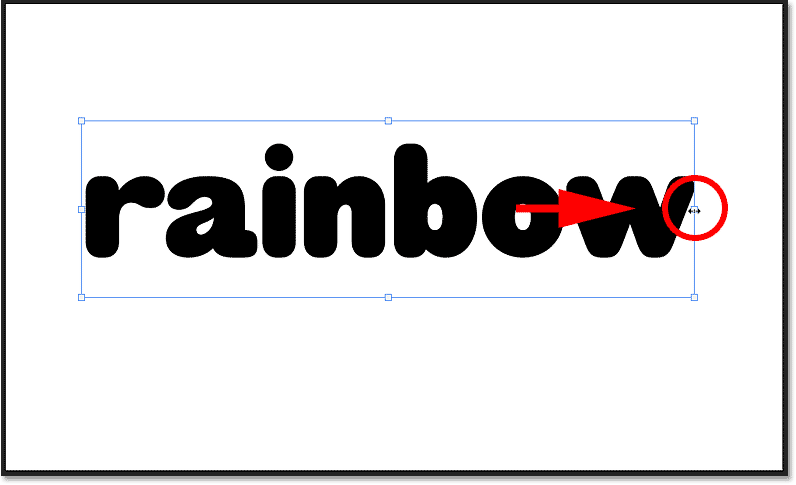
And then click and drag any of the handles. If you're using Photoshop CC 2018 or earlier, you'll need to press and hold the Shift key on your keyboard as you drag to lock the aspect ratio in place. Make sure you leave enough room for the strokes that we will be adding around the text:
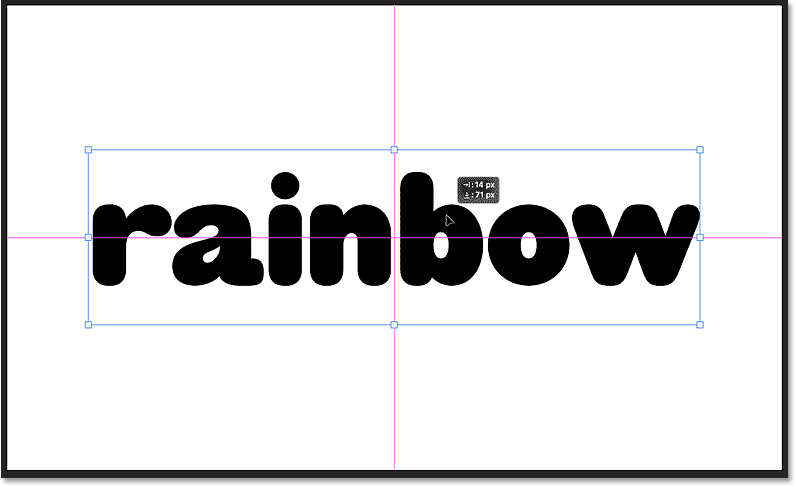
You can also move the text into place by clicking and dragging inside the Free Transform box. I'll move my text into the center:
To accept it and close Free Transform, click the checkmark in the Options Bar:
Related: Master Photoshop's Free Transform command
Step 4: Add a Stroke layer effect
In the Layers panel, the text appears on a type layer above the Background layer. To add a stroke around the text, make sure the type layer is selected. Then click the fx icon:
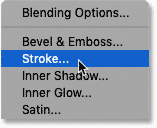
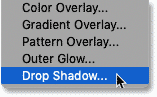
And choose Stroke from the list of layer effects:
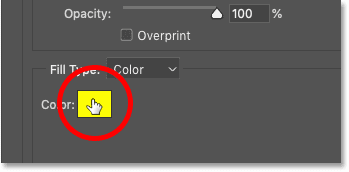
Step 5: Choose a color for the stroke
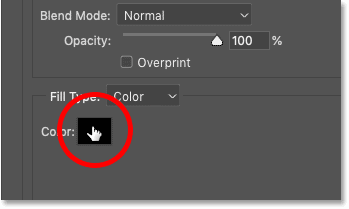
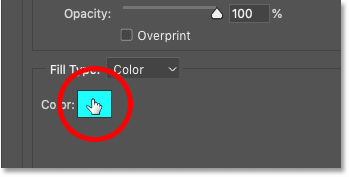
The options for the stroke appear in the Layer Style dialog box. Choose a color for the stroke by clicking the color swatch:
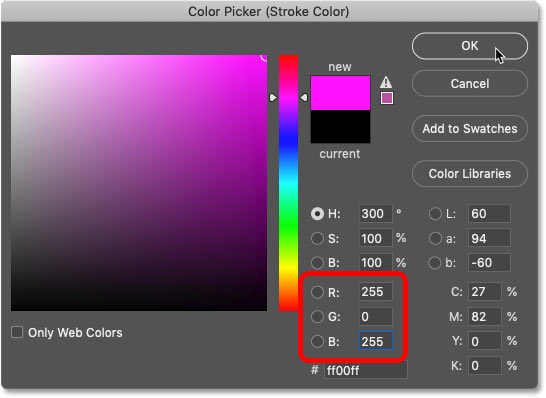
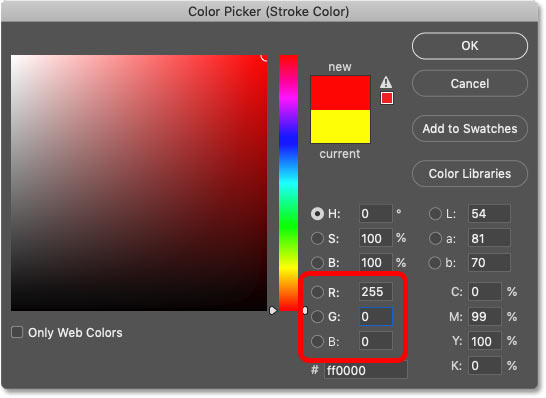
And then choose a new color from the Color Picker. I'm setting my strokes to the colors of the rainbow (red, yellow, green, cyan, blue and magenta), working my way from the bottom color to the top. So the first color I need is magenta.
I'll choose magenta by setting the R (Red) value to 255, the G (Green) value to 0 and the B (Blue) value to 255. Then I'll click OK to close the Color Picker:
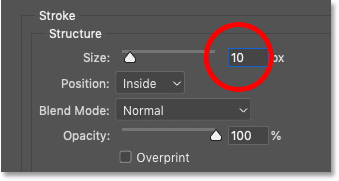
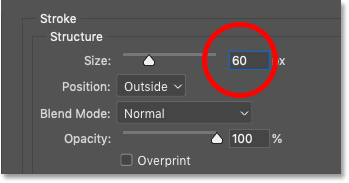
Step 6: Set the stroke size
Set the width of your stroke using the Size option. I'll set mine to 10 pixels.
It's very important that you remember the size you choose here because we'll be adding this value to each new stroke we add to the text:
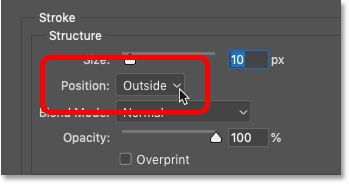
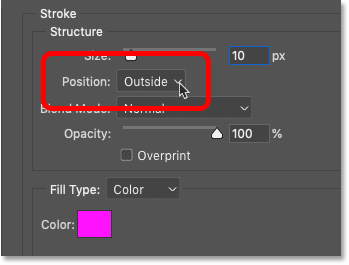
Step 7: Set the position of the stroke to Outside
Finally, set the Position of the stroke to either inside the edges, outside the edges or centered on the edges of your text. For this effect, I'll choose Outside:
And we now have our first stroke around the text:
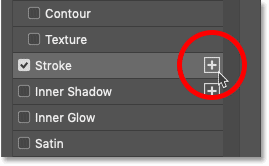
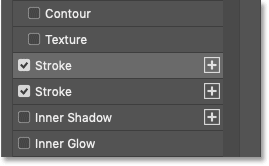
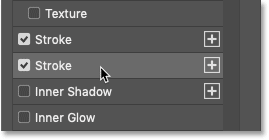
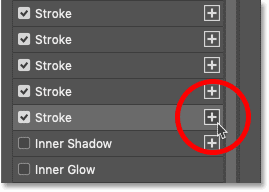
Step 8: Add a second stroke
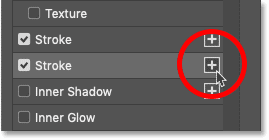
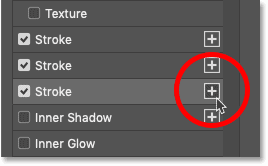
To add a second stroke, click the plus sign ( + ) next to the Stroke effect on the left of the Layer Style dialog box:
A second stroke appears above the first. New strokes are always added above the previously-selected stroke, and you can add as many strokes as you like, up to a maximum of 10:
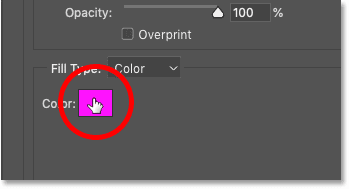
Step 9: Change the stroke color
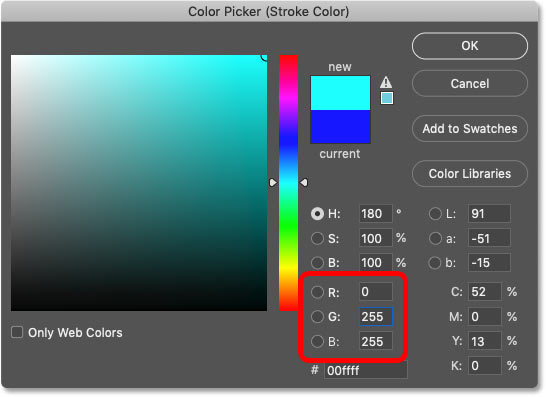
The new stroke shares the same settings as the previous one. So to choose a different color, click the color swatch:
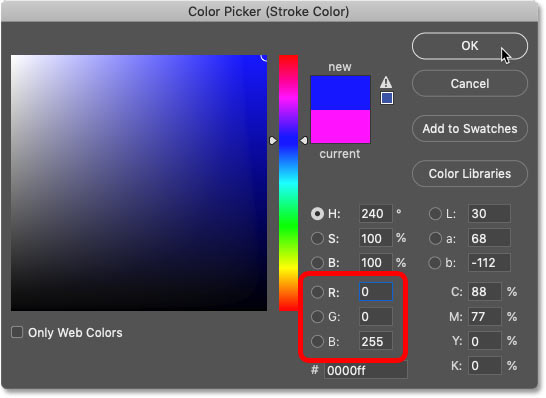
And then choose a new color from the Color Picker. I'll set my second stroke to blue by changing the R value to 0, and leaving G at 0 and B at 255. Then I'll click OK:
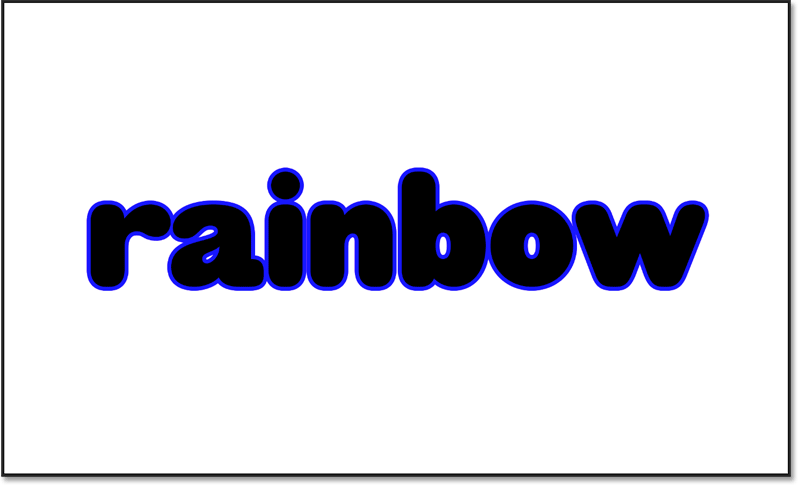
What happened to the first stroke?
But notice that we now have a problem. We see our second, blue stroke around the text, but the original magenta stroke has disappeared.
The reason why we can't see the original stroke is that the second one is sitting above it. And because both strokes are the same size (10 pixels), and they both share the same position (Outside), the stroke on top is completely blocking the stroke below it from view:
Changing the position of a stroke
One way to fix that would be to change the position of one of the strokes. I'll click on the magenta stroke (the one on the bottom) to select it:
Then I'll change its Position from Outside to Inside:
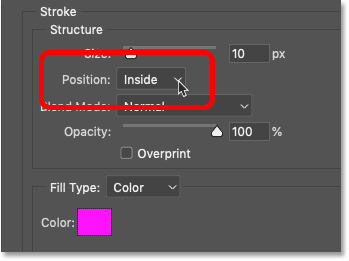
And now with the magenta stroke on the inside of the text and the blue stroke on the outside, both strokes are visible:
The only problem with moving one of the strokes to the inside of the text is that the letters now look a bit too narrow. Plus we still have more strokes to add, which means that this solution is not going to work. So I'll set the Position of the stroke back to Outside:
And now we're back to seeing just the blue stroke:
Step 10: Add the size of the first stroke to the second stroke
So if changing the position isn't going to work, how do we get the second stroke to appear around the outside of the first one? It's actually very easy. All we need to do is make the new stroke wider than the original, and then move the new stroke below the original.
First, make sure the new stroke (the blue one) is selected:

Then take the size of the original stroke and add it to the size of the new stroke. In my case, my new stroke is 10 pixels wide, so if I add the size of the original stroke (also 10 pixels wide), I get 20 pixels:
Step 11: Move the second stroke below the first
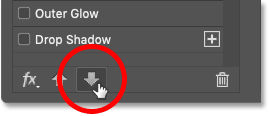
Then move the new stroke below the original by clicking the Down arrow at the bottom of the Layer Style dialog box.
Note that you can only move strokes above (using the Up arrow ) or below other strokes. You can't move a stroke above or below other types of layer effects:
And now both strokes are visible around the outside of the text. The magenta stroke is sitting above the blue stroke, but because the blue stroke is 10 pixels wider than the magenta stroke, those outer 10 pixels of the blue stroke remain visible. And this creates the illusion that both strokes are actually the same width:
Step 12: Add a third stroke
At this point, adding more strokes around the text is just a matter of repeating the same steps.
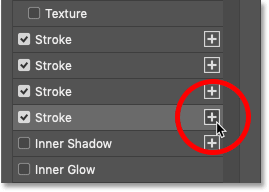
First add a new stroke by clicking the plus sign beside the stroke you just added. This will always be the stroke at the bottom:
Then click the color swatch to choose a new color:

And in the Color Picker, choose cyan by leaving R at 0, changing G to 255 and leaving B at 255. Then click OK:
Increase the size of the stroke by adding the size of the original stroke. By "original stroke", I mean the very first stroke we added (the magenta one).
My new stroke is currently 20 pixels wide, so adding the size of the original stroke (10 pixels) means I need to increase the value to 30 pixels:
And then move the new stroke below the previous one by clicking the Down arrow at the bottom of the dialog box:
And we now have three strokes (cyan, blue and magenta) around the text:
See also: How to add a rainbow to an image with Photoshop
Step 13: Add a fourth stroke
Add a fourth stroke by clicking the plus sign beside the bottom stroke:
Then click the color swatch:
And in the Color Picker, choose green by leaving R at 0, G at 255, and changing B to 0. Then click OK:

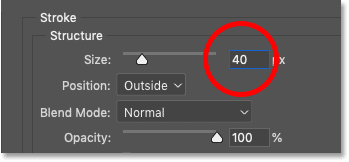
Next, add the original stroke size to the new stroke's size. So 30 pixels plus 10 pixels equals 40 pixels:
Then move the new stroke below the others by clicking the Down arrow:
And we now have a green stroke around the text. Four strokes down, two to go:
Step 14: Add a fifth stroke
Add a fifth stroke by clicking the bottom stroke's plus sign:
Then click the color swatch:

And choose yellow by changing R to 255 and leaving G at 255 and B at 0. Then click OK:

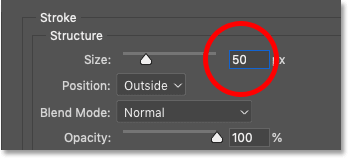
Next, add the original stroke's size to the new stroke's size, which takes me up to 50 pixels (40+10):
And then click the Down arrow to move the stroke below the others:
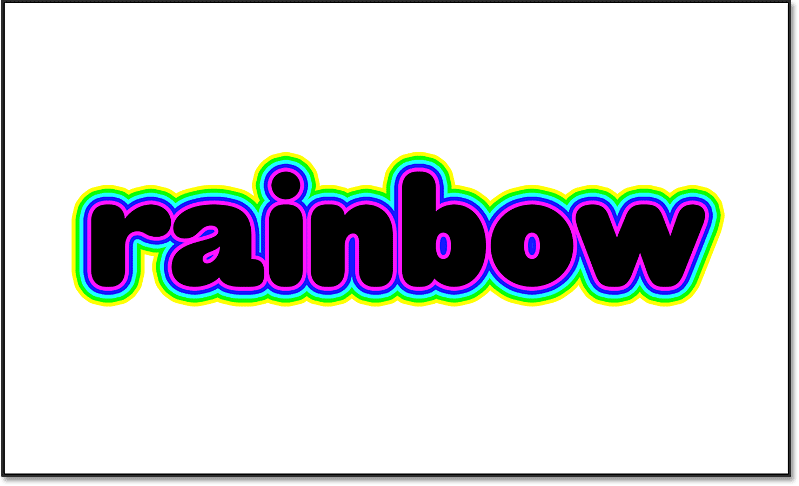
And we have our yellow stroke. Only one more rainbow color to go:
Step 15: Add a sixth stroke
Add the sixth and final stroke by clicking the bottom stroke's plus sign. Again, you can add up to 10 strokes but for our rainbow colors, we only need 6:
Click the color swatch:
And then choose red by leaving R at 255, changing G to 0 and leaving B at 0. Then click OK:
Increase the stroke's size by adding the original stroke's size, which brings mine to 60 pixels (50+10):
And finally, click the Down arrow to move the stroke below the others:
And with that, all six rainbow colors are now added as strokes around the text:
See also: Create a rainbow gradient in Photoshop
Changing the text color with a Color Overlay effect
At this point, we've added all of our strokes. But I don't like that my text color is black. What I really want is for the text to be white so it matches the background. Now I could just click OK to close the Layer Style dialog box and then change my type color in the Options Bar. Or, I could change the color using a Color Overlay layer effect. Here's how it works.
Step 1: Add a Color Overlay effect
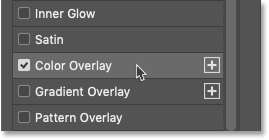
Still in the Layer Style dialog box, I'll select Color Overlay in the column along the left:
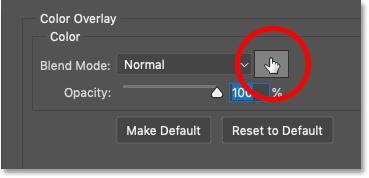
Step 2: Choose a new overlay color
Then I'll change the overlay color by clicking the color swatch:
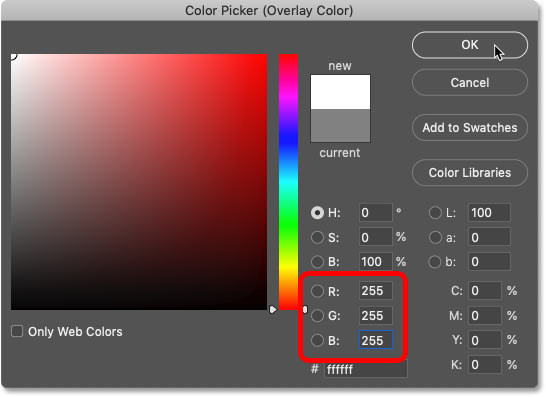
And in the Color Picker, I'll choose white by setting R, G and B each to 255. Then I'll click OK:
And now my text color is white. I like this better:

How to save the effect as a layer style preset
If you think you might use your multiple stroke effect again in the future, you can save it as a layer style preset.
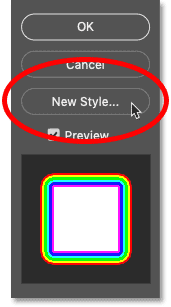
To save it, click the New Style button on the right of the dialog box:
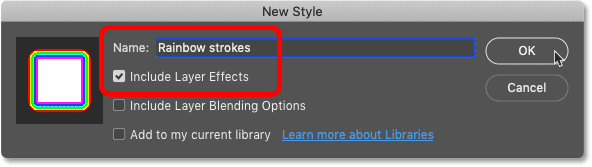
Then in the New Style dialog box, give the new preset a name. I'll name mine "Rainbow strokes". And make sure Include Layer Effects is checked. We didn't use any blending options so you can leave Include Layer Blending Options unchecked. And unless you want to add the preset to your Creative Cloud library, uncheck Add to my current library.
Then click OK to create the preset:
And with the preset saved, click OK to close the Layer Style dialog box:
How to apply the layer style preset
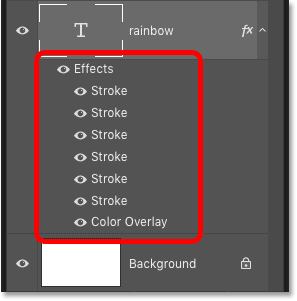
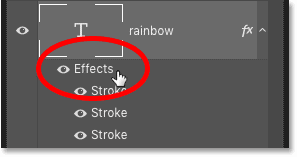
In the Layers panel, all of the strokes we applied to the text, as well as the Color Overlay effect, appear listed below the type layer:
To show you how to quickly apply the preset, I'll delete the effects by right-clicking (Win) / Control-clicking (Mac) on the word Effects:
And then choosing Clear Layer Style from the menu:
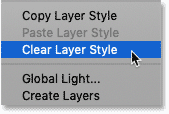
And now we're back to just the black text with no effects applied:

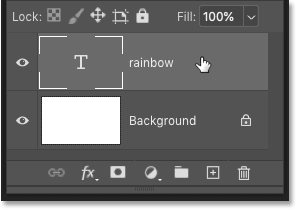
Step 1: Select your type layer
To apply a layer style preset to the text, all we need to do is select the style we need from the Styles panel. But first, in the Layers panel, make sure that your type layer is selected:
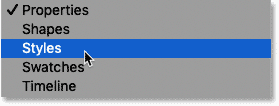
Step 2: Open the Styles panel
Then if the Styles panel is not already open on your screen, open it by going up to the Window menu and choosing Styles:
Step 3: Select the layer style preset
As of Photoshop CC 2020, Photoshop's default layer styles are grouped into folders. But the style we just saved is sitting below the folders.
To apply the style to the text, simply click on the style's thumbnail to select it:
And just like that, the entire effect is instantly applied:
How to add a Drop Shadow to the effect
Finally, what if you want to add a Drop Shadow to the effect? You might think that you could simply add a Drop Shadow to the type layer itself. But the result may not be what you expect.
I'll quickly add a Drop Shadow just so we can see the problem, and then I'll drag the shadow away from the text. And notice that while the text itself is being shadowed, the strokes around the text are being ignored. This results in the shadow looking too narrow:

We need a way to apply the Drop Shadow to both the text and the strokes. And we can do that by first adding the type layer to a layer group and then applying the Drop Shadow to the group itself.
Step 1: Add the type layer to a new group
With your type layer selected, click the menu icon in the upper right of the Layers panel:
And from the menu, choose New Group from Layers:
Name the group "Text" and then click OK:
And now the type layer is inside the group. You can twirl the group open or closed by clicking the arrow next to the folder icon:
Step 2: Add a Drop Shadow to the group
With the group selected, click the fx icon at the bottom of the Layers panel:
And choose a Drop Shadow layer effect:
Step 3: Clear the multiple strokes
The settings for the Drop Shadow open in the Layer Style dialog box.
But before we change any of the settings, notice that the Effects column along the left is still cluttered with all of the strokes we added to the text. Even though none of the strokes are active, they are still taking up a lot of space:
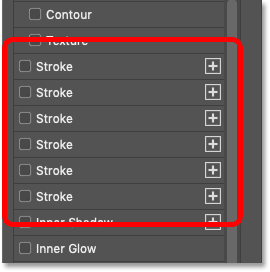
Since we don't need all of these strokes anymore, we can clear them by clicking the fx icon in the bottom left corner of the dialog box:
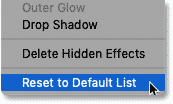
And then choosing Reset to Default List from the menu:
Step 4: Reselect "Drop Shadow"
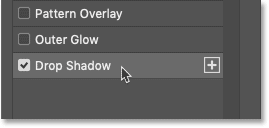
Unfortunately, this deselects the Drop Shadow we chose initially, so you'll need to reselect it:
Step 5: Choose your Drop Shadow settings
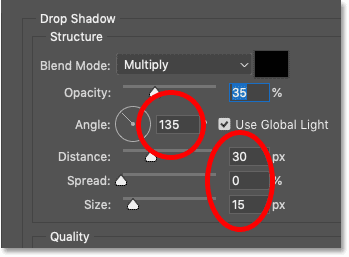
Then enter the settings you need for the Drop Shadow. I'll leave the Angle at 135 degrees but I'll increase the Distance to 30 pixels and the Size (which controls the softness of the shadow edges) to 15 pixels:
And because we are applying the Drop Shadow to the layer group, everything inside the group, including the strokes around the text, is being shadowed:

Step 6: Change the color of the shadow
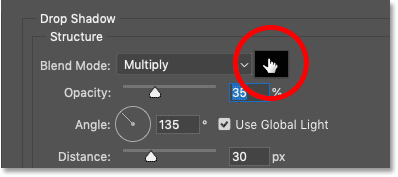
Since the strokes around the text are so colorful, the black shadow looks out of place. So to change the shadow color, click the color swatch:
Then choose a new color. I'm going to choose red. But rather than dialing in the values for red in the Color Picker, I'll move my mouse cursor over the strokes and I'll click on the outer red stroke to sample it:

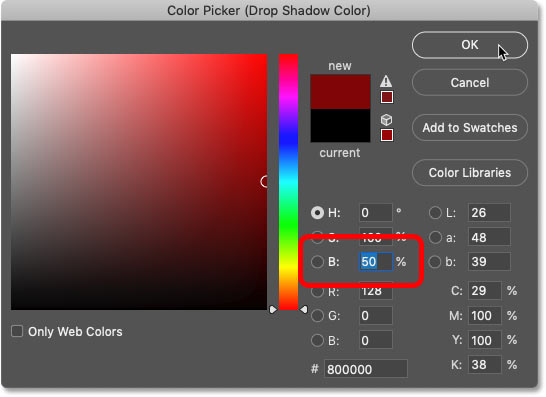
Then in the Color Picker, I'll choose a darker shade of red by lowering the Brightness (B) value down to 50 percent:
Click OK to close the Color Picker. Then click OK to close the Layer Style dialog box.
And here, with the Drop Shadow color changed to red, is my final result:

And there we have it! For more ways to use layer effects with text, see my tutorials on how to add transparent text to an image, how to create spray painted text, or how to create sparkling gold letters! And don't forget, all of our Photoshop tutorials are available to download as PDFs!