
Getting Images into Photoshop – Complete Guide
Learn the many ways of getting your images into Photoshop with Chapter 2 of our Photoshop training series! Includes how to open images from Lightroom, Camera Raw, Adobe Bridge and more!
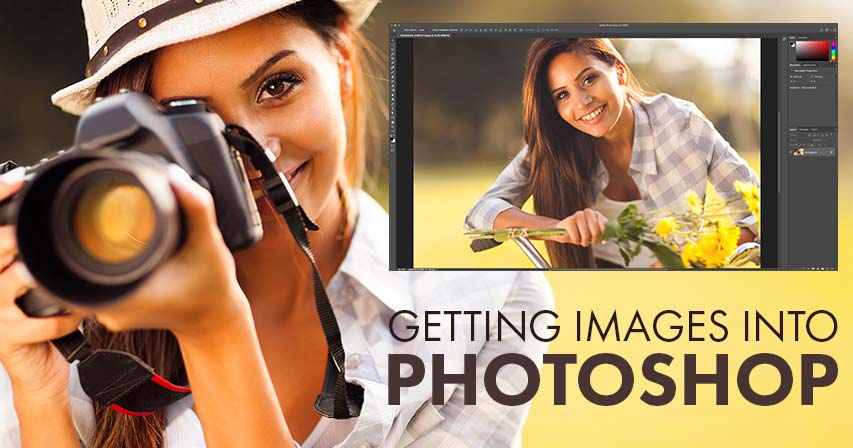
Before we can do anything with our photos, we first need to get them into Photoshop. Opening images may not sound like a topic that needs an entire series of tutorials. But Photoshop is no ordinary program. And like pretty much everything we do in Photoshop, there's more than one way to open an image.
In this chapter, I take you through each of them. We start in lesson 1 by learning how to set Photoshop as our default image editor in Windows 10. And in lesson 2, we learn how to set Photoshop as your default image editor in Mac OS X. Lesson 3 shows you how to create new Photoshop documents from scratch, and in lesson 4, you'll learn how to open existing images in Photoshop!
Lesson 5 is all about Adobe Bridge, the file browser included with Photoshop, and why it's a better way to select and open your images. The only problem with Bridge is that it can sometimes open a file in the wrong program. We fix that in lesson 6 by learning how to set up file type associations in Bridge!
In lesson 7, you'll learn how to open images directly into Camera Raw, Photoshop's powerful image editing plugin. And, if you're an Adobe Lightroom user, you'll want to learn how to move your images from Lightroom into Photoshop for further editing. Lesson 8 covers how to move raw files from Lightroom to Photoshop, while lesson 9 shows you how to move JPEG files between Lightroom and Photoshop. And finally, in lesson 10, we finish off this chapter by learning how to close our images in Photoshop, including how to close all open images at once!
Need printable versions of these tutorials? All of our Photoshop tutorials are now available to download as PDFs! Let's get started!
Some of the lessons in this chapter build on previous lessons. If you haven't already, be sure to read through Chapter 1 - Getting Started with Photoshop before starting Chapter 2.
01. Make Photoshop your default image editor in Windows 10 and macOS
In this first tutorial, you learn how to set Photoshop as your default image editor in both Windows 10 and macOS you can open images into Photoshop just by double-clicking on them!
02. How to create a new document in Photoshop
There are two ways to start working in Photoshop. One is to open an existing image. The other is to create a new document. New documents start out empty but let you import images, graphics and other design elements into them, making them great for layouts and photo collages. In this tutorial, we learn how to create new documents using Photoshop's redesigned New Document dialog box.
03. How to open images in Photoshop
We've learned how to create new documents in Photoshop. Now let's learn how to open an existing image. In this tutorial, we learn how to open images from directly within Photoshop itself using the Start workspace!
04. How to open images into Photoshop from Adobe Bridge
Photoshop's Start workspace makes it easy to re-open images we've already worked on. But it's not so great for opening new images. In this tutorial, learn how Adobe Bridge, the file browser included with Photoshop, makes it so much easier to find the images we need and open them into Photoshop.
05. How to change File Type Associations in Adobe Bridge
As we learned in the previous tutorial, using Adobe Bridge is a great way to open our images into Photoshop. But sometimes, Bridge can open a file into the wrong program, or even into the wrong version of Photoshop. Learn how to quickly fix the problem with an easy-to-use option in the Bridge Preferences.
06. How to open images into Camera Raw
Photoshop is extremely powerful. But these days, if you're a photographer, it's not where you want to start editing your images. Instead, you'll want to begin in Photoshop's image editing plugin, Camera Raw. Learn how to easily open raw files, JPEG and TIFF images directly into Camera Raw using Adobe Bridge.
07. How to move raw files from Lightroom to Photoshop
Many photographers these days prefer to use Adobe Lightroom for all of their initial image editing work. But as powerful as it is, Lightroom can only do so much. At some point, you'll need to move your image into Photoshop for further editing. In this tutorial, learn how to easily move a raw file from Lightroom into Photoshop. Then, how to move it back into Lightroom when you're done.
08. How to move JPEG images from Lightroom to Photoshop
In the previous tutorial, we learned how to move raw files from Lightroom into Photoshop and back. We can also move JPEG image and TIFF images, and even Photoshop's own PSD files! Learn how to easily pass these other popular file types into Photoshop and then back into Lightroom.
09. How to close images in Photoshop
The tutorials in this series have all taught us how to open our images into Photoshop. But knowing how to close them is also important. In this final tutorial, learn how to close a single image, how to close multiple images at once, and more!
Completed all 10 lessons in this chapter? Congratulations! You're ready to move on to Chapter 3 - Learning The Photoshop Interface! Or visit our Photoshop Basics section for more chapters and tutorials.