
How to Make Photoshop Your Default Image Editor
Want to open images into Photoshop just by double-clicking on them? Here's how to make Photoshop your default image editor in Windows 10 and macOS!
Download the PDF: Make Photoshop Your Default Image Editor
In this tutorial, I show you how to make Photoshop your default image editor in both Windows and on a Mac so you can open JPEG files, PNG files and more directly into Photoshop just by double-clicking on them! We’ll start by learning how to change the default image editor in Windows 10 from the Photos app to Photoshop, and then we'll move over to the Mac and change the default image editor in macOS from Preview to Photoshop!
Since this is really more of a Windows and Mac tutorial, whichever version of Photoshop is installed on your computer will work. You can get the latest Photoshop version here.
Let's get started!
How to make Photoshop your default image editor in Windows 10
Here's how to make Photoshop your default image editor on a PC running Windows 10.
See also: How to open multiple images as layers in Photoshop
Step 1: Navigate to an image on your computer
First, in Windows, use the File Explorer to navigate to a folder that holds one of your images. I'll use a JPEG image but you can repeat these same steps with other file types like PNG and TIFF.
We know we're looking at a JPEG image by the .jpg
extension after the file name:

How to turn on file extensions in Windows 10
If you're not seeing the file extension, go up to the View menu and turn on File name extension:

File name extensionoption in the View menu.
The default image editor in Windows 10
By default in Windows, if we open a JPEG image by double-clicking on its thumbnail:

The image opens in the Photos app, which is not Photoshop and not what we want:

If that happens, close the Photos app by clicking the X in the top right corner:

Step 2: Right-click on the image thumbnail and choose Properties
To make Windows open all JPEG images in Photoshop, right-click on the image thumbnail:

And choose Properties at the bottom of the menu:

Step 3: Click the Change button and select Photoshop
In the Properties dialog box, notice that JPEG files are currently set to open with Photos.
To replace Photos with Photoshop as the default image editor for JPEG files, click the Change button:

Then select the most recent version of Photoshop installed on your computer. As of now, the latest version is Photoshop 2021:

If Photoshop is not listed, scroll down to the bottom and click More Apps:

More apps.
And Photoshop should appear. Click on it to select it and then click OK:

Step 4: Close the Properties
Back in the Properties dialog box, Photoshop is now set as the default image editor for JPEG files:

Click OK to close the dialog box:

And that's all there is to it! You can now double-click on a JPEG image thumbnail in Windows:
And the image will open directly into Photoshop. Simply repeat these same steps for other file types like PNG and TIFF to set Photoshop as their default editor as well:

How to make Photoshop your default image editor on a Mac
Here's how to make Photoshop your default image editor on a Mac running macOS.
See also: How to move images from one Photoshop document to another
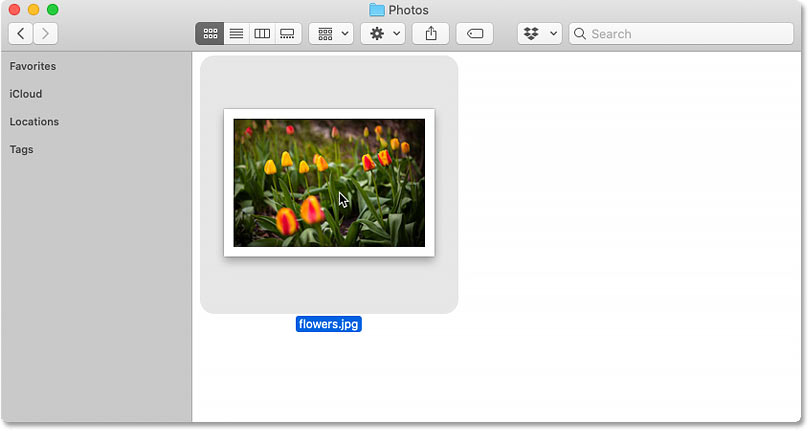
Step 1: Navigate to an image on your computer
First, use Finder to navigate to a folder on your Mac that holds one of your images. I'm using a JPEG image here (with the .jpg
file extension), but you can repeat these same steps with other file types like PNG and TIFF:

The default image editor in macOS
By default, if we open a JPEG image on a Mac by double-clicking on its thumbnail:
It opens in the Preview app, which is not what we want:

If that happens, close Preview by going up to the Preview menu in the Menu Bar and choosing Quit Preview:

Step 2: Right-click on the image thumbnail and choose Get Info
To have macOS open JPEG files into Photoshop, right-click (or Control-click) on the image thumbnail:

And choose Get Info from the menu:

Step 3: Change Open with
to Photoshop
In the Info dialog box, notice that JPEG files are set to open with Preview. You may need to twirl the section open to view it:

Click on Preview and select the newest version of Photoshop installed on your Mac. As of now, the latest version is Photoshop 2021:

Step 4: Click Change All and then Continue
Then to have all JPEG images open in Photoshop, click the Change All button:

And when macOS asks if you're sure, click Continue:

Step 5: Close the Info dialog box
Close the Info dialog box by clicking the red x icon in the top left:

And that's all there is to it! You can now double-click on a JPEG image thumbnail:
And macOS will open the image directly into Photoshop. Simply repeat these same steps with PNG, TIFF or other file types to set Photoshop as their default editor as well:

Where to go next!
And there we have it! That's how to make Photoshop your default image editor in Windows 10 and macOS!
For more ways to open images in Photoshop, check out the other lessons in my Getting Images into Photoshop Complete Guide. Or visit my Photoshop Basics section for more lessons for beginners. And don't forget, all of my tutorials are now available to download as PDFs!