
How to Create Split Color Text in Photoshop
Learn how to fill the top and bottom half of your text with different colors in Photoshop by creating a custom gradient that splits your colors down the middle! Plus, learn how to easily apply that same split-color effect to a stroke or background! (For Photoshop 2026 or earlier).
Download PDF: Create Split Color Text in Photoshop
Split-color text, where the top half of the letters are filled with one color and the bottom half with another, is a classic eye-catching design effect.
There are several ways to create a split-color effect in Photoshop. But in this tutorial, I'll show you the best way using a gradient.
Gradients usually transition gradually from one color to the next. But they can also contain solid colors that split down the middle. We can even save the gradient as a preset and use it to enhance the effect even further.
We'll start by learning how to create the split-color gradient itself and apply it to the text.

I'll then show you how to apply the same split-color gradient to a stroke around the letters.

Finally, you'll learn how to fill the background with the gradient so your text and the background colors are mirrored.
Let's get started!
Which Photoshop version do I need?
I'm using Photoshop 2026. You can get Photoshop here or make sure your copy is up to date using the Creative Cloud Desktop app.
The document setup
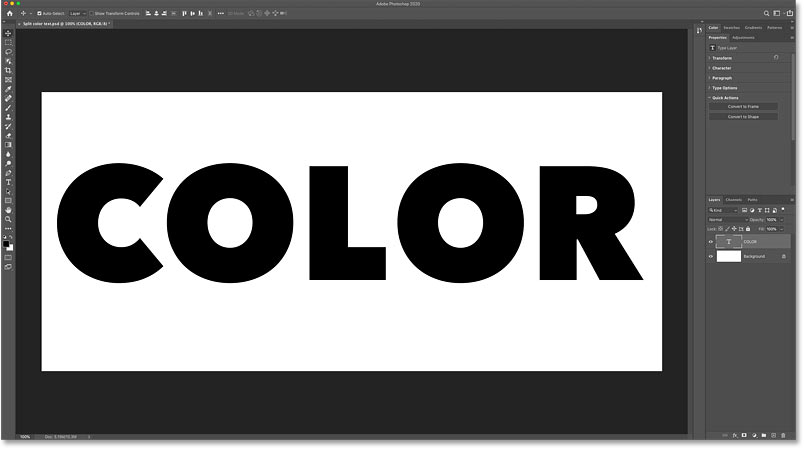
To save time, I've created a new Photoshop document with a white background, and added the word COLOR on a Type layer above it.
Any thick font will work (I'm using Avenir Next Heavy). The text color doesn't matter because our split-color gradient will completely cover it.
Step 1: Add a Gradient Overlay effect to the text
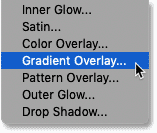
Select your Type layer in the Layers panel and click the fx icon at the bottom.
Choose Gradient Overlay from the list.
Step 2: Choose the Black, White gradient
The Layer Style dialog box opens. We’ll start with a standard black-to-white gradient, and then edit the colors to create our custom split.
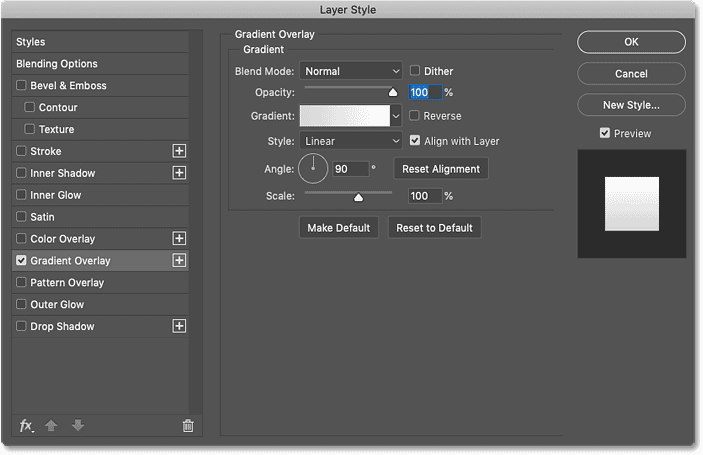
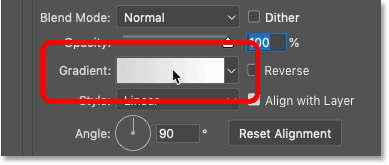
Click directly on the Gradient color swatch (make sure to click the color bar itself, not the tiny arrow next to it).
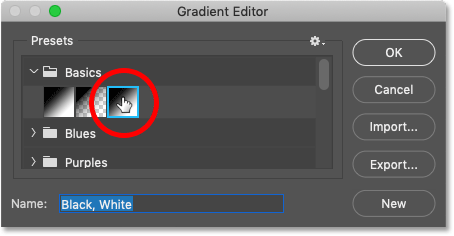
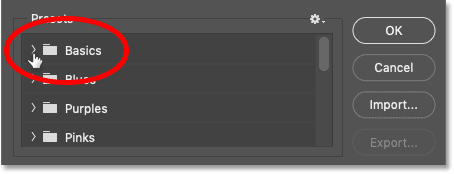
In the Gradient Editor, open the Basics folder in the Presets area and choose the Black, White gradient.
Step 3: Edit the gradient colors
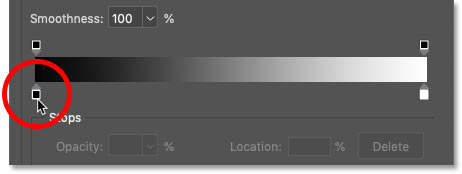
Look at the gradient preview bar in the bottom half of the dialog box. The left side is black, and the right side is white. Let's change these colors using the color stops directly below the bar.
Double-click the black color stop on the bottom left.
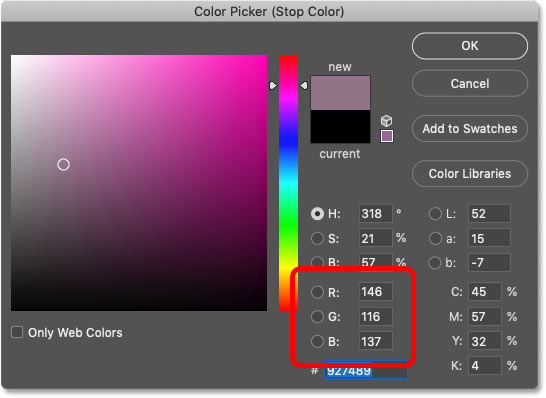
Photoshop opens the Color Picker. Choose any color you like.
I’ll create a muted pink by setting R to 146, G to 116, and B to 137.
Click OK to close the Color Picker.
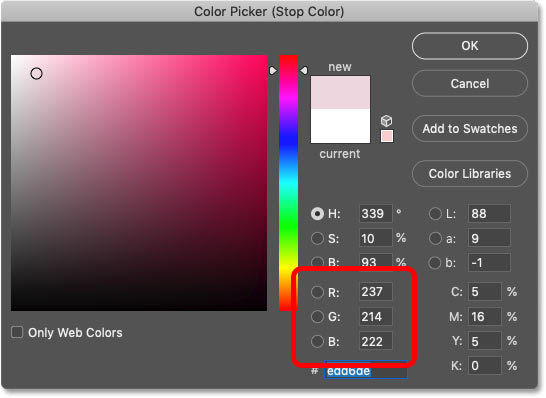
Next, double-click the white color stop on the bottom right.
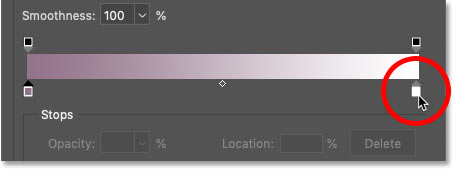
Choose a second color from the Color Picker.
I’ll go with a lighter reddish-pink by setting R to 237, G to 214, and B to 222. Click OK.
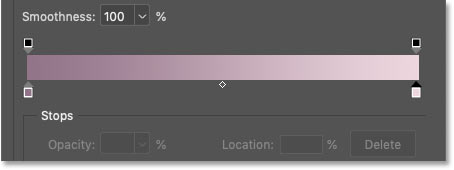
You now have a custom, smooth gradient blending between your two colors.
Related: Create a rainbow gradient in Photoshop!
Step 4: Set the Location of each color to 50%
Right now, the colors gradually transition from one to the other. To create a solid, hard-edged split down the middle, we just need to push both color stops to the exact center.
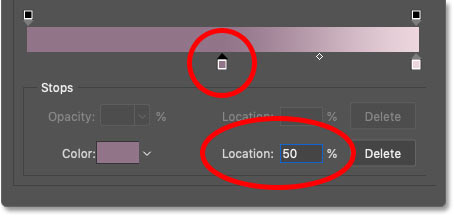
Click once on the left color stop to select it.
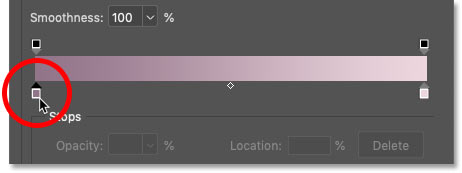
Change its Location value from 0% to 50%. The color stop slides to the center of the bar.
Click once on the right color stop to select it.
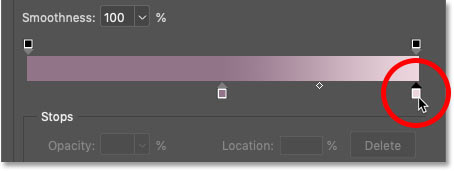
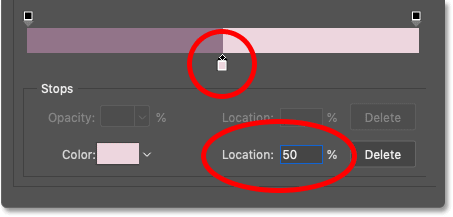
Change its Location value to 50%.
The two color stops now overlap perfectly in the center. Each half of the gradient is now a solid color.
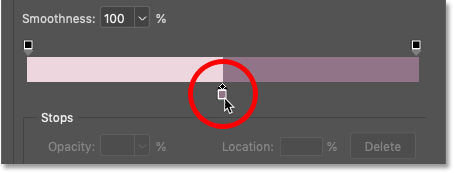
How to swap the order of the colors
Depending on the exact order you clicked, your colors might have switched sides. To switch them back, simply click whichever color stop is visible directly below the center of the preview bar.
Or just wait until the next step where you'll be able to reverse the colors.
Step 5: Save your gradient as a new preset
Since we are going to use this exact gradient again, let's save it as a preset so we don't have to rebuild it.
But first, close the Basics folder in the Presets area. Leaving the folder open forces Photoshop to save your new preset inside that folder, which can quickly make your presets messy and unorganized.
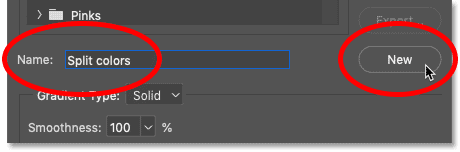
Type a name for your preset in the Name field. I’ll call mine Split colors
.
Click the New button to save it.
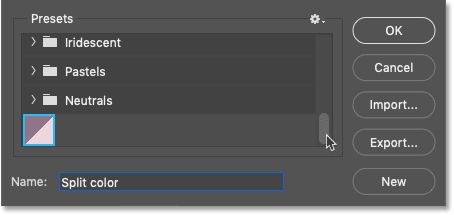
Your new preset appears as a thumbnail below the other gradients.
Click OK to close the Gradient Editor, but leave the Layer Style dialog box open.
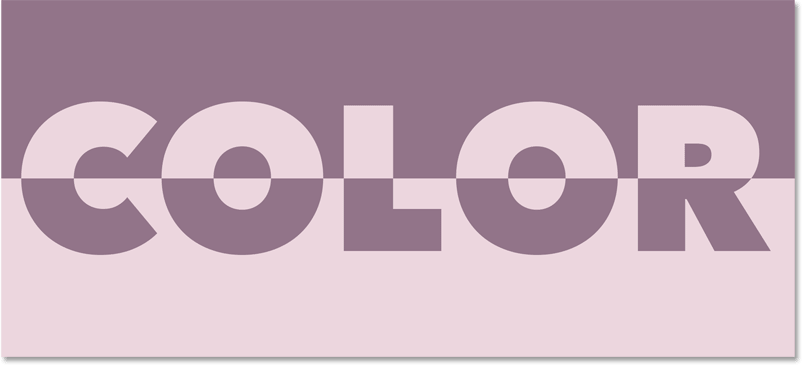
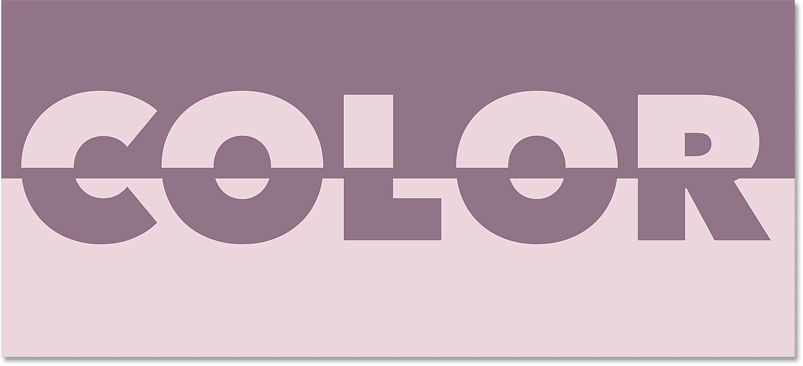
Here is our split-color text so far. The top half is filled with the lighter color, and the bottom half is filled with the darker color.
How to reverse the colors
If you want to flip them, simply check the Reverse box in the Layer Style dialog box. Uncheck the box to swap them back.
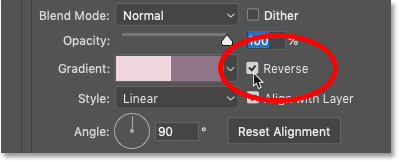
With Reverse checked, the darker color is on the top and the lighter color is on the bottom.

How to apply a split-color stroke around the text
If you’re happy with the basic effect, you can click OK and you’re done!
But here is how to easily enhance the effect by adding a stroke around the text using the exact same split-color gradient.
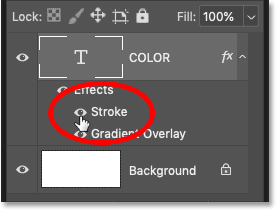
Step 1: Add a Stroke layer effect
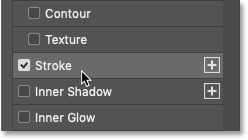
While still inside the Layer Style dialog box, click directly on the word Stroke in the left-hand menu.
Step 2: Select your split-color gradient
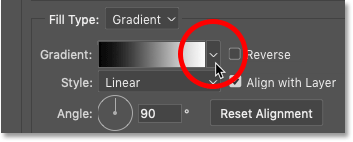
Change the stroke’s Fill Type from Color to Gradient.

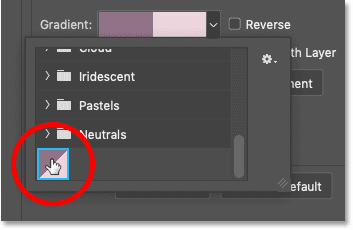
Click the small arrow next to the gradient swatch.
Double-click your saved Split colors gradient thumbnail to select it.
Step 3: Select the Reverse option
To make the stroke stand out, we want the stroke's colors to be the exact opposite of the text colors.
Look at what you did for the text itself. If you left Reverse unchecked for the Gradient Overlay, make sure Reverse is checked for the stroke (or vice versa).

The dark half of the stroke should now outline the lighter half of the text, and the light half of the stroke should outline the darker half of the text.

Step 4: Set the Position to Outside
Change the stroke’s Position to Outside so it wraps completely around the outer edges of the letters.

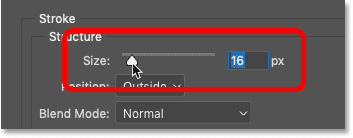
Step 5: Increase the Size of the stroke
Use the Size slider to increase the stroke’s width. I’ll set mine to 16 px.
You now have a split-color stroke around your text.
Step 6: Close the Layer Style dialog box
Click OK to close the Layer Style dialog box.
Related: How to add multiple strokes around your text!
How to fill the background with the split-color gradient
Instead of a stroke, what if you want to completely fill the background behind your text with your custom gradient? Here’s how to do it so the background and text mirror each other perfectly.
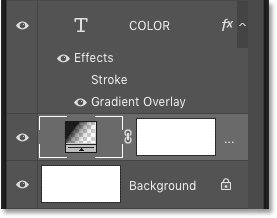
Step 1: Turn off the Stroke effect
If you added the stroke from the previous section, turn it off by clicking its visibility icon (the eyeball) in the Layers panel.
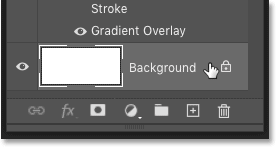
Step 2: Select the Background layer
Click on your Background layer to select it.
Step 3: Add a Gradient Fill layer
Click the New Fill or Adjustment Layer icon at the bottom of the Layers panel.
Choose Gradient from the list:
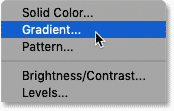
Photoshop places the Gradient fill layer directly below your text.
Step 4: Choose the split-color gradient
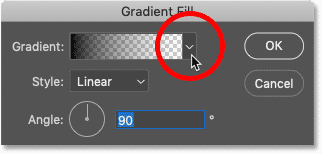
In the Gradient Fill dialog box, click the arrow next to the gradient swatch.
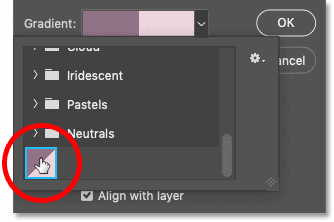
Double-click your saved split-color gradient preset to select it.
Step 5: Reverse the gradient colors
Just like we did with the stroke, the background colors need to be the opposite of the text.
If Reverse is unchecked for your text, check Reverse for the background gradient (or vice versa).
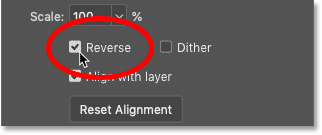
Click OK to close the Gradient Fill dialog box.
You now have a split-color background behind your split-color text. However, the split point in the background might not align perfectly with the split point inside your letters.
Step 6: Move the text into position
Select your Type layer in the Layers panel.

Select the Move Tool from the toolbar.
Go to View > 100%. This zooms your document to 100%, which allows you to nudge your text exactly one pixel at a time.
With the Move Tool selected, use the Up or Down arrow keys on your keyboard to nudge the text.
I'll nudge mine down one pixel at a time until the horizontal split running through the text perfectly aligns with the background split.
And there we have it! That’s how to create split-color text in Photoshop.
Don't forget, all of my Photoshop tutorials are available to download as PDFs
Check out my Text Effects or Photo Effects tutorials for more creative ideas!