How to Create Retro 3D Text with Photoshop
Learn how to create a retro 3D text effect in Photoshop! This step-by-step tutorial shows you how to use Blending Options to easily create the classic red and blue anaglyph 3D effect. For Photoshop 2026 or earlier.

Download PDF: Retro 3D Text Effect
In a previous tutorial, you learned how to add a retro 3D effect to a photo. Now, learn how to add that same classic anaglyph 3D effect to text! Using Photoshop’s Blending Options, this effect is incredibly easy to create. Once the main effect is done, I'll show you a few variations, including how to swap out the colors.
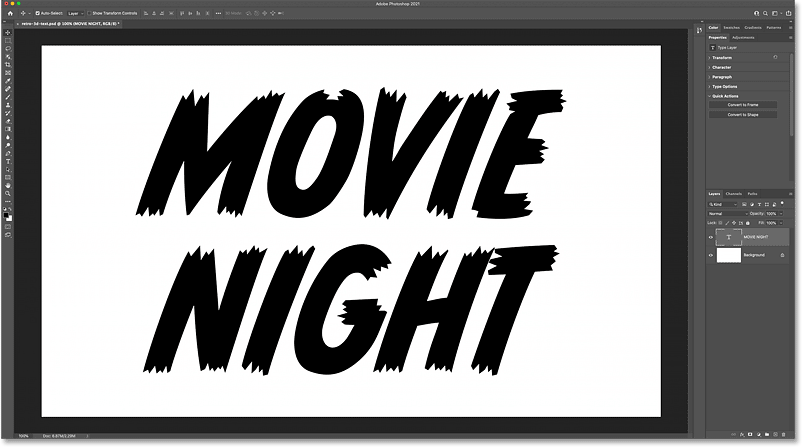
Here's what the final 3D text effect will look like.

Let's get started!
Which Photoshop version do I need?
I'm using Photoshop 2026 but any recent version will work. You can get the latest Photoshop version here.
The document setup
Start with a new Photoshop document. For best results, use a white background and add some black text in front of it.
In this example, I'm using the font CC Monster Mash from Adobe Fonts.
Step 1: Make two copies of the text
First, create two copies of your text layer—one for the red color in the 3D effect and one for the blue.
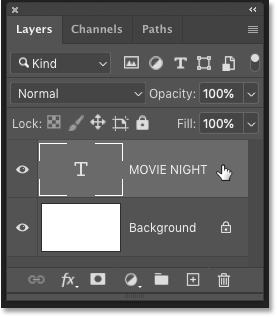
In the Layers panel, select your type layer:
Drag the layer down onto the Add New Layer icon at the bottom of the panel.
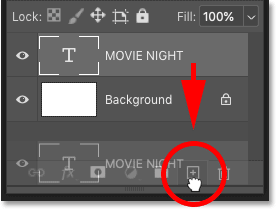
Next, drag the new copied layer onto the Add New Layer icon to create a second copy.
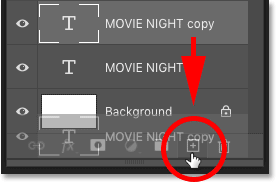
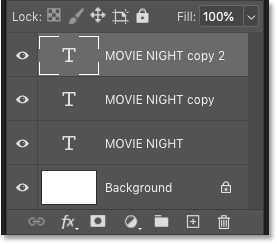
You should now have the original text layer on the bottom with two copies above it.
Step 2: Open Photoshop's Blending Options
Use the top copy for the red color and the middle copy for the blue.
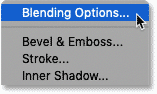
Select the top copy and click the fx icon at the bottom of the Layers panel.
Choose Blending Options from the list.
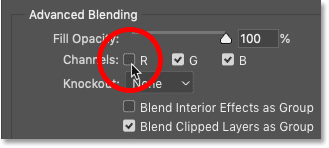
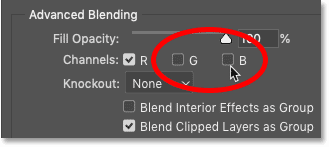
Step 3: Turn off the Red channel
In the Layer Style dialog box, look for the Channels option in the Advanced Blending section. By default, the Red (R), Green (G), and Blue (B) channels are all checked.
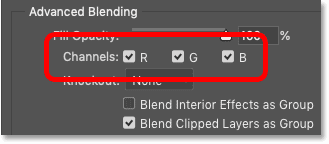
Because we're working with black text instead of white, the channels we need to turn off are the opposite of what you might expect.
To add red to the 3D effect, uncheck the R box to turn off the Red channel. Leave the Green and Blue channels checked.
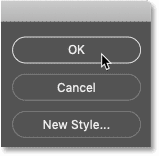
Step 4: Close the Layer Style dialog box
Click OK to close the Layer Style dialog box.
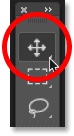
Step 5: Select the Move Tool
Even though the Red color channel is turned off, you won't see a change until you offset the text.
Select the Move Tool from the toolbar.
Step 6: Set the View mode to 100%
Before moving the text, go to View > 100%. This ensures you're viewing the document at actual size, allowing you to nudge the text exactly one pixel at a time.

Step 7: Offset the text to the left
Use the left arrow key on your keyboard to nudge the text away from the original. Each press moves the text one pixel. To move it 10 pixels at a time, hold the Shift key while pressing the arrow key.
Notice that the text appears red in the offset areas. Move the text until you're happy with the spacing (around 30 pixels works perfectly here). Remember how far you moved it, as you'll need to mo ve the blue copy the exact same distance in the opposite direction.

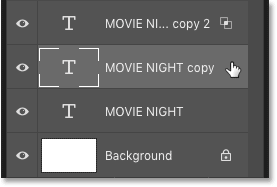
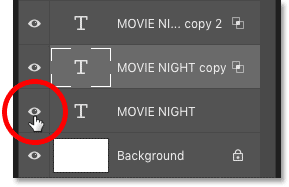
Step 8: Select the first copy of the text
In the Layers panel, select the middle text layer (the first copy you created).
Step 9: Open the Blending Options
Click the fx icon:
Choose Blending Options to reopen the Layer Style dialog box.
Step 10: Turn off the Green and Blue channels
To create the cyan (blue) color, leave the Red channel checked, but uncheck the Green and Blue channels.
Step 11: Close the Layer Style dialog box
Click OK to close the Layer Style dialog box.
Step 12: Offset the text to the right
With the Move Tool still active, use the right arrow key to nudge the text to the right by the exact same amount you moved the red text (e.g., 30 pixels).
The text appears cyan in the offset areas, completing the classic retro 3D effect.

See also: Add a Long Shadow to your text with Photoshop!
Variation 1: Turn off the original text
There are a couple of easy ways to create variations of this effect.
First, try turning off the original text layer by clicking its visibility icon in the Layers panel.
This focuses the effect purely on the red and cyan colors, with black appearing only where the two overlap. You can use your left and right arrow keys to adjust the spacing between the layers if needed.
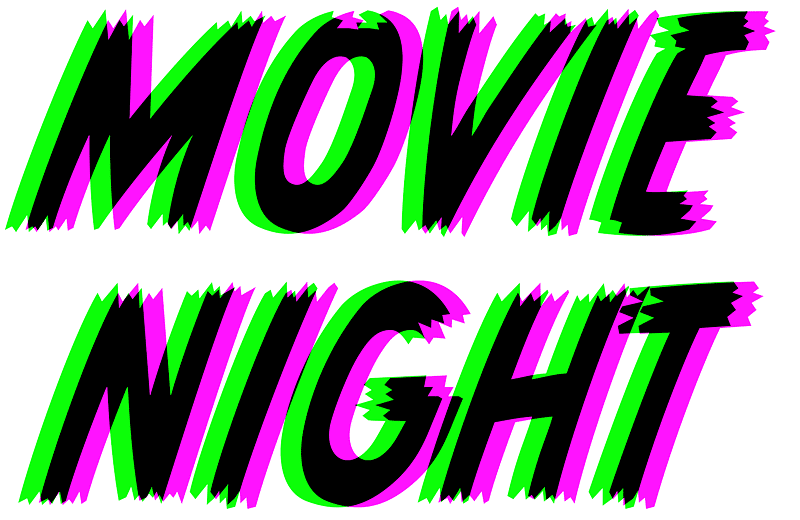
Variation 2: Change the colors in the effect
Another great variation is to swap the colors. A popular alternative to red and cyan is green and magenta.
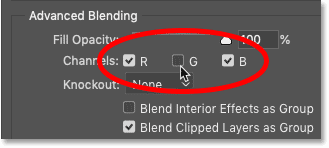
Step 1: Change the red color to green
In the Layers panel, double-click the Blending Options icon on the top layer (the red text). If you can’t see the icon, simply double-click any empty gray space on the layer.
In the Layer Style dialog box, change the red color to green by checking the R channel, unchecking the G channel, and checking the B channel. Click OK.
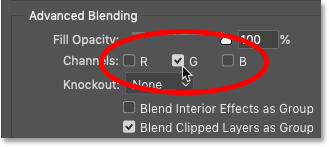
Step 2: Change the cyan color to magenta
Back in the Layers panel, double-click the Blending Options icon (or empty gray space) on the middle type layer (the cyan text).
To change the cyan to magenta, uncheck the R channel, check the G channel, and uncheck the B channel.
Click OK to close the Layer Style dialog box. You now have a completely different 3D color effect!
And there we have it! For more retro goodness, check out my tutorial on how to create 80's retro text, or see my complete list of Photoshop text effects tutorials.
Don't forget, all of our tutorials are available to download as PDFs!