
Create a Long Shadow Text Effect with Photoshop

Learn how to create a popular long shadow text effect in Photoshop where the shadow from your letters extends right off the background!
In this tutorial, I show you how easy it is to add a long shadow to your text with Photoshop, a popular effect often seen in advertising. You'll learn how to create an initial shadow behind the text using multiple type layers, and a shortcut that makes it easy to extend the shadow all the way to the edge of the background. I'll also show you how to blend the shadow with the background, whether it's a solid color background or a gradient, so that the shadow and the background share the same colors.
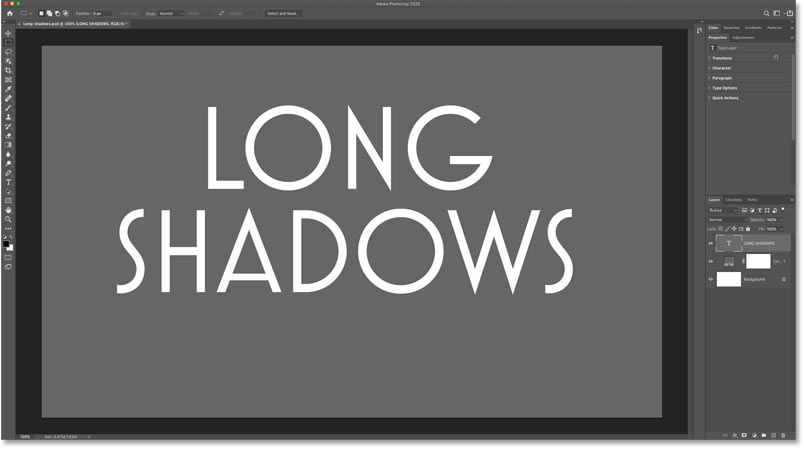
Here's an example of what the long shadow effect will look like when we're done:

Let's get started!
Which Photoshop version do I need?
For best results, you'll want to be using Photoshop 2020 or later but any recent version will work. Get the latest Photoshop version here.
The document setup
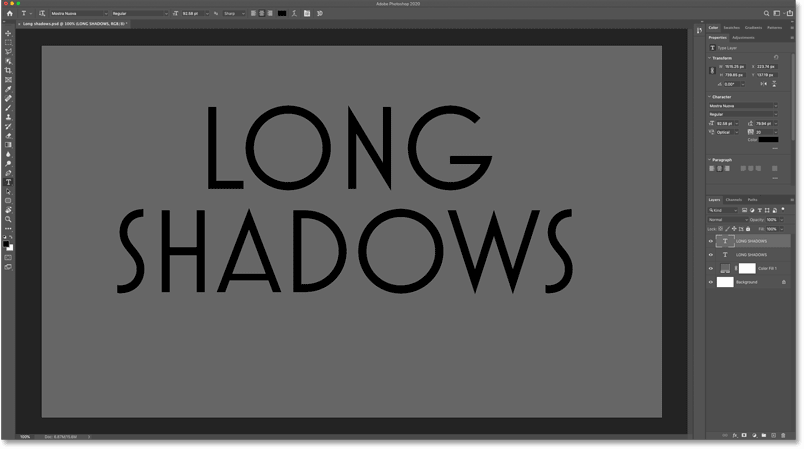
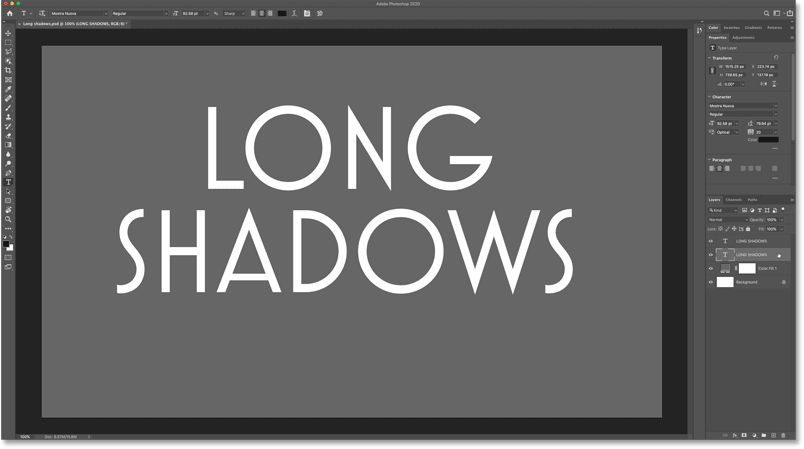
Here's the document I'm starting with. I've added some white text in front of a simple gray background. We'll add color to the effect once we've created the shadow.
Any font will work for this effect, but I'm using Mostra Nuova which I downloaded from Adobe Typekit:
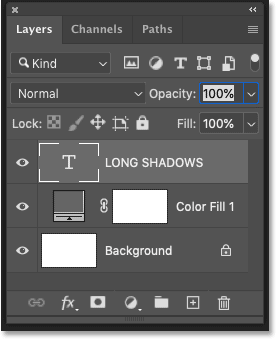
In the Layers panel, we see how the document is set up.
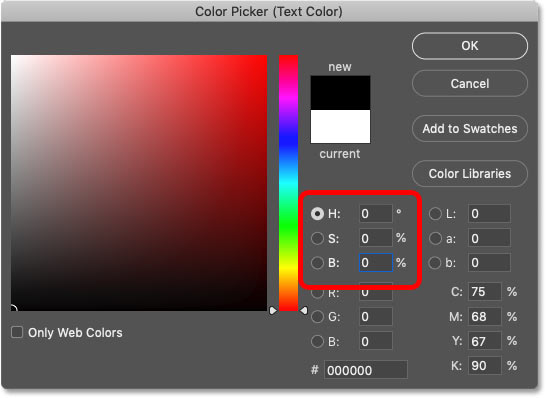
On the bottom is the Background layer which is actually filled with white. To turn the background gray, I added a Solid Color fill layer above the Background layer. And in the Color Picker, I chose gray by setting the H (Hue) value to 0 degrees, the S (Saturation) value to 0 percent, and the B (Brightness) value to 40 percent.
Above that is my text on the type layer:
Related: How to create new documents in Photoshop
Step 1: Make a copy of your type layer
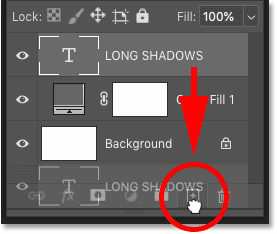
The first thing we need to do to create our long shadow is make a copy of the text.
In the Layers panel, click on your type layer and drag it down onto the Add New Layer icon at the bottom:
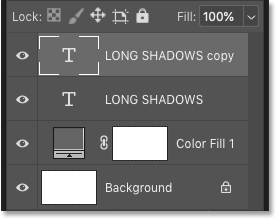
A copy of the type layer appears above the original:
Step 2: Change the color of the copy to black
Next, select the Type Tool from the toolbar if it's not selected already:
Then in the Options Bar, click the color swatch:

And in the Color Picker, change the text color to black by setting the B (Brightness) value to 0 percent:
Click OK to close the Color Picker, and the black text is now blocking the original white text from view:
Step 3: Drag the copy below the original
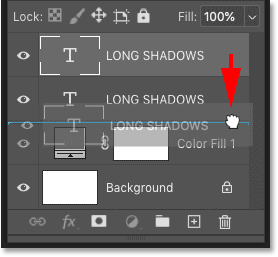
We're going to use the black text to create our shadow, which means we need to move it behind the original text. So back in the Layers panel, click on the copy's type layer and drag it below the original type layer:
And now we're back to seeing the white text, with the black text hiding behind it:
Related: Learn how to use layers in Photoshop!
Step 4: Set the document's zoom level to 100%
To create the long shadow effect, we're going to make a series of copies of the black text, and we'll use the arrow keys on our keyboard to nudge each copy away from the previous one by a single pixel.
But for this to work, we need to be viewing our document at the 100% zoom level. That's because Photoshop uses screen pixels, not image pixels, when we nudge content using the arrow keys. So if your zoom level is set to anything less than 100%, you'll actually be nudging the text by more than 1 pixel, causing the shadow to have jagged edges.
To keep that from happening, make sure you are viewing the document at 100% by going up to the View menu in the Menu Bar and choosing 100%:
Step 5: Select the Free Transform command
Then with your text copy layer selected, go up the Edit menu and choose Free Transform:
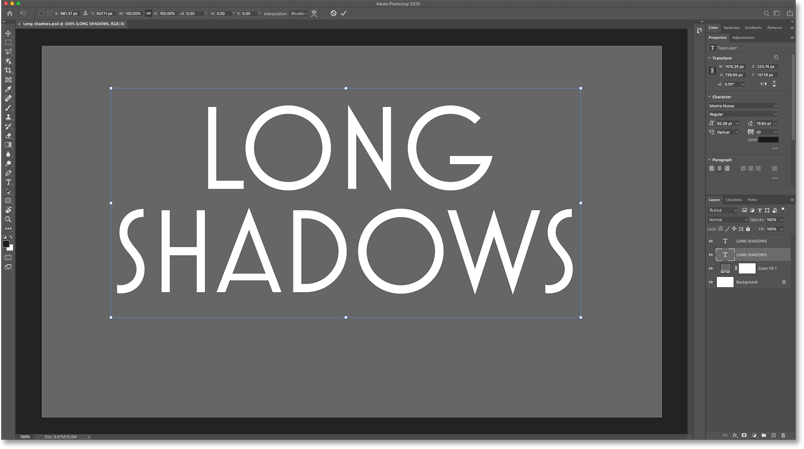
The transform box and handles appear around the text. They're actually around the black text even though it looks like they're around the white text. But that doesn't matter because we're not going to use the handles anyway. Instead, we'll move the text using the arrow keys:
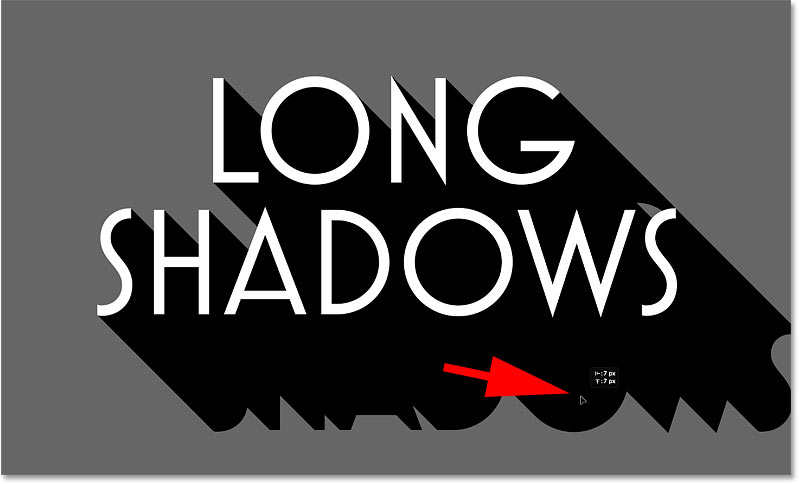
Step 6: Press the Down arrow and Right arrow on your keyboard
On your keyboard, press the Down arrow key once. This nudges the black text down by a single pixel. Then press the Right arrow key once to nudge the text to the right by a single pixel. Again make sure you are viewing the document at the 100% zoom level or this won't work.
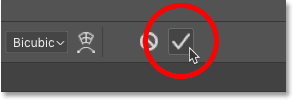
Step 7: Accept and close Free Transform
Since we're moving the text by a single pixel at a time, you may not notice anything happening. But for now, just accept it and close Free Transform by clicking the checkmark in the Options Bar:
Step 8: Make a copy of the text and transform it again
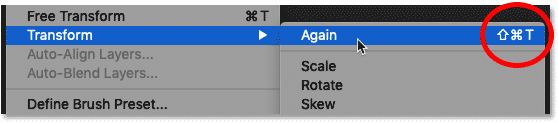
Photoshop has a somewhat hidden command called Transform Again which, as you can probably guess, lets you reapply the same transformation again.
Now don't select it yet, but I just want you to know that you can find it by going up to the Edit menu and choosing Transform. The Again command is the first choice at the top. And notice that Transform Again has a keyboard shortcut of Shift+Ctrl+T (Win) / Shift+Command+T (Mac):
Each time we press this shortcut, we will reapply the same transformation to the black text, which means we will move it one more pixel down and one more pixel to the right. But we don't want to keep moving the same text. What we really want is to make a copy of the text and move the copy.
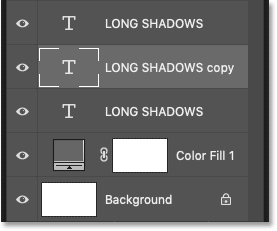
To do that, we just need to add the Alt (Win) / Option (Mac) key to the shortcut. So on a Windows PC, press Shift+Ctrl+Alt+T. On a Mac, press Shift+Command+Option+T.
In the Layers panel, you'll see a new copy of the black type layer appear below the original white text at the top:
And if you look closely, you'll see the shadow beginning to emerge from behind the letters:

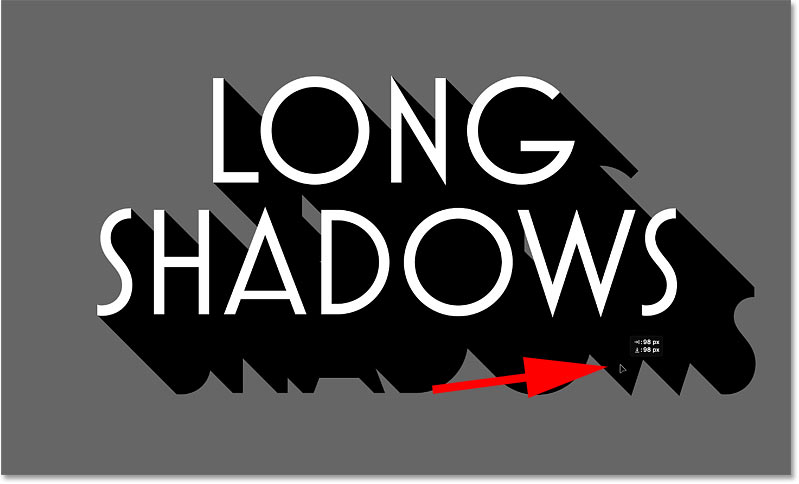
Step 9: Continue pressing the shortcut to extend the shadow
Press Shift+Ctrl+Alt+T (Win) / Shift+Command+Option+T (Mac) repeatedly to add more and more copies of the black text and move each copy 1 pixel down and 1 pixel to the right. The more copies you add, the longer the shadow appears.
But note that if you press the shortcut too many times too quickly, Photoshop may have a tough time keeping up, so you'll need to stop every so often before you see the results.
Here's my shadow after pressing the keyboard shortcut a total of 20 times:

And here's the result after pressing the shortcut 50 times. The shadow now extends much further from the letters:

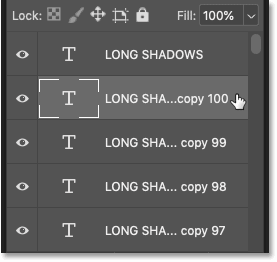
And after pressing the shortcut 100 times, the shadow is now twice as long as before:

Step 10: Merge the black type layers
If your goal is to make the shadow long enough that it extends off the edge of the background, then adding one new type layer at a time will take a while. So here's a way to speed things up.
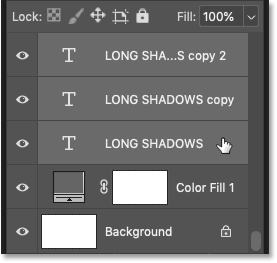
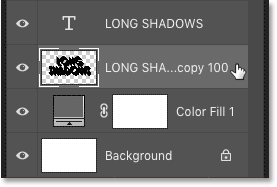
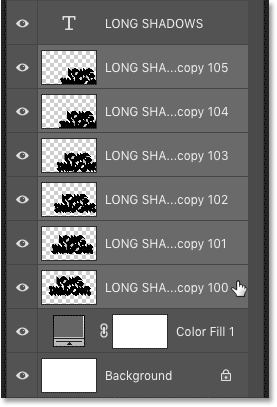
In the Layers panel, click on the last black type layer you added. It will be the one directly below the original white text:
Then scroll all the way down to the bottom, press and hold your Shift key, and click on the first black type layer. In my case, it's the one directly above the Solid Color fill layer.
This selects all of the type layers that make up the shadow:
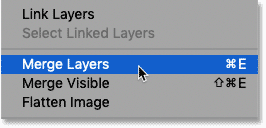
With the layers selected, click the Layers panel menu icon:
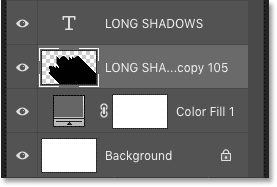
And choose the Merge Layers command:
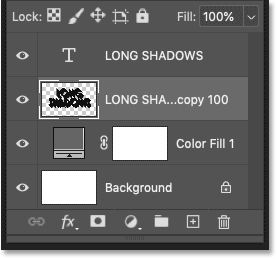
And now all of the layers that made up the shadow are merged onto a single layer:
Step 11: Select the Move Tool
To extend the shadow, we'll make copies of it and move each copy to where the previous shadow ended.
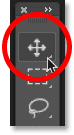
Select the Move Tool from the toolbar:
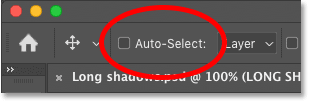
And in the Options Bar, make sure Auto-Select is unchecked. This will prevent us from accidentally moving the wrong layer:
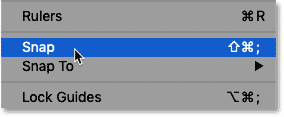
Also, to make it easier to move layers around, go up to the View menu in the Menu Bar and turn off Snap. A checkmark next to the option's name means that it's currently on, so select it to turn it off:
Step 12: Copy the shadow and move it below the original
In the Layers panel, make sure the shadow layer is selected:
Then to make a copy of the shadow, press the Alt (Win) / Option (Mac) key on your keyboard, and with the key held down, click on the shadow in the document and drag away from it.
Instead of dragging the shadow, you'll drag out a copy of the shadow while the original stays in place:
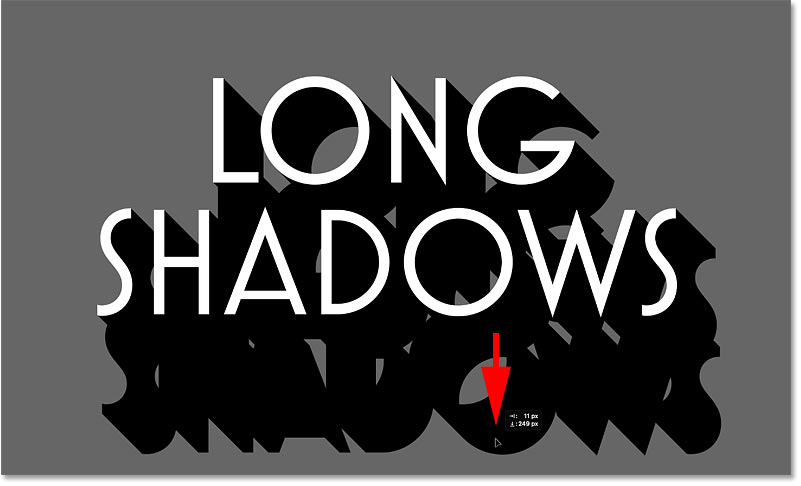
Release the Alt (Win) / Option (Mac) key once you've started dragging. Then move the copy to where the original shadow ended so that the two layers align and extend the shadow's length.
If you can't get them lined up perfectly with the Move Tool, use the arrow keys on your keyboard to nudge the copy into place:
Step 13: Make and move more copies to extend the shadow's length
Repeat the same steps to extend the shadow even further. Press and hold Alt (Win) / Option (Mac) and drag out a copy with the Move Tool, and then move the copy below the previous one. Use the arrow keys on your keyboard to nudge it into place if needed.
Here I'm moving a second copy of the shadow below the first one:
And since I want my shadow to extend off the bottom corner, I'll add a few more copies and move each one into position.
In my case, it took a total of six shadow layers (the original plus five copies) to extend the shadow off the screen:

Step 14: Merge the shadow layers
Just as we did with the type layers, we need to merge the shadow layers onto a single layer.
In the Layers panel, the last copy you added should already be selected at the top. To select the other shadow layers below it, press and hold your Shift key and click on the original shadow layer at the bottom:
Then to merge them, click the menu icon:
And once again choose Merge Layers:
And now the entire shadow is merged onto a single layer below the type layer:
Step 15: Lower the shadow layer's opacity
Finally, to blend the shadow in with the background, lower the opacity value of the shadow layer. The Opacity option is found in the upper right of the Layers panel. I'll lower mine to 70 percent:
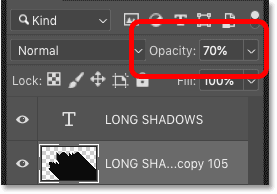
And with the opacity lowered, the shadow is a bit less intense:

Step 16: Change the background color
At this point, my shadow still looks gray, but that's only because the background is gray. If we change the background color, the shadow's color will change with it.
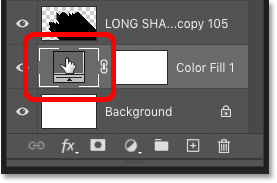
I've already added a Solid Color fill layer above the Background layer, which is where the gray is coming from. To change its color, I'll double-click on the fill layer's color swatch:
And then in the Color Picker, I'll choose a different color. I'll try a shade of red:

I'll click OK to close the Color Picker, and now the shadow appears dark red:

Adjusting the shadow's brightness
If the shadow is still too dark, you can fine-tune it in the Layers panel by clicking on the shadow's layer to reselect it, and then lowering its Opacity value even further. I'll lower it to 50 percent:
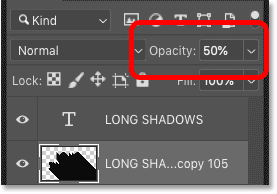
And now the shadow appears lighter as it fades more into the background:

Here's the same effect, using the same 50 percent opacity value, but with the background changed to blue:

Using a gradient for the background
Of course, you don't have to use a solid color for the background. Gradients work just as well, and the shadow will take on the gradient colors.
In the Layers panel, I'll add a Gradient fill layer above the Solid Color fill layer by clicking the New Fill or Adjustment Layer icon:
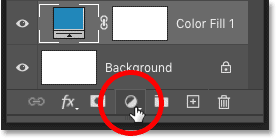
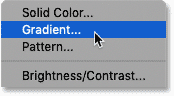
And choosing Gradient from the list:
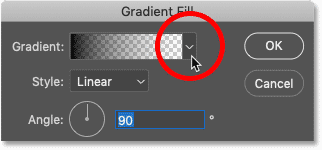
Then in the Gradient Fill dialog box, I'll choose a gradient by clicking the arrow next to the gradient swatch:
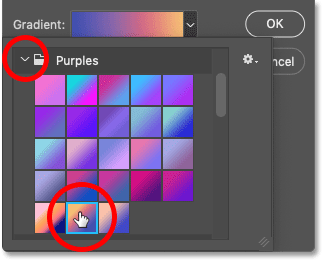
As of Photoshop CC 2020, gradients are divided into groups, with each group represented by a folder.
I'll twirl open the Purples group (new in CC 2020) by clicking the arrow next to its folder icon, and then I'll choose one of the new purple gradients by double-clicking on its thumbnail:
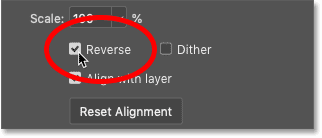
I want the brighter color of the gradient to appear at the top of the background and the darker color to appear at the bottom. So I'll reverse the order of the colors by checking the Reverse option:
Then I'll click OK to close the Gradient Fill dialog box.
And now, not only does the background look more interesting, but the shadow does as well as it blends into the gradient colors:
And there we have it! Check out our Photo Effects or Text Effects sections for more tutorials. And don't forget, all of our Photoshop tutorials are available to download as PDFs!