
Place an Image in a Shape with Photoshop CC 2020
Learn how to place an image inside a shape, and how to move the shape and the image to a different background, in the latest version of Photoshop! A step-by-step tutorial.
There are two main ways to fill a shape with an image in Photoshop. One is by using a clipping mask, and the other is with a vector mask. Both are easy to use, and both can produce the same results. But if your goal is to move the shape and the image to a different background, then vector masks have the advantage.
The reason is that a clipping mask always needs two separate layers. In this case, we would need one layer for the image and another layer for the shape. But with a vector mask, the image and the shape are on the same layer. So when it's time to move the effect to a new background, we're moving one layer instead of two! Let's see how it works.
To follow along, you'll need Photoshop 2020 or newer. That's because we'll be drawing our shape using the new Shapes panel, and also because CC 2020 gives us lots of new shapes to choose from. If you're using an earlier version of Photoshop, or you want to learn how to create this same effect using a clipping mask, check out the previous version of this tutorial.
Let's get started!
How to place an image inside a shape
We'll start by learning how to draw our shape and how to place the image inside it. Then I'll show you how to move the shape and the image to a new background.
Step 1: Open the image
Start by opening the image you want to place inside your shape.
I'll use this photo that I downloaded from Adobe Stock:
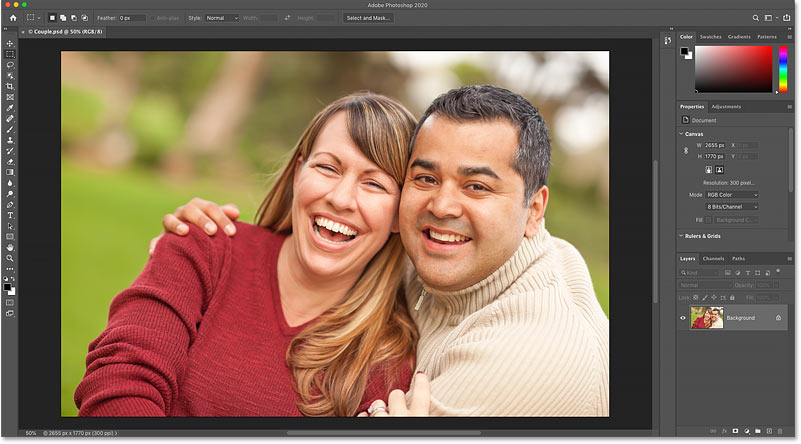
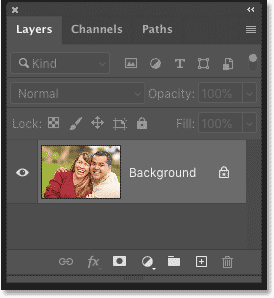
In the Layers panel, the image appears on the Background layer, currently the only layer in the document. In fact, it will remain the only layer even after we've placed the image into a shape:
Learn more: All the ways to open images in Photoshop!
Step 2: Open the Shapes panel
The easiest way to add a custom shape to your document in Photoshop CC 2020 is with the new Shapes panel.
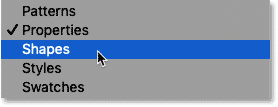
To open the Shapes panel, go up to the Window menu in the Menu Bar and choose Shapes:
The default shapes
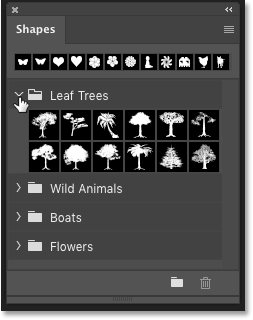
If you have not yet loaded more shapes into Photoshop, then at first, all you will see in the Shapes panel are the default shapes. In CC 2020, shapes are divided into sets, and each set is represented by a folder.
Click on the arrow next to a folder to twirl the set open and view the shapes inside it:
How to load more shapes into the Shapes panel
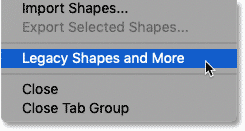
To load more shapes, including hundreds of brand new shapes as well as the legacy shapes from previous Photoshop versions, click the Shapes panel menu icon:
And then choose Legacy Shapes and More from the menu:
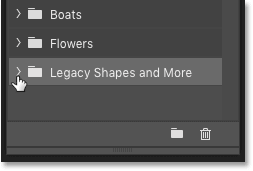
Back in the Shapes panel, a new "Legacy Shapes and More" folder appears below the default folders:
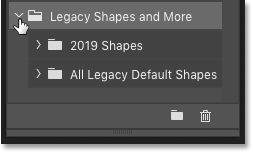
Twirl the folder open and inside, you'll find two more folders.
The 2019 Shapes folder contains hundreds of brand new shapes. And the All Legacy Default Shapes folder contains all of the shapes from earlier versions:
Step 3: Drag a shape onto the image
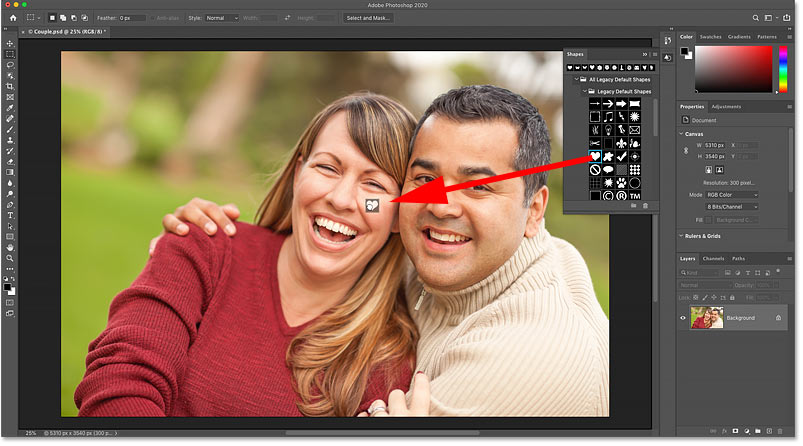
To add a shape to your document, simply choose a shape in the Shapes panel and then drag its thumbnail from the Shapes panel onto your image.
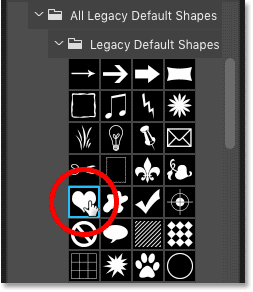
For this tutorial, I'll use the legacy Heart shape. You'll find it in the Legacy Default Shapes set which is inside the All Legacy Default Shapes folder.
First I'll click on its thumbnail to select it:
And then I'll drag and drop the shape onto my image:
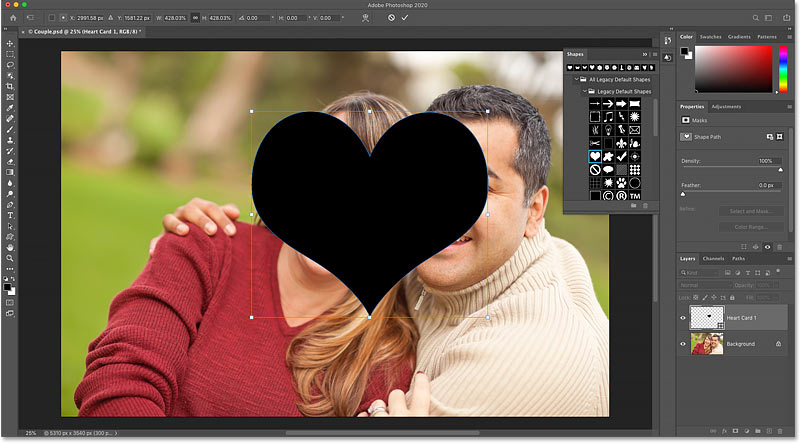
Release your mouse button and Photoshop instantly draws the shape.
The default shape color is black, but it's okay if your shape is filled with a different color. It won't make any difference once we've filled the shape with our image:
Learn more: What are vector shapes?
Step 4: Move and resize the shape with Free Transform
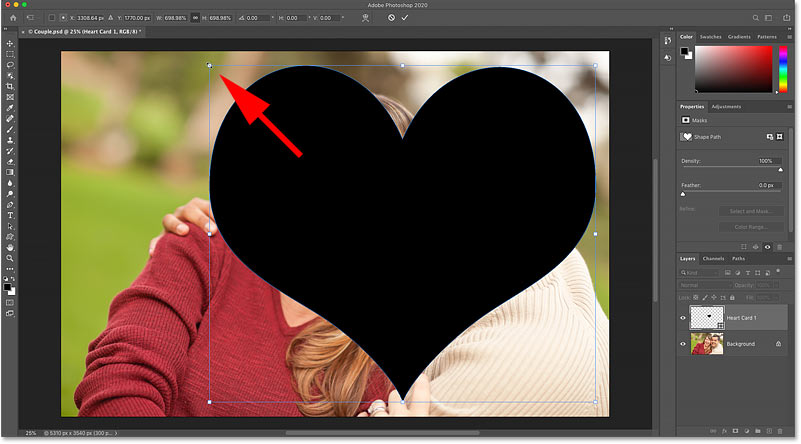
When you drag and drop shapes from the Shapes panel, Photoshop automatically surrounds the shape with the Free Transform box and handles. Click and drag any of the handles to resize the shape. You can also drag inside the box to move the shape into place.
Don't worry about getting the size and placement of the shape exactly right. We'll come back and fine-tune things later:
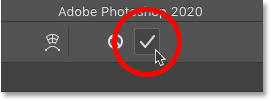
When you're done, click the checkmark in the Options Bar to accept it and close Free Transform. Or press Enter (Win) / Return (Mac) on your keyboard:
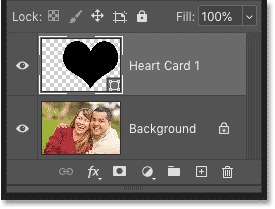
And in the Layers panel, the shape appears on its own shape layer above the image. We're going to use this shape to create our vector mask, and we'll do that next:
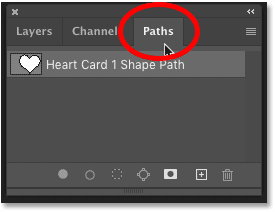
Step 5: Open the Paths panel
To turn the shape into a vector mask, we don't actually need the shape itself. What we need is the path (the outline) around the shape.
Switch over to Photoshop's Paths panel. You'll find it in the same panel group as the Layers panel:
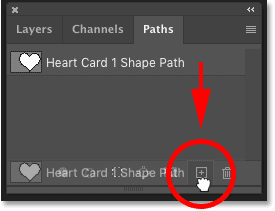
Step 6: Make a copy of the shape's path
In a moment, we're going to delete the shape we created. But this will also delete its path outline. So before we delete the shape, we need to make a copy of the path.
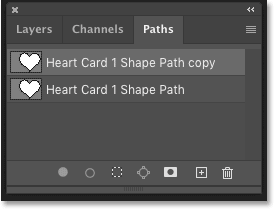
Click on the shape's path and drag it down onto the Create New Path icon at the bottom of the Paths panel:
A copy of the path appears above the original:
Step 7: Delete the shape layer
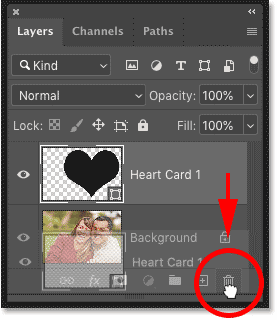
With the path copy created, switch back to the Layers panel. Then click on the shape layer and delete it by dragging it down onto the trash bin.
Don't try to delete the shape layer by pressing Backspace (Win) / Delete (Mac) on your keyboard. This will delete the path copy we just created. You need to drag the shape layer itself onto the trash bin for this to work:
The shape disappears but its path outline remains in front of the image:

Step 8: Convert the path into a vector mask
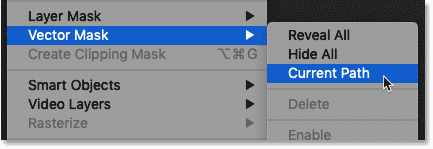
To convert the path into a vector mask, go up to the Layer menu in the Menu Bar, choose Vector Mask, and then choose Current Path:
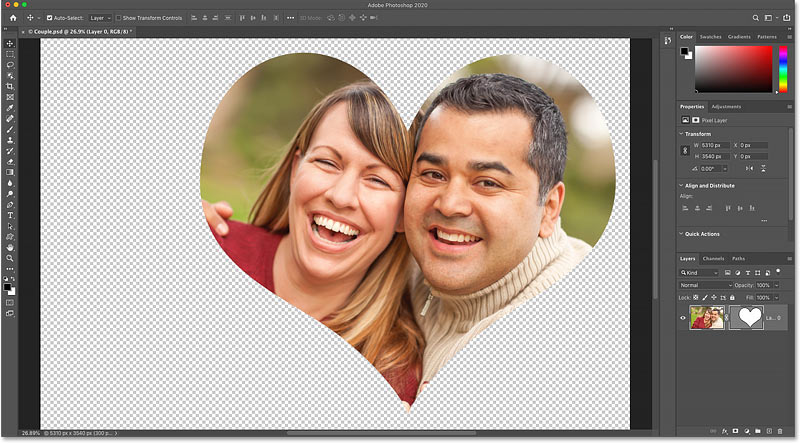
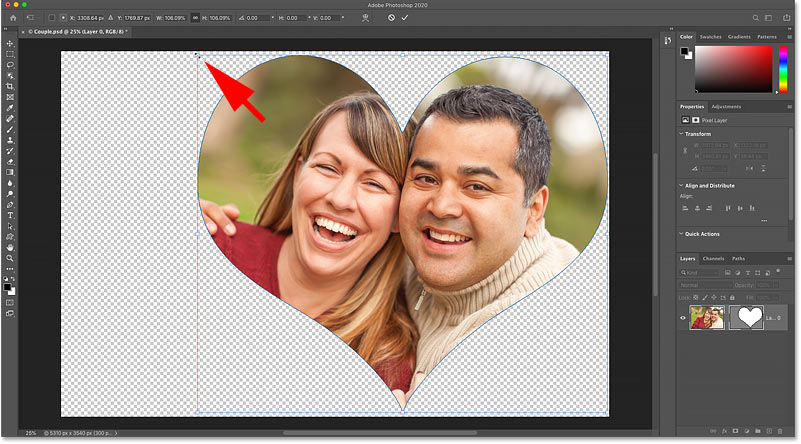
And just like that, the image appears inside the shape. The checkerboard pattern surrounding the shape is how Photoshop represents transparency:
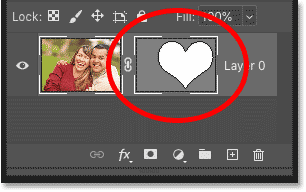
In the Layers panel, a vector mask thumbnail appears to the right of the image thumbnail. And that's how to place an image inside a shape using a vector mask:
How to adjust the image or the shape independently
Before we move the shape and the image to a new background, let's fine-tune the effect. I'll show you how to reposition the image inside the shape, and how to resize the shape without resizing the image.
How to unlink the image and the vector mask
By default, the image and the vector mask are linked together. So if you move or resize one, the other is moved or resized along with it. To move the image or the shape independently, first unlink the image and the vector mask by clicking the link icon between the thumbnails:
How to move the image inside the shape
Then to move the image around inside the shape, select Photoshop's Move Tool from the toolbar:
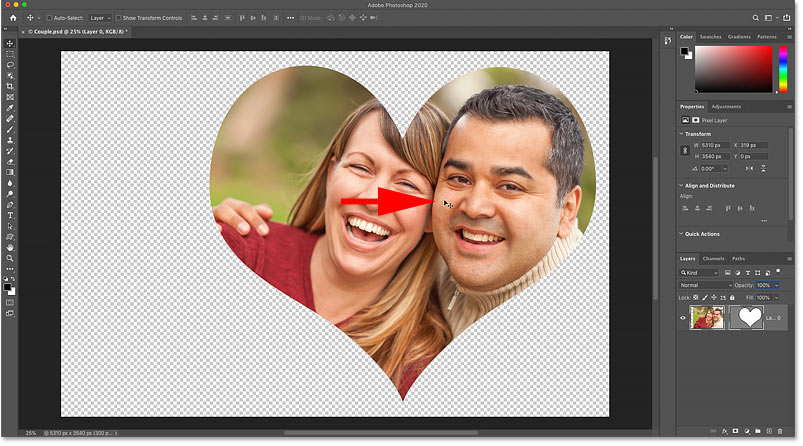
And then click on the image with the Move Tool and drag it into position.
Here I'm moving the image to the right while the shape remains in place:
How to resize the shape
If you need to resize the shape, select the Path Selection Tool (the black arrow) from the toolbar:
And then click inside the shape to select it. You'll know the shape is selected because the path outline surrounding it will reappear:

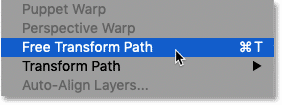
Go up to the Edit menu in the Menu Bar and choose Free Transform Path. Or press Ctrl+T (Win) / Command+T (Mac) on your keyboard:
And then drag any of the handles to resize the shape. The image inside the shape will remain at its original size.
I'll drag the handles to make my shape a bit larger:
When you're done, click the checkmark in the Options Bar. Or press Enter (Win) / Return (Mac) on your keyboard:
How to trim away the transparent areas
One last thing we should do before moving the shape to a different background is trim away the transparent areas around the shape. This will make it easier to center the shape on the new background.
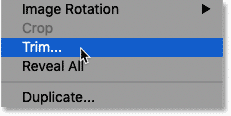
Go up to the Image menu in the Menu Bar and choose Trim:
Then in the Trim dialog box, make sure Transparent Pixels is selected at the top, and that Top, Bottom, Left and Right are all selected at the bottom:
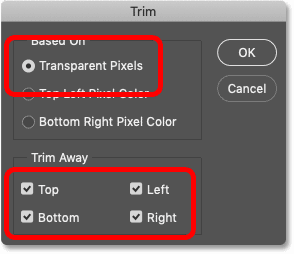
Click OK to close the dialog box, and the surrounding transparent pixels are instantly cropped away:
How to move the shape to a new background
In this final part of the tutorial, I'll show you how to move the shape and the image to a new background. And then we'll finish up by adding a stroke around the shape.
Step 1: Open the background image
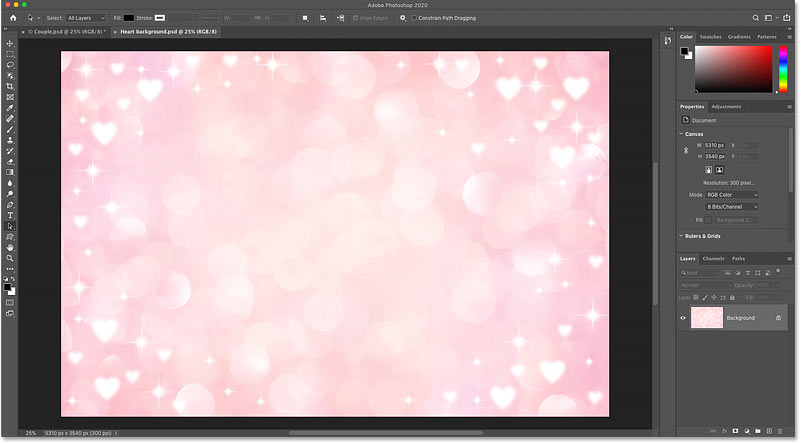
Start by opening your background image.
I'll use this image from Adobe Stock. The image will open in its own separate Photoshop document:
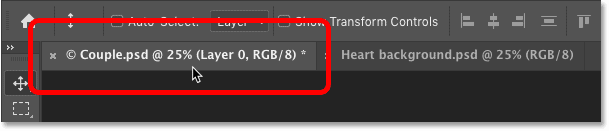
Step 2: Switch back to your shape's document
Then switch back to the original document (the one that holds the image inside the shape) by clicking its tab:
Step 3: Select the Move Tool
To move the shape over to the background document, we'll simply drag and drop it.
Select the Move Tool from the toolbar:
Step 4: Link the image and the vector mask
In the Layers panel, make sure the image and the vector mask are linked together. You should see a link icon between the thumbnails. If not, click in the empty space between the thumbnails to link them:
Learn more: How to Auto-Select layers in Photoshop!
Step 5: Drag the shape onto the background document's tab
Then click on the shape with the Move Tool and drag it up and onto the tab for the background image document:
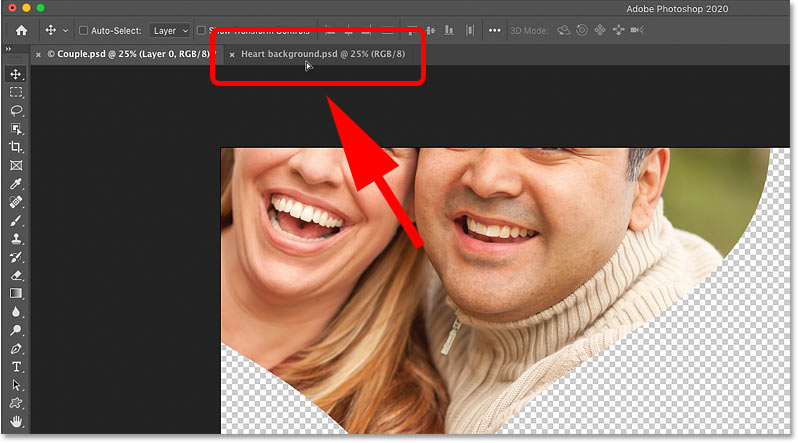
Step 6: Hold Shift and drag down onto the background image
Keep your mouse button held down and your cursor over the tab until Photoshop switches to the background image.
Then press and hold the Shift key on your keyboard, drag your mouse cursor down onto the background image, and then release your mouse button:
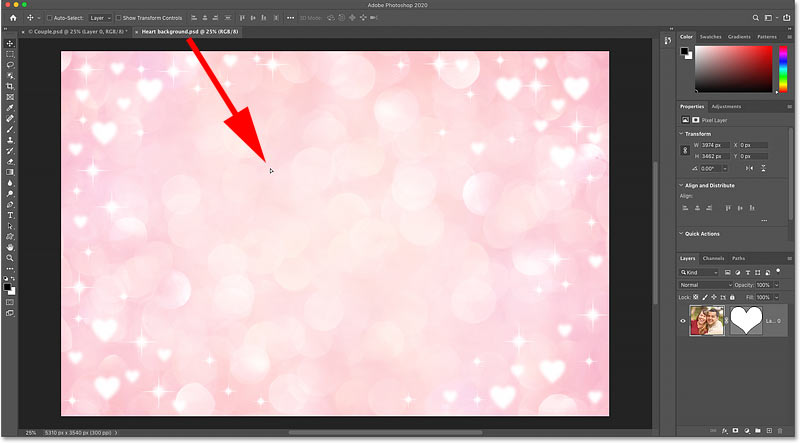
The Shift key tells Photoshop to center the shape within the document. We now have our shape, and the image inside it, in front of the new background.
Use Free Transform (press Ctrl+T (Win) / Command+T (Mac)) to resize the shape if needed:

Learn more: Five easy ways to move layers between documents!
How to add a stroke around the shape
To finish off the effect, let's add a stroke around the shape. And we'll do that using a layer effect.
Step 1: Add a Stroke layer effect
In the Layers panel, make sure the layer that holds the original image and the shape is selected.
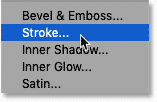
Then click the Add Layer Style icon (the "fx" icon):
And choose Stroke from the list:
Step 2: Choose a stroke color
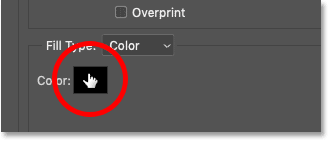
In the Layer Style dialog box, set the stroke color by clicking the color swatch:
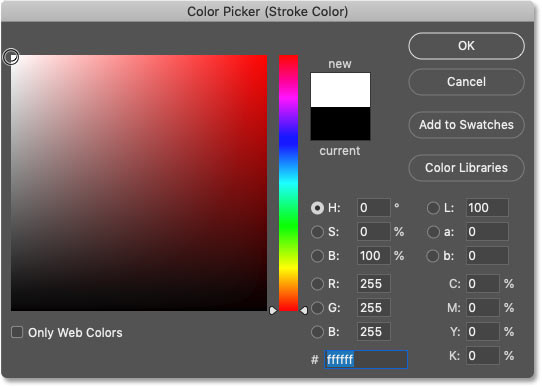
And then choosing a color from Photoshop's Color Picker. I'll choose white. Click OK when you're done to close the Color Picker:
Step 3: Set the Size and Position of the stroke
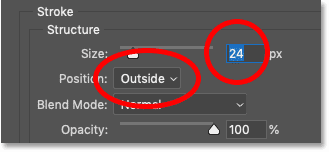
Back in the Layer Style dialog box, change the Position of the stroke to Outside.
And finally, adjust the thickness of the stroke with the Size option. The value you need will depend on the size of your image. I'll go with 24 pixels:
Click OK to close the Layer Style dialog box, and we have our final result:

Where to go next
And there we have it! That's how to place an image inside a shape using a vector mask, and how to move the shape to a different background, in Photoshop CC 2020!
Check out our Photo Effects section for more tutorials. And don't forget, all of our Photoshop tutorials are available to download as PDFs!