
Darken Overexposed Photos With The Multiply Blend Mode In Photoshop
Before we begin... This version of our Darken Underexposed Photos tutorial is for Photoshop CS5 and earlier. Photoshop CC and CS6 users will want to follow along with our new How To Instantly Darken Overexposed Images tutorial.
In a previous Photoshop tutorial, we learned a quick and easy way to brighten underexposed photos using nothing more than simple adjustment layers and the Screen blend mode. In this tutorial, we'll learn a very similar way to darken and tone down overexposed images. In fact, the only real difference between this technique and the previous one is that this time, we'll be using a different layer blend mode!
As I mentioned in the previous tutorial, these two methods for fixing simple exposure problems are best suited for images that were taken for fun. They do the job, but they won't give you the same professional-level results you would get from doing a proper tonal correction with Levels or Curves. Photoshop's layer blend modes are a fast and easy way to brighten or darken images, and you'll often get great results from using them, but again, for images that hold some greater importance (wedding photos, client photos, etc.), you'll usually get better results with Levels or Curves.
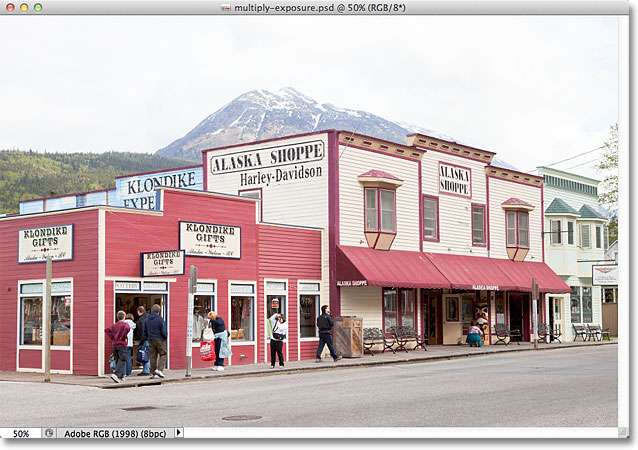
Having said that, here's a photo I snapped while walking through a tourist area on a trip to Alaska. The photo is a little overexposed, making it appear too bright with colors that look faded and washed out:
Since this image has the exact opposite exposure problem (overexposure) as the image in the previous tutorial (underexposure), we'll use the exact opposite layer blend mode to fix it! If you've already read through the previous tutorial, a lot of this will seem very familiar to you. Let's get started!
Step 1: Add A Levels Adjustment Layer
With the image newly opened in Photoshop, click on the New Fill or Adjustment Layer icon at the bottom of the Layers panel:
Choose a Levels adjustment layer from the list that appears:

If you're using Photoshop CS3 or earlier, Photoshop will open the Levels dialog box, displaying the image histogram and other options. Don't worry about any of it. Simply click OK to close out of the dialog box because we don't need to make any changes. All we need is the adjustment layer itself. For Photoshop CS4 and CS5 users (I'm using CS5 here), the histogram and other options for the Levels adjustment layer will appear in the Adjustments panel. You can leave the Adjustments panel open on your screen but again, just ignore it because there's no need to make any changes.
If we look in the Layers panel, we see that Photoshop has added the Levels adjustment layer above the image on the Background layer:

Step 2: Change The Adjustment Layer's Blend Mode To Multiply
In the previous tutorial, we used the Screen blend mode to brighten the underexposed image. This time, our image is overexposed - the opposite problem - so to fix it, we'll use the opposite of the Screen blend mode - Multiply. Change the blend mode for the Levels adjustment layer from Normal to Multiply. The blend mode option is found in the top left corner of the Layers panel:

Multiply is one of several layer blend modes in Photoshop that darken an image, and simply by changing the blend mode of the adjustment layer to Multiply, the photo now appears much darker, with more detail and colors that appear more saturated:

Step 3: Lower The Opacity Of The Adjustment Layer
The Multiply blend mode often does such a good job of darkening an image that your photo can appear too dark afterwards, as is the case with my photo here. We can bring back some of the brightness and fine-tune the results simply by lowering the opacity of the adjustment layer. You'll find the Opacity option directly across from the blend mode option at the top of the Layers panel. I'm going to lower mine down to 50%, but you may end up using a different value for your image:

Here's a "before and after" view of the results, with the original overexposed image on the left and the darkened version on the right:

And there we have it! To learn much more about the Multiply blend mode, be sure to check out our Five Essential Blend Modes For Photo Editing tutorial. Or check out our Photo Retouching section for more Photoshop image editing tutorials!