How to use Generative Upscale in Photoshop 2026
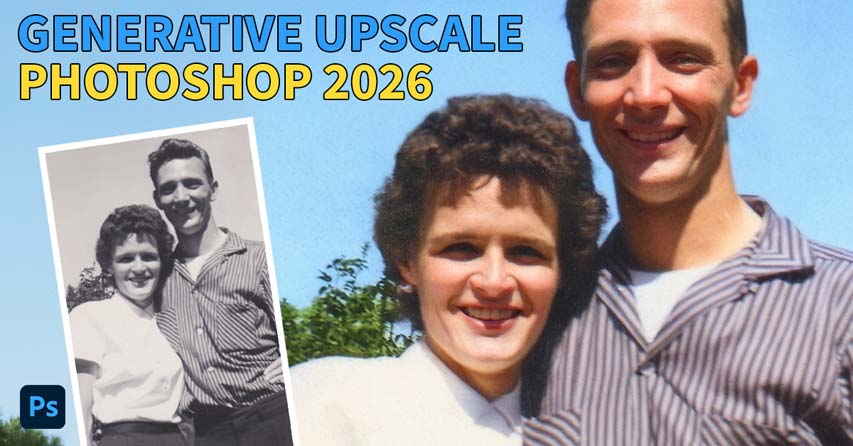
The new Generative Upscale in Photoshop 2026 enlarges images by up to 4x and adds realistic detail using generative AI, with Topaz Gigapixel and Topaz Bloom built-in! Learn how it works with this step-by-step tutorial.
Download the PDF: How to use Generative Upscale in Photoshop 2026
Photoshop 2026 (version 27.0) is here, bringing with it some of the most jaw-dropping AI features we’ve seen so far.
While most of the buzz is around Nano Banana and FLUX Kontext Pro in Generative Fill (which we’ll see an example of in this tutorial), along with Harmonize for seamless compositing, another exciting addition in Photoshop 2026 is Generative Upscale.
What is Generative Upscale?
Generative Upscale is a new image enhancement feature that can enlarge a low-resolution or low-detail image by generating new image detail using AI.
Unlike Photoshop’s traditional upscale methods, Generative Upscale does not simply make the image bigger
. Instead it re-generates the entire image from scratch to create new detail, allowing it to upscale your image up to 4x with results far beyond what we’ve seen in Photoshop before.
In fact, it’s no stretch
to say that Generative Upscale’s results can look as sharp and detailed as what you could achieve with Topaz Gigapixel, the industry-standard upscaler. That’s because Topaz Labs has partnered with Adobe to make Gigapixel (along with Topaz Bloom for creative upscaling, plus Adobe’s own Firefly Upscaler) available directly in Generative Upscale.
You don’t need a separate Topaz subscription but using Gigapixel or Bloom in Generative Upscale will consume some of your Adobe generative credits. Let’s see how it works.
Which Photoshop version do I need?
Generative Upscale is available as of Photoshop 2026 (version 27.0), released in October 2025.
You can get Photoshop here or use the Creative Cloud Desktop app to make sure that your copy is up to date.
Bonus: Restoring an old photo with AI before upscaling
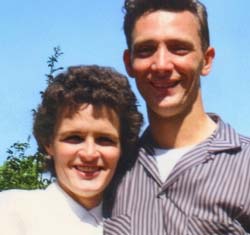
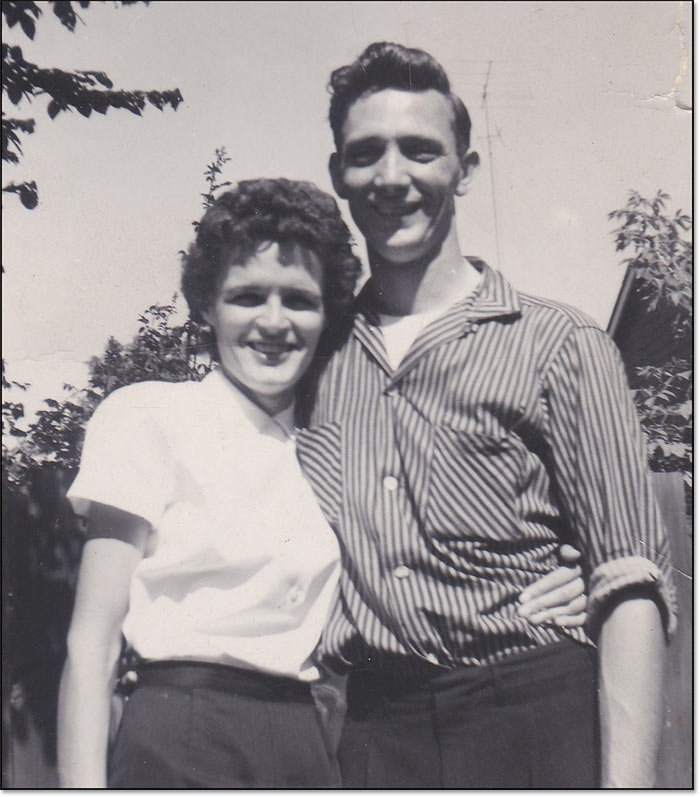
To show how Generative Upscale works, I’ll use a scan of an old photo of my parents. This image is fairly small at just 1302x1485 pixels.
Since the photo shows some obvious wear and tear, I don’t want to upscale it as-is.
Instead, I’ll quickly restore and colorize it using one of the new Partner models in Generative Fill — either Nano Banana or FLUX Kontext Pro. Don’t worry, it only takes a few seconds to get incredible results, as we’re about to see.
Step 1: Select the entire image
To restore an image using Generative Fill, first select the entire image by going up to the Select menu and choosing All.

Step 2: Click Generative Fill
Then in the Contextual Task Bar, click Generative Fill.

Step 3: Enter your prompt and choose a Partner Model
For my prompt, I’ll type Restore and colorize this photo
. Nothing fancy, just a simple natural language description of what I want the AI to do.
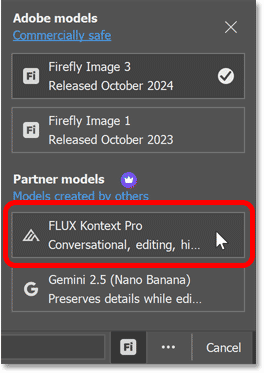
Then click the current model’s icon (which by default is Adobe Firefly) to choose a different AI model.

Step 4: Choose Nano Banana or FLUX Kontext Pro
As of Photoshop 2026, Generative Fill includes two Partner models - Gemini 2.5 Flash Image (Nano Banana) and FLUX Kontext Pro.
I’ve already tried this a few times and while Nano Banana is getting all the attention, FLUX Kontext Pro actually does a better job at restoring the image (at least with this specific photo).
So to show you how well it works, I’ll choose FLUX Kontext Pro.
Step 5: Click Generate
Then I’ll click Generate.

After just a few seconds, the image is restored and colorized — all with a single click, and ready for upscaling.

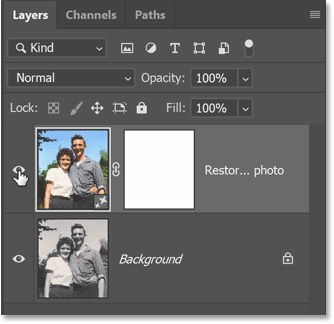
In the Layers panel, we now see two layers — the original image on the Background layer and the restored version on the Generative layer above it. This keeps both versions separate so the original is never lost.
How to upscale an image using Generative Upscale
Here’s how easy it is to upscale an image using Generative Upscale in Photoshop 2026.
Related tutorial: Upscaling AI images with Generative Upscale for added detail
Step 1: Open Generative Upscale
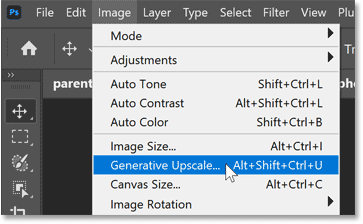
With your image open, go up to the Image menu and choose Generative Upscale.
Step 2: Choose an upscale model
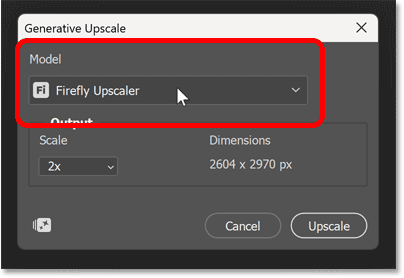
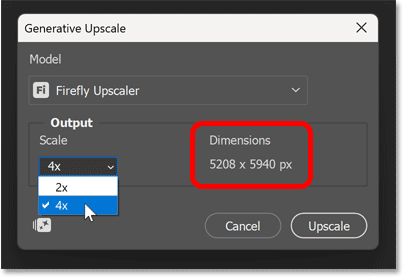
In the Generative Upscale dialog box, click the Model box to choose an AI upscale model.
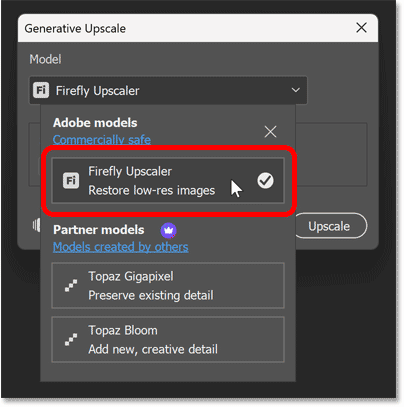
Then choose either Firefly Upscaler (for restoring low-resolution images), Topaz Gigapixel (for preserving existing detail), or Topaz Bloom (for adding new, creative detail).
For most photos, Firefly Upscaler or Topaz Gigapixel work best. Topaz Bloom is better for upscaling AI-generated images which often need the added detail it creates (Bloom tends to re-imagine
the image, especially at higher Creativity values).
For my photo, I’ll test Firefly Upscaler and Topaz Gigapixel, starting with Firefly Upscaler.
Step 3: Choose 2x or 4x
Then choose a Scale value (2x or 4x). I’ll choose 4x.
In the Dimensions section, we see that this will increase the image size to 5208 x 5940 pixels (up from the original 1302 x 1485 pixels).
How large can I make my image with Generative Upscale?
With Generative Upscale, the maximum size for your image depends on the upscale model you choose.
- Firefly Upscaler: Can upscale up to 6144 x 6144 pixels.
- Topaz Gigapixel: Can upscale up to ~56 megapixels.
- Topaz Bloom: Can upscale up to ~9 megapixels.
If you try to upscale an image beyond a model’s limit, Photoshop will alert you automatically so you can adjust your settings (like choosing 2x instead of 4x).
What’s most important is knowing which upscaling model fits your goal — not which one gives you the largest size. Use Firefly to restore small or blurry photos, Gigapixel to maintain realistic texture, and Bloom when you want a more creative or imaginative result.
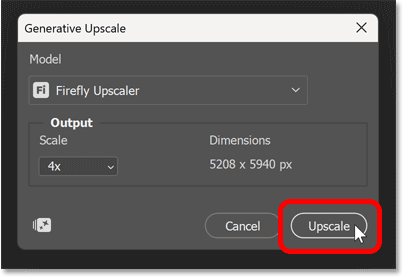
Step 4: Click Upscale
Once you’ve chosen an upscale model and scale amount, click Upscale.
The upscaling process can take a few minutes depending on the model and scale amount you chose.
A progress bar appears showing the model it’s using, the targeted size and how much longer you’ll need to wait.

The upscaled image opens in a separate Photoshop document
Photoshop automatically opens the upscaled version in a separate document.
If you look above the image, you’ll now see two tabs — one for the original image and one for the upscaled result.

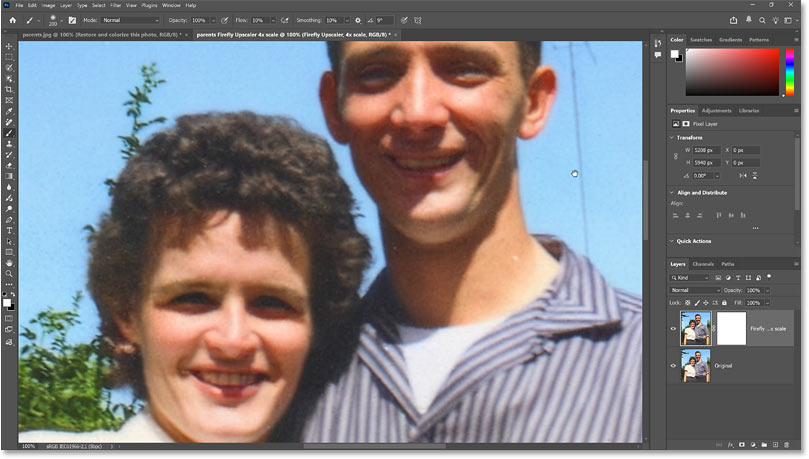
Inspecting the Firefly Upscaler result
It’s best to view the upscaled image at the 100% zoom level, which Photoshop should jump to automatically. If it doesn’t, go to View > 100%.
Then hold the Spacebar on your keyboard to switch to the Hand Tool, and drag the image around to inspect different areas.
Overall, I’ve been very impressed with the results from the Firefly Upscaler. Even when upscaling by 4x, it adds just enough new detail to make a visible difference while still keeping the image true to the original.
It’s not the sharpest result I’ve ever seen but it did exactly what it promised — it added believable new detail to a low-resolution image.
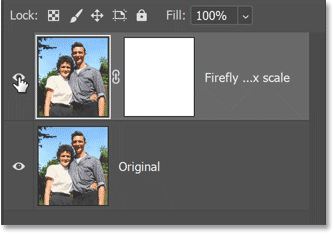
In the Layers panel, the Generative Upscale version appears on its own layer above the original image (which has been upscaled to the same size using one of Photoshop’s basic upscaling methods).
To compare the Generative Upscale version with the original, simply toggle the Generative layer on and off.
Upscaling the original image using Topaz Gigapixel
For comparison, I’ll upscale the original image again but this time using Topaz Gigapixel as the upscale model.
First I’ll switch back to the original image by clicking its document tab.

Then I’ll go back up to the Image menu and once again choose Generative Upscale.
This time in the Generative Upscale dialog box, I’ll choose Topaz Gigapixel for the model and again choose 4x for the Scale value.
Turning on Face Recovery
Notice that the Topaz Gigapixel model has a Face recovery setting which can recover detail in blurry or low-resolution faces. I’ll turn it on by clicking the check box.
Then I’ll click Upscale.
Again we get our progress bar, this time showing Topaz Gigapixel as the model. The final size will be the same as before.
Inspecting the Topaz Gigapixel result
Here’s the Topaz Gigapixel result (or at least the viewable area when zoomed in to 100%).
My initial reaction was Wow, that looks so much better!
Compared to the Firefly Upscaler result, the faces in the Gigapixel version are sharper and much more detailed.
The eyes are very sharp, and even the teeth look great (for the most part).
Comparing the Firefly Upscaler and Topaz Gigapixel results
But is the Gigapixel version really better overall? No, it isn’t. In fact, in this specific case, I prefer the result from the Firefly Upscaler.
Here’s a side-by-side comparison zoomed in to 100% — Topaz Gigapixel on the left, Firefly Upscaler on the right.
In the Firefly version, skin texture looks soft but natural, while Gigapixel’s skin appears a bit plastic. Film grain also holds up nicely with Firefly, but most of the grain is removed by Gigapixel. Hair looks realistic in the Firefly result but crunchy
in Gigapixel, and that sudden shift between sharp and blurry hair in the Gigapixel version (most likely caused by the Face recovery option) is especially distracting.
Looking at the clothing, Firefly kept the stripes in my dad’s shirt soft, clean, and properly aligned, while Gigapixel oversharpened them, creating visible artifacts.
Winner: Firefly Upscaler
Overall, the Firefly Upscaler produced a cleaner, more natural result compared with Topaz Gigapixel. Even when enlarged by 4x, Firefly kept the image looking like a true vintage photograph rather than something that was upscaled by AI. Topaz Gigapixel delivered a sharper result but also introduced noticeable artifacts, and some areas — particularly the skin and hair — appear slightly over-processed.
But keep in mind that we upscaled a low-resolution, low-detail image which is what Firefly Upscaler was built for.
Here’s another side-by-side comparison, this time with the full image fit on screen. Topaz Gigapixel is on the left, Firefly Upscaler on the right.
Summary
In this look at the new Generative Upscale in Photoshop 2026, I was pleasantly surprised by the Firefly Upscaler’s performance. When enlarging an old photo by 4x, Firefly produced the most natural-looking result compared to the Topaz Gigapixel model.
But there’s a reason Topaz Gigapixel is still the industry standard. When upscaling a newer photo taken with a modern digital camera — especially one that already has plenty of fine detail — Gigapixel will almost certainly deliver the better result. When you’re not sure which one to use, the easiest thing to do is try them both with your image and see which result you like best.
The one Generative Upscale model we didn’t explore in this tutorial is Topaz Bloom, a creative upscaler better suited for AI-generated images. So in the next tutorial, we’ll put Bloom to the test with a few examples to see just how impressive it can be at bringing your AI images to life.
Don't forget — all of our Photoshop tutorials are available to download as print-ready PDFs!
Related tutorials:
- Blend Anything with Harmonize in Photoshop 2026
- Using the Remove Tool with Generative AI
- Remove distracting people with AI in Camera Raw