
Snowflakes Photo Border With Photoshop
In this Photoshop tutorial, we’ll learn how to create a simple and fun snowflakes photo border, perfect as a finishing touch for photos of family and friends during the holidays or for any wintry scene. We'll start by creating our own custom snowflakes brush using one of Photoshop's built-in Custom Shapes and its powerful Brush options. Then, we'll create a selection for our border, turn the selection into a path, and have Photoshop paint along the path with our brush! As always, I cover every step along the way so anyone at any skill level can easily follow along.
I'll be using Photoshop CS6 here but this tutorial is also fully compatible with Photoshop CC (Creative Cloud). For CS5 and earlier, you'll want to check out our original Snowflakes Photo Border tutorial.
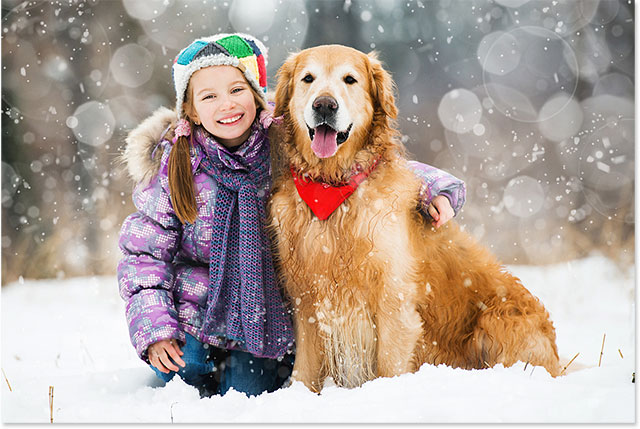
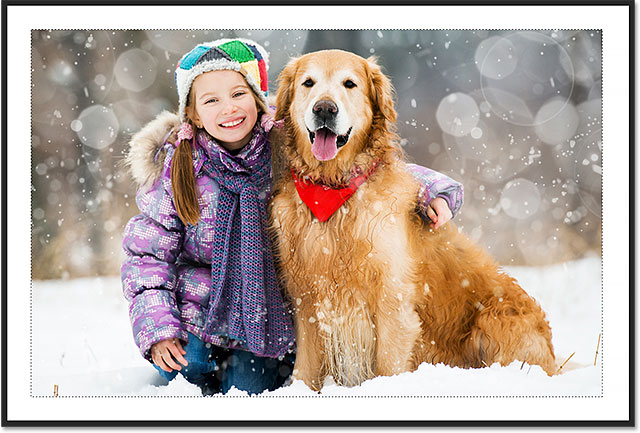
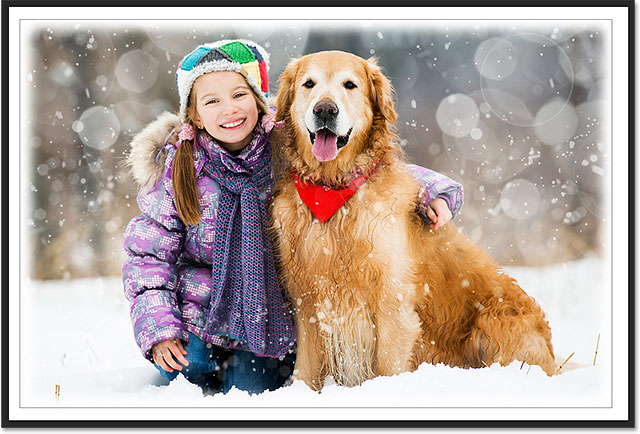
Here's the image I'll be working with (girl with golden retriever photo from Shutterstock):
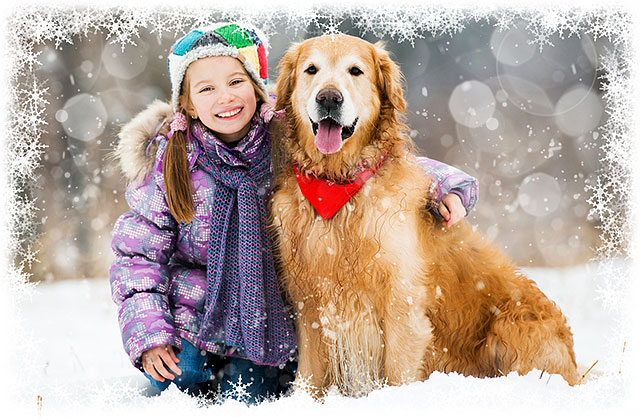
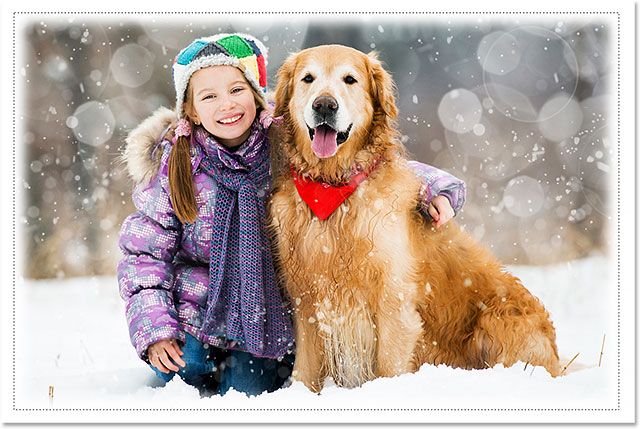
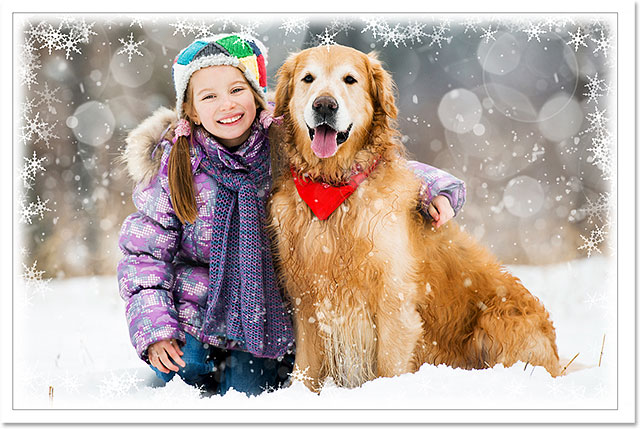
And here's what it will look like after adding the snowflakes border:
How To Create A Snowflakes Photo Border
Step 1: Create A New Photoshop Document
We'll start by creating our custom snowflake brush. Photoshop does ship with a ready-made snowflake brush that we could use, but the problem with it is that it's too small. Of course, we could always just increase our brush size, but once you go much beyond the default size of a brush, it starts to look soft and dull. Brushes are made of pixels, just like your photos, and as with photos, if we enlarge them too much they lose their sharpness. We want our border to look crisp and sharp so we'll create our own brush.
Go up to the File menu in the Menu Bar along the top of the screen and choose New:
This opens the New dialog box. Set both the Width and Height of the new document to 300 Pixels (make sure you choose Pixels as the measurement type) and set the Background Contents to White. Don't worry about the Resolution value or any other options. Click OK when you're done to close out of the dialog box. Your new 300x300 pixel document, filled with white, will appear on your screen:

Step 2: Select The Custom Shape Tool
Select the Custom Shape Tool from Photoshop’s Tools panel. By default, it’s nested behind the Rectangle Tool, so click and hold on the Rectangle Tool until a fly-out menu appears showing you the other tools available in that same spot. Choose the Custom Shape Tool from the bottom of the list:
Step 3: Load The Nature Shape Set
I mentioned earlier that Photoshop includes its own built-in snowflake brush. It also includes not just one but three snowflake shapes! We're going to use one of these shapes to create our brush. First, we need to load the shapes into Photoshop. With the Custom Shape Tool selected, click on the shape preview thumbnail in the Options Bar along the top of the screen:
This opens the Custom Shape Picker. Click on the small menu icon (the gear icon) in the upper right corner:
A menu will appear which contains, among other things, a list of additional shape sets ready to be loaded into Photoshop. The one we're looking for is the Nature set. Click on it to select it:
Photoshop will ask if you want to replace the currently loaded shapes (in this case, the default shapes) with the Nature shapes. Choose Append which will simply add the Nature shapes below the originals:
Step 4: Select One Of The Snowflake Shapes
While still in the Custom Shape Picker, scroll down through the thumbnails until you see the snowflake shapes. There's three of them in a row. If you have Tool Tips enabled in Photoshop's Preferences, the name of each shape will appear when you hover your mouse cursor over its thumbnail. We only need one of the snowflake shapes for our photo border, so double-click on your favorite to select it and and close out of the Custom Shape Picker. My favorite is the first one (the one on the left) so that's the one I'll choose:
Step 5: Set The Tool Mode To Pixels
Photoshop gives us three different types of shapes we can draw with the shape tools - vector shapes, paths, or pixel-based shapes, and before we draw anything, we first need to tell Photoshop which type of shape we need. Since we're going to create a brush out of the snowflake shape, and brushes are made of pixels, we'll draw a pixel-based shape. To do that, set the Tool Mode option near the far left of the Options Bar to Pixels:
Step 6: Set Your Foreground Color To Black
Even though the snowflakes we'll be adding around our photo will be white, we actually need to draw a black snowflake to create the brush. That's because Photoshop will use the black area as the shape of the brush, while the white area surrounding it will become transparent. Photoshop uses our current Foreground color as the brush color, so first we need to make sure the Foreground color is set to black. The easiest way to do that is to simply press the letter D on your keyboard. This instantly resets the Foreground and Background colors to their defaults ("D" for "Defaults"), making the Foreground color black (and the Background color white).
If you look at the Foreground and Background color swatches near the bottom of the Tools panel, you should now see the Foreground color swatch (the one in the upper left) filled with black:
Step 7: Drag Out A Snowflake
With your snowflake shape selected and black as your Foreground color, click near the top left corner inside the document and drag diagonally downward to the bottom right corner. As you're dragging, press and hold the Shift key on your keyboard to force the shape into its proper aspect ratio so it doesn't end up looking all distorted. If you need to reposition the shape as you're drawing it to center it within the document, press and hold the spacebar on your keyboard, drag the shape into position with your mouse, then release your spacebar and continue dragging.
The goal here is to draw the largest shape we can that fits within the boundaries of the document. When you're done, release your mouse button, then release your Shift key. Make sure you release your mouse button before releasing the Shift key, otherwise the shape could still end up looking distorted. If you make a mistake, press Ctrl+Z (Win) / Command+Z (Mac) to undo the shape and try again:
Step 8: Define The Shape As A Brush
Now that we've drawn our shape, we can easily turn it into a brush. Just go up to the Edit menu at the top of the screen and choose Define Brush Preset:
When the Brush Name dialog box opens, name the brush "Snowflake", then click OK. Your shape will be instantly saved as a new brush. At this point, we don't need the snowflake document anymore so feel free to close out of it (there's no need to save it if Photoshop asks):
Step 9: Open Your Photo
With the snowflake brush created, go ahead and open your photo if you haven't done so already. Here once again is the image I'll be using (girl with golden retriever photo from Shutterstock):
Step 10: Add A New Blank Layer
Let's add a new layer above the photo to hold our border. Press and hold the Alt (Win) / Option (Mac) key on your keyboard as you click the New Layer icon at the bottom of the Layers panel:
This opens the New Layer dialog box. Name the new layer "Border", then click OK:
A new blank layer named "Border" appears above the image on the Background layer:
Step 11: Fill The Layer With White
Next, we'll temporarily fill this entire layer with white. Go up to the Edit menu at the top of the screen and choose Fill:
When the Fill dialog box opens, set the Use option at the top to White, then click OK. This will fill your entire document with white, temporarily blocking the photo from view:
Step 12: Select The Rectangular Marquee Tool
Grab the Rectangular Marquee Tool from the Tools panel along the left of the screen:
Step 13: Select The Area Where The Photo Will Appear
With the Rectangular Marquee Tool in hand, drag out a selection around the area where the photo will appear inside the border. Start by clicking in the upper left of the document, then keep your mouse button held down and drag diagonally downward to the lower right. Try to keep an equal amount of space around all four edges so the photo will sit nicely in the center. If you need to move your selection outline into position as you're drawing it, press and hold your spacebar, drag the selection outline into place with your mouse, then release your spacebar and continue dragging:
Step 14: Delete The Area Inside The Selection
Press Backspace (Win) / Delete (Mac) on your keyboard to delete the area inside the selection outline, revealing the photo underneath. Leave your selection outline in place, though, because we still need it:
Step 15: Select The Transform Selection Command
With your selection outline still active, go up to the Select menu at the top of the screen and choose Transform Selection:
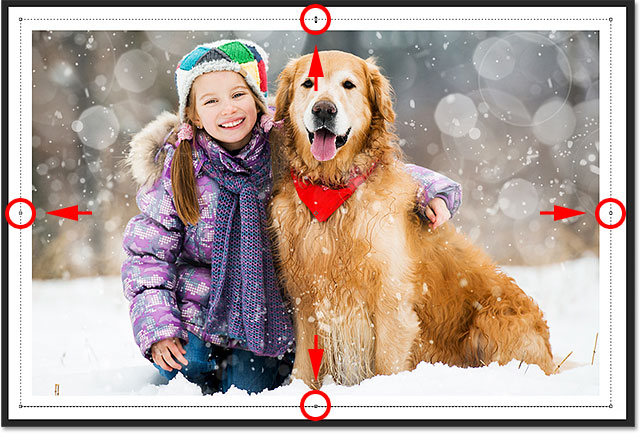
Step 16: Make The Selection Outline Larger
Photoshop's Transform Selection command lets us resize or reshape selection outlines without affecting the actual pixels inside the selection. We need to make our selection outline a bit larger. To do that, press and hold the Alt (Win) / Option (Mac) key on your keyboard, then click on the handle (the little square) in the top center of the selection outline and drag it upward a short distance so it sits roughly halfway between the top of the photo and the top of the document. As you drag the top edge of the selection outline, you'll see the bottom edge moving along with it but in the opposite direction. Then, continue pressing and holding your Alt (Win) / Option (Mac) key while you click on the left handle and drag it a short distance towards the left so it sits roughly halfway between the left edge of the photo and the left edge of the document. As you drag, you'll see the right side of the selection outline moving with it but in the opposite direction. Once again, try to keep an equal amount of space all around the photo. When you're done, press Enter (Win) / Return (Mac) on your keyboard to accept it and exit out of the Transform Selection command:
Step 17: Apply The Gaussian Blur Filter
Next, we need to soften the edges of the border, and we can do that by blurring them. Go up to the Filter menu at the top of the screen, choose Blur, then choose Gaussian Blur:
This opens the Gaussian Blur dialog box. We control the amount of blurring using the Radius slider along the bottom. The actual amount you'll need will depend on the size of your image so keep an eye on the edges of your border as you drag the Radius slider towards the right. The goal here is to create a soft, smooth transition between the border and the photo itself. In my case, a Radius value of around 25 pixels works well, but again, your value may be different:
Click OK when you're done to close out of the Gaussian Blur dialog box. Here's my document with the border edges now blurred. Once again, keep the selection outline active because we still need it. In a few moments, we'll be using it to create the path for our snowflakes:
Step 18: Select The Brush Tool
We're ready to add the snowflakes around the border using the brush we created earlier. Select the Brush Tool from the Tools panel:
Step 19: Select Your Snowflake Brush
With the Brush Tool selected, click on the small brush preview thumbnail in the Options Bar along the top of the screen to open the Brush Preset Picker:
When the Brush Preset Picker opens, scroll down through the thumbnails to find the snowflake brush you created. It should be the very last one in the list. Click on its thumbnail to select it, then press Enter (Win) / Return (Mac) to close out of the Brush Preset Picker:
Step 20: Set The Brush Dynamics Options
Click on the Brush panel toggle icon in the Options Bar to open Photoshop's main Brush panel:
When the Brush panel opens, click directly on the words Shape Dynamics on the left. Make sure you click directly on the words themselves, not inside the checkbox. Clicking inside the checkbox will turn Shape Dynamics on but won't give you access to its controls and options:
With Shape Dynamics selected, set both the Size Jitter and Angle Jitter values to 100% by dragging their sliders all the way to the right. This will add lots of randomness to both the size and rotation of the snowflakes:
Next, click on the word Scattering on the left (directly below Shape Dynamics). When the Scattering options appear, increase the Scatter value to around 250%. This will scatter the snowflakes randomly around the border instead of them all appearing in a straight line:
Finally, click on the word Transfer on the left, then increase the Opacity Jitter value to 75%. This will give us lots of randomness in the opacity of the snowflakes. When you're done, you can close out of the Brush panel either by clicking once again on the Brush panel toggle icon in the Options Bar or by pressing the F5 key on your keyboard:
Step 21: Convert The Selection Outline Into A Path
Switch over to your Paths panel. You'll find it grouped in with the Layers and Channels panels (click the tabs along the top of the panel group to switch between panels):
Step 22: Convert The Selection Outline Into A Path
Click on the Make Work Path From Selection icon at the bottom of the Paths panel:
This converts your selection outline into a path named Work Path. The term "work path" simply means the path is temporary. We could make it a permanent path by saving it, but for our purposes here, the temporary one is fine:
If we look in our document, we see that the selection outline has been replaced with a thin, solid path. Our snowflake brush will follow along this path to create the border:
Step 23: Set Your Foreground Color To White
As I mentioned earlier, Photoshop uses our current Foreground color as the color for the brush. We want our snowflakes to appear white, but at the moment, our Foreground color is black, while the Background color is white. To quickly swap the Foreground and Background colors, making the Foreground color white, press the letter X on your keyboard. The color swatches near the bottom of the Tools panel will now show white as the Foreground color (the upper left swatch):
Step 24: Lower Your Brush Size
Chances are, the snowflake brush you created is too big to use at its default size, at least for our purposes here, but that's okay because we can always make a brush smaller without losing any of its sharpness. To make it smaller, right-click (Win) / Control-click (Mac) anywhere inside the document to once again open the Brush Preset Picker, then adjust the Size value at the top by dragging its slider. You may need to experiment a bit here with your brush size since it will depend a lot on the size of the image you're working with. For me, a size of around 150 px should work well, but again, your value may be different. Don't worry about getting it right the first time because it's easy to go back and try again, as I'll explain in a moment. Press Enter (Win) / Return (Mac) when you're done to close out of the Brush Preset Picker:
Step 25: Stroke The Path With The Brush
Click the Stroke Path With Brush icon at the bottom of the Paths panel:
The first snowflakes appear around the image, scattered along the path. Notice how they vary in size, angle and opacity values, and as I already mentioned, how they appear scattered rather than in straight lines, thanks to the options we set earlier in the main Brush panel:
If you're not happy with the size of the snowflakes because they're either too large or too small, simply press Ctrl+Z (Win) / Command+Z (Mac) on your keyboard to undo your last step. This will remove the snowflakes you just added. Then, right-click (Win) / Control-click (Mac) anywhere inside the document to re-open the Brush Preset Picker and adjust the Size value as needed with the slider. Press Enter (Win) / Return (Mac) to close out of the Brush Preset Picker, then click once again on the Stroke Path With Brush icon in the Paths panel to try again with your new brush size.
After adding your initial snowflakes, you may want to click the Stroke Path With Brush icon in the Paths panel a few more times to add additional snowflakes to the border. When you're happy with the results, click anywhere in the empty gray area below the Work Path in the Paths panel to hide the path from view in the document:

Note, though, that the Stroke Path With Brush icon becomes unavailable while the path is hidden. If you decide you want to add more snowflakes, you'll first need to make the path visible once again by clicking on it to select it:
I'll click the Stroke Path With Brush icon three more times to add more snowflakes. And with that, we're done! Here's my final result:
Where to go next...
And there we have it! That's how to surround a wintry scene with a fun snowflakes photo border using Photoshop CS6 and CC (Creative Cloud)! Visit our Photo Effects section for more Photoshop effects tutorials!