
The New Color Lookup Adjustment In Photoshop CS6
In this tutorial, we'll learn all about the new Color Lookup image adjustment in Photoshop CS6 and how it lets us instantly change the overall appearance of a photo simply by choosing a new "look" from a list of presets. The presets are known as lookup tables, or LUTs, and if you've never heard of such a thing, that's because they're mainly found in the film industry.
Essentially, a lookup table contains instructions for Photoshop to take the original colors in your image and remap them to different, specific colors to create a certain look. Depending on which lookup table you choose, the difference between the original and remapped version of the image can be subtle or very dramatic. If these lookup tables sound confusing or complicated, don't worry. We don't need to know any of the behind-the-scenes details of how they do what they do. All we need to learn is what they can do for us and how to use them, so let's get to it!
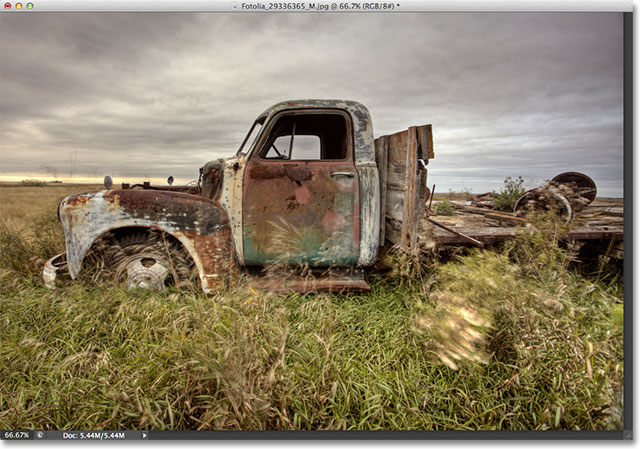
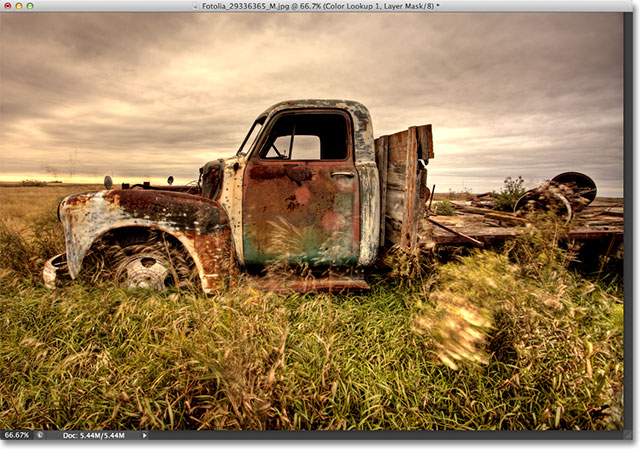
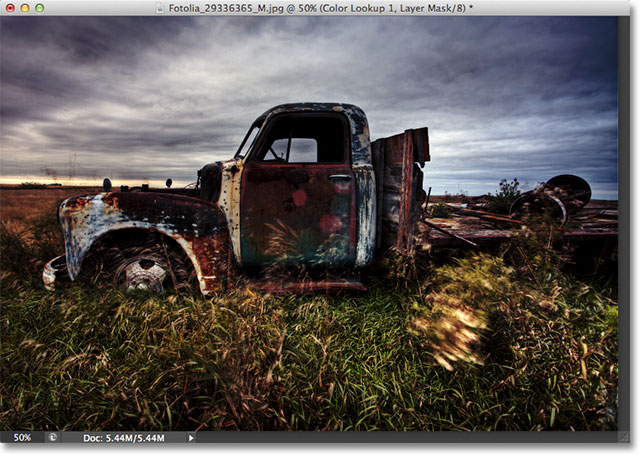
Since the Color Lookup adjustment is new in Photoshop CS6, you'll need CS6 to follow along. Let's start with this image that I have open on my screen:
Selecting The Color Lookup Adjustment
You'll find the new Color Lookup image adjustment in the Adjustments panel. Simply click on its icon to select it (far right, middle row - it looks like a grid):
This places a new Color Lookup adjustment layer (named Color Lookup 1) directly above my original image in the Layers panel:

Choosing A Lookup Table
Once you've added the Color Lookup adjustment layer, you'll find all of the various lookup tables to choose from in the Properties panel. The tables are divided up into three main categories - 3DLUT File, Abstract, and Device Link (I know, it sounds confusing, but stay with me):
The majority of lookup tables are found in the first category at the top, 3DLUT File. We've already learned that "LUT" stands for "Look Up Table", but I should point out here before we go any further that the 3D part of the name has nothing to do with converting your 2D image into something that would make James Cameron proud. In this case, it refers to how the lookup table uses Photoshop's three RGB color channels to remap the colors in your image. It's nothing you need to worry about, I just didn't want you to get your hopes up.
To choose a lookup table, simply click on the box to the right of a category's name. I'll click on the 3DLUT File box (where it says "Load 3D LUT..."):
This opens a menu of all the lookup tables in that category. The name of each table gives you an idea of what sort of result you can expect. To select and load a lookup table, just click on its name in the list. For example, I'll choose the Crisp_Warm table by clicking on it:
Photoshop instantly remaps the photo's original colors to new colors using the instructions in the lookup table, and we can see here that my photo now has a warmer, higher contrast appearance:
Since we're using an adjustment layer, the change we applied to the image isn't permanent, which means we can try as many lookup tables as we want to compare the results and find the one we like best. If I select the Crisp_Winter table from the list:
Photoshop again remaps the photo's original colors based on the instructions in the new table, and now we see that my image still has the same higher amount of contrast that we saw with the Crisp_Warm table but this time, the colors appear much cooler:

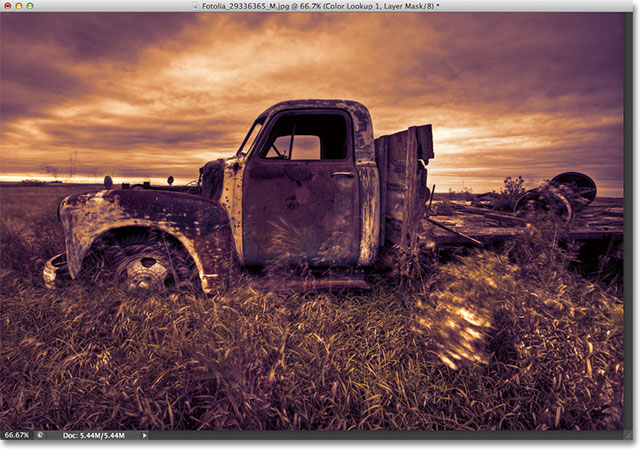
For something more dramatic, I'll try the LateSunset table:
This instantly gives my photo an orange-magenta split-toning effect:
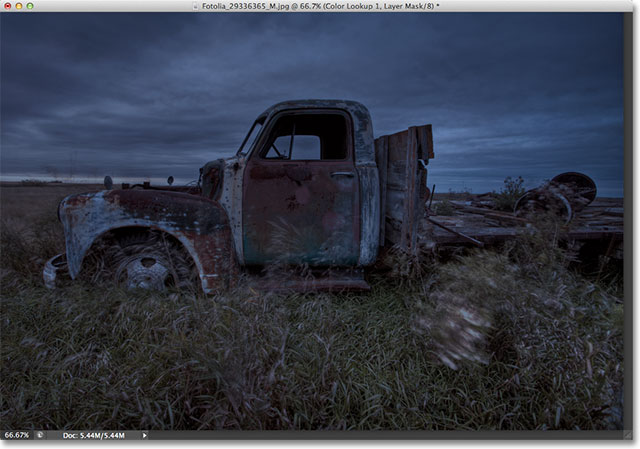
Or I can try the NightFromDay table:
And as you may have guessed from its name, this gives us a much darker version of the image with a blue-ish tint, as if the photo was taken at night (or close to it, anyway):
Adjusting The Look With Layer Opacity And Blend Modes
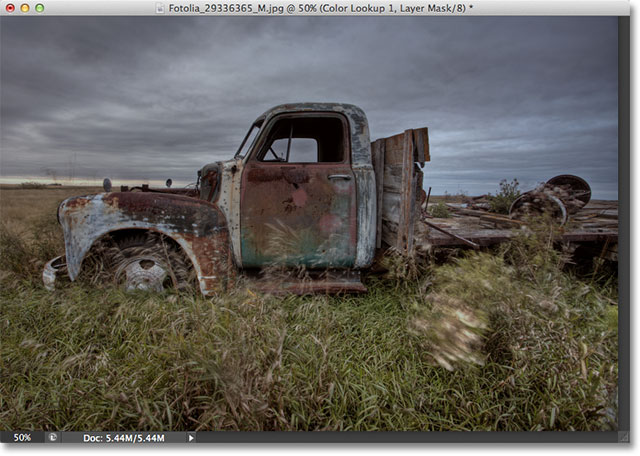
Another benefit with using an adjustment layer is that we can further adjust and fine-tune the results simply by changing the opacity or blend mode of the Color Lookup layer. I'm still using the NightFromDay lookup table, but I'll lower the opacity of the adjustment layer down to 50%:
This allows some of the photo's original color and brightness to show through, giving me a less intense effect:
We can also change the blend mode of the Color Lookup adjustment layer. You'll find the Blend Mode option in the upper left of the Layers panel. By default, it's set to Normal, but some popular blend modes to try are Screen, Multiply, Overlay and Soft Light. I'll change my blend mode to Overlay:

The Overlay blend mode is used to increase contrast, and here, it gives the NightFromDay lookup table greater intensity and impact:
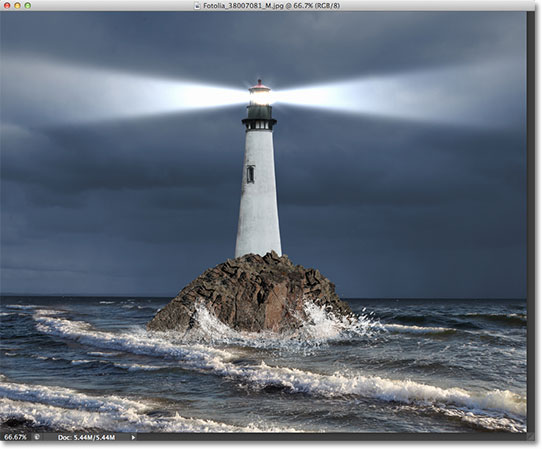
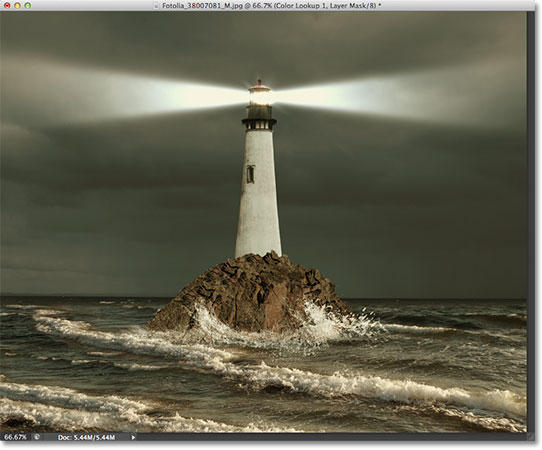
I'm not going to go through every single lookup table here since you can easily do that on your own, but for a few more examples, let's try a different image. We'll use this photo of a lighthouse:
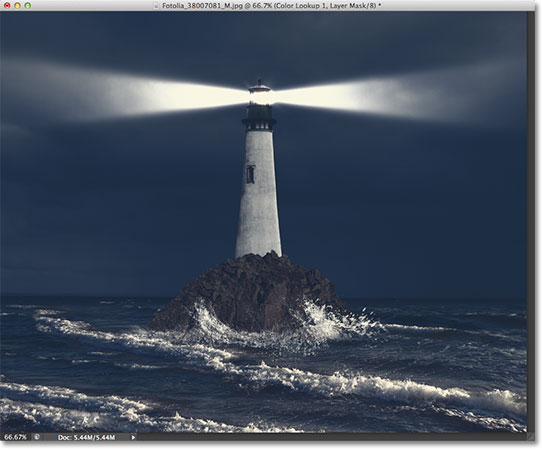
I'll once again add a Color Lookup adjustment layer by clicking on the Color Lookup icon in the Adjustments panel as I did earlier, then in the Properties panel, I'll again open the list of lookup tables in the 3DLUT File category. For this image, I'll try the FoggyNight lookup table by choosing it from the list:
This instantly transforms the photo into more of a, well, a foggy night:
Let's try a lookup table from a different category. I'll click on the box for the Device Link category in the Properties panel, then I'll choose Smokey from the menu that appears:

This gives me another interesting look that seems to work well with this photo. Some lookup tables will be a better match for certain types of images, but it can be fun to experiment with them to see if they spark new creative ideas:
Comparing The New Look With The Original
If you want to compare the photo's new look with the original, you can view the original image again by clicking on the layer visibility icon at the bottom of the Properties panel (the eyeball icon, second from the right). Clicking the icon once will temporarily turn off the Color Lookup adjustment layer so you can view the original image in the document window. Click the icon again to turn the adjustment layer back on:
The Mac-Only Abstract Profiles
It doesn't happen too often these days, but there's actually a slight difference between the Windows and Mac versions of Photoshop CS6 regarding the Color Lookup image adjustment. Mac users will find a handful of additional profiles in the Abstract category that are not available in the Windows version. Specifically, the Black & White, Blue Tone, Gray Tone, Lightness Decrease, Lightness Increase, and Sepia profiles (highlighted in yellow) are only available in the Mac version:
The new Color Lookup image adjustment in Photoshop CS6 gives us a quick and easy way to try out different looks with our photos, whether we know the exact look we're after or just want to experiment for new ideas and inspiration, and there's many more lookup tables to check out than the few examples we saw here. To help give your photo its own unique style with these effects presets, try mixing in different blend modes and layer opacity values, or take advantage of the adjustment layer's built-in layer mask to limit the area that's affected by the Color Lookup adjustment and unlock more creative possibilities!
And there we have it! That's how to use the new Color Lookup image adjustment in Photoshop CS6! Check out our Photo Retouching section for more Photoshop image editing tutorials!