
Photoshop Black and White Conversions – Lab Color Mode Tutorial
In the first tutorial in this series, we learned how to convert an image to the Grayscale color mode. Next, we looked at a couple of ways to desaturate the color in an image. In the third tutorial, we saw how to "map" the original colors in a photo to a black-to-white gradient using a Gradient Map adjustment.
And in the previous tutorial, we used the Luminosity blend mode to blend the lightness values in our image with a solid white background. We also learned how to improve on the results using the Screen and Multiply blend modes along with a layer mask.
In this fifth tutorial in the series, we'll look at a slightly more advanced way of converting color photos to black and white, this time using the Lab (pronounced "L-a-b") color mode, which is a similar technique to the Luminosity blend mode method in that it also uses the lightness values in the image to give us our black and white version.
It's also similar to the Grayscale method we looked at initially, since they both involve converting the image from RGB to a different color mode. In fact, don't go dismissing the Grayscale color mode too quickly, since as we'll see at the end of this tutorial, while it may not be the best way to convert an image to black and white, it definitely serves a useful purpose.
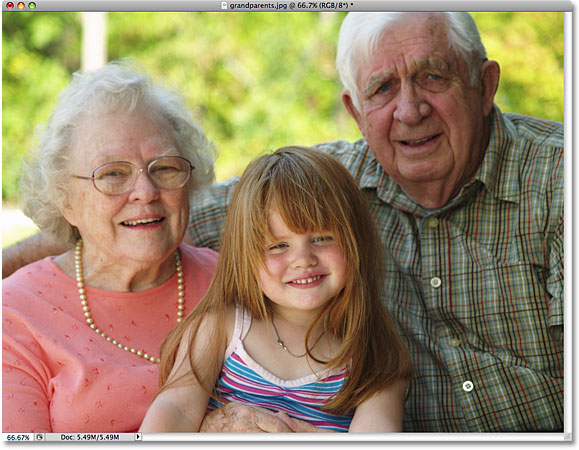
Here once again is the photo I'll be using throughout these black and white conversion tutorials:
The Lab Color Mode
In the Grayscale color mode tutorial, we learned that by default, all color photos and images use what's called the RGB color mode, and that "RGB" stands for Red, Green and Blue, the three primary colors of light. In this color mode, Photoshop mixes different amounts of red, green and blue together to create every color we see in the image.
So if RGB stands for Red, Green and Blue, which seems simple enough, what does Lab stand for? As I mentioned, Lab, in this case anyway, is pronounced "L-a-b", not "Lab" as in short for "Laboratory", although in fairness, it wouldn't hurt to be a mad scientist when trying to understand exactly how the Lab color mode works. Fortunately, we need only a basic understanding of it for our purposes here.
The reason that the Lab color mode is a good choice for converting a color image to black and white is that it separates the lightness values in the image from the color. In fact, the "L" in Lab stands for "Lightness". The colors in the image are then split into one of two channels named "a" and "b", which stand for nothing more than "a" and "b". All colors between (and including) magenta and green are found in the "a" channel, while colors between (and including) yellow and blue can be found in the "b" channel. So "Lightness", plus two color channels "a" and "b", give us the Lab color mode. And that's really all we need to know about it.
Converting A Photo From RGB to Lab
To convert an image from the RGB color mode to the Lab color mode, we simply follow the same basic steps we used when we converted the image to Grayscale. Go up to the Image menu at the top of the screen and choose Mode (short for Color Mode). A sub menu will appear listing all the color modes we have to choose from in Photoshop. The mode that's currently being used will have a small checkmark beside it. To convert the image to Lab, select Lab Color from the list:

Nothing will seem to have happened to the image in the document window. To see the change that's taken place, we need to look in the Channels palette, which you'll find grouped in beside the Layers palette. Click on the name tabs at the top of the palettes to switch between them.
If you recall from the Grayscale tutorial, when a photo is in the RGB color mode, the Channels palette displays the Red, Green and Blue color channels that Photoshop combines to make up the image as we see it. Here's what the Channels palette looked like just before we converted the image to Lab:

Here's what the Channels palette is showing us now after converting the photo to the Lab color mode. The Red, Green and Blue channels have been replaced with three different channels - a Lightness channel which contains the brightness information for the image, and the two color channels "a" and "b":

Selecting The Lightness Only
By separating the lightness values from the color in the image, the Lab color mode has essentially created our black and white version for us. All we need to do is select it, and we can do that simply by clicking on the Lightness channel in the Channels palette:

By selecting just the Lightness channel, we deselect both the "a" and "b" color channels, hiding the color and leaving us with a black and white version of the photo in the document window:

From Lab To Grayscale
The Lab color mode made it easy to select only the lightness values in the image, but all we've really done here is turned off the color information. We need to make sure the color is removed completely. We also need to convert the image into a more practical color mode, one that printers and other electronic devices can understand, since most won't know what to do with an image that's using Lab color. We can solve both of these problems at once by converting the image to the Grayscale color mode.
To convert the image from Lab to Grayscale, simply go back up to the Image menu, select Mode once again, and then select Grayscale:

Photoshop will pop open a warning box asking if you're sure you want to discard the other channels. Click OK:

Again, nothing will seem to have happened to the image in the document window, but if we look at our Channels palette, we can see that our image is now made up of a single Gray channel, just as we saw in the Grayscale tutorial, and all of the color information has been completely removed:

As I mentioned near the end of the Grayscale tutorial, if you save the image at this point and overwrite the original on your computer, the color information will be lost forever. If you want to save your black and white version without losing the original color version, be sure to select Save As from under the File menu at the top of the screen and save the black and white version under a different name.
And that's our look at how to convert a color photo to black and white in Photoshop using the Lab color mode! Up next, we'll check out the Channels palette to see if any of Photoshop's three color channels have a ready-made black and white version we can use!