
Place Images into Shapes with the Frame Tool in Photoshop
The Frame Tool, a new feature in Photoshop CC 2019, makes it easy to place images into shapes! Learn how to draw shapes with the Frame Tool, how to place images into your shapes, how to instantly swap images with other images, and more!
Photoshop CC 2019 introduces a brand new tool to Photoshop's Toolbar known as the Frame Tool. The Frame Tool is designed to make placing images into shapes both simple and intuitive, especially for users who are new to Photoshop. It's great for designing layouts, and in fact, if you've used a page layout program like Adobe InDesign, then you're already familiar with how the Frame Tool works. You just drag out a frame where you want to place an image on the page (or in this case, in your Photoshop document), and then drag your image into the frame!
To be fair, Photoshop's new Frame Tool is not necessarily the best way to work. That's because anything you can do with the Frame Tool can also be done using Photoshop's more flexible clipping masks. But the Frame Tool is easier, especially if you're new to Photoshop. And, the Frame Tool takes full advantage of Photoshop's powerful smart objects. So even if you're a more experienced Photoshop user, the Frame Tool still has something to offer. Let's see how it works.
To follow along, you'll need the latest version of Photoshop. And if you're already an Adobe Creative Cloud subscriber, make sure that your copy of Photoshop CC is up to date. Let's get started!
How to use the Frame Tool in Photoshop CC 2019
Using the new Frame Tool in Photoshop CC 2019 to place images into shapes is easy. We just select the Frame Tool, draw a frame, drag an image into the frame, and then move or resize the image inside the frame. You can add a stroke around the frame to help with your design, and even swap the existing image with a new image just by dragging and dropping the new image into the frame.
To show you how it works, I've gone ahead and created a new document:
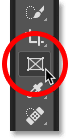
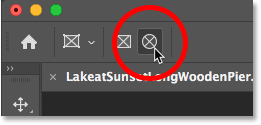
Step 1: Select the Frame Tool
Photoshop's new Frame Tool is found in the Toolbar. It's the tool that looks like a box with an X through it. Click on it to select it. You can also select the Frame Tool from your keyboard by pressing the letter K:
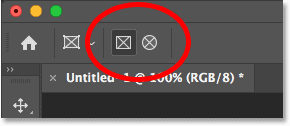
Step 2: Choose a shape for your frame from the Options Bar
With the Frame Tool selected, choose a shape for your frame from the Options Bar. By default, you'll draw a rectangular frame, but you can also draw elliptical frames. Select the shape you need by clicking on its icon. I'll stick with the rectangular shape for now:
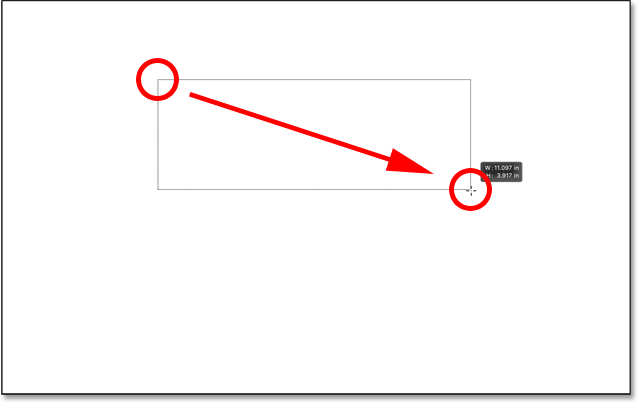
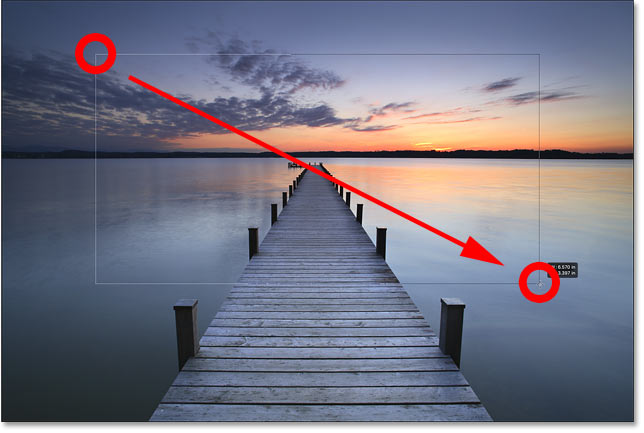
Step 3: Draw a frame where you want to place an image
Then, drag out a frame where you want to place an image inside your document:
Using modifier keys with the Frame Tool
To reposition the frame as you're drawing it, press and hold your spacebar, drag the frame into position, and then release your spacebar to continue drawing the frame. To force a rectangular frame into a perfect square, hold your Shift key as you drag. Or if you're drawing an elliptical frame, hold Shift to force it into a perfect circle:
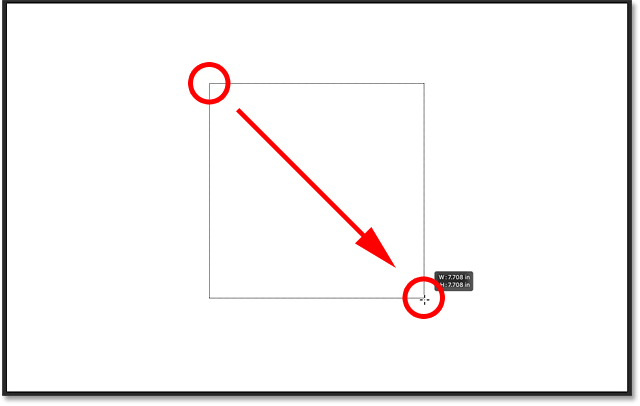
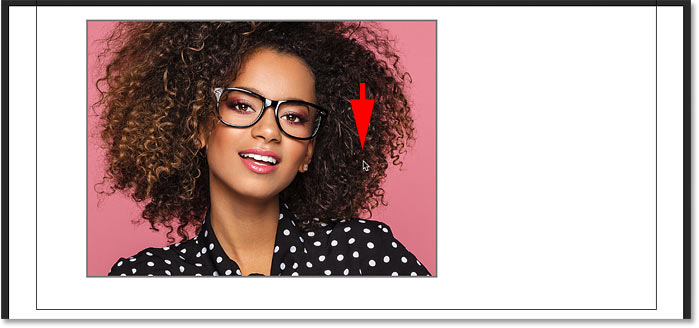
In my case, I'll draw a wide frame in the upper half of the document:
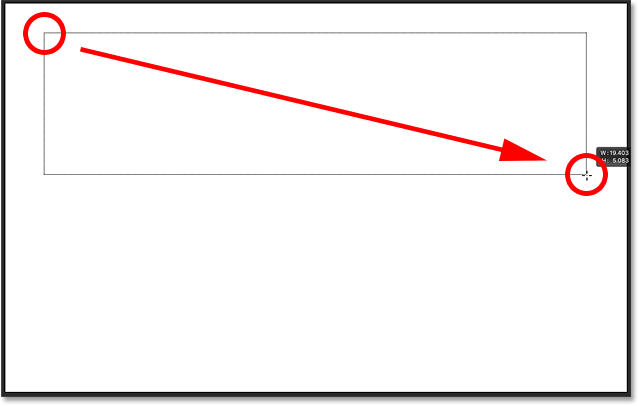
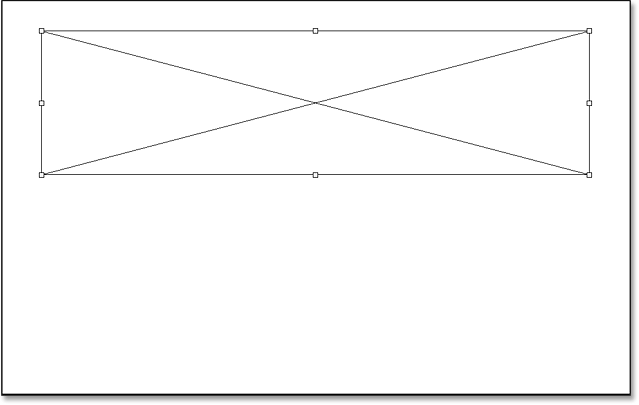
Release your mouse button, and the frame appears. The frame is a container for an image. But since the frame has no content yet, it starts out empty:
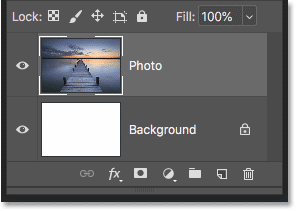
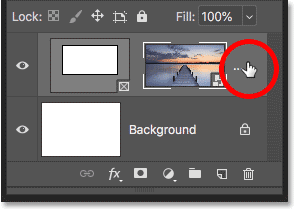
The new Frame layer in the Layers panel
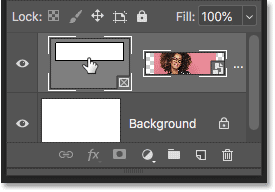
If we look in the Layers panel, we see that Photoshop added the frame on its own separate Frame layer, which is also new in CC 2019. The thumbnail on the left represents the frame itself (indicated by the small frame icon in the lower right). And the thumbnail on the right is for the content inside the frame. Since there is no content yet, the thumbnail is just filled with white:

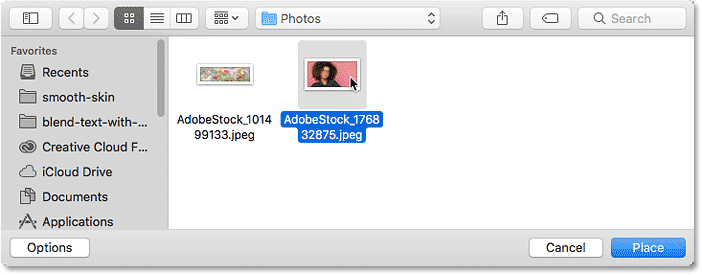
Step 4: Place an image into the frame
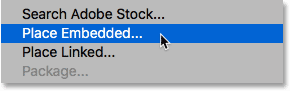
To place an image into the frame, go up to the File menu in the Menu Bar and choose Place Embedded. Or you can choose Place Linked. The difference is that Place Embedded will embed the image into your document, while Place Linked will just link to the image on your computer. In most cases, Place Embedded is the better choice:
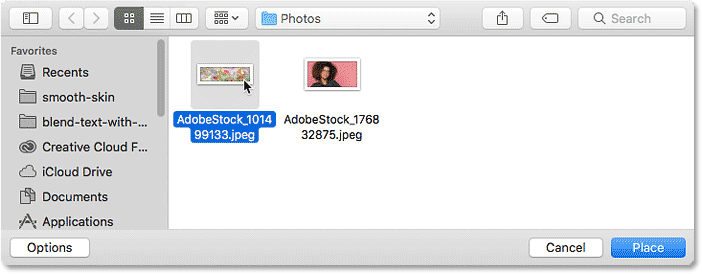
Then navigate to the image on your computer, select it, and click Place:
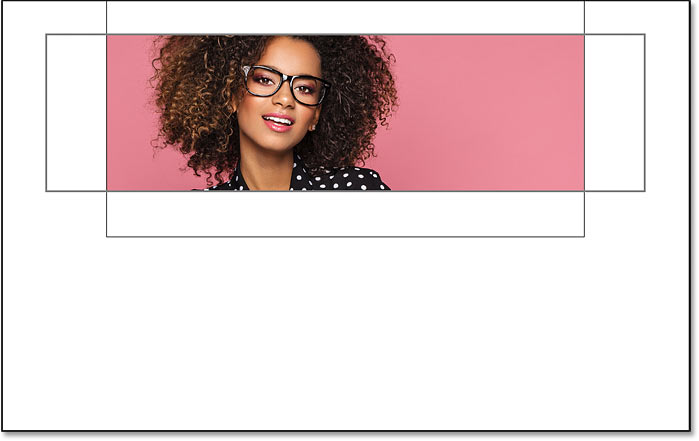
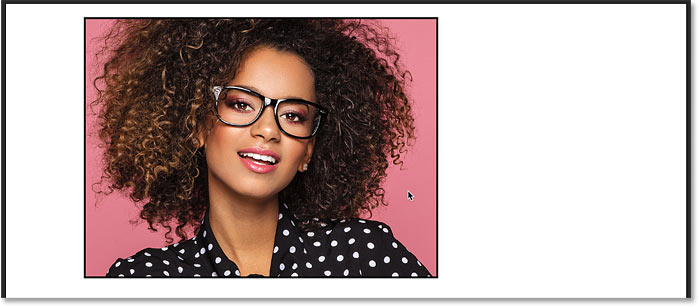
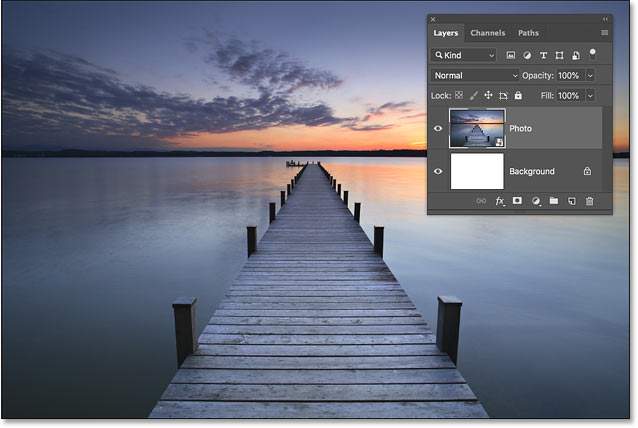
Photoshop places the image into the frame. And it automatically resizes the image to match the frame's size (photo from Adobe Stock):
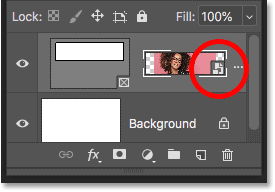
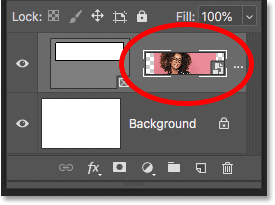
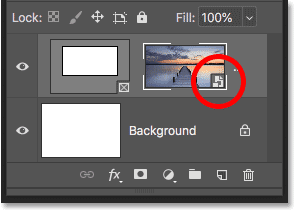
Placing the image as a smart object
If we look again at the Frame layer in the Layers panel, we see the content of the frame now appearing in the thumbnail on the right. Also, notice the smart object icon in the lower right of the thumbnail, telling us that Photoshop has automatically converted the image into a smart object.
If you're new to Photoshop, this may not mean much to you, but smart objects are a good thing. It means we can resize the image inside the frame without losing quality. And, we can easily replace the image with another one, as we'll see how to do in a few moments:
How to switch between the frame and the image
Now that we've placed an image into the frame, let's look at how to switch between the frame and its contents.
From the Layers panel
One way to switch between the frame and the image is from the Layers panel. Notice the white border around the content's thumbnail. This tells us that the image inside the frame is selected:
Selecting the frame
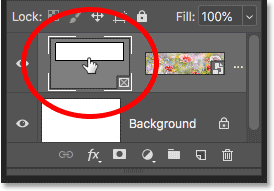
To select the frame itself, click on the frame's thumbnail on the left:
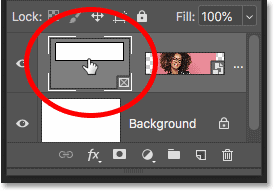
Along with the border around the thumbnail, another way to tell that the frame is selected is that we can see the transform handles around the frame in the document. We use the handles to resize the frame, and we'll come back to them shortly:
Selecting the image
To switch back to the image, click the thumbnail on the right:
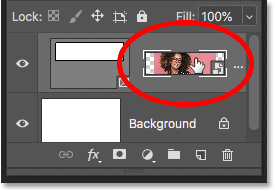
And with the image selected, the transform handles around the frame disappear:
Selecting both the frame and the image
To select both the frame and the image at the same time, press and hold your Shift key and click on the one that's not currently selected. The white border appears around both thumbnails:
Deselecting the frame or the image
And then to switch back to having just the frame or the image selected, click on the one you need. I'll reselect the frame, and this deselects the image:
From the document
Another way to switch between the frame and its contents is from the document.
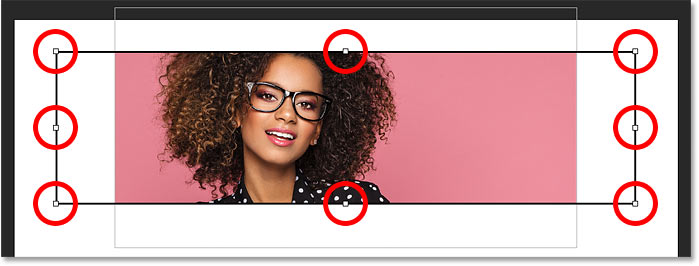
Selecting the image
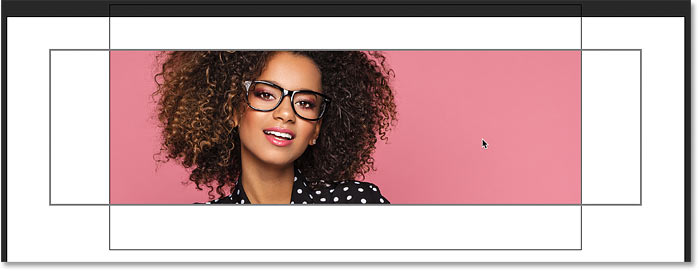
To select the image, simply click on it inside the frame. Notice the outline around the image, and that it includes the parts of the image that are hidden because they extend beyond the frame's boundaries:
Selecting the frame
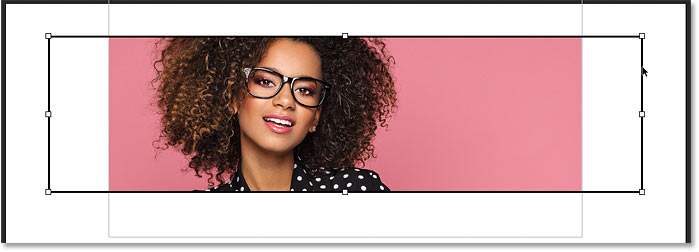
To select the frame, click directly on the frame's outline. The transform handles reappear:
Selecting the frame and the image
And to select both the frame and the image, double-click on the image. The outline around the image disappears and you'll see only the outline around the frame:

With both the frame and the image selected, you can click and drag both of them together inside the document:
How to undo a step with the Frame Tool
I'll undo that by going up to the Edit menu and choosing Undo Move. Photoshop gives us multiple undos with the Frame Tool. To move backwards through your steps, press Ctrl+Z (Win) / Command+Z (Mac) repeatedly. And to redo a step, press Shift+Ctrl+Z (Win) / Shift+Command+Z (Mac):

Deselecting the frame when both are selected
Finally, when you have both the frame and the image selected, you can switch back to selecting just the image by again double-clicking on it. So, when the image or the frame is selected, double-clicking on the image will select them both. And when they're both selected, double-clicking will select only the image:
How to move and resize the frame's contents
So now that we know how to select and switch between the frame and its contents, let's learn how to move and resize the image inside the frame.
How to move the image in the frame
To move the image, just click and drag it. Only the area inside the frame remains visible:

How to resize the image in the frame
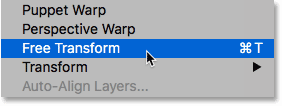
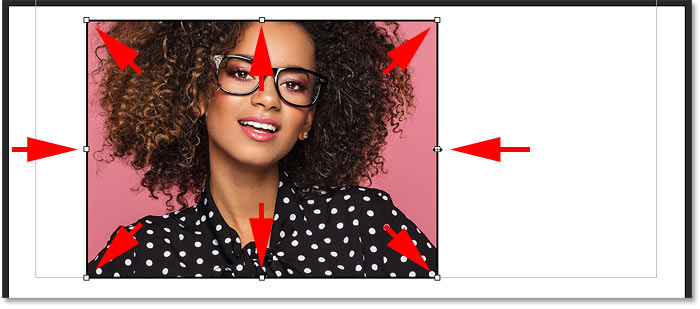
To resize the image, we don't use the Frame Tool directly. Instead, we use Photoshop's Free Transform command. Go up to the Edit menu and choose Free Transform:
Then, drag the handles to resize the image. In Photoshop CC 2019, Free Transform automatically locks the aspect ratio, so there's no need to hold Shift as you drag. But if you want to resize the image from its center, press and hold Alt (Win) / Option (Mac). When you're done, press Enter (Win) / Return (Mac) to accept it:
How to resize the frame
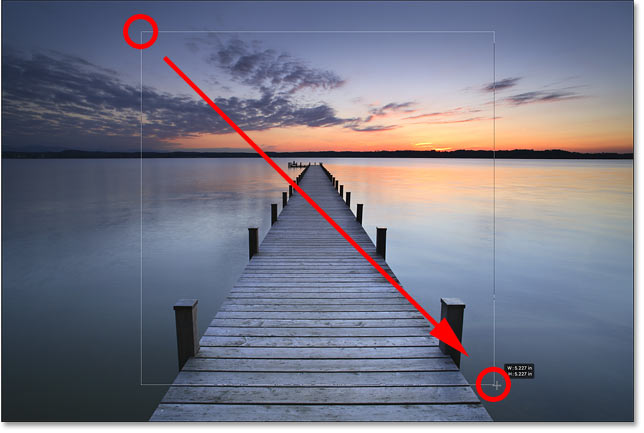
To resize the frame, not the contents, first click on the frame's outline to select it:
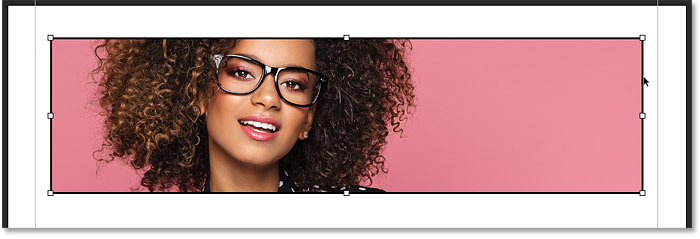
Then drag any of the handles to reshape and resize it. If you press and hold your Shift key while dragging a corner handle, you'll lock in the frame's original aspect ratio:
Once you've resized the frame, you can click and drag the image inside the frame to reposition it:
How to move the frame and the image together
To move both the frame and the image at the same time, double-click on the image to select them both:
And then click and drag to move both of them together:
How to resize the frame and the image together
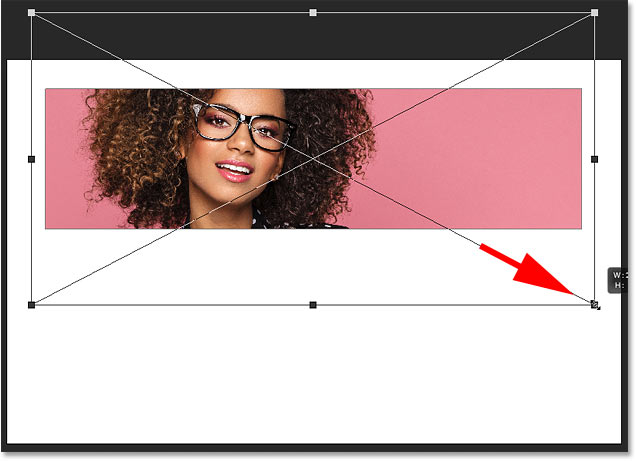
To resize both the frame and the image at once, again make sure both are selected. Go up to the Edit menu and choose Free Transform:
And then drag the handles to resize the frame and its contents:

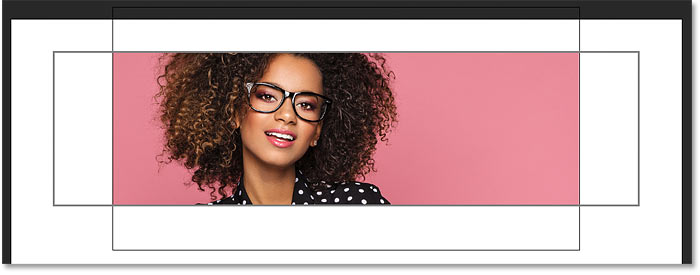
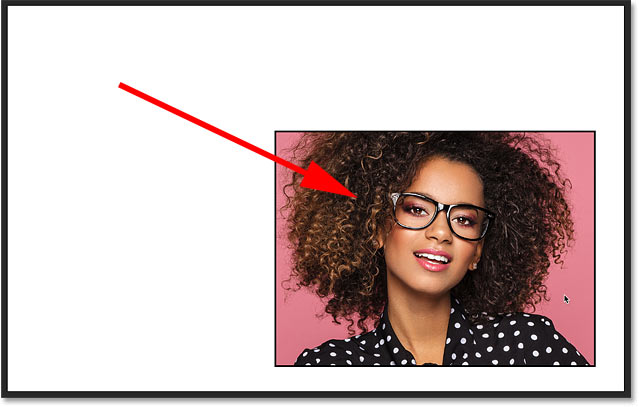
You can also reposition the frame and its contents by clicking and dragging inside the Free Transform box. Here I've centered the frame and the image in the document. Press Enter (Win) / Return (Mac) when you're done to accept it:

How to replace the frame's contents
A great feature of Photoshop's new Frame Tool is that we can easily swap out one image for another.
I'll press Ctr+Z (Win) / Command+Z (Mac) a few times to undo my steps and return my frame to its original size and location:

Method 1: Using the Place Embedded or Place Linked command
One way to replace the current image with a different image is to go up to the File menu and choose Place Embedded (or Place Linked):
Navigate to the new image on your computer. Then select it and click Place:
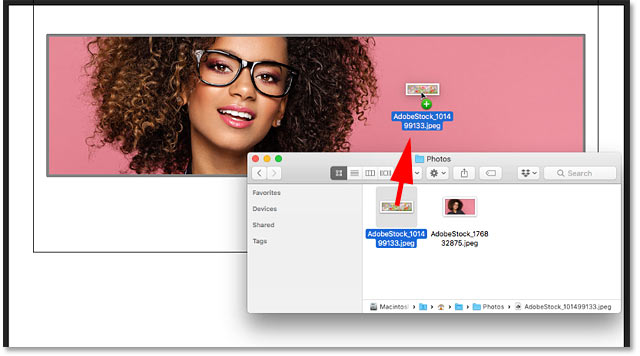
Method 2: Drag and drop
Or, if you already have the image open in a File Explorer (Win) or Finder (Mac) window, you can drag and drop the new image onto the existing one:
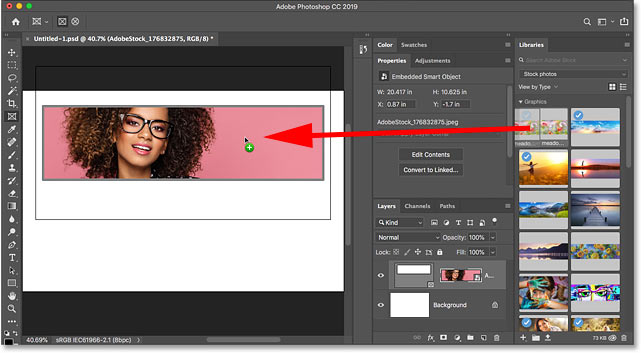
Method 3: From the Libraries panel
And yet another way to add or replace the contents is by dragging an image from your Libraries panel onto the frame:
Photoshop instantly replaces the previous image with the new one. You can then use Free Transform to resize the image inside the frame if needed (photo from Adobe Stock):
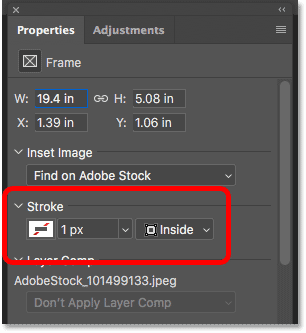
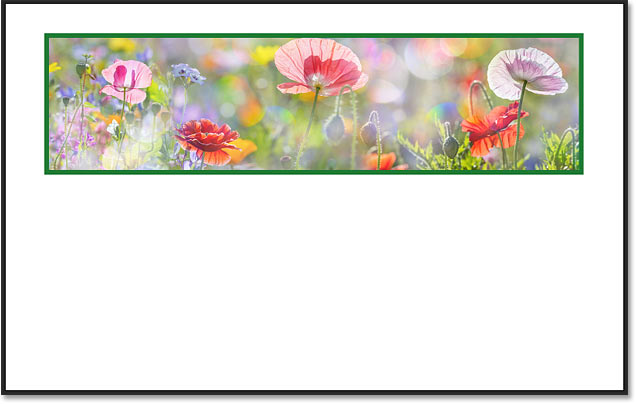
How to add a stroke around the frame
Next, let's look at how to add a stroke around the frame. Photoshop's normal layer styles, found at the bottom of the Layers panel, won't work with frames. But we can add a stroke. You'll find the Stroke option in the Properties panel:
Why can't I see the Stroke option?
If you're not seeing the Stroke option, make sure you have the frame itself selected in the Layers panel:
Choosing the stroke color, position and size
Click the swatch below the word "Stroke" to choose a color. Then choose a position (Inside, Center or Outside) and size:
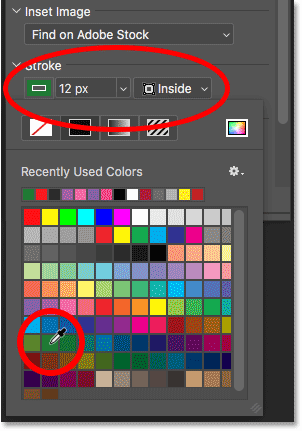
The stroke appears around the frame:
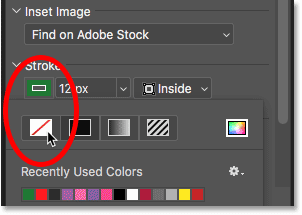
How to remove the stroke from around the frame
To remove the stroke, click again on the color swatch below the word "Stroke" and choose No color (the swatch with the red line through it):
How to add a frame around an existing image
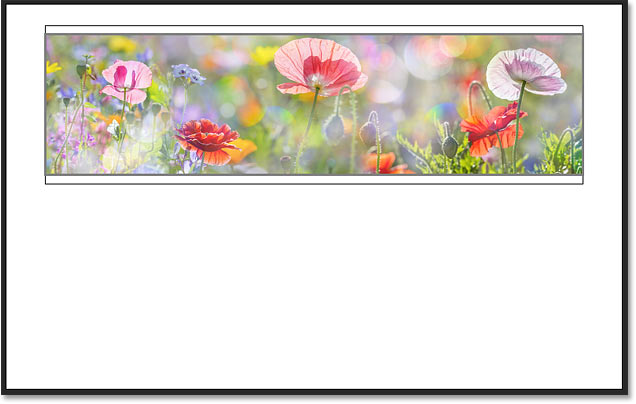
Finally, let's look at one more way to use the Frame Tool, and that's by adding a frame to an existing image. We'll also look at how to remove a frame from an image. I'll switch over to another image I've opened in Photoshop:
And if we look in the Layers panel, we see the image on a layer above the Background layer. Note that we can't add a frame to the Background layer. So for this to work, you'll need your image to be on a separate layer above it:
How to place the image into a rectangular frame
With the layer selected, and the Frame Tool selected in the Toolbar, click and drag out a frame inside the image:
When you release your mouse button, Photoshop adds the frame and places the image inside it:

And in the Layers panel, we see that Photoshop converted the image into a smart object, just like it did before:
How to remove a frame from an image
I've added a rectangular frame to the image. But what if I meant to add an elliptical frame instead? In that case, I can remove the existing frame by right-clicking (Win) / Control-clicking (Mac) on the Frame layer in the Layers panel:
And then choosing Remove Frame from Layer:

This removes the frame but keeps the image:
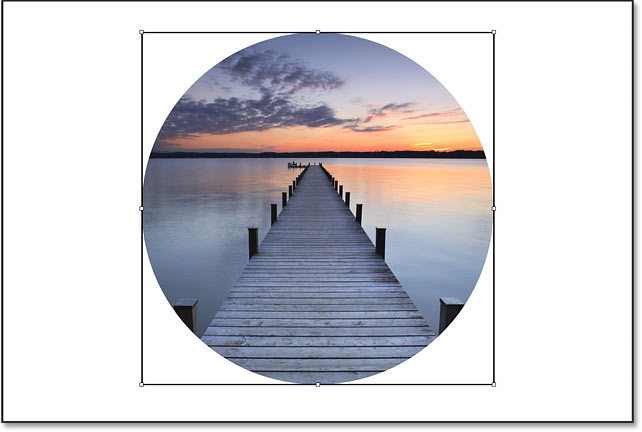
Placing the image into an elliptical frame
I'll switch from a rectangular frame to an elliptical frame in the Options Bar:
And then I'll click and drag out an elliptical frame inside the image. To force the frame into a perfect circle, I'll press and hold my Shift key as I drag. At first, it looks like I'm drawing a square frame:
But when I release my mouse button, the circle frame appears with the image inside it:
Related tutorial: How to crop images into circles!
And there we have it! That's the basics of how to use the new Frame Tool in Photoshop CC 2019! Check out our Photoshop Basics section for more tutorials!