
How to Slice Text in Photoshop
Learn how to slice text in Photoshop, and how to keep the text editable even after you slice it! A step-by-step tutorial.
In this tutorial, I'll show you step-by-step how to create a popular "sliced text" effect with Photoshop. And unlike other tutorials that force you to convert your text into pixels before you cut it into slices, you'll learn how to keep your text editable so you can try out different words using the same slices!
To do that, we'll take advantage of two powerful Photoshop features known as smart objects and vector masks. We'll start by converting the text into a smart object, which keeps it editable. And then we'll cut the text into slices, and shape the slices into any angle we need, using vector masks! Let's see how it works.
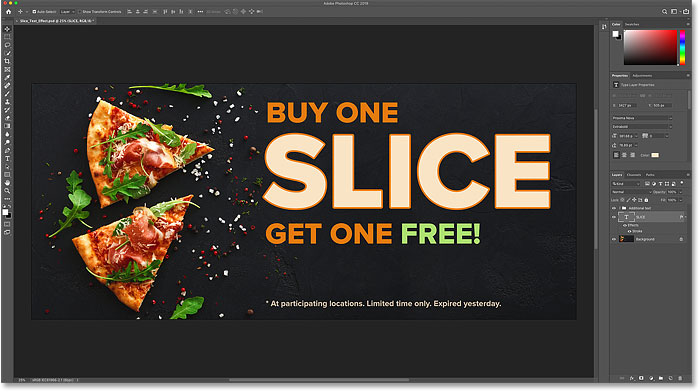
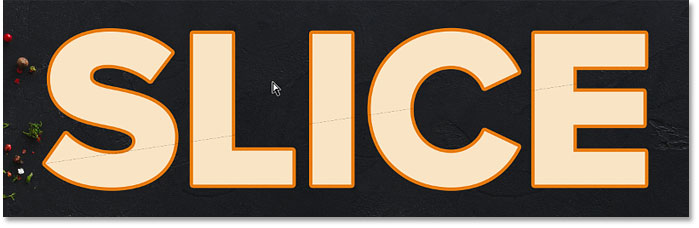
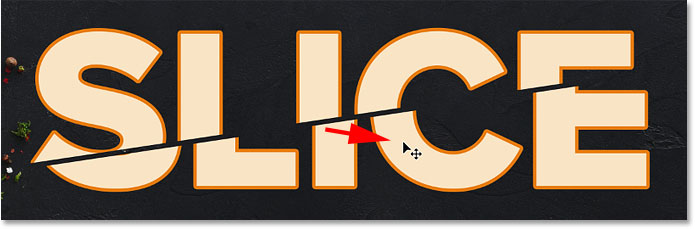
Here's a quick design I came up with to show the sliced text effect we'll be creating. Notice that the word "SLICE" is sliced in half:

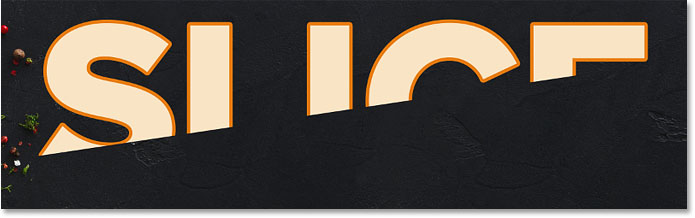
Once we've created the initial effect, I'll show you how to edit the text so you can use the same slices with a different word without starting over:

Hungry to learn how to slice text? Then let's get started!
How to slice text in Photoshop
For this tutorial, I'm using Photoshop CC but every step is compatible with Photoshop CS6. You can get the latest Photoshop version here.
You can also follow along with my video of this tutorial on our YouTube channel. Or download this tutorial as a print-ready PDF and get exclusive bonus content!
Step 1: Add your text to the document
The first step in creating a sliced text effect is to add some text. I've gone ahead and added the text to my document, but you can easily follow along by creating a new document and adding any text you like:
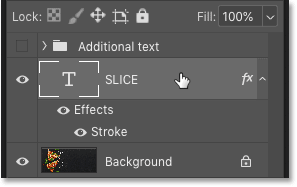
If we look in the Layers panel, we see how my document is set up. The main image is on the Background layer, and the word "SLICE" is on a Type layer above it. I've added a stroke around the letters, which is listed as an effect below the Type layer.
The remaining text ("BUY ONE", "GET ONE FREE", and so on) is in a layer group at the top named "Additional text". I've placed it in a group just to keep it out of the way. For this effect, the only text we're interested in is the word "SLICE":

Turning off the additional text
To keep things simple, I'll turn the layer group off for now by clicking its visibility icon:
And now we see just the word "SLICE" in front of the background image (pizza slices photo from Adobe Stock):

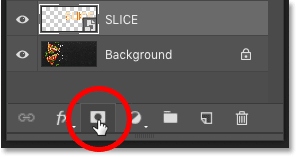
Step 2: Convert the Type layer into a smart object
To keep the text editable as you slice it, convert the Type layer into a smart object. First, make sure that the Type layer you need is selected:
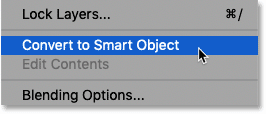
Then click on the menu icon in the upper right of the Layers panel:
And choose Convert to Smart Object from the menu:
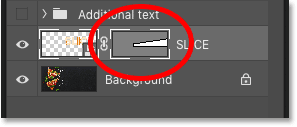
A smart object icon appears in the lower right of the preview thumbnail, telling us that our text is now safely inside a smart object:
Step 3: Select the Rectangle Tool
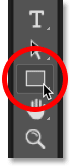
To draw the slices, we'll use Photoshop's Rectangle Tool. Select the Rectangle Tool from the Toolbar:
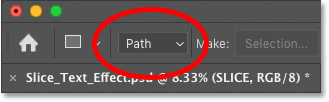
Step 4: Set the Tool Mode to Path
Then in the Options Bar, set the Tool Mode to Path:
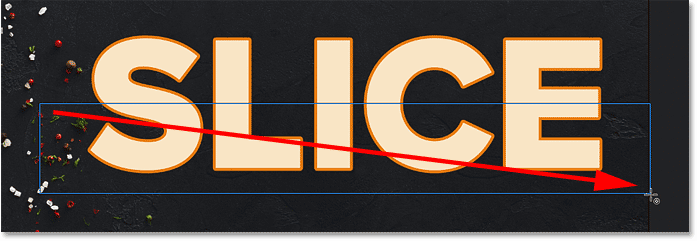
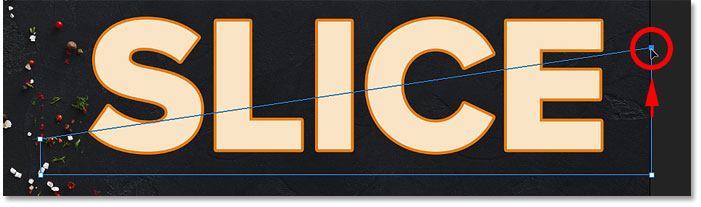
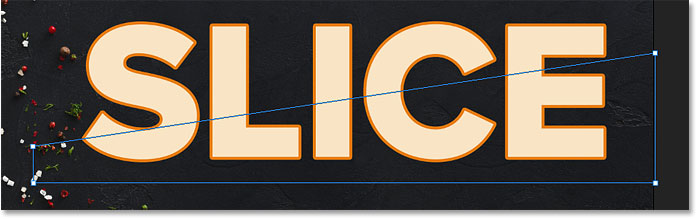
Step 5: Draw a path around the bottom half of the text
Drag out a rectangular path around the bottom half of your text. We're going to use this path to create the bottom slice. For best results, try to make the path wider than the text itself, so that if you need to edit the text later, and the new text is a bit longer than the original text, the new text will still fit within the slice.
If you need to reposition the path as you're drawing it, press and hold your spacebar, drag the path into place, and then release your spacebar to continue drawing the path:
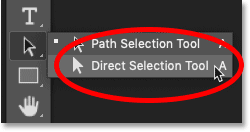
Step 6: Choose the Direct Selection Tool
Now that we have our path, we'll reshape it into a diagonal slice.
Select Photoshop's Direct Selection Tool from the Toolbar. By default, it's hiding behind the Path Selection Tool (the black arrow tool). You'll need to click and hold on the Path Selection Tool until a fly-out menu appears, and then choose the Direct Selection Tool (the white arrow tool) from the menu:
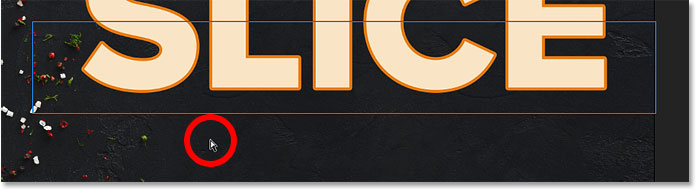
Step 7: Deselect the path
Click anywhere away from the path to deselect it. The anchor point in each corner of the path will disappear, leaving only the path outline itself:
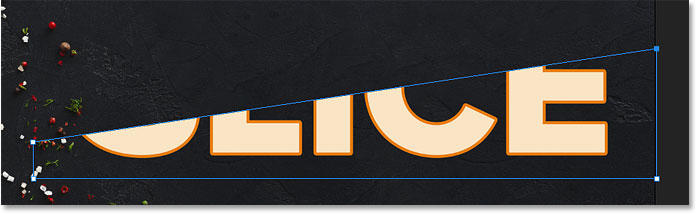
Step 8: Select and drag the top left anchor point downward
Then click in the top left corner of the path to select just that one anchor point:
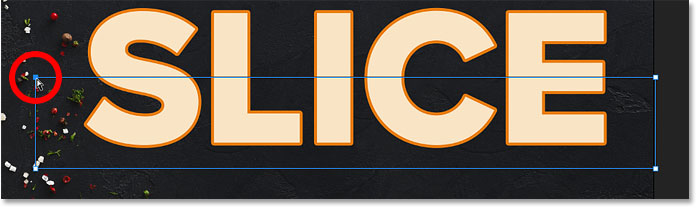
And drag the point downward to turn the top of the path into a sloped, diagonal line:
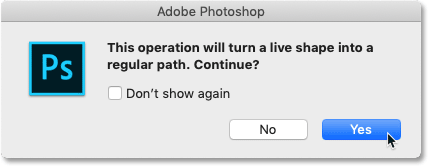
Converting the live shape into a regular path
Photoshop will ask if you want to convert your live shape into a regular path. Click Yes:
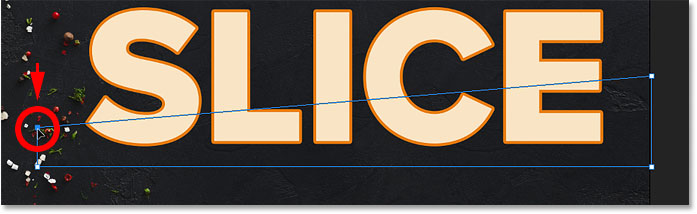
Step 9: Select and drag the top right anchor point upward
Then click on the anchor point in the top right corner of the path to select it:
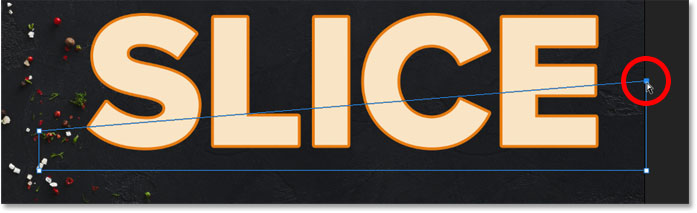
And drag that point upward. You can go back and forth with the two points, clicking and dragging them up or down as needed, until you're happy with the angle of the slice:
What's the difference between vector shapes and pixel shapes in Photoshop?
Step 10: Convert the path into a vector mask
To create the slice, we need to turn the path into a vector mask. Go to your Layers panel, press and hold the Ctrl (Win) / Command (Mac) key on your keyboard, and click the Add Layer Mask icon:
A vector mask thumbnail appears next to the smart object's preview thumbnail:
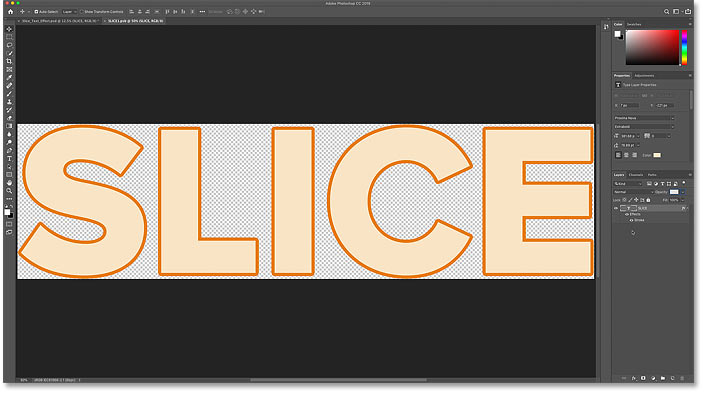
And in the document, we see that the top part of the text has disappeared. Only the bottom part inside the vector mask remains visible, creating our first slice:
Step 11: Make a copy of the smart object
To create the top slice, make a copy of the smart object by going up to the Layer menu, choosing New, and then choosing Layer via Copy. Or you can press the keyboard shortcut, Ctrl+J (Win) / Command+J (Mac):
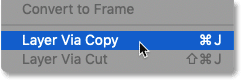
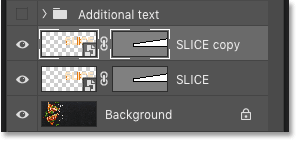
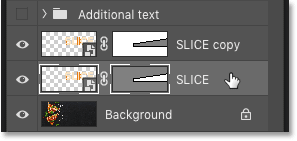
In the Layers panel, a copy of the smart object appears above the original:
Step 12: Choose "Subtract Front Shape"
In the Options Bar, click the Path Operations icon:
And choose Subtract Front Shape from the menu:
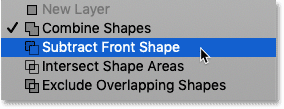
This inverts the vector mask, making the top slice visible, and we now have both slices:
Hiding the path
We don't need to see the path outline anymore. So to hide the path, click anywhere outside of it:
Viewing the slices
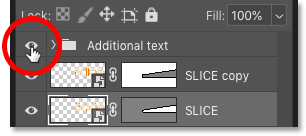
It may look like our text is still in one piece. But you can turn the individual slices on and off by clicking their visibility icons in the Layers panel.
If I click the visibility icon to turn off the top smart object:
We see only the bottom slice of the text:

I'll click the same visibility icon again to turn the top slice back on. And if I then turn off the bottom slice by clicking its visibility icon:
We see only the top slice of the text. To turn the bottom slice back on, click again on its visibility icon:
Step 13: Select the Move Tool
To move the slices apart, select Photoshop's Move Tool from the Toolbar:
Step 14: Drag the slices the separate them
Choose the slice you want to move by clicking on it in the Layers panel, and then drag it into position in the document. Or, instead of dragging with the Move Tool, you can press the arrow keys on your keyboard to nudge the slice into place (you'll still need to have the Move Tool selected).
I'll select the bottom slice in the Layers panel:
And then I'll use the arrow keys on my keyboard to nudge the bottom slice down and to the right:
Turning the additional text back on
I'll turn my additional text back on by clicking the layer group's visibility icon:
And here we see the layout with the sliced text effect added:
How to edit the text inside the slices
So now that we've created the sliced text effect, let's learn how to edit the text inside the slices.
Even though we've created the slices using two separate smart objects, each smart object holds the exact same Type layer. So if we change the text in one smart object, the same change will appear in both.
Step 1: Double-click on a smart object's thumbnail
To edit the text, double-click on one of the smart object thumbnails. Either one will work:

The text opens in its own separate document:
Step 2: Select the Type Tool
Select Photoshop's Type Tool from the Toolbar:
Step 3: Edit your text
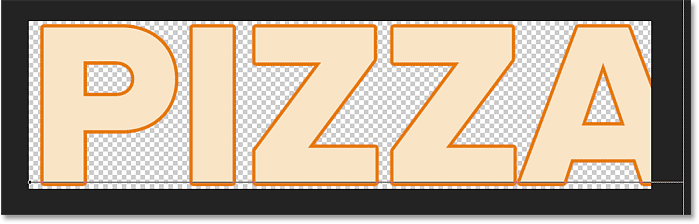
And then edit your text. I'll double-click on the text to highlight the entire word:

Then I'll change the word from "SLICE" to "PIZZA":
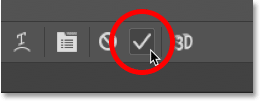
Step 4: Click the checkmark in the Options Bar
To accept the change, I'll click the checkmark in the Options Bar:
Step 5: Choose "Reveal All" if needed
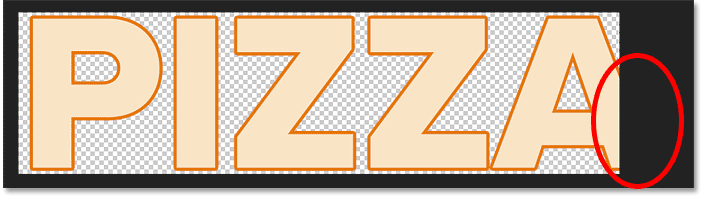
Notice that in this case, editing the text created a problem. The new text is a bit too long to fit within the viewable area of the document, so part of the letter "A" on the right is extending off the canvas:
If this happens with your text, go up to the Image menu in the Menu Bar and choose Reveal All:
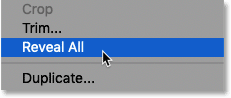
And Photoshop instantly resizes the canvas to fit the entire text:

Step 6: Save and close the smart object document
To accept the change and return to the main document, we need to save and close the smart object's document.
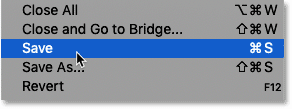
Go up to the File menu and choose Save:
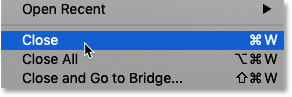
And then go back to the File menu and choose Close:
Back in the main document, we see the same effect, but this time with our edited text:
And there we have it! That's how to slice text, and how to edit the text inside the effect, with Photoshop! Check out our Photo Effects and Text Effects sections for more tutorials. And don't forget, all of our tutorials are available to download as PDFs!