
Photoshop Quick Tip: How to Place Two Images Side by Side
Learn how to quickly place two related photos side by side and combine them into a single composite image with Photoshop! A step-by-step tutorial for Photoshop CC and CS6.
Photos that share a common subject or theme can often enhance each other when displayed together. And in this tutorial, I'll show you the fastest and easiest way to place two images side by side using a few simple tricks.
First, you'll learn how to instantly load both of your images into the same Photoshop document. Then I'll show you how to expand the canvas, and move the images side by side, at the same time. And finally, you'll learn how to swap the placement of the images from one side to the other with just a couple of clicks!
For best results, you'll want to use photos that are in portrait (vertical) orientation, so that the composite image is not too wide. And you'll want both images to share the same width and height. I won't be covering how to crop images here, so if you need to crop and resize them, be sure to do that before you continue.
Let's get started!
How to place two photos side by side
We'll start by learning how to load your images onto layers within the same Photoshop document. And then I'll show you how to place the two images beside each other.
To follow along, you'll want to be using the latest version of Photoshop.
Step 1: Choose the "Load Files into Stack" command
The first thing we need to do is open the images. By default, Photoshop opens images in their own separate documents. But since we want to display the images side by side, we need them to be in the same document.
So rather than using the Open command, go up to the File menu in the Menu Bar, choose Scripts, and then choose Load Files into Stack:

Step 2: Select your images
In the Load Layers dialog box, set Use to Files, and then click Browse:

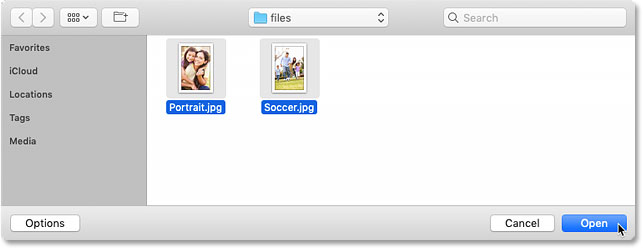
Navigate to the photos you want to open. Click on the first image, and then press and hold your Shift key and click on the second image. This selects both images at once. Then click Open:
Step 3: Load the images into Photoshop
And back in the Load Layers dialog box, the names of the images you selected appear.
Leave the two options at the bottom ("Attempt to Automatically Align Source Images" and "Create Smart Object after Loading Layers") unchecked. Then load the images into Photoshop by clicking OK:

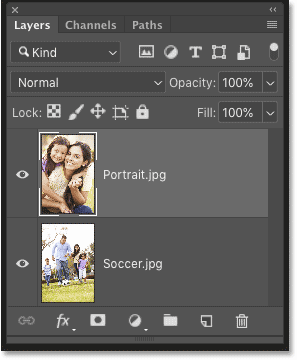
Photoshop loads both images into the same document. And in the Layers panel, each photo appears on its own layer.
The names of the files (in my case, "Portrait.jpg" and "Soccer.jpg") are used as the layer names:
Viewing the two images
Since the images are stacked on top of each other, only one image is visible at a time. At least for the moment.
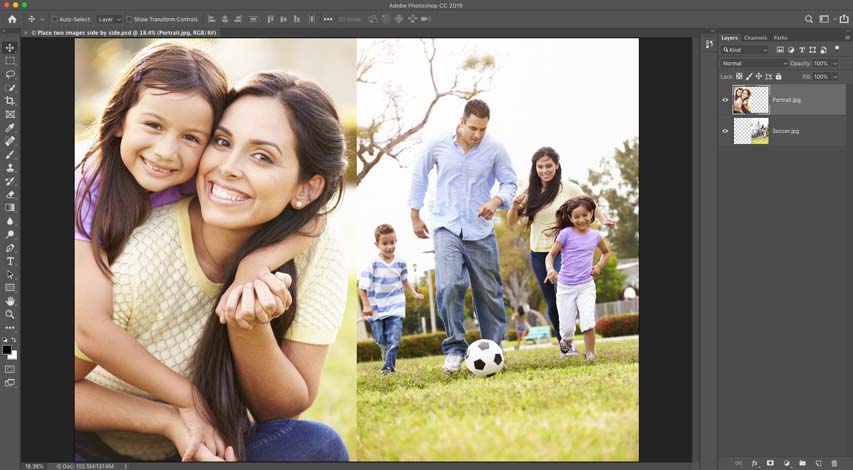
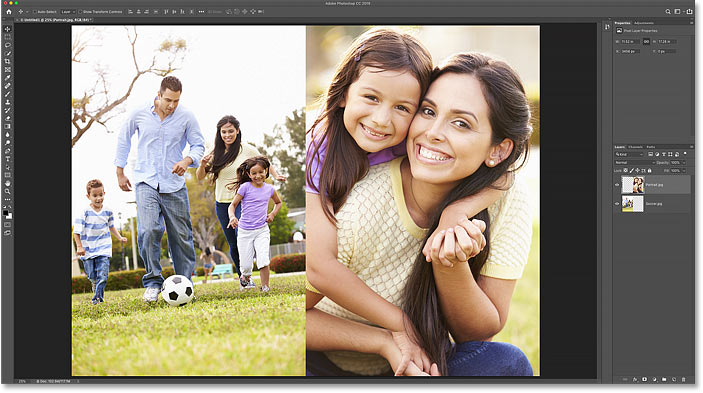
Here's my image on the top layer (mother and daughter photo from Adobe Stock):

And if I turn the top layer off by clicking its visibility icon:
We see the image on the bottom layer (soccer photo from Adobe Stock):

Before we go any further, I'll turn the top layer back on by again clicking its visibility icon:

Related: Learn all about Layers in Photoshop!
Step 4: Select the Move Tool
So now that both images are in the same document, how do we place them side by side?
One way would be by adding more canvas space to the document using Photoshop's Canvas Size command, and then dragging one of the images into the new space.
But we can actually do both of those things, moving an image and adding more canvas space at the same time, using a simple trick.
First, select the Move Tool from the toolbar:

Step 5: Make sure "Snap" and "Snap To Document Bounds" are enabled
To use this trick, we'll need the image to snap to the edge of the document when we drag it. And for that to happen, a couple of options need to be turned on. They're both on by default, but it's a good idea to double-check.
Go up to the View menu in the Menu Bar and make sure that Snap is enabled. You should see a checkmark beside its name:

And then directly below the Snap option, choose Snap To, and this time make sure that Document Bounds is checked. Don't click on either of these options if they already have a checkmark beside them or you'll turn them off:

Step 6: Select the top layer
In the Layers panel, select the image on the top layer:

Step 7: Drag the image to the side of the other image
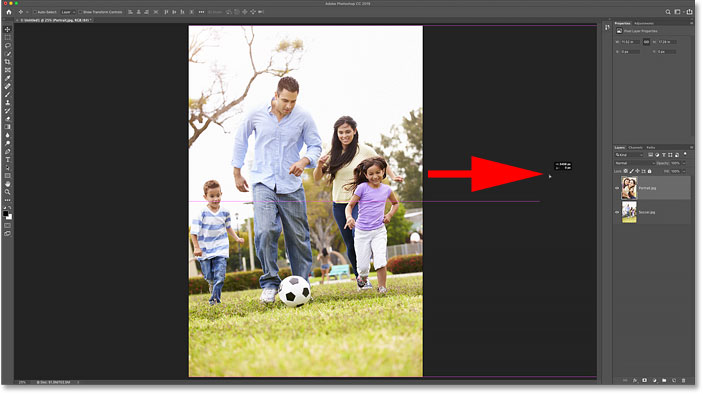
And then with the Move Tool selected, click on the image in the document and begin dragging it to the left or right of the image below it. I'll drag to the right. Press and hold your Shift key as you drag to limit the direction you can move, making it easier to drag straight across.
Don't worry that the top image is disappearing as you drag it off the canvas. We'll bring it back in a moment:

Snapping the image to the document edge
As soon as you get close enough to the edge of the document, your image will suddenly snap to the edge.
When it does, release your mouse button, and then release your Shift key (in that order). The top image is now hidden, sitting off to the side of the canvas:
Step 8: Choose "Reveal All"
To bring both images back into view, go up to the Image menu in the Menu Bar and choose Reveal All:

And Photoshop instantly resizes the canvas to fit both images. Just like that, the photos now appear side by side:
How to swap the images
And that's how easy it is to place two images side by side with Photoshop!
But what if you think the images would look better if they were swapped, so that the photo on the left was moved to the right, and the photo on the right was on the left? Here's a quick way to swap them.
Step 1: Select the Move Tool
First, make sure the Move Tool is still selected in the toolbar:
Step 2: Select the entire canvas
We're not going to use the Move Tool itself, but it needs to be active so we can access Photoshop's layer alignment options. We're going to swap the images by aligning their edges to the edges of the canvas.
To do that, we need to have the entire canvas selected, so go up to the Select menu in the Menu Bar and choose All. A selection outline will appear around the edges of the document:

Step 3: Select the top image
In the Layers panel, click on the top image to select it:

Step 4: Click the "Align Left Edges" or "Align Right Edges" icon
And then in the Options Bar, click on either the Align Left Edges or Align Right Edges icon, depending on which direction you need to move the image.
In my case, I want to move the image from the right side over to the left side, so I'll click the Align Left Edges icon:
And Photoshop instantly snaps the left edge of the image to the left edge of the canvas:

Step 5: Select the bottom image
To move the bottom image over to the other side and fill in the empty space, select the bottom layer in the Layers panel:

Step 6: Click the opposite "Align Edges" icon
Since I want to move the bottom image to the right, this time I'll click the Align Right Edges icon in the Options Bar:
And Photoshop instantly aligns the right edge of the image to the right edge of the canvas. To deselect the canvas, go up to the Select menu and choose Deselect, or press Ctrl+D (Win) / Command+D (Mac) on your keyboard:

And there we have it! That's how to load two images into the same document, place the images side by side, and then swap the images in Photoshop!
Visit our Photoshop Basics section to learn more about Photoshop, or our Photo Effects section for more ways to have fun with your photos! And don't forget, all of our tutorials are now available to download as PDFs!