Create a Painted Edges Photo Border in Photoshop
Learn how to make your image look like it was painted on canvas with this easy "painted edges" photo border in Photoshop! Now fully updated for Photoshop CC 2020!
In this tutorial, I show you how easy it is to create a custom "painted edges" photo border with Photoshop that makes your image look like it was painted on canvas. We'll even create a canvas texture using one of Photoshop's filters, and then we'll blend the texture in with the image. And we'll finish off the effect by choosing a color for your border directly from the photo itself.
To follow along, you'll need Photoshop 2020 or later. You can get the latest Photoshop version here.
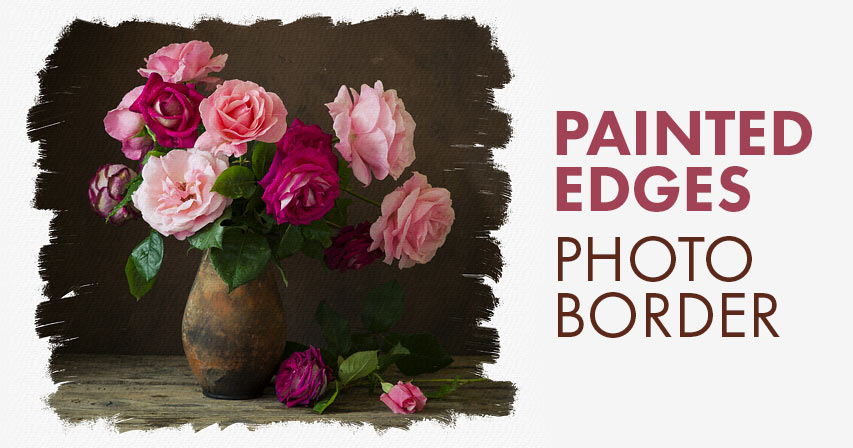
Here's an example of what the painted edges photo border will look like. We'll start off with a white border as shown here. And then at the end, you'll be able to choose any border color you like:

Let's get started!
Step 1: Open your image
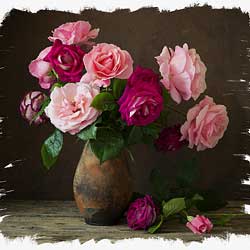
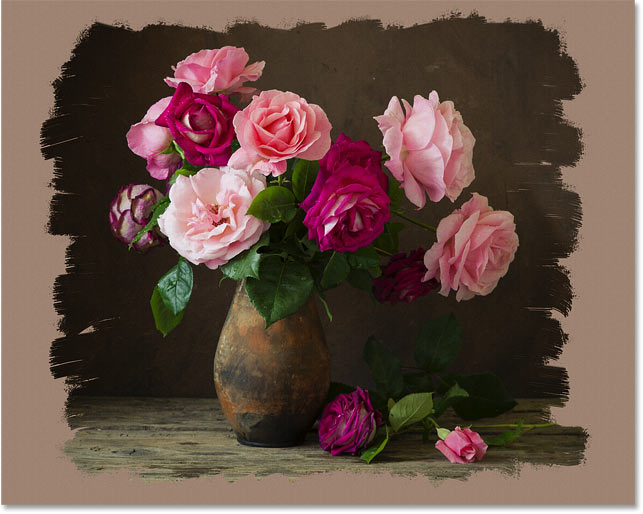
Start by opening your image into Photoshop. I'll use this image from Adobe Stock:

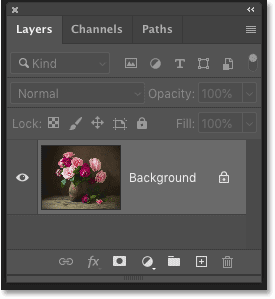
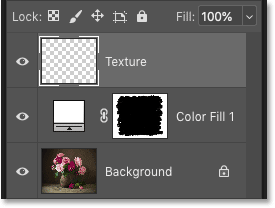
In the Layers panel, the image appears on the Background layer:
Learn more: The many ways to get your images into Photoshop!
Step 2: Add a white Solid Color fill layer
Click on the New Fill or Adjustment Layer icon at the bottom of the Layers panel:

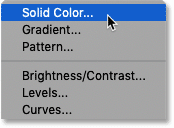
And choose a Solid Color fill layer from the list:
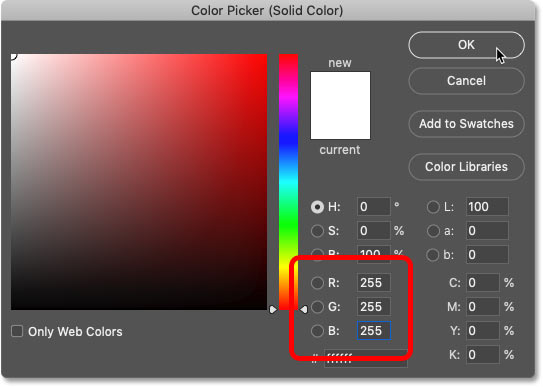
In the Color Picker, choose white by setting the R, G and B values each to 255, and then click OK:
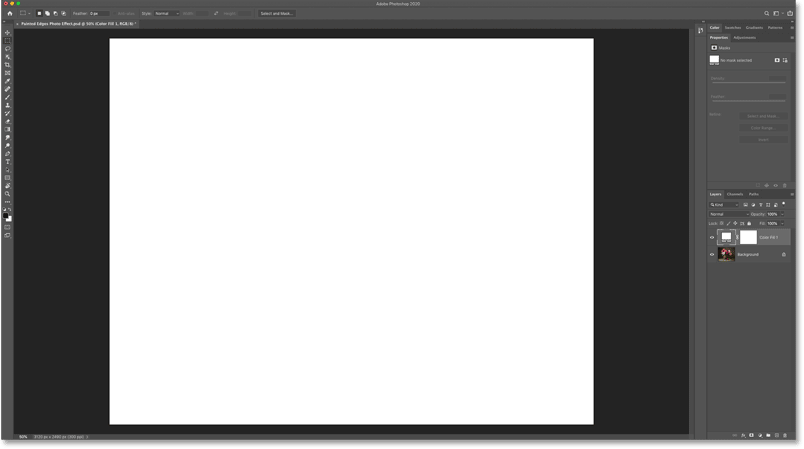
The document is temporarily filled with white, blocking the image from view:
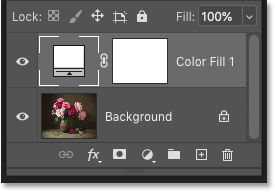
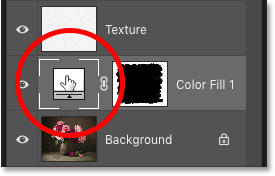
And in the Layers panel, the fill layer (named "Color Fill 1") appears above the image. We're going to use this fill layer to create the photo border:
Step 3: Select the fill layer's mask
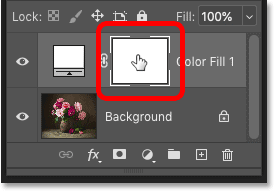
One of the benefits of using a fill layer is that it includes a built-in layer mask.
Select the mask by clicking on the layer mask thumbnail. A border appears around the thumbnail to let us know that the mask is selected:
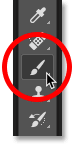
Step 4: Select the Brush Tool
To create the painted edges, we're going to paint on the mask using one of Photoshop's brushes.
Select the Brush Tool from the toolbar:
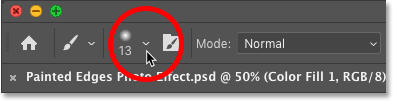
Step 5: Load the Legacy Brushes
Back in Photoshop CC 2018, Adobe made changes to Photoshop's brushes. And the brushes we need for this effect are now found in a set called Legacy Brushes. To use this set, we first need to load it into Photoshop. If you have already loaded the Legacy Brushes, you can skip this step.
With the Brush Tool active, go up to the Options Bar and click on the small arrow next to the current brush size:
Then in the Brush Preset picker, click the gear icon in the upper right corner:
And choose Legacy Brushes from the menu:

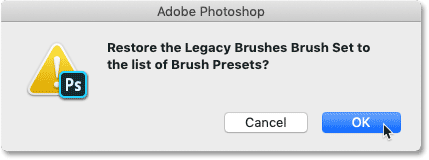
Click OK when Photoshop asks if you want to restore the Legacy Brushes set:
Step 6: Choose the "Flat Bristle" brush
Still in the Brush Preset picker, scroll down to the new Legacy Brushes folder and twirl it open by clicking the arrow next to the folder icon:
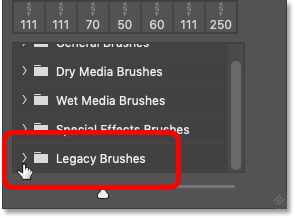
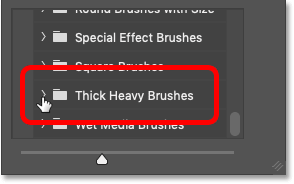
Then inside the Legacy Brushes folder, scroll down to the Thick Heavy Brushes folder and twirl it open:
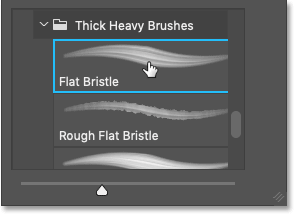
Inside that folder, choose the Flat Bristle brush by double-clicking on its thumbnail. This selects the brush and closes the Brush Preset picker:
Step 7: Set your brush color to black
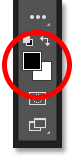
To reveal the image through the Solid Color fill layer, we need to paint on the fill layer's mask with black. Photoshop uses the Foreground color as the brush color, so we first need to set the Foreground color to black.
The current Foreground and Background colors are shown in the color swatches near the bottom of the toolbar. With a layer mask selected, the Foreground color in the upper left is set to white by default and the Background color in the lower right is black:
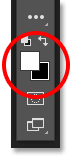
Swap the colors to make the Foreground color black by pressing the letter X on your keyboard:
Step 8: Paint on the layer mask
Then simply paint a brush stroke across the image, making sure to stay away from the edges on either side (since we need that area for the border).
Since we are painting on a layer mask, you won't see the brush color as you paint. Instead, the image is revealed through the brush stroke:
How to resize the brush
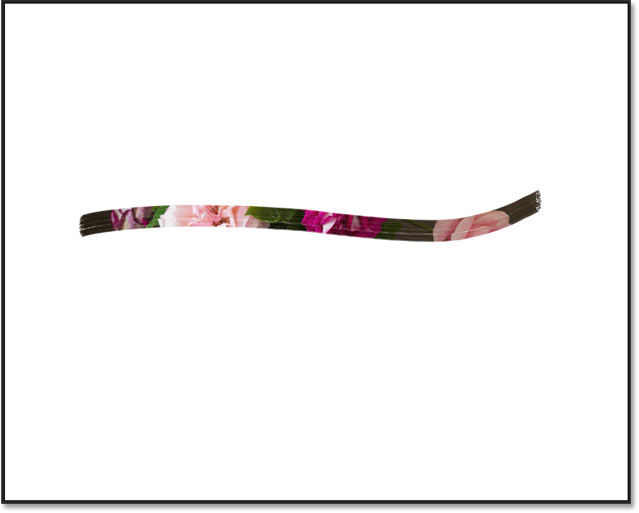
Notice that in my case, the default brush size looks too small. The actual size you need will depend on the size of your image.
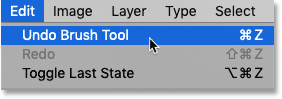
To make your brush larger or smaller, first undo the stroke by going up to the Edit menu in the Menu Bar and choosing Undo Brush Tool. Or press Ctrl+Z (Win) / Command+Z (Mac) on your keyboard:
Resize your brush using the left or right bracket key on your keyboard. Press the left bracket key ( [ ) repeatedly to make the brush smaller or the right bracket key ( ] ) to make it larger.
Learn more: Photoshop's hidden Brush Tool tips and tricks!
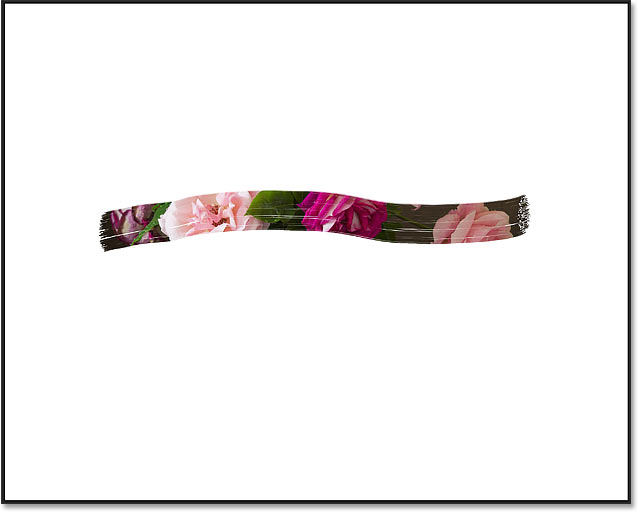
Then paint another stroke across the image to judge the result. And with my image, a larger brush size looks better:
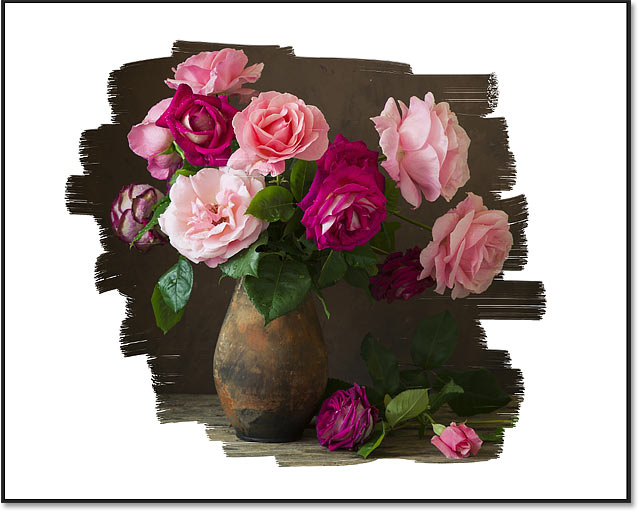
Paint over the main subject
When you're happy with the brush size, paint over the center of the document to make sure the main subject of your photo is visible. For best results, release your mouse button after each new stroke.
If you make a mistake, press Ctrl+Z (Win) / Command+Z (Mac) to undo your last brush stroke and try again:
Paint near the edges
Then paint around the main subject, leaving enough white space near the edges for the border. Try to paint each stroke at a different angle for a more interesting look.
Again, press Ctrl+Z (Win) / Command+Z (Mac) to undo your last brush stroke if you make a mistake:

See also: Turn your photo into a watercolor painting with Photoshop!
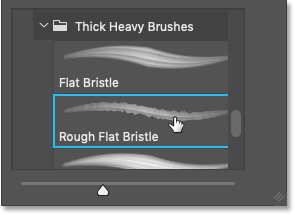
Step 9: Select the "Rough Flat Bristle" brush
So far so good. But let's enhance our painted edges with a different brush.
Right-click (Win) / Control-click (Mac) anywhere inside the image to re-open the Brush Preset picker. Then, still inside the Thick Heavy Brushes folder, choose the Rough Flat Bristle brush by double-clicking on its thumbnail:
Step 10: Paint small strokes along the top and bottom edges
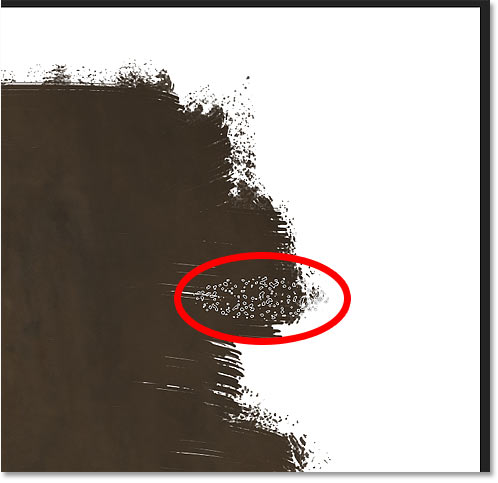
With the new brush active, go along the top and bottom of the image and use small strokes to add random paint specks and splatters to the effect. Ignore the sides of the image for now.
Try to keep most of the brush cursor inside the area where you have already painted so that only part of the cursor extends into the white border area. Make sure to paint very small strokes because you don’t want to overdo it. Even a few clicks on an area with the brush can be enough.
Notice here that most of my brush cursor remains over the image. Only the top part of the cursor is extending into the border:

Just as we did earlier, you may need to resize the brush using the left and right bracket keys on your keyboard. And as always, mistakes can be easily corrected by pressing Ctrl+Z (Win) / Command+Z (Mac.
Here's my result after adding random paint splatters along the top and bottom edges of the border:

See also: Create a matted picture frame with Photoshop!
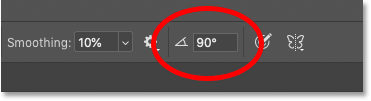
Step 11: Change the angle of the brush to 90°
Before you paint along the left and right edges, go up to the Options Bar and change the Angle of the brush to 90°:
Step 12: Paint along the left and right edges
Then with the brush rotated on its side, click or paint small strokes along the sides of the image to add more random paint splatters to the border.
Again, notice that only a small part of my brush cursor extends into the border as I paint:
Continue painting or clicking along each side to finish the effect:

How to add a canvas texture to the image
So at this point, the main photo border is complete. But there are a couple more ways we can enhance the effect. One way is by adding a canvas texture, and it's easy to create one in Photoshop.
Step 1: Add a new blank layer
With the fill layer active, press and hold the Alt (Win) / Option (Mac) key on your keyboard, and in the Layers panel, click the Add New Layer icon:
Then in the New Layer dialog box, name the layer "Texture" and click OK:
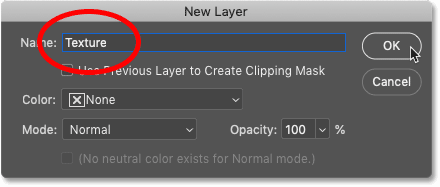
Back in the Layers panel, the "Texture" layer appears above the fill layer:
Step 2: Fill the layer with white
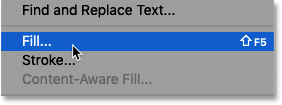
With the "Texture" layer selected, go up to the Edit menu in the Menu Bar and choose Fill:
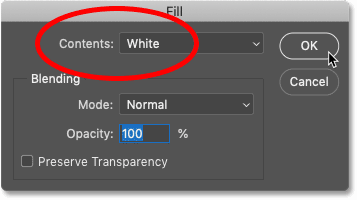
Then in the Fill dialog box, set the Contents to White and click OK:
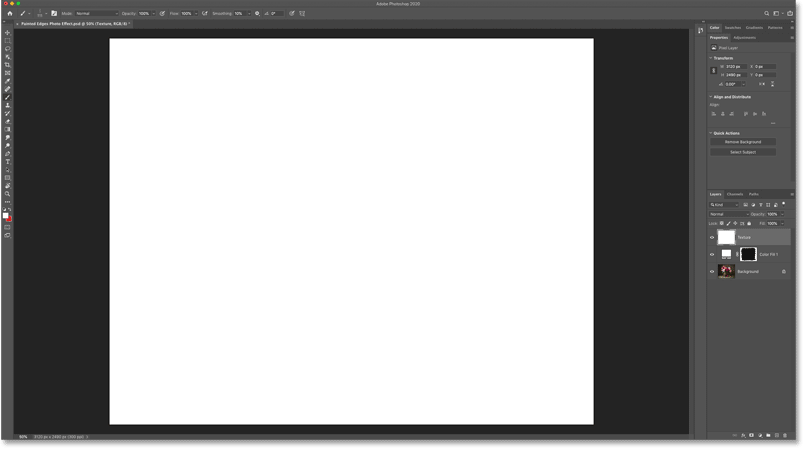
Photoshop fills the "Texture" layer with white and blocks the image and the photo border from view:
Step 3: Apply the Texturizer filter
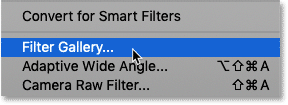
To create the canvas texture, go up to the Filter menu in the Menu Bar and choose Filter Gallery:
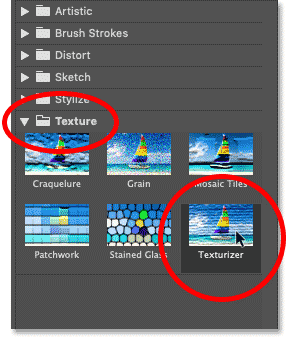
Then in the large Filter Gallery dialog box, twirl open the Texture category in the middle column and select the Texturizer filter by clicking on its thumbnail:
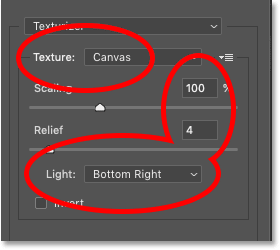
The options for the Texturizer filter appear in the upper right of the Filter Gallery.
Set the Texture option to Canvas, leave Scaling set to 100% and set the Relief value to 4. Then choose Bottom Right for the Light direction:
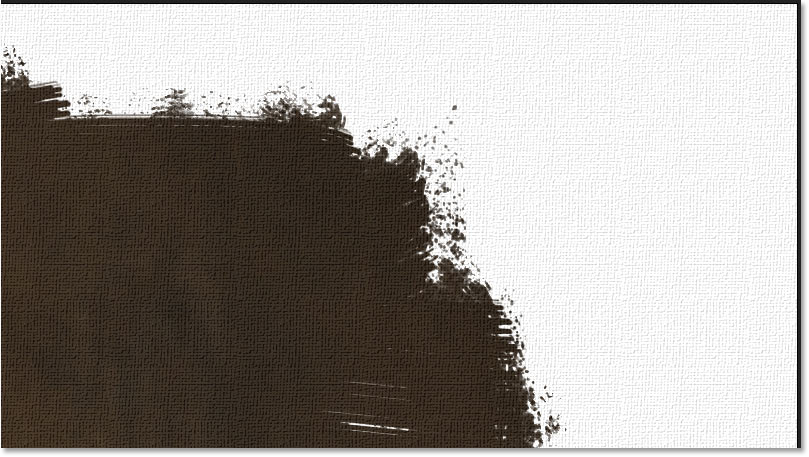
Click OK to close the Filter Gallery, and Photoshop fills the layer with the canvas texture.
Here's a close-up of the texture pattern to make it easier to see:

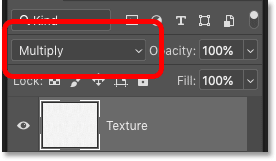
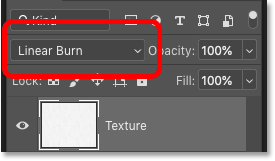
Step 4: Change the texture's blend mode
To blend the canvas texture with the image and the border, change the layer's blend mode from Normal to Multiply:
Or for a stronger effect, try the Linear Burn blend mode instead:
You can then adjust the texture's brightness if needed by lowering the layer's Opacity value:

Here's a close-up of my texture using the Linear Burn blend mode set to 70% opacity:
Related: Three ways to blend two images together in Photoshop!
How to change the color of the photo border
And finally, if you want a different color than white for your photo border, double-click on the fill layer's color swatch in the Layers panel:
This re-opens the Color Picker. Now you could choose a color from the Color Picker, but a better option is to sample a color directly from the image.
Simply move your mouse cursor over a color and then click to sample it. You can try different colors, and each time you click, Photoshop will set that color as the color of the border.
For example, I'll click on one of the flower petals:
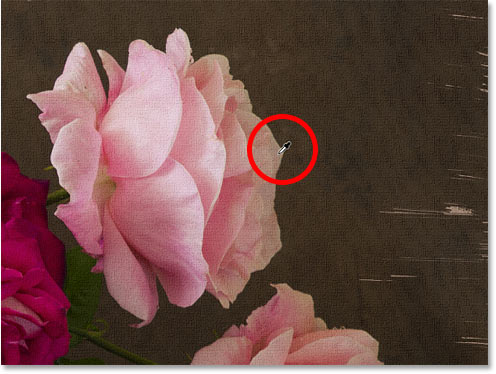
And that color instantly becomes the new color of my border.
Once you find a color you like, click OK to close the Color Picker:
And there we have it! That's how to create a painted edges photo border in Photoshop!
Visit our Photo Effects section for more Photoshop tutorials. And don't forget, all of our Photoshop tutorials are ready to download as print-ready PDFs!