
How To Create A Watercolor Painting Effect In Photoshop
Download PDF: CC - Watercolor Painting Effect
In this tutorial, we'll learn how to easily turn a photo into a beautiful watercolor painting with Photoshop! To create the watercolor painting effect, we'll use a few layers, filters and blend modes, and we'll keep the effect fully editable using Photoshop's Smart Objects and Smart Filters. This way, you'll be able to go back and try different filter settings when you're done to fine-tune the results for your specific image.
I'll be using Photoshop CC but this tutorial is fully compatible with Photoshop CS6. If you're using Photoshop CS5 or earlier, you'll want to check out the original version of our watercolor painting tutorial.
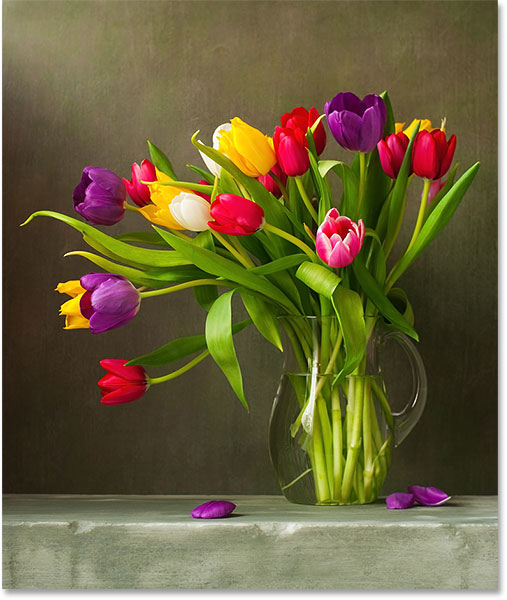
This effect works best on images where rich colors and strong contrast are more important than fine details. Here's the photo I'll be using (still life photo from Adobe Stock):
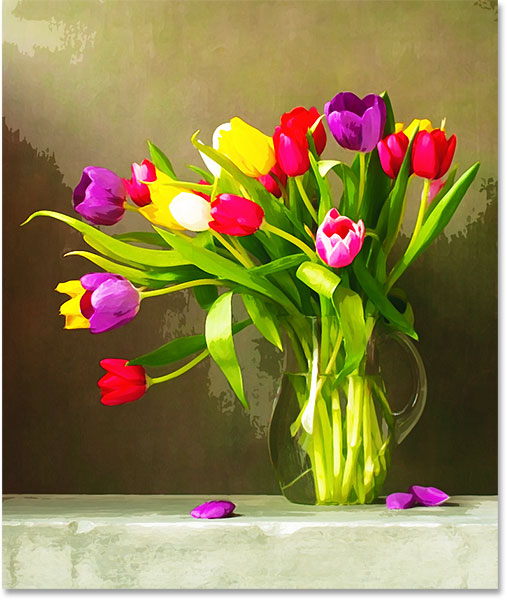
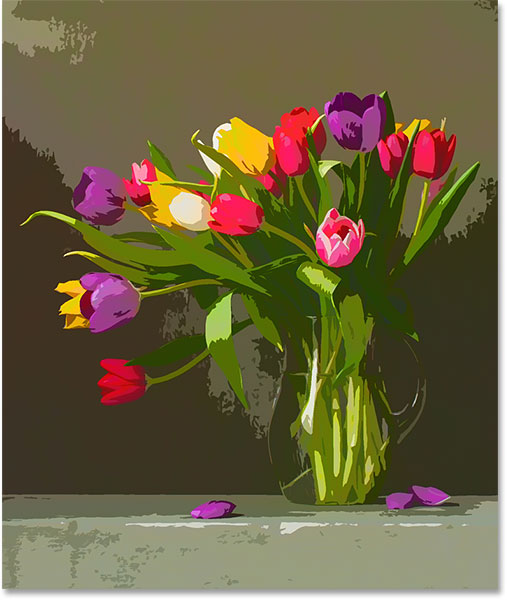
And here's what the final watercolor painting effect will look like when we're done:
Let's get started!
Related tutorials:
- How to use the Oil Paint filter in Photoshop
- Painted edges photo border effect
- Create a Pointillism painting in Photoshop
How To Turn A Photo Into A Watercolor Painting
Step 1: Duplicate The Background Layer
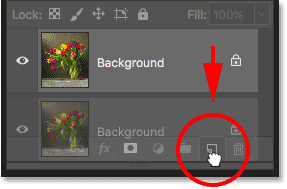
If we look in the Layers panel, we see our image sitting on the Background layer, which is currently the only layer in the document:

Let's duplicate the Background layer by clicking on it and dragging it down onto the New Layer icon at the bottom of the Layers panel:
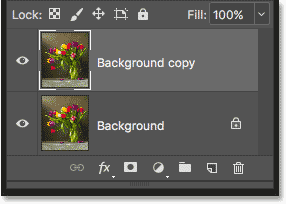
Release your mouse button, and Photoshop adds a copy of the Background layer, named "Background copy", above the original:
Watch the video and share your comments on our YouTube channel!
Step 2: Convert The Layer Into A Smart Object
Let's convert our new layer into a Smart Object. That way, when we apply a filter to it, the filter will be applied as a Smart Filter. Unlike Photoshop's regular filters which make permanent changes to the image, Smart Filters are non-destructive and fully editable, which means we'll be able to go back and make changes to the filter settings if we need to.
With the "Background copy" layer selected, click on the menu icon in the upper right corner of the Layers panel:
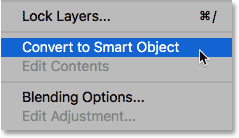
Then choose Convert to Smart Object from the menu:
It won't look like anything has happened to the image. But if we look at the "Background copy" layer's preview thumbnail, we now see a Smart Object icon in the lower right corner, telling us that the layer is now a Smart Object:
Step 3: Make Two Copies Of The Smart Object
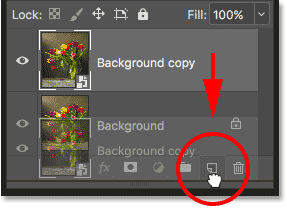
We need to make two copies of our Smart Object so that we end up with three in total. To make the first copy, click on the "Background copy" Smart Object and drag it down onto the New Layer icon at the bottom of the Layers panel:
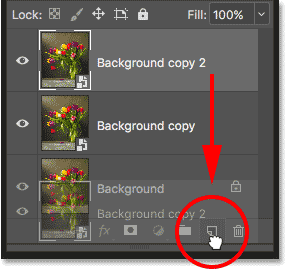
Then, to make the second copy, click on the "Background copy 2" Smart Object that appears and drag it down onto the New Layer icon:
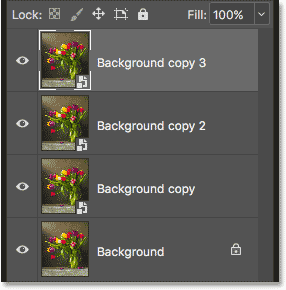
We now have three Smart Objects, along with the original Background layer on the bottom:
Step 4: Rename The Smart Objects
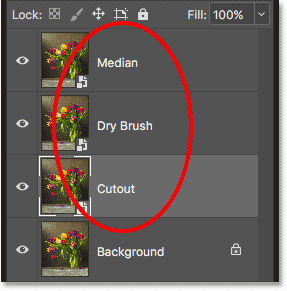
Rather than working with generic names like "Background copy 2" and "Background copy 3", let's rename our Smart Objects. We'll name them based on the filter we're going to apply to each one. Start by renaming the top Smart Object. Double-click on the name "Background copy 3" to highight it, and then enter Median for the new name.
Don't press Enter (Win) / Return (Mac) just yet. Instead, press the Tab key on your keyboard to jump down and highlight the next Smart Object's name. Change it from "Background copy 2" to Dry Brush. Then, press the Tab key again to jump down to the original Smart Object's name and change it from "Background copy" to Cutout. When you've renamed all three Smart Objects, press Enter (Win) / Return (Mac) on your keyboard:
Step 5: Hide The Top Two Smart Objects
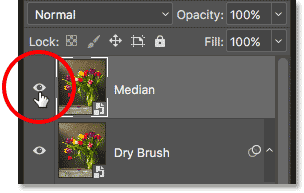
Hide the two Smart Objects at the top ("Median" and "Dry Brush") from view by clicking on their visibility icons. We'll come back to them in a few moments:
Step 6: Apply The Cutout Filter
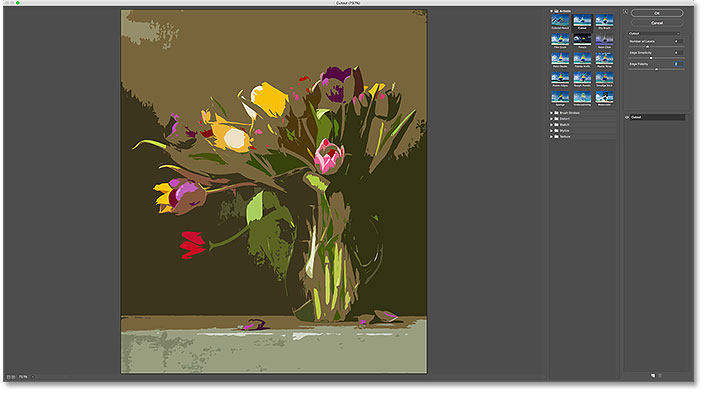
Make sure that the "Cutout" Smart Object is selected in the Layers panel. As you may have guessed from its name, the first filter we'll apply is Cutout. The Cutout filter is found in Photoshop's Filter Gallery. Go up to the Filter menu in the Menu Bar along the top of the screen and choose Filter Gallery:

This opens the Filter Gallery, with a large image preview area on the left, a filter selection column in the middle, and the controls and options for the selected filter on the right. If you can't see your entire image in the preview area, press Ctrl+0 (Win) / Command+0 (Mac) on your keyboard to choose the Fit on Screen view:
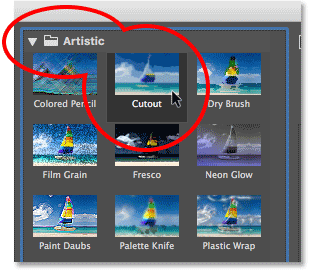
The filters in the middle column are organized into different folders, or categories. Select the Artistic category at the top, and then choose the Cutout filter by clicking on its thumbnail:
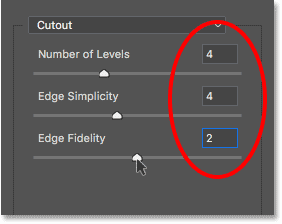
Once you've selected the Cutout filter, the options for it will appear on the right. Set both the Number of Levels and Edge Simplicity to 4, and then set the Edge Fidelity to 2. When you're done, click OK to close the Filter Galllery:
Step 7: Change The Blend Mode To Luminosity
Back in the Layer's panel, change the blend mode of the "Cutout" Smart Object from Normal to Luminosity:
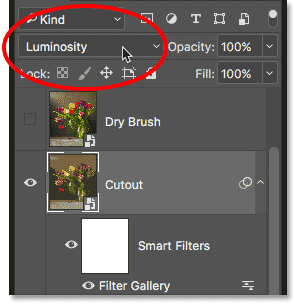
The Luminosity mode blends only the brightness values from the Cutout filter effect, allowing the colors from the original image on the Background layer to show through:
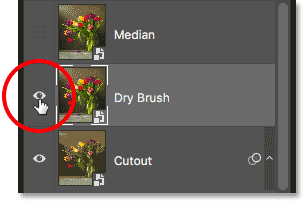
Step 8: Select And Turn On The "Dry Brush" Smart Object
In the Layers panel, click on the "Dry Brush" Smart Object to select it, and then click on its visibility icon to turn it back on:
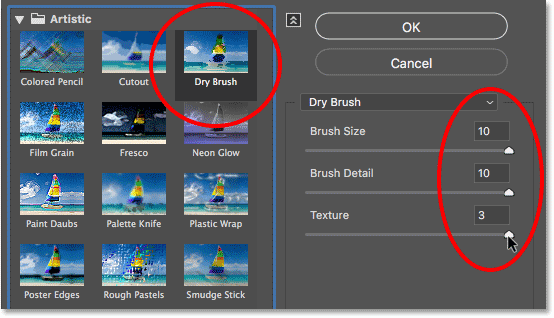
Step 9: Apply The Dry Brush Filter
To add more detail to the watercolor effect, we'll use Photoshop's Dry Brush filter. Like the Cutout filter, Dry Brush is found in the Filter Gallery. Go back up to the Filter menu in the Menu Bar and once again choose Filter Gallery. Since the Filter Gallery was the last item we chose from the Filter menu, you'll find it at the top of the list:

When the Filter Gallery re-opens, choose Dry Brush from the Artistic category. You'll find it directly beside the Cutout filter. Then, in the options for the Dry Brush filter, set both the Brush Size and the Brush Detail to 10, and set Texture to 3. Click OK when you're done to close out of the Filter Gallery:
Step 10: Change The Blend Mode To Screen Or Lighten
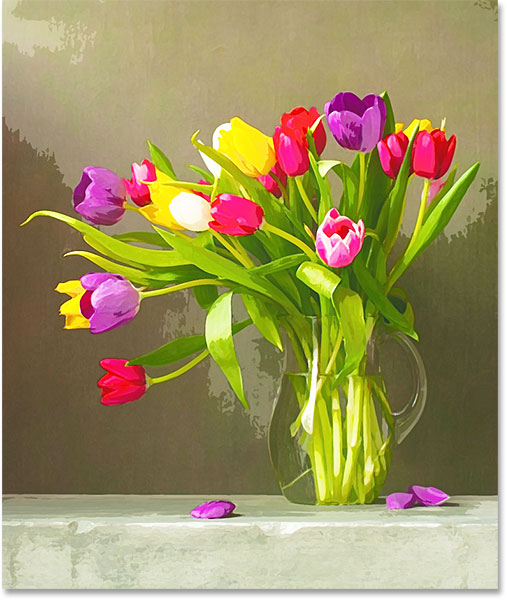
With the "Dry Brush" Smart Object still selected in the Layers panel, change its blend mode from Normal to Screen:
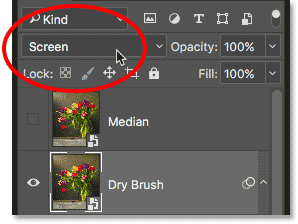
The Screen blend mode lightens the overall effect:
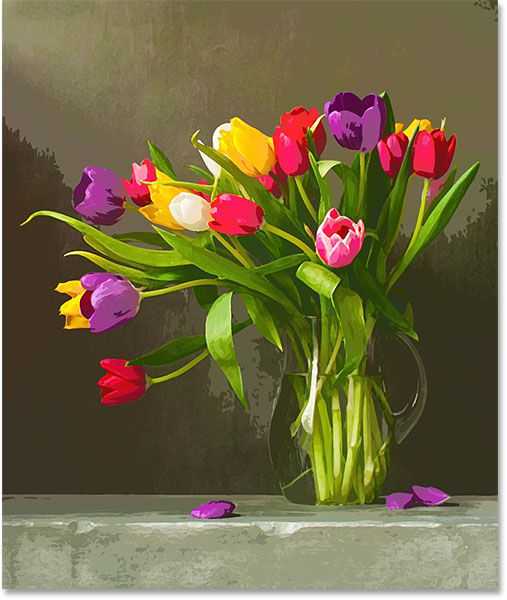
If you find that Screen makes your image look too bright, try the Lighten blend mode instead:
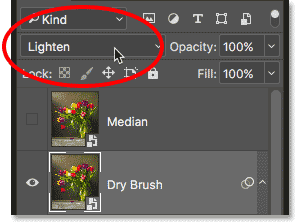
With the Lighten blend mode, you'll lose much of the brightening effect but you'll gain detail. Choose the blend mode that works best for your image. In my case, I prefer the Screen blend mode, but here's what the effect looks like using Lighten:
Step 11: Select And Turn On The "Median" Layer
Two filters down, one more to go. Click on the "Median" Smart Object in the Layers panel to select it, and then click on its visibility icon to turn it on:
Step 12: Apply The Median Filter
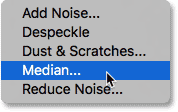
The third filter we'll use is Median, which will remove more of the detail in the image while keeping the edges of objects well-defined. Median is not found of the Filter Gallery. Instead, we access it by going up to the Filter menu, choosing Noise, and then choosing Median:
This opens the Median filter dialog box. Set the Radius value to 12 pixels, and then click OK:

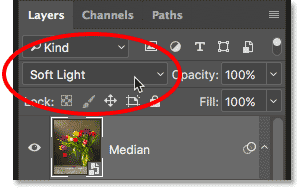
Step 13: Change The Blend Mode To Soft Light
Finally, change the blend mode of the "Median" Smart Object from Normal to Soft Light:
And with that, we're done! Here's my original image once again for comparison:
And here, after applying the Median filter and changing the blend mode to Soft Light, is my final watercolor painting effect:
Editing The Watercolor Painting Effect
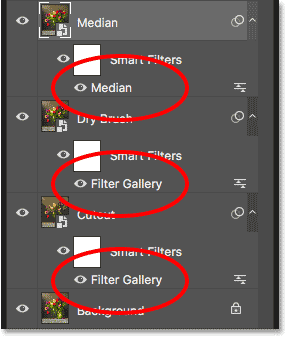
Even though we've completed the watercolor painting effect, you can still go back at this point and experiment with any of the Smart Filter settings to see if you can fine-tune the results for your specific image. If you look below each Smart Object in the Layers panel, you'll see the name of the Smart Filter that we applied to it. To re-open a filter's dialog box and change any of its settings, double-click on the filter's name. Double-clicking on "Filter Gallery" below either the "Cutout" or "Dry Brush" Smart Objects will re-open the Filter Gallery to the Cutout or Dry Brush filters. Once you've made your changes, click OK to close the filter's dialog box. Since Smart Filters in Photoshop are non-destructive, you can make as many changes as you like without losing image quality:
And there we have it! Visit our Photo Effects section for more Photoshop effects tutorials!