
Create Rainbow Eye Colors in Photoshop
Why limit yourself to a single eye color when you can choose every color in the rainbow! Learn how to give your subject rainbow-colored eyes with Photoshop!
In this tutorial, I show you how easy it is to turn someone's eyes into a rainbow of colors with Photoshop. To create the effect, all we need is a basic shape tool and one of Photoshop's rainbow-colored gradients. The only problem is that in Photoshop CC 2020, Adobe made changes to the gradients, and the gradient we need is not available by default. So the first thing you'll learn is where to find the gradient and how to load it into Photoshop.
From there, I'll show you how to create the main rainbow eye color effect, and how easy it is to create different variations, including how to reverse the gradient colors, how to rotate the colors around the eyes, and even how to choose different gradient styles. And best of all, we'll create the entire effect without making a single permanent change to the original image.
To follow along, you'll need Photoshop 2020 or later. You can get the latest Photoshop version here. or earlier versions of Photoshop, check out my original Rainbow Eye Color tutorial.
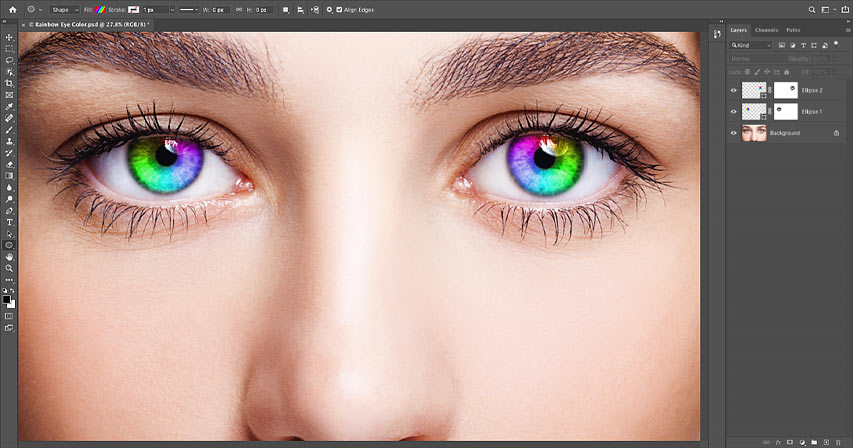
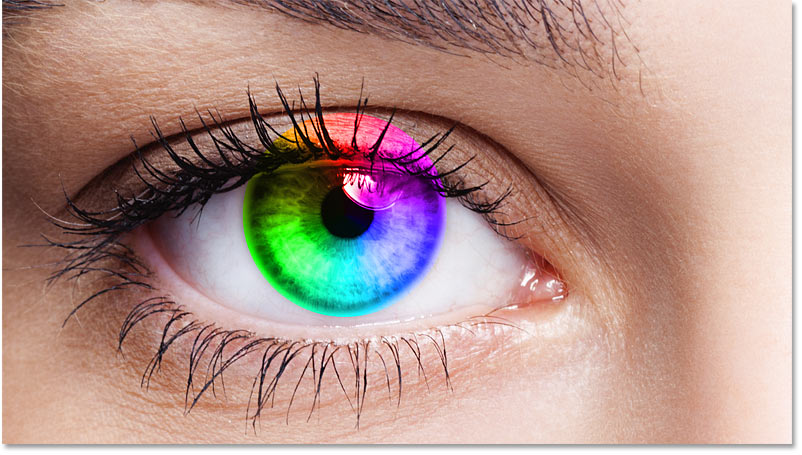
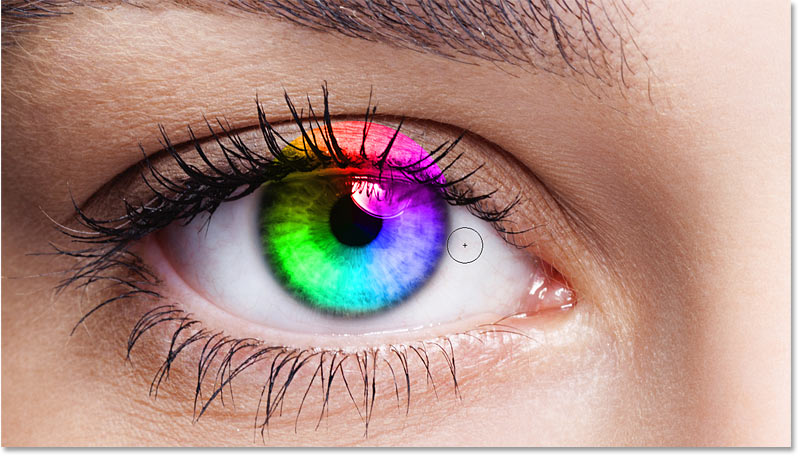
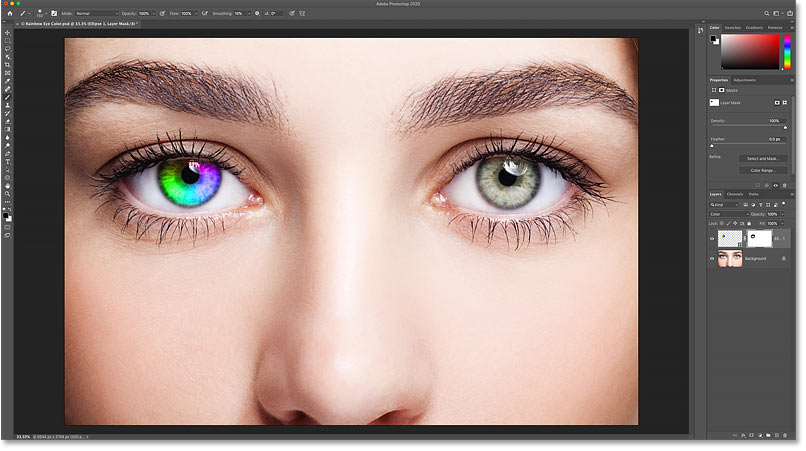
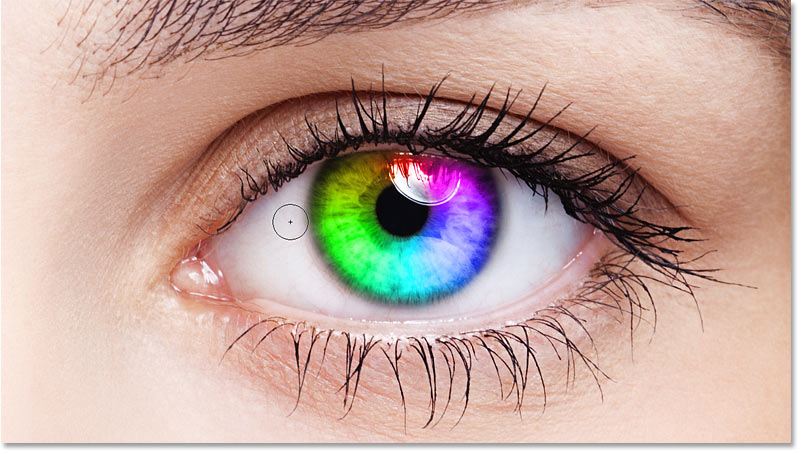
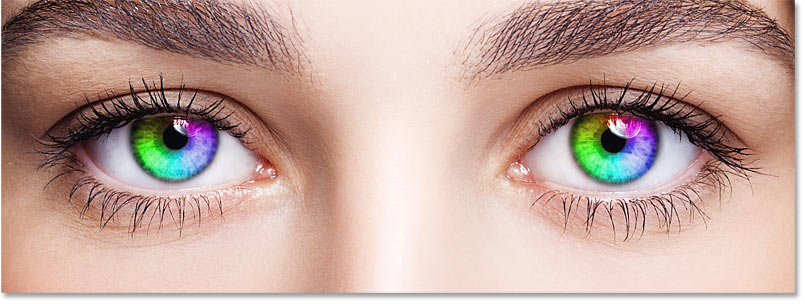
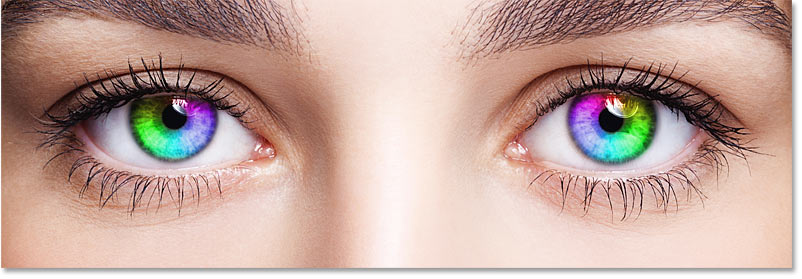
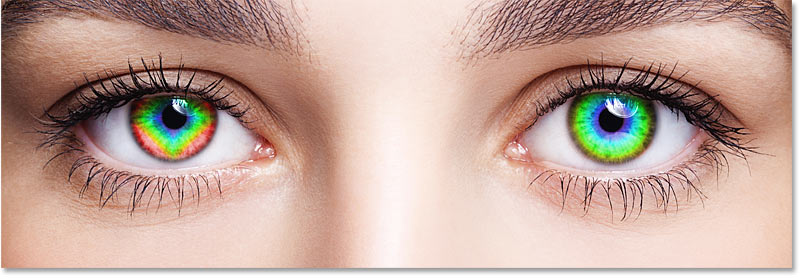
Here's what the main rainbow eye color effect will look like. As I mentioned, we'll be learning how to create different variations as well:

Let's get started!
Step 1: Open your photo
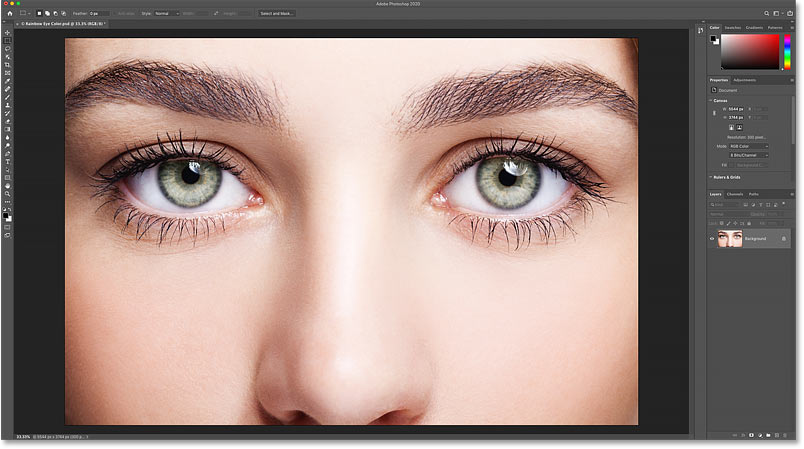
Start by opening your image into Photoshop. I'll use this image from Adobe Stock:
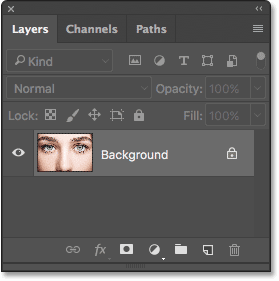
In the Layers panel, the image appears on the Background layer:
Step 2: Load Photoshop's legacy gradients
To give the eyes their rainbow colors, we'll use a gradient known as Spectrum. And in previous versions of Photoshop, Spectrum was easy to find because it was one of the default gradients. But Photoshop CC 2020 replaces the original default gradients with new ones, and the originals have all been moved into a Legacy Gradients set. And to use this set, we first need to load it into Photoshop.
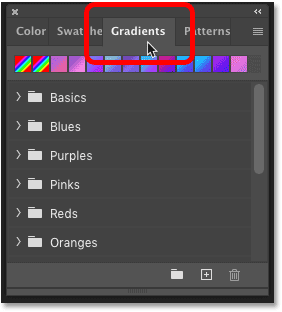
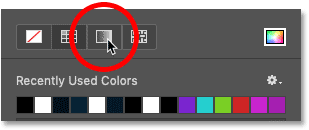
To load the set, open the Gradients panel. You'll find it in the same panel group as the Color, Swatches and Patterns panels:
Then click on the panel's menu icon in the upper right:
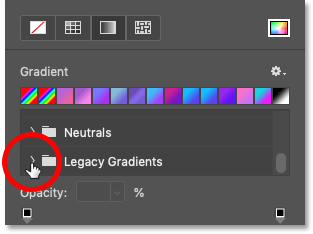
And choose Legacy Gradients from the menu:

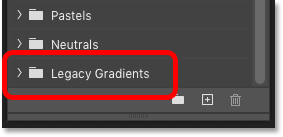
Scroll down through the folders in the Gradients panel and you'll find the new Legacy Gradients folder at the bottom. We won't be selecting our gradient from the Gradients panel, but we now have it loaded into Photoshop and ready for when we need it:
Related: The new gradients and Gradients panel in Photoshop CC 2020!
Step 3: Select the Ellipse Tool
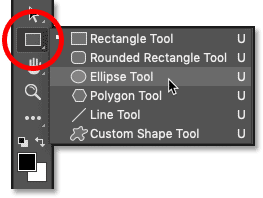
Next, select the Ellipse Tool from the toolbar. The Ellipse Tool is one of Photoshop's basic shape tools, and we can create most of the rainbow eye color effect using this one tool.
By default, the Ellipse Tool is hiding behind the Rectangle Tool. So to select it, right-click (Win) / Control-click (Mac) on the Rectangle Tool's icon and then choose the Ellipse Tool from the fly-out menu:
Step 4: Set the Tool Mode to "Shape"
In the Options Bar, make sure the Tool Mode is set to Shape, not Path or Pixels:
Step 5: Change the Fill Type to "Gradient"
Since we'll need to fill our shape with a gradient, click on the Fill color swatch in the Options Bar:
And then in the Fill Type dialog box, choose Gradient from the choices along the top:
Step 6: Choose the Spectrum gradient
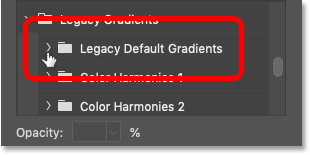
Still in the same dialog box, scroll down through the gradient folders until you reach the Legacy Gradients folder at the bottom (the one we loaded in earlier), and click on the arrow to the left of the folder icon to twirl it open:
Inside the Legacy Gradients folder, twirl open the Legacy Defaults Gradients folder:
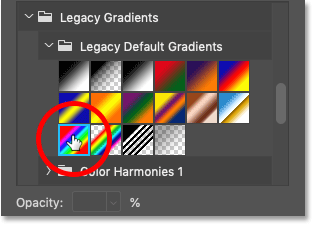
And then inside that folder, select the Spectrum gradient by clicking on its thumbnail:
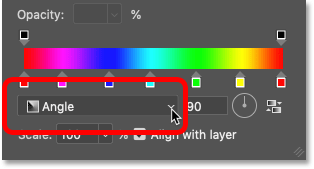
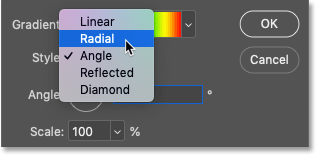
Step 7: Change the Gradient Style to "Angle"
With the Spectrum gradient selected, change the Gradient Style option from Linear (the default setting) to Angle. And when you're done, press Enter (Win) / Return (Mac) on your keyboard to close the dialog box:
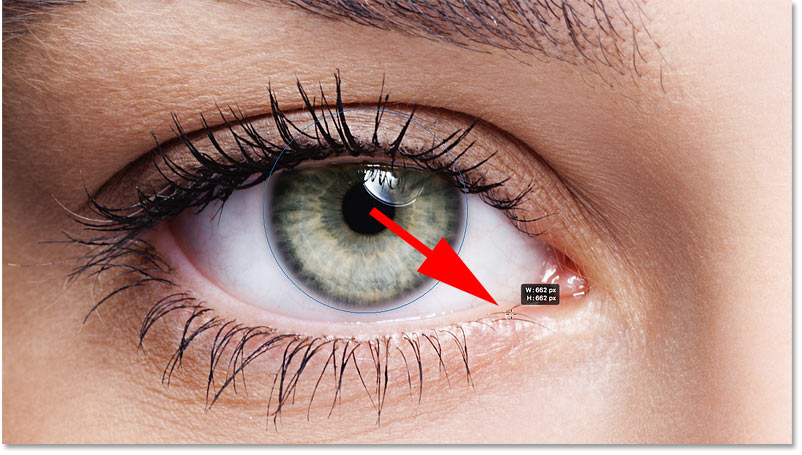
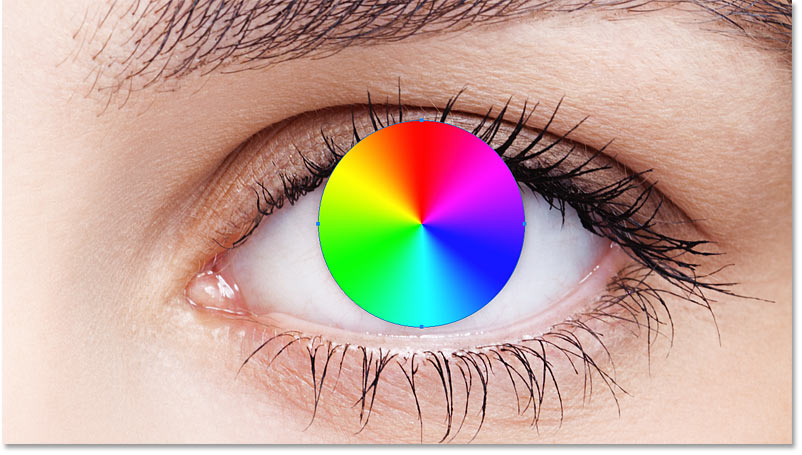
Step 8: Draw an elliptical shape over the first eye
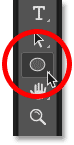
We're ready to draw our first shape. Choose one of the eyes (doesn't matter which one) and position your mouse cursor directly in the center of the pupil (the dark area in the middle). We're going to draw the shape out from this point.
I'll start with the left eye. Click in the center of the eye to set the starting point for the shape:

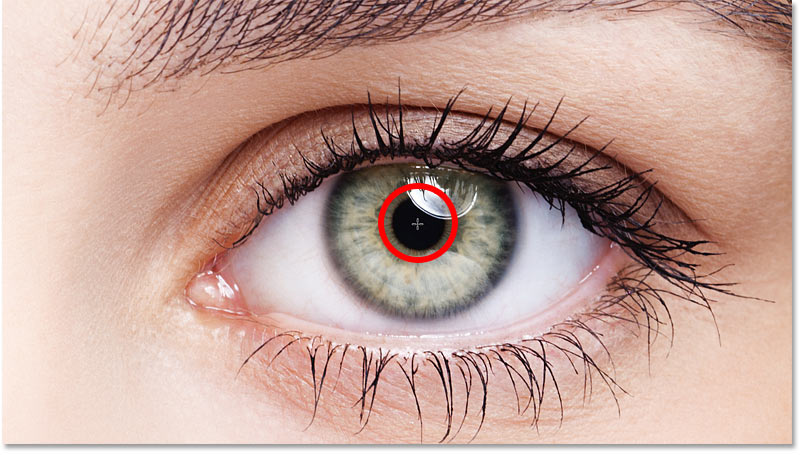
Then with your mouse button still held down, begin dragging away from that point in any direction. An outline of the shape will appear.
How to draw a perfect circle
Once you've started dragging, press and hold the Shift key on your keyboard and the Alt (Win) / Option (Mac) key. The Shift key locks the shape into a perfect circle, while the Alt (Win) / Option (Mac) key tells Photoshop to draw the shape from its center (the spot where you first clicked).
Continue dragging until the outline of the shape surrounds the entire iris (the colored area). Don't worry if some of the shape extends into the white of the eye or into the eyelids. We'll clean up those areas in a moment. For now, just make sure that the entire iris fits within the outline of the shape:
How to reposition the shape as you draw it
If you need to reposition the shape as you're drawing it, keep the Shift key and the Alt / Option key held down and add the spacebar. Drag your mouse to move the shape and center it over the eye, and then release the spacebar to continue drawing.
When you're done, release your mouse button, and then release your Shift and Alt (Win) / Option (Mac) keys. Make sure you release the keys after you've released your mouse button or you'll lose the effect that those keys were having.
Photoshop draws the shape and fills it with our Spectrum gradient:

Related: New drag and drop color swatches in Photoshop CC 2020!
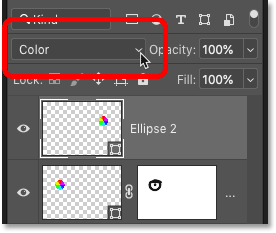
Step 9: Change the shape layer's blend mode to "Color"
In the Layers panel, the shape appears on its own shape layer above the image. To blend the colors of the gradient in with the eye, change the Blend Mode of the shape layer from Normal to Color:

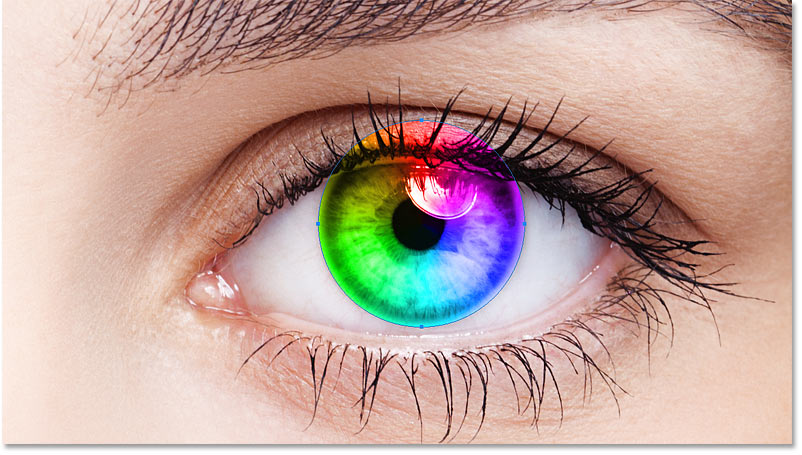
The Color blend mode colorizes the eye with the colors from the gradient. Don't worry if the outline is still visible around the shape. It will disappear as soon as we choose a different tool:
Related: The Top 5 Photoshop blend modes you need to know!
Step 10: Add a layer mask to the shape layer
To clear away the gradient from the white of the eye and the eyelids, we'll use a layer mask.
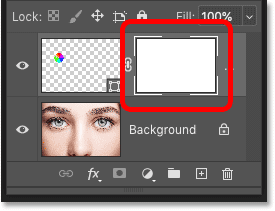
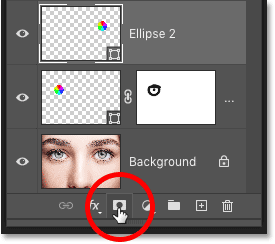
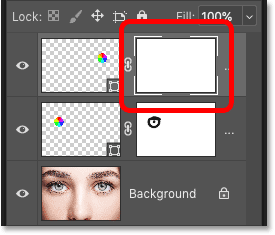
With the Shape layer still selected, click the Add Layer Mask icon at the bottom of the Layers panel:

A white-filled layer mask thumbnail appears on the shape layer. And notice the highlight border around the thumbnail. The border tells us that the layer mask, not the shape itself, is selected. This means that anything we do next will be done to the mask, not to the shape:
Step 11: Select the Brush Tool
We'll hide the unwanted areas of the gradient by painting over them with black on the layer mask.
First select the Brush Tool from the toolbar:
Related: Photoshop's hidden Brush Tool tips and tricks!
Step 12: Set the brush color to black
Photoshop uses the current Foreground color as the brush color, which means that to paint with black, we need to set our Foreground color to black. The current Foreground and Background colors appear in the two color swatches near the bottom of the toolbar. The Foreground color is the swatch in the upper left.
If your Foreground color is not set to black, press the letter D on your keyboard to quickly reset the Foreground and Background colors to their defaults. This sets the Foreground color to white and the Background color to black. Then press the letter X on your keyboard to swap the colors, making your Foreground color black:
Step 13: Paint around the iris
In the Options Bar, make sure the brush's Blend Mode is set to Normal, and that Opacity and Flow are both set to 100%:

Then simply paint around the outside of the iris to hide the unwanted colors from the gradient.
For best results, use a small soft-edge brush. To change your brush size from the keyboard, press the left bracket key ( [ ) repeatedly to make the brush smaller or the right bracket key ( ] ) to make it larger. Or to adjust the hardness of the brush, press and hold your Shift key while pressing the left bracket key to make the brush softer or the right bracket key to make the brush harder.
Here, I'm painting away the gradient that extends into the white areas of the eye. Since we're painting on a layer mask, we don't see our brush color as we paint. Instead, the gradient colors disappear in the areas we paint over:
I'll also paint over the eyelid at the top to remove the gradient colors from that area:

How to fix a mistake
If you make a mistake and paint away some of the color in the iris, press the letter X on your keyboard to swap your Foreground and Background colors. This will set your Foreground color to white. Paint over the area with white to restore the colors. Then press X to swap the colors again, setting your Foreground color back to black, and continue painting.
Finally, I'll paint inside the pupil in the center of the eye to remove the unwanted color from that area:
So far, so good. We now have our first eye colorized with our rainbow colors:
Step 14: Reselect the Ellipse Tool
Let's quickly do the same thing with the other eye. First, reselect the Ellipse Tool from the toolbar:
Step 15: Draw a shape over the second eye
All of the options we chose last time for the Ellipse Tool are still active, so there's no need to choose any of them again.
All we need to do is position our mouse cursor in the center of the other eye and click to set the starting point for the gradient:
Then keep your mouse button held down and begin dragging away from that spot in any direction. Once you've started dragging, press and hold Shift+Alt (Win) / Shift+Option (Mac) on your keyboard to lock the shape into a perfect circle and draw it out from its center.
Continue dragging until the entire iris is surrounded by the outline of the shape:
Release your mouse button, and then release your Shift key and your Alt (Win) / Option (Mac) key. Photoshop draws the second shape and fills it with the same Spectrum gradient:
Step 16: Change the shape's blend mode to "Color"
In the Layers panel, the second shape appears on its own shape layer. To blend the gradient colors in with the eye, change the Blend Mode of the layer from Normal to Color:
This colorizes the second eye:
Related: New ways to add gradients in Photoshop CC 2020!
Step 17: Add a layer mask
All we need to do now is clean up the areas around the iris. Add a layer mask by clicking the Add Layer Mask icon at the bottom of the Layers panel:
A white-filled layer mask thumbnail appears on the shape layer. And once again, the highlight border around the thumbnail tells us that the mask itself is selected:
Step 18: Select the Brush Tool
Select the Brush Tool from the toolbar:
Step 19: Paint away the unwanted color
Then with the Foreground color still set to black, paint over the white parts of the eye, the eyelid and the pupil in the center to hide the gradient colors from those areas:
And with that, the main part of our effect is done! Both eyes have been colorized with our rainbow colors:

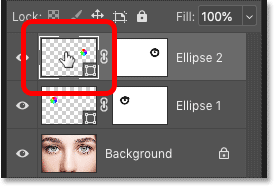
Step 20: Lower the opacity of the shape layers (optional)
If you find that the colors are too bright, causing some of the detail in the eyes to be lost, you can reduce the intensity of the colors by lowering the opacity of the shape layers. And we can lower the opacity for both shape layers at the same time.
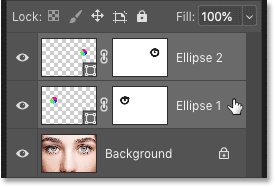
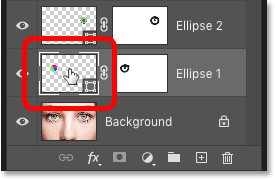
I currently have the top Shape layer ("Ellipse 2") selected in the Layers panel. So to select the other shape layer as well, I'll press and hold my Shift key and I'll click on the "Ellipse 1" layer. Both shape layers are now highlighted:
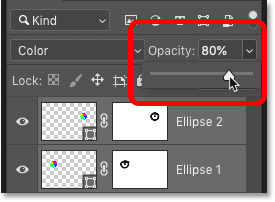
Then with both layers selected, I'll lower the Opacity value in the upper right of the Layers panel from 100% down to 80%:
With the opacity lowered, the colors appear slightly less intense, and more of the original detail in the eyes is visible:
How to customize the rainbow eye color effect
So now that we've created the initial rainbow eye color effect, let's learn how to customize it and create different variations. And we can do that just by editing the gradient settings.
To edit the gradient settings for one of the eyes, double-click on its shape thumbnail in the Layers panel. I'll start with the eye on the right:
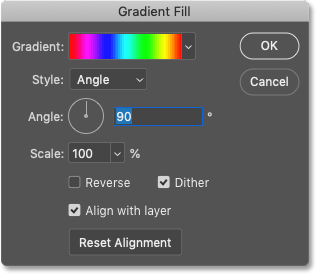
This opens the Gradient Fill dialog box with various options we can change:
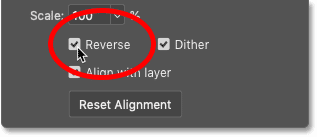
Option 1: Reversing the direction of the gradient
One thing we can do is reverse the direction of the colors in the gradient. And we do that by selecting the Reverse option:
Photoshop shows us a live preview of the effect so we can keep the Gradient Fill dialog box open as we experiment with the settings. But keep in mind that we're changing the effect for only one eye at a time. So to make the same change for the other eye as well, you'll need to double-click on its shape thumbnail in the Layers panel and use the same setting(s).
Here's what the effect looks like after reversing the colors in the right eye. The eyes now appear to mirror each other with their colors:
Option 2: Changing the angle of the gradient
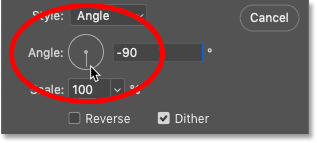
We can also rotate the colors around the eye using the Angle option. You can click inside the dial and drag it around to change the value, or you can enter a specific value.
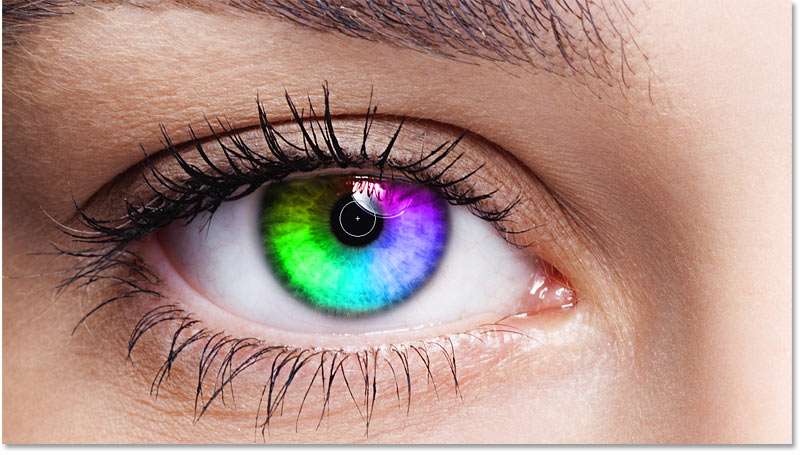
The default angle is 90°. At this angle, the color red is currently at the top of the eye. I'll change the angle to -90°:
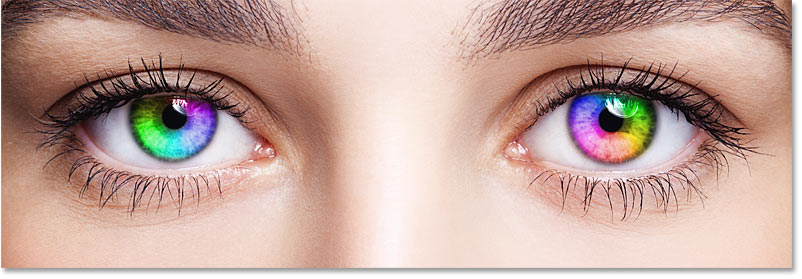
With the angle rotated, the red now appears at the bottom of the eye on the right:
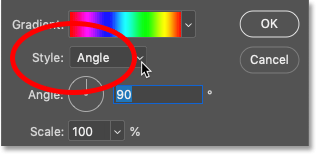
Option 3: Changing the gradient style
The other option we might want to change is Style. It's currently set to Angle because that's what we chose back when we were drawing the shapes:
But if you click on the box, you'll see other styles we can choose from. I'll select one of the more interesting ones, like Radial:
And here's what the Radial style looks like. Again, I'm only affecting the eye on the right at the moment:

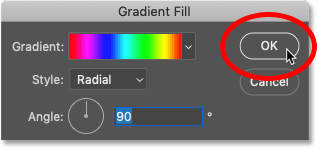
When you're done with your changes, click OK to close the Gradient Fill dialog box:
Changing the gradient settings for the other eye
To edit the gradient settings for the other eye, double-click on its shape thumbnail in the Layers panel:
And then in the Gradient Fill dialog box, make any changes you need.
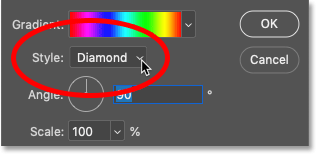
Just for fun, I'll set the Style of the gradient for the left eye to something different, like Diamond:
Then I'll click OK to accept my changes and close out of the Gradient Fill dialog box.
And now, both eyes have their own unique settings:
And there we have it! That's how to add rainbow eye colors to your subject with Photoshop! Looking for similar tutorials? Learn how to create a radial zoom eye effect, or how to simply change eye color in an image.
Visit our Photo Effects section for more tutorials. And don't forget, all of our Photoshop tutorials are available to download as PDFs!