
Create a Vertical Photo Collage with Photoshop
Learn how to turn your images into a fun vertical photo collage with Photoshop! A complete step-by-step tutorial for Photoshop CC.
In this tutorial, I show you how easy it is to create a vertical photo collage with Photoshop! We'll start by creating a new document and dividing it into vertical sections using Photoshop's guides. Then we'll draw selections from the guides and paste our images into the selections. We'll resize and reposition the images using Free Transform, and we'll add a stroke around the images using layer effects. And finally, I'll show you a quick way to unify the colors in your images so the entire collage blends together!
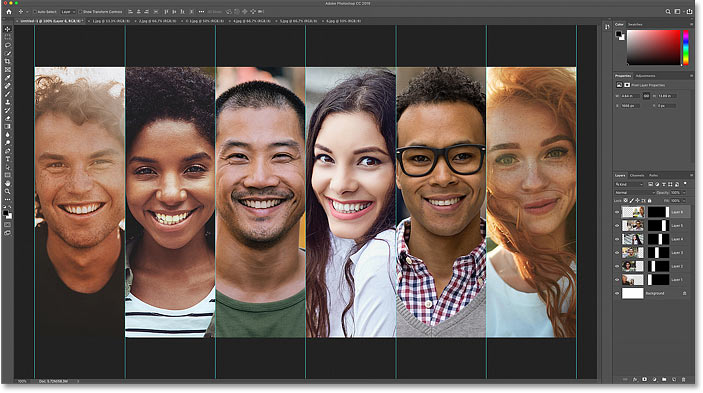
Here's what the final photo collage will look like when we're done. I've used six images here but this effect can be easily customized for as many images as you need:

Let's get started!
How to create a vertical photo collage
To follow along with this tutorial, you'll want to be using the latest version of Photoshop. We'll start by creating a new Photoshop document and then dividing it into as many sections as we need to display our images.
See Also: Turn a photo into a collage with Photoshop!
Step 1: Create a new Photoshop document
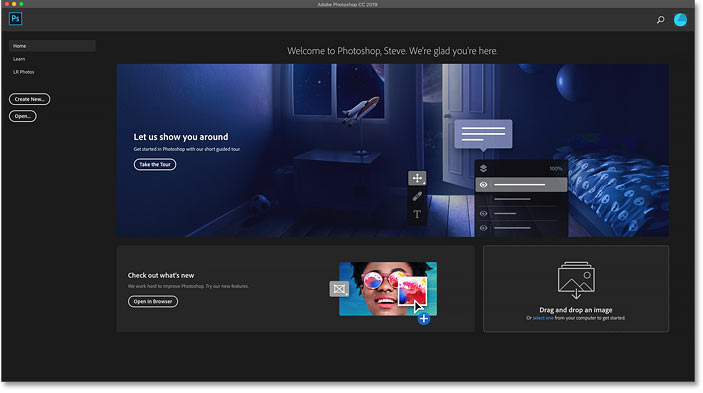
When you launch Photoshop CC without opening an image, you're taken to the Home Screen:
To create a new document from the Home Screen, click the Create New button in the column along the left:

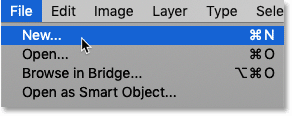
Or go up to the File menu in the Menu Bar and choose New:
Setting the document's Width and Height
Either way opens the New Document dialog box. In the Preset Details panel along the right, enter a width and height for your document. For this tutorial, I'll create a document that's twice as wide as it is tall. I'll set the Width to 2000 pixels and the Height to 1000 pixels:

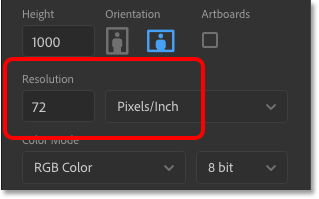
Setting the Resolution value
The Resolution value below the Width and Height only applies to print. So if you won't be printing your collage, you can ignore this value. But if you are creating this effect for print, then set the resolution to 300 pixels/inch, which is the industry standard for high quality printing. You'll most likely need a larger document size as well, and you'll want to set the Width and Height in inches rather than pixels.
In my case, since I won't be printing the collage, the Resolution value doesn't matter:
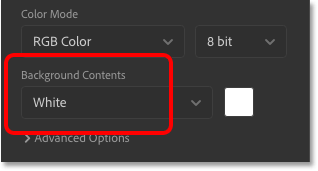
Choosing a background color
Leave the Background Contents set to White, and everything else at the default settings:
Creating the new document
Then to create the document and close the New Document dialog box, click the Create button:

The new document, filled with white, appears on the screen:
Step 2: Add vertical guides
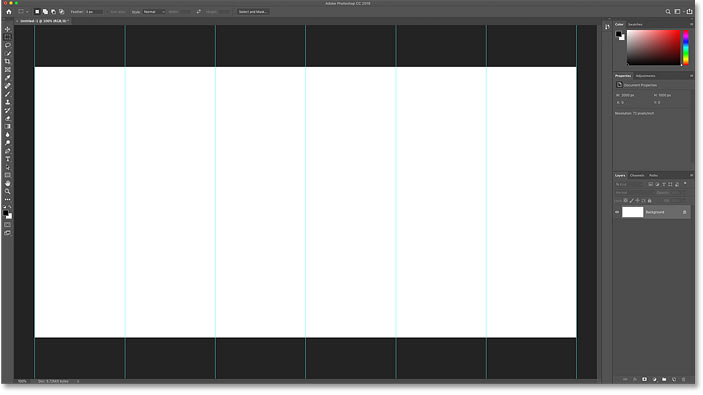
To divide the canvas into vertical sections, we'll use Photoshop's New Guide Layout feature. This feature is only available in Photoshop CC. To select it, go up to the View menu in the Menu Bar and choose New Guide Layout:

In the New Guide Layout dialog box, make sure the Columns option is selected (checked). Then enter the number of columns you need into the Number field. In my case, I have six images to display in the collage, so I'll enter 6.
Leave the Width field empty to let Photoshop divide the canvas into equal sections. And since we don't want any space between the columns, leave the Gutter field empty as well (or set it to 0). We also don't need any horizontal guides, so leave the Rows option unchecked. Then click OK to close the dialog box:

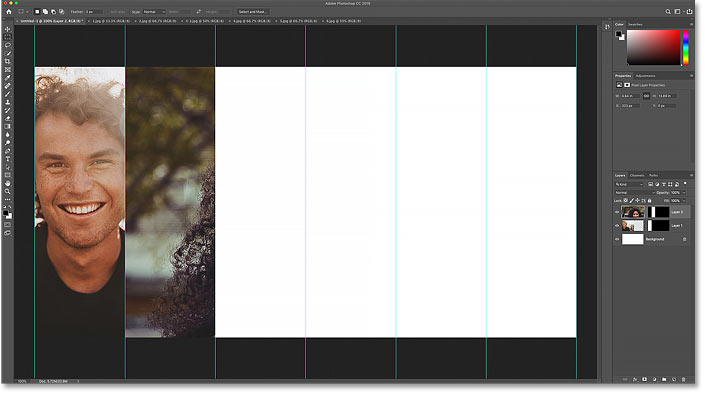
And we now have our guides dividing the canvas into vertical strips:
Step 3: Open your images
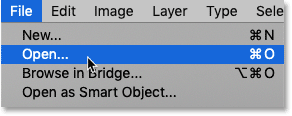
Next, open the images you want to place into the collage. Go up to the File menu and choose Open:
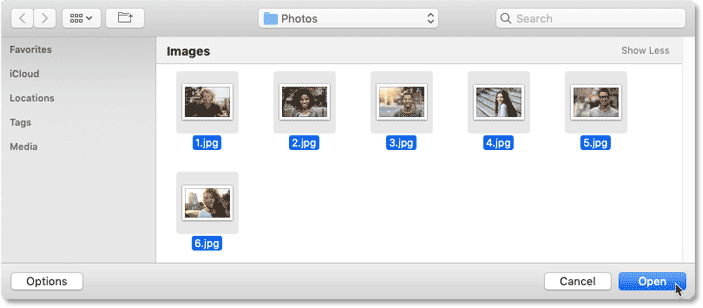
Then navigate to the folder that holds your images. To make things easier, I've renamed my images based on where they will appear in the collage from left to right. So "1.jpg" will be the first image on the left, "2.jpg" will appear beside it, and all the way to "6.jpg" on the right.
We're going to open all of our images into Photoshop at once. To select multiple images, hold Shift as you click on the thumbnails. Then click Open:
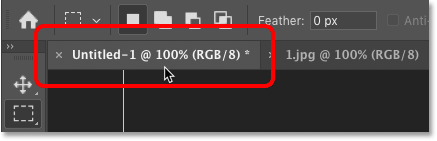
Step 4: Switch back to the main collage document
Each image opens in its own separate document, and you can switch between documents by clicking the tabs along the top:

Switch back to the main collage document ("Untitled-1") by clicking its tab:
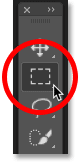
Step 5: Select the Rectangular Marquee Tool
At this point, moving your images into the collage is just a matter of repeating the same steps with each image. And the first step is to draw a selection around one of the vertical strips.
Select the Rectangular Marquee Tool from the toolbar:
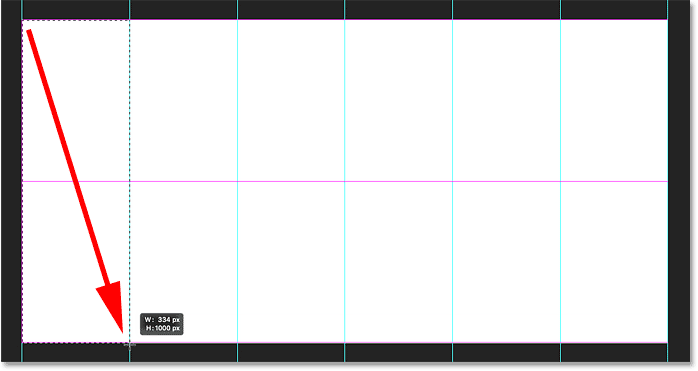
Step 6: Draw a selection around one of the vertical strips
Then draw a selection around one of the sections. Since we're working from left to right, I'll start with the first one on the left.
Click in the upper left corner of the section, and then keep your mouse button down and drag diagonally downward to the bottom right corner. Your selection outline should snap to the guides on both sides, as well as the top and bottom of the document. Release your mouse button, and your selection outline will appear around the entire area:
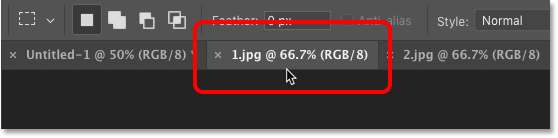
Step 7: Switch to one of your images
Switch to the image you want to place inside the selection by clicking its tab. I'll click on the tab for my first image, "1.jpg":
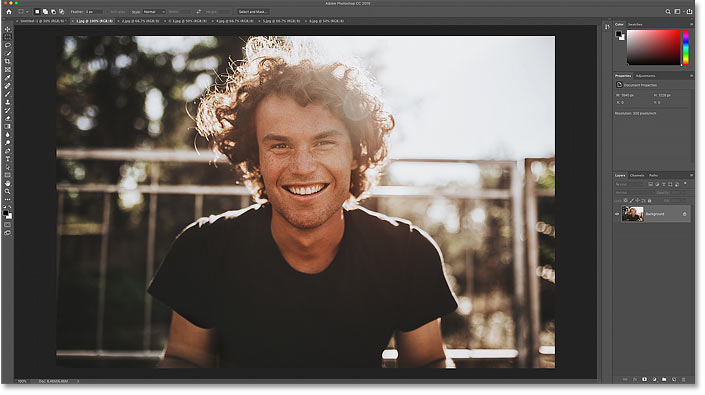
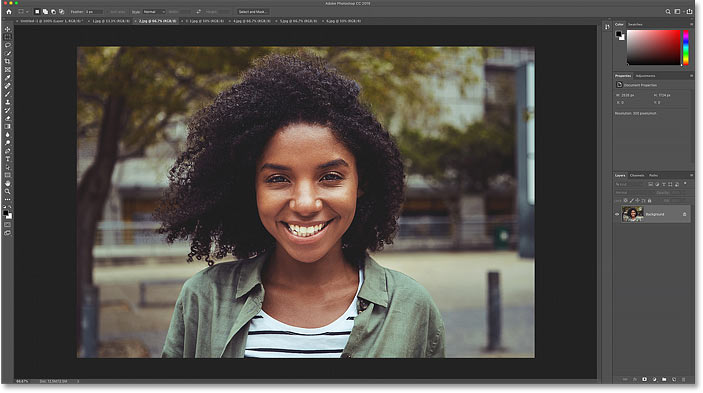
And here's the image I'm using. I downloaded all of my images from Adobe Stock:
Step 8: Select and copy the image
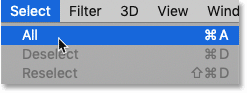
Select the image by going up to the Select menu and choosing All, or by pressing Ctrl+A (Win) / Command+A (Mac):
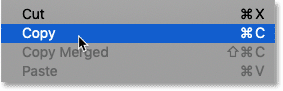
And then copy the image by going up to the Edit menu and choosing Copy, or press Ctrl+C (Win) / Command+C (Mac):
Step 9: Paste the image into the selection
Switch back to your main collage document by clicking its tab:
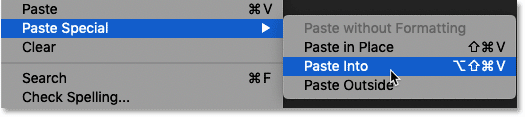
And then to paste the image into your selection, go up to the Edit menu, choose Paste Special, and then choose Paste Into:
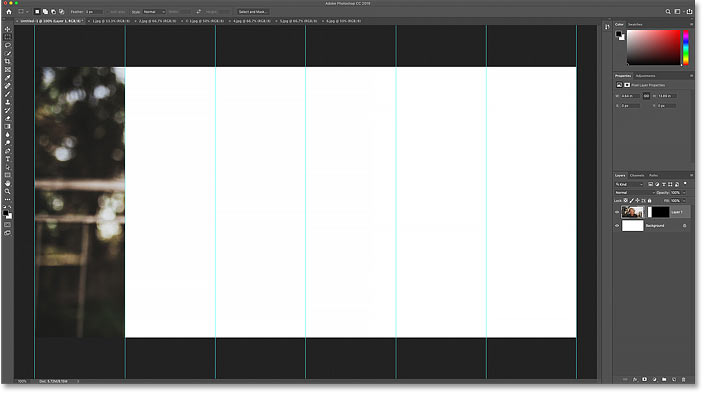
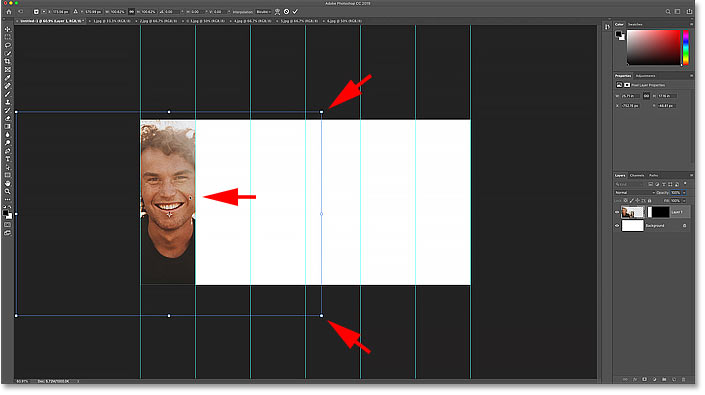
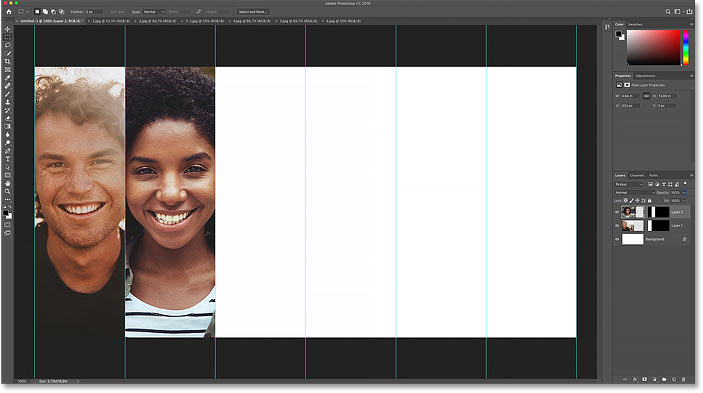
The image, or at least part of it, appears inside the section. Since the image is too big to fit within the narrow vertical strip, only part of the image is visible. And chances are, it's not the part you want to display. We'll learn how to move and resize the image in a moment:
Related: How to paste an image into another image with Photoshop
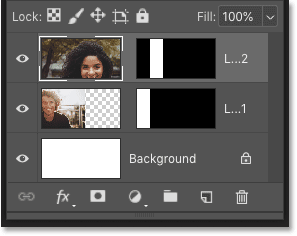
The selection is converted to a layer mask
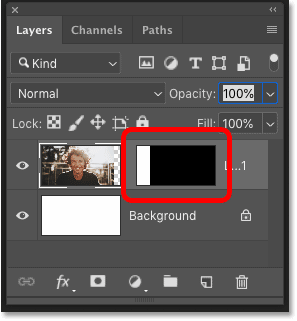
But notice that our selection outline is now gone. Instead, in the Layers panel, we see that not only has Photoshop placed the image on its own layer, but it also converted the selection outline into a layer mask.
The white part of the mask is the area that was inside our selection, and that's the area where the image is visible in the document. And the black part is everything that was outside the selection. This is where the image is hidden:
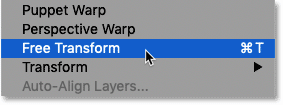
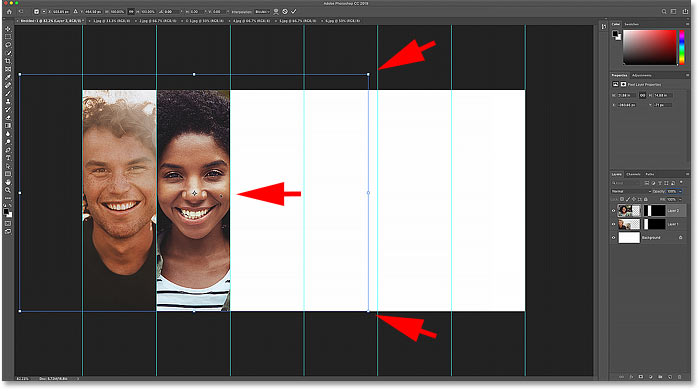
Step 10: Resize and move the image with Free Transform
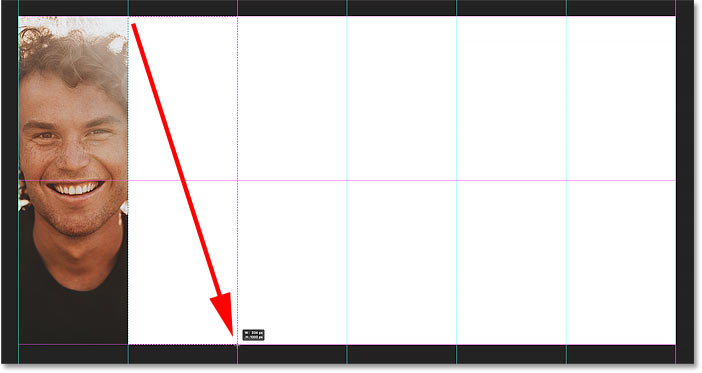
To resize the image inside the vertical strip and move our subject into place, we'll use Photoshop's Free Transform command. Go up to the Edit menu and choose Free Transform, or press Ctrl+T (Win) / Command+T (Mac):
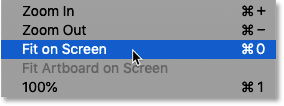
This places the Free Transform box and handles around the image. If you can't see all of the transform handles because your image extends beyond the viewable area of the document, go up to the View menu and choose Fit on Screen, or press Ctrl+0 (Win) / Command+0 (Mac):
Then drag the handles to resize the image within the vertical strip. As of Photoshop CC 2019, dragging a handle scales the image proportionally, so there's no longer any need to hold Shift. But if you want to scale the image from its center rather than from the opposite side or corner, hold Alt (Win) / Option (Mac) as you drag.
And to move your subject into view, click and drag inside the Free Transform box:
To accept it and close Free Transform, press Enter (Win) / Return (Mac). Then zoom back in on your document if needed by holding Ctrl (Win) / Command (Mac) and pressing the plus sign (+) on your keyboard. And we've now placed our first image into the collage:
Step 11: Repeat the same steps to add more images
Now that we know how to place an image into the collage, adding the rest of our images is just a matter of repeating the same steps. Here's a quick summary:
Select a new section of the collage
First, use the Rectangular Marquee Tool to draw a selection around the next vertical section:
Switch to the next image
Then switch to the image you want to place inside the selection by clicking its tab:
Here's the second image I'm using:
Select and copy the image
Select the image by going to Select > All, and then copy it by going to Edit > Copy:

Paste the image into the selection
Switch back to your main collage document by clicking its tab:
And then paste the image into the selection by going to Edit > Paste Special > Paste Into:
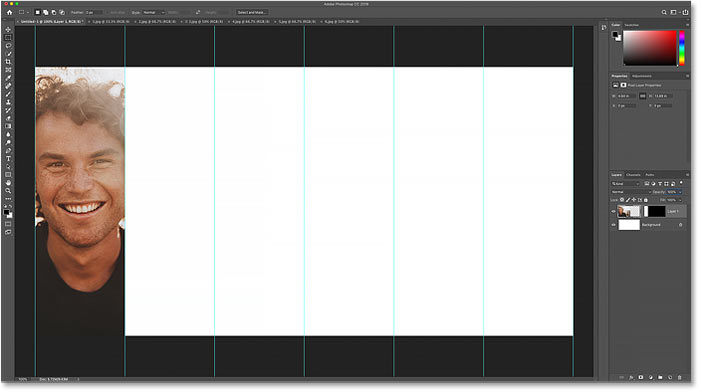
The image will appear inside the section:
And in the Layers panel, you'll see that Photoshop has placed the image on its own layer and converted the selection outline into a layer mask:
Resize and move the image with Free Transform
Go to Edit > Free Transform, or press Ctrl+T (Win) / Command+T (Mac), to place the Free Transform box and handles around the image. And if you can't see all of the handles, go to View > Fit on Screen or press Ctrl+0 (Win) / Command+0 (Mac):
Then resize the image by dragging the handles. Hold Alt (Win) / Option (Mac) to resize the image from its center. And to move your subject into place, click and drag inside the Free Transform box. You can also nudge the image into place using the arrow keys on your keyboard:
Press Enter (Win) / Return (Mac) to accept it and close Free Transform. And then to zoom back in on your image if needed, hold Ctrl (Win) / Command (Mac) and press the plus sign (+) on your keyboard:
Adding the remaining images
I'll use the same steps to quickly add the rest of my images to the collage, and here's the result. If you want to use the same images I've used here, you can download them from Adobe Stock (image 1, image 2, image 3, image 4, image 5, and image 6):
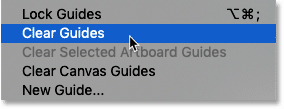
Step 12: Clear the guides
We don't need Photoshop's guides anymore. So to remove them, go up to the View menu and choose Clear Guides:
Step 13: Add a stroke around one of the images
To help separate the images in the collage, we'll add a stroke around them. And rather than adding the stroke to each image one at a time, we'll add it to just one of the images and then we'll copy and paste it onto the others.
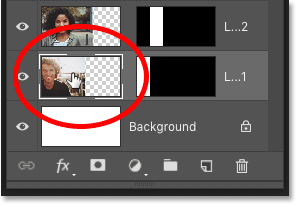
In the Layers panel, select the first image on the left of the collage by clicking its thumbnail. It should be the first layer above the Background layer:
Then click the Layer Effects icon (the "fx" icon) at the bottom:
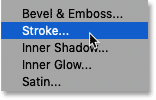
And choose Stroke from the list:
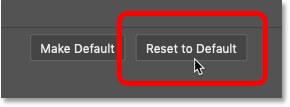
This opens the Layer Style dialog box set to the Stroke options. Click the Reset to Default button so we're both starting with the default Stroke settings:
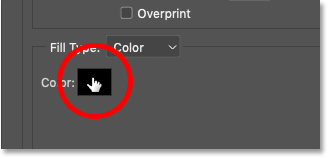
Then click the color swatch to choose a new color for the stroke:
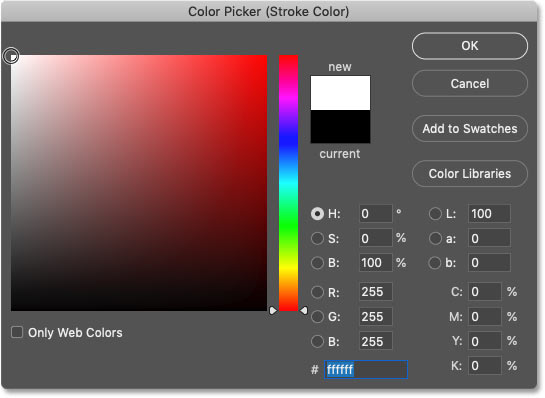
In the Color Picker, choose white, and then click OK:
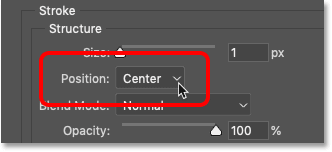
Set the Position of the stroke to Center so that the stroke's width will be divided equally between this image and the image beside it:
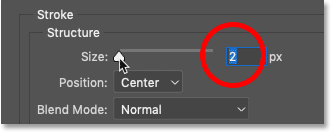
And finally, choose a Size for your stroke. Since I'm working with a low resolution image and I want a thin stroke, I'll set the size to 2 pixels. If you're creating your collage for print, you'll want a larger value. When you're done, click OK to close the dialog box:
And here we see a thin stroke around just that first image on the left:

Step 14: Copy and paste the stroke onto the other images
Now that we've added the stroke to the first image, we can quickly copy and paste it onto the others.
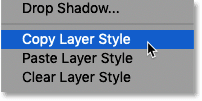
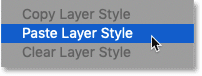
With the first image still selected in the Layers panel, go up to the Layer menu in the Menu Bar, choose Layer Style, and then choose Copy Layer Style:
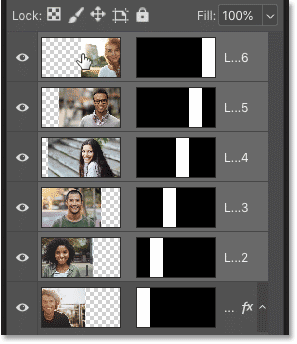
Then back in the Layers panel, select the other images. Start by clicking on the next image directly above the one where we applied the stroke:
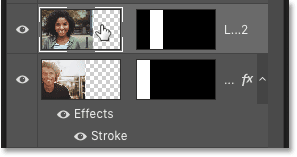
Then press and hold your Shift key and click on the image at the top. This selects both layers plus all layers in between:
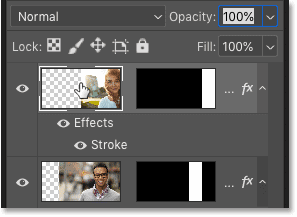
Go back up to the Layer menu, choose Layer Style, and this time choose Paste Layer Style:
And now the stroke appears around the other images as well:

Step 15: Add a new layer above the images
The only problem with the stroke is that if you look closely, you'll see that it appears only half as wide around the outside of the collage as it does between the images. To fix that, we'll add a new layer above the images and then apply another stroke.
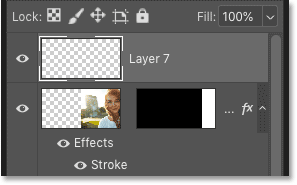
In the Layers panel, click on the top layer to select it:
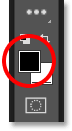
And then click the Add New Layer icon:
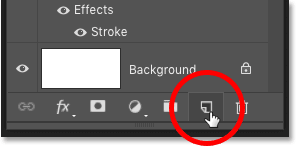
A new blank layer appears above the images:
Step 16: Fill the layer with a color
At the moment, the new layer is transparent. Photoshop won't display the stroke, or any other layer effect, in front of transparency. So we first need to add some content to the layer. And the quickest way is to fill the layer with our Foreground color.
By default, your Foreground color is black, as shown in the upper left color swatch near the bottom of the toolbar. We're going to hide the color as soon as we add it, so if your Foreground color is set to something else, that's fine:
To quickly fill the layer with your Foreground color, press Alt+Backspace (Win) / Option+Delete (Mac). The color temporarily blocks the collage from view:

Step 17: Paste the stroke onto the layer
Go back up to the Layer menu, choose Layer Style, and then choose Paste Layer Style:
The stroke appears around the outer edge. But it's still too thin, so we'll fix that next:

Step 18: Change the stroke Position to Inside
In the Layers panel, double-click on the Stroke effect below the top layer:
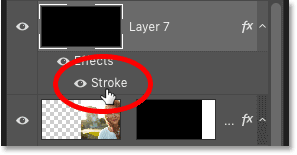
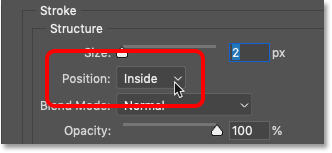
This reopens the Layer Style dialog box set to the same Stroke options we used earlier. Leave the Size value the same as before, but change the Position from Center to Inside. This will shift the entire width of the stroke to the inside of the image. Click OK when you're done to close the dialog box:
Step 19: Lower the Fill to 0 percent
Back in the Layers panel, hide the contents of the top layer by lowering the Fill value all the way down to 0%. Unlike the Opacity value which hides both the layer's contents and any layer effects we've applied, Fill hides only the contents. Layer effects, like our stroke, remain visible:
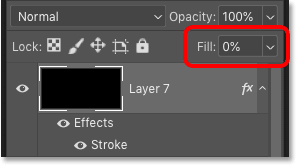
And with the Fill value at 0%, the collage reappears and our stroke is now the same width along the outer edges as it is between the images:

Step 20: Add a Solid Color fill layer
At this point, the main collage is done. But with so many different images being used, there's a good chance that we now have too many different colors all fighting for attention. So here's a quick way to unify the colors and blend the whole collage together.
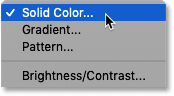
In the Layers panel, make sure the top layer is still selected. Then click the New Fill or Adjustment Layer icon at the bottom:
And choose a Solid Color fill layer from the list:
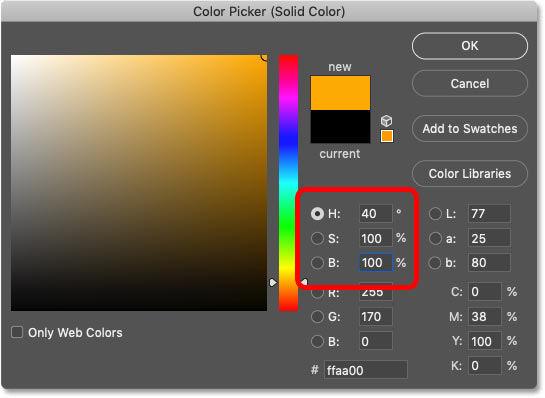
Step 21: Choose a color to blend into the collage
In the Color Picker, choose a single color to mix in with the others. I like to use orange because it also helps to warm the images up. I'll set the H (Hue) value to 40, the S (Saturation) value to 100, and the B (Brightness) value also to 100. Click OK when you're done to close the dialog box:
The fill layer appears above the other layers in the Layers panel, and the color temporarily blocks the collage from view:
Step 22: Change the fill layer's blend mode to Color
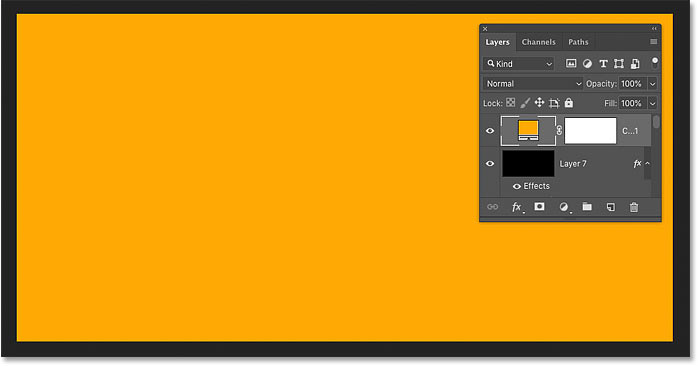
To blend the color in with the images, first change the Blend Mode of the fill layer in the Layers panel from Normal to Color:
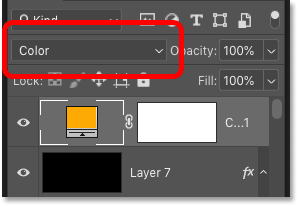
This lets us see the images, but the color is still too intense:

Step 23: Lower the fill layer's opacity
So to reduce the intensity and mix the new color in with the original colors, simply lower the fill layer's Opacity value. A good way to work is to start by lowering the opacity all the way down to 0% so you're seeing just the original colors. Then slowly increase the value until the result looks good. Generally, a value of 10-15% works well:
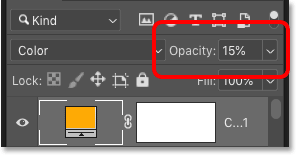
You can compare the colorized version with the original colors by clicking the fill layer's visibility icon to toggle the effect on and off:
And here, after lowering the opacity and unifying the colors, is my final vertical collage effect:
And there we have it! That's how to create a simple vertical photo collage in Photoshop! If you found this tutorial helpful, be sure to check out my other tutorials in our Photo Effects section. And don't forget, all of my tutorials are now available to download as PDFs!