Using Adjustment Layer Presets in Photoshop
Photoshop's Adjustments Presets use adjustment layers to quickly improve or add effects to your image non-destructively, and are a great way to learn how adjustment layers work!
Download the PDF: Using Adjustments Presets
Want to take advantage of adjustment layers in Photoshop but not sure how they work? A great way to start is with the Adjustments Presets.
Adjustments Presets are a quick and easy way to enhance or add effects to your image using one or more adjustment layers. To use a preset, you just select it from the Adjustments panel and the effect is instantly applied.
Since adjustment layers are non-destructive, you can edit or delete an Adjustments Preset without making any permanent changes to your image. Let’s see how they work.
Which Photoshop version do I need?
Adjustments Presets were introduced in Photoshop 2023. I’m using Photoshop 2024.
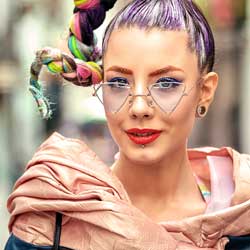
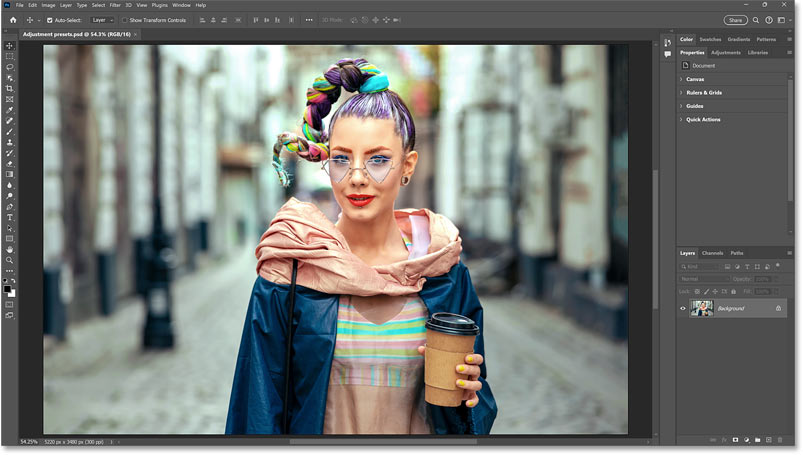
And I’ll use this image from Adobe Stock but you can follow along with any photo.
Let's get started!
Where do I find the Adjustments Presets?
The Adjustments Presets are found in Photoshop’s Adjustments panel, directly above the single adjustment layers.

If you’re not seeing the Adjustments panel, go up to the Window menu in the Menu Bar and choose Adjustments.

New! Save your own adjustment layer presets in Photoshop 2024
How to preview a preset without selecting it
The Adjustments Presets are displayed as thumbnails, but only a few of them are shown at first.
Hover your mouse cursor over a thumbnail to preview the effect on your image. Here I’m hovering my cursor over the Classic Black and White preset.

Photoshop shows you a preview of how your image would look with the preset applied. At this point we haven’t selected the preset. We're just previewing the effect.

Viewing all of the Adjustments Presets
Click the More button below the thumbnails to view the entire list of presets.

There are 32 Adjustments Presets in total, and they’re divided into groups (Portraits, Landscape, Photo Repair, Creative, Black & White, and Cinematic).
You may need to twirl a group open to view the presets inside it.

Again you can hover your cursor over any thumbnail to preview the result.
Here I’m hovering over the Soft Sepia preset from the Cinematic group.

And here’s what the sepia effect will look like if I select it.

Selecting an Adjustments Preset
To select a preset, click on its thumbnail.
I’ll select the Moody Blues preset from the Portraits group.

This preset adds a bluish tint to the image and makes it brighter.

The preset’s layer group and adjustment layers
In the Layers panel, the preset appears above your image as a layer group, with the name of the preset as the name of the group.
So here my layer group is named Portraits - Moody Blues
.

Inside the group are the adjustment layers included with the preset.
Some presets include a single adjustment layer. Others, like this one, include two or three.
The Moody Blues preset adds a Photo Filter and a Curves adjustment layer.

You can toggle the group open or closed to show or hide the adjustment layers inside it.

Or toggle the group on and off to view your image with and without the preset.

And you can toggle the individual adjustment layers on and off to see how each one contributes to the overall effect.
For example, if I turn off the Curves adjustment layer:

It’s easier to see that the Photo Filter adjustment layer is adding the bluish tint.

And if I turn Curves back on:

We see that the Curves adjustment is what’s making the image brighter.
So if I like the blue tint but not the brightening, I could simply turn the Curves adjustment layer off.

How to delete an Adjustments Preset
To delete the preset, click and drag its layer group down onto the trash bin at the bottom of the Layers panel.

Since adjustment layers are non-destructive, deleting the preset restores the original image.

How to edit an Adjustment Preset
Along with turning the adjustment layers on and off, you can edit the settings for an adjustment layer to customize the effect.
I’ll select a different preset, like Faded from the Landscape group.

This preset fades the image by reducing the color saturation.

In the Layers panel, the preset is added above my image as a layer group named Landscape - Faded
.
And inside the group is a single Hue/Saturation adjustment layer.

To edit an adjustment layer’s settings, double-click on its icon.
The settings open in Photoshop’s Properties panel.
And here we see that the preset set the Saturation value to -40 which is why the color is faded.

I could drag the Saturation slider to the left to fade the color even more, or drag it to the right to bring back some of the original saturation.

And at any time after making changes, you can reset the adjustment layer’s settings back to the preset defaults by clicking the Reset to Defaults button at the bottom of the Properties panel.

I’ll delete the Faded preset so we can look at one more way that an Adjustments Preset could be affecting your image.

Not all Adjustments Presets work the same way
Some Adjustments Presets can be a bit sneaky and leave you wondering how they work.
For example, I’ll add the Strong Contrast preset from the Photo Repair group.

This preset is making the contrast (and the color saturation) too strong, so I’ll need to dial it back.

In the Layers panel, we see my Photo Repair - Strong Contrast
group with a single Curves adjustment layer inside it.
I’ll double-click on the adjustment’s icon to view the curve in the Properties panel.

But here in the Properties panel, notice that the curve is still set to its default settings, with a straight diagonal line running from black in the lower left to white in the upper right.
If you’re not familiar with how curves work, what this means is that the curve is not actually doing anything. None of the original brightness values have been changed, which means it should have no effect on the image.
So how is the adjustment layer adding so much contrast?

The adjustment layer’s blend mode
Well, if we go back to the Layers panel, we find the answer.
This preset is not using the settings for the adjustment layer. Instead it’s using the blend mode.
Notice that the blend mode has been changed from Normal to Overlay, which is one of Photoshop’s blend modes that increases contrast. So simply by adding an adjustment layer and changing its blend mode, you can change the look of your image.

To reduce the contrast, I could change the blend mode from Overlay to Soft Light.

Soft Light gives us a more subtle contrast boost.
But with this image, it’s still too strong.

Related: Get our Layer Blend Modes Complete Guide PDF!
To reduce the contrast even more, we can lower the opacity of the adjustment layer. I’ll lower it to 30 percent.

And that looks better.
So keep in mind that while most of the Adjustments Presets use specific settings in the Properties panel, a few of them (in the Photo Repair group) use the blend mode instead.

How to hide the Adjustments Presets
Finally, if you’re a more advanced Photoshop user, you don’t want to use the Adjustments Presets and you don’t want them taking up space in the Adjustments panel, you can hide them.
Click the Adjustments panel menu icon:
Then switch from Modern view to Classic view.

You’ll be back to the old Adjustments panel showing just the single adjustment layers.
You can always switch to the Modern view to bring the presets back.

And there we have it! That’s how to quickly enhance or add effects to your image using the Adjustments Presets in Photoshop.
Related tutorials:
- Using the hidden Color Grading presets in Photoshop
- Image adjustments vs Adjustment layers
- Add color to black & white photos with the Colorize filter
Don't forget, all of my Photoshop tutorials are now available to download as PDFs!