
How To Place An Image In Text With Photoshop 2026
Download PDF: Placing An Image In Text
Placing an image inside text is one of Photoshop's most popular, classic effects. And thanks to the power of Clipping Masks, it is incredibly simple to do. Let's look at how it works.
This tutorial is fully compatible with Photoshop 2026 and earlier.
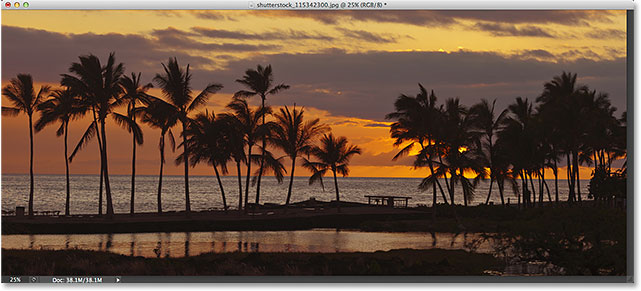
Here is the image I'm using (tropical beach sunset photo from Adobe Stock):
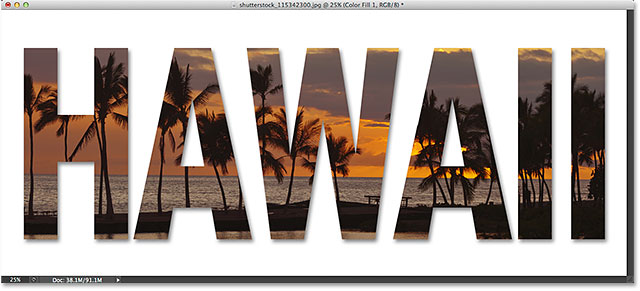
And here's what the same image will look like when placed inside text:
Let's get started!
How To Place An Image In Text With Photoshop
Note: While the screenshots below are from an older version of Photoshop, any differences are purely cosmetic. The text is fully updated and the steps work exactly the same in all versions up to and including Photoshop 2026.
Step 1: Duplicate The Background Layer
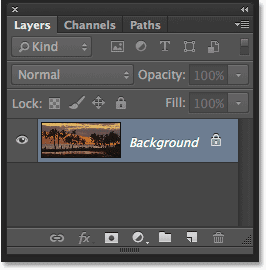
Open the image you want to place inside your text. In the Layers panel, your image sits on the Background layer.
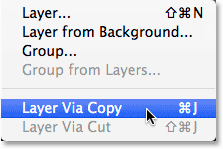
Make a copy of this layer by going to Layer > New > Layer via Copy, or press Ctrl+J (Win) / Command+J (Mac).
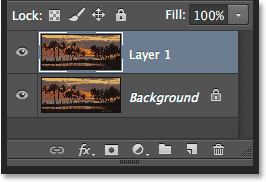
Photoshop creates a copy, names it Layer 1, and places it directly above the Background layer.
Step 2: Add A White Solid Color Fill Layer
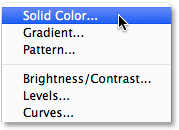
Add a solid background for the effect. Click the New Fill or Adjustment Layer icon at the bottom of the Layers panel.
Choose Solid Color.
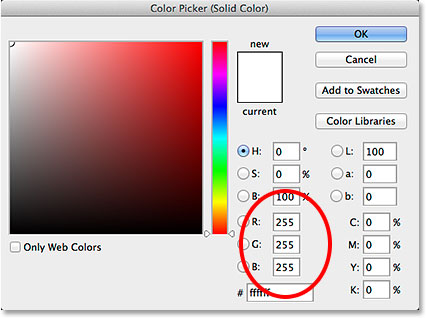
Photoshop opens the Color Picker. Choose white by entering 255 into the R, G, and B boxes. Click OK.
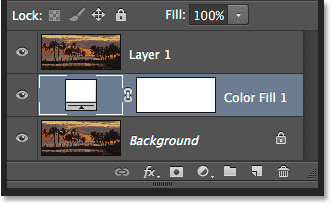
Check your Layers panel and you'll see the white fill layer (Color Fill 1) above the two image layers.
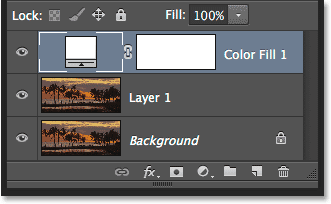
Because the new Fill layer sits above your image layers, your document is temporarily filled with white.
Step 3: Drag The Solid Color Fill Layer Below Layer 1
Click the Solid Color Fill layer and drag it between Layer 1 and the Background layer.
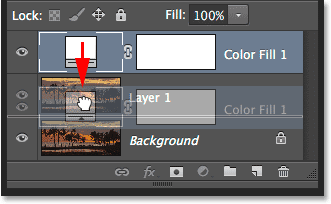
With Layer 1 now above the fill layer, your image reappears in the document.
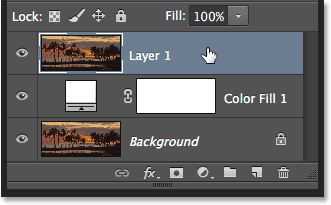
Step 4: Select Layer 1
Click Layer 1 in the Layers panel to make it active.
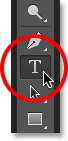
Step 5: Select The Type Tool
Select the Type Tool from the toolbar, or press T on your keyboard.
Step 6: Choose Your Font
Choose your font in the Options Bar. Fonts with thick letters work best for this effect. I'm using Arial Black. Don't worry about the font size for now; we'll resize it manually later.

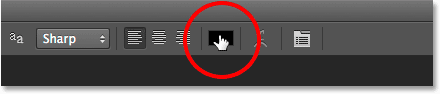
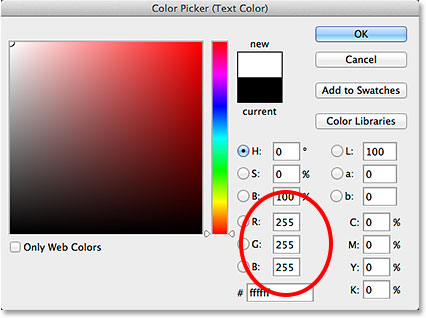
Step 7: Set Your Type Color To White
To help see the text as we add it, set your type color to white.
Click the color swatch in the Options Bar.
When the Color Picker opens, enter 255 for the R, G, and B values to choose white. Click OK.
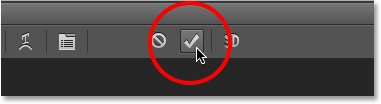
Step 8: Add Your Text
Click inside your document and type your text. I'll type HAWAII.
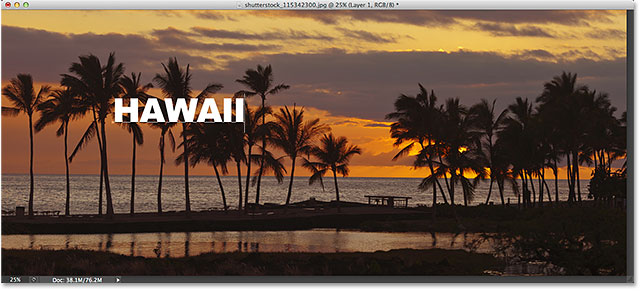
Click the check mark in the Options Bar to accept your text and exit editing mode.
Learn all about working with type in Photoshop with our Photoshop Type Essentials tutorial!
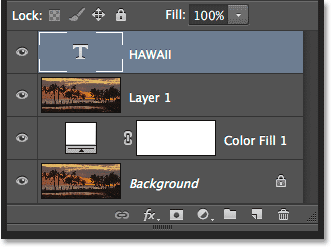
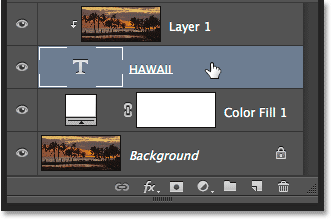
Step 9: Drag The Type Layer Below Layer 1
In the Layers panel, your Type layer currently sits above Layer 1, which is why the text appears in front of the image.
Click the Type layer and drag it down between Layer 1 and the Solid Color Fill layer.
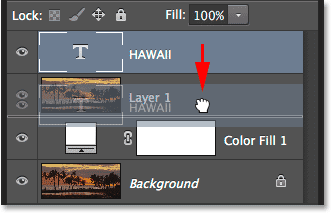
Release your mouse button to drop the Type layer into place.
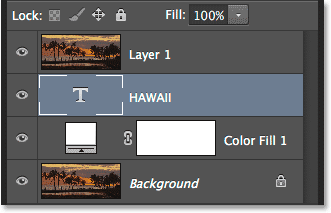
Step 10: Select Layer 1 Again
Click Layer 1 to make it active.
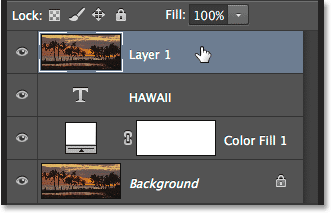
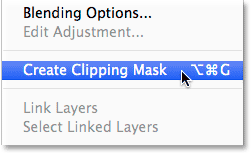
Step 11: Create A Clipping Mask
Click the menu icon in the top right corner of the Layers panel.
Choose Create Clipping Mask.
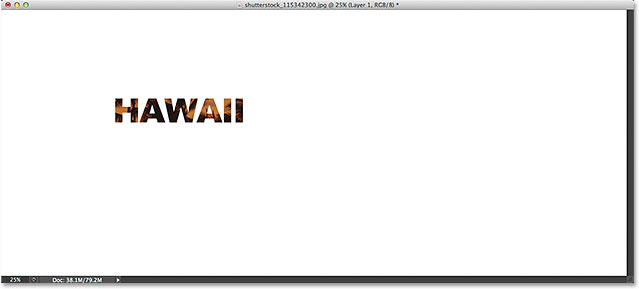
This clips the image on Layer 1 to the text directly below it.
Only the area of the image directly above the text remains visible. The rest is hidden, revealing our solid white fill layer.
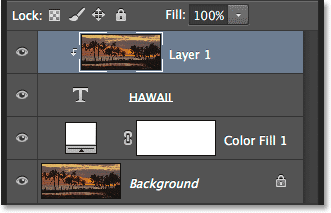
In the Layers panel, Layer 1 is now indented with a small arrow pointing down. This is how Photoshop shows us that the Type layer is acting as a clipping mask.
Related tutorial: How Photoshop Clipping Masks Work
Step 12: Select The Type Layer
Click the Type layer to select it.
Step 13: Resize And Reposition The Text
Move and resize the text using the Free Transform command.
Go to Edit > Free Transform, or press Ctrl+T (Win) / Command+T (Mac).

Photoshop places the Free Transform bounding box around the text.
- To resize: Click and drag any of the handles. Hold Alt (Win) / Option (Mac) to resize the text from its center.
- To move: Click inside the bounding box and drag the text into position.
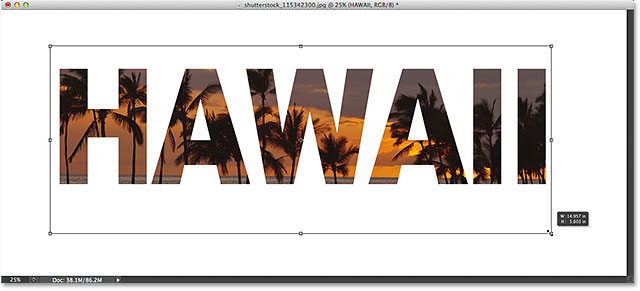
Press Enter (Win) / Return (Mac) to accept the transformation.

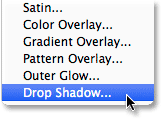
Step 14: Add A Drop Shadow (Optional)
To complete the effect, add a drop shadow to the text.
Click the fx icon at the bottom of the Layers panel.
Choose Drop Shadow.
Photoshop opens the Layer Style dialog box. Adjust your shadow settings to fit your image size.
For my image, I'll use:
- Opacity: 50%
- Angle: 120°
- Distance: 30px
- Size: 40px
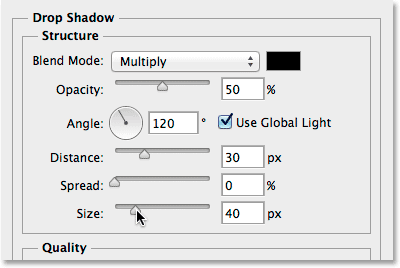
Click OK. Photoshop applies the drop shadow, completing the image-in-text effect.
And there we have it! In this tutorial, we learned how to place an image in a single word, or a single Type layer. In the next tutorial, learn the trick to placing an image in multiple text layers at once! Or visit our Text Effects or Photo Effects sections for more Photoshop effects tutorials!
Don't forget, all of my Photoshop tutorials are available to download as PDFs!