
How To Make Transparent Text In Photoshop
This tutorial shows you how to create transparent text in Photoshop, allowing the image behind the text to show through the letters! A step by step tutorial for Photoshop CC, CS6 and earlier.
Need to add text to an image but there's just no good place to put it? Try adding it as transparent text in Photoshop! In this tutorial, I'll show you how to easily create a transparent text area, meaning that the type itself will be fully transparent, allowing the image below it to show through. We surround the text with a block of solid color, usually white, to reveal the shapes of the letters. The transparent text then becomes a frame for our subject! This is a great design trick for images that are too busy for text to be easily readable.
Creating transparent text in Photoshop is easy. We start by adding a new layer above the image and filling it with white. Then, we add our text. To make the text transparent, we use Photoshop's Advanced Blending options (don't worry, they're very simple "advanced" options) to turn our Type layer into a "Knockout" layer which punches holes right through to the image in the shapes of our letters!
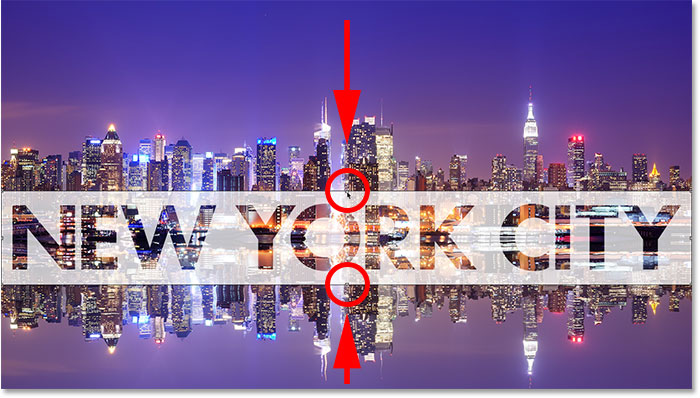
Here's what the transparent text area will look like when we're done:

Let's get started!
How To Add Transparent Text
I'm using Photoshop CC but every step is compatible with Photoshop CS6 and earlier. For another way to create transparent text, check out my new Add Transparent Text with Layer Effects tutorial.
Step 1: Open Your Image
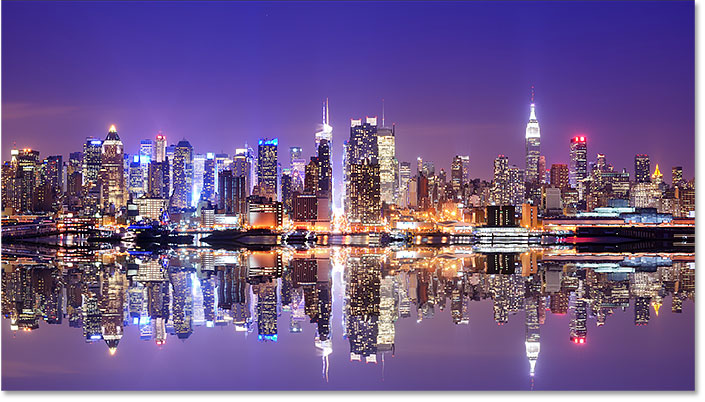
Start by opening the image where you want to add some transparent type. I downloaded this image of the New York skyline from Adobe Stock:
Step 2: Add A New Layer
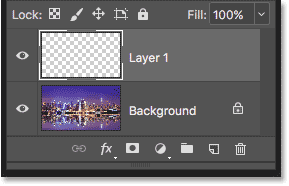
In the Layers panel, we see the image on the Background layer. Add a new blank layer above the image by clicking the New Layer icon at the bottom of the Layers panel:
A new layer named "Layer 1" appears above the Background layer:
Step 3: Fill The New Layer With White
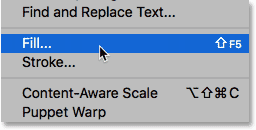
We'll use this layer to create the area of white that will surround the text. Fill the layer with white by going up to the Edit menu in the Menu Bar and choosing Fill:
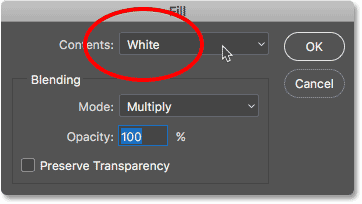
In the Fill dialog box, set the Contents option at the top to White, and then click OK:
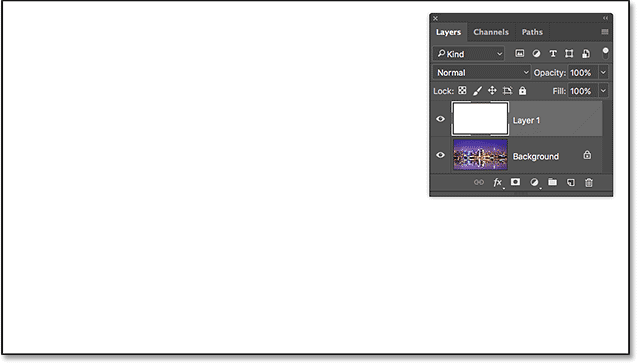
Photoshop fills the layer with white, temporarily blocking the image from view:
Step 4: Lower The Layer Opacity
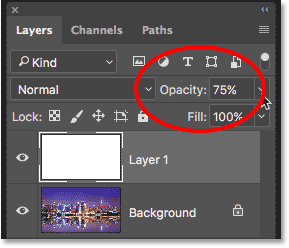
Lower the opacity of "Layer 1" to 75%. The Opacity option is found in the upper right of the Layers panel:
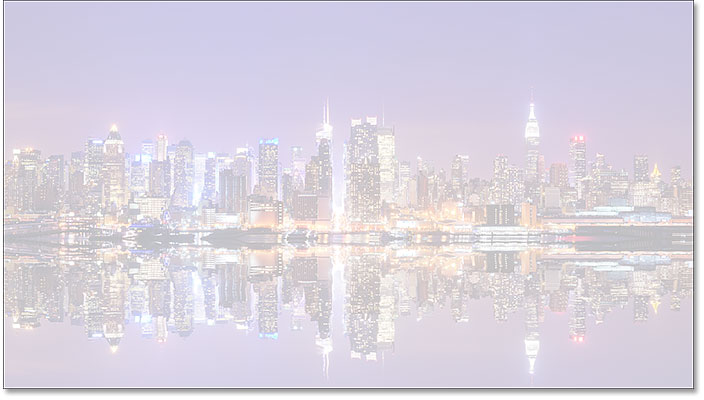
With the opacity lowered, the image now partially shows through so we can see it as we're adding the text:
Step 5: Select The Type Tool
Select the Type Tool from the Toolbar:

Step 6: Choose Your Font
Choose your font in the Options Bar. I'll use Futura PT Heavy which I downloaded from Adobe Typekit, but any font will work:

Still in the Options Bar, set the font size to 72 pt. We'll need to resize the text once we've added it, but this will give us the largest preset size for now:

Step 7: Set The Type Color To Black
Make sure your type color is set to black by pressing the letter D on your keyboard, which resets the color to its default. This is just so we can see the type in front of the white background. The current font color is found in the color swatch in the Options Bar:

Step 8: Add Your Text
Click inside the document and add your text. I'll type the words "NEW YORK CITY":
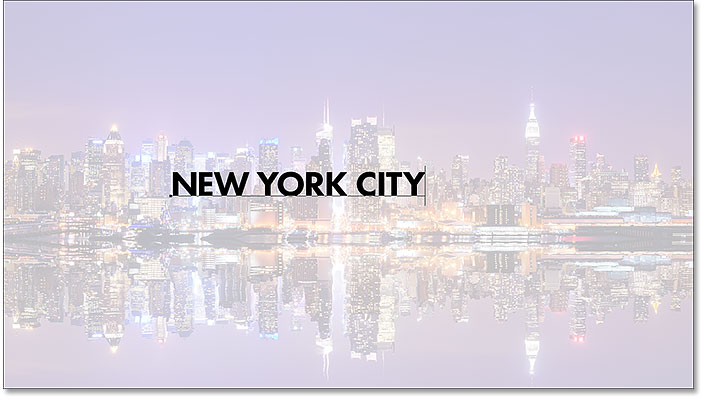
Click the checkmark in the Options Bar to accept it:

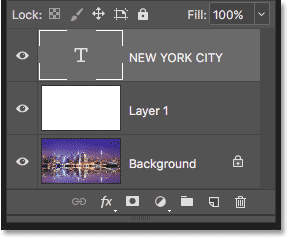
In the Layers panel, the new Type layer appears above "Layer 1":
Step 9: Resize The Text
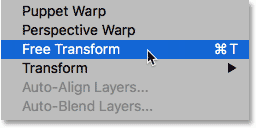
Go up to the Edit menu in the Menu Bar and choose Free Transform:
Photoshop surrounds the text with the Free Transform box and handles. Click and drag any of the corner handles to resize the text as needed. Press and hold your Shift key as you drag to avoid distorting the shapes of the letters as you're resizing them:

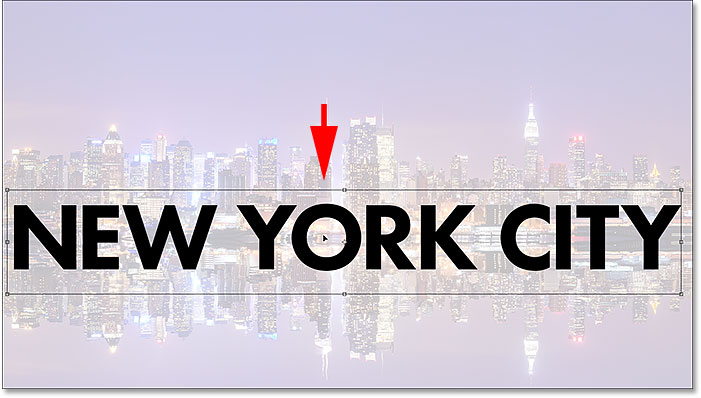
To move the text, click inside the Free Transform box and drag it into position. I'll move my text in front of the waterline. When you're done, press Enter (Win) / Return (Mac) on your keyboard:
Step 10: Open The Blending Options
With the Type layer selected, click on the Layer Styles icon (the fx icon) at the bottom of the Layers panel:
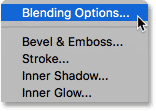
Choose Blending Options from the top of the list:
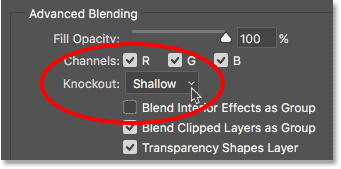
This opens Photoshop's Layer Style dialog box set to the main Blending Options. In the Advanced Blending section, change Knockout from None to Shallow. This turns the Type layer into a "knockout" layer, which means that Photoshop will use the shapes of the letters to punch through "Layer 1" and reveal the image on the Background layer:
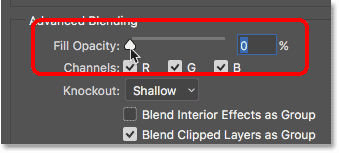
To see the effect, drag the Fill Opacity slider all the way down to 0%:
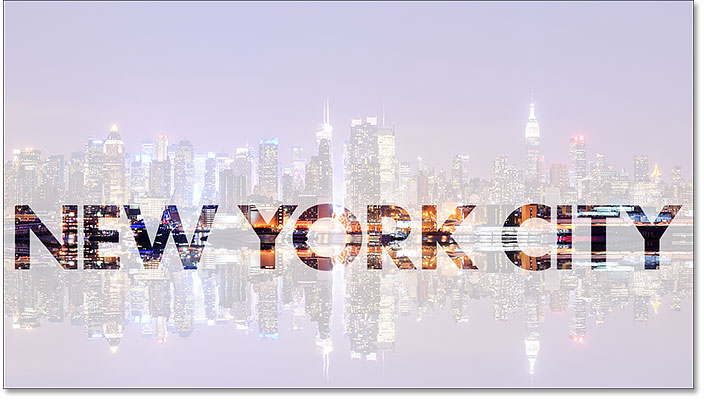
Click OK to close the Layer Style dialog box. Not only has the text itself become transparent, but so has the area on "Layer 1" directly below the text, as if the text punched a hole right through it. We can now see the image on the Background layer through the letters:
Step 11: Select "Layer 1"
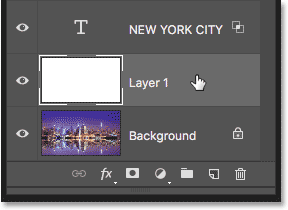
Let's resize the white area surrounding the text so that it's not covering up the entire photo. Click on Layer 1 in the Layers panel to select it:
Step 12: Resize The Layer With Free Transform
Go up to the Edit menu and once again choose Free Transform:

Drag the top and bottom handles in towards the text. Press Enter (Win) / Return (Mac) on your keyboard when you're done:
Step 13: Adjust The Layer Opacity
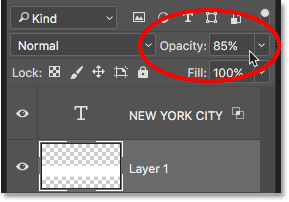
Finally, adjust the opacity of "Layer 1" to fine-tune the visibility of the text. Increasing the opacity will make the white area surrounding the text more solid and the type easier to read. Decreasing the opacity will fade the text area into the image. I'll set the opacity to 85%:
And here, after increasing the opacity, is my final "transparent text area" result:

Revealing A Layer Other Than The Background Layer
The steps we've covered in this tutorial are all you need to do when the image you want to reveal through your text is on the Background layer. If you have an image above the Background layer that you want to show through the text, simply place the Type layer and the solid white layer below it in a layer group by selecting both layers, then going up to the Layer menu and choosing Group Layers.
And there we have it! That's how to easily add transparent text to an image with Photoshop! Along with adding transparent text, another classic Photoshop effect is to place your image directly inside the text. Or, learn how to blend your text into the image by choosing type colors straight from the image itself! Visit our Photo Effects section for more Photoshop tutorials!