
Flip, Mirror and Rotate Image Designs and Patterns in Photoshop
Learn how to flip, mirror and rotate a single image in Photoshop to create fun and interesting designs, and how to create unique looks for the effect with Photoshop's layer blend modes!
In a previous photo effects tutorial, we learned how to create a simple mirror effect in Photoshop by flipping one side of an image horizontally to create a reflection of the other side. In this tutorial, we'll take the same basic idea and go much further with it, creating interesting effects, designs and patterns simply by flipping, rotating and mirroring the same image over and over again! We'll also experiment with Photoshop's layer blend modes to see how different blend modes can dramatically change our results.
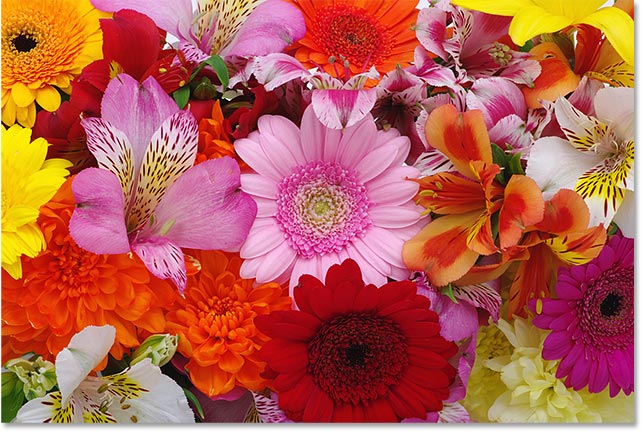
To follow along, you can use any image you like, but you'll often get the best results if the image contains lots of detail.
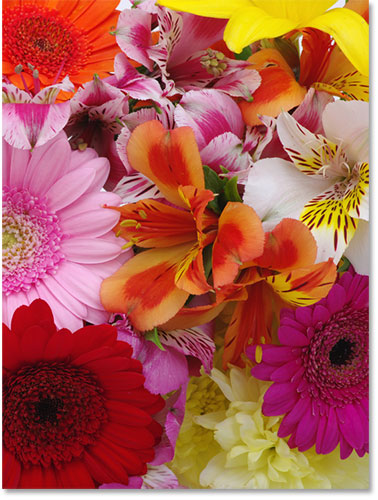
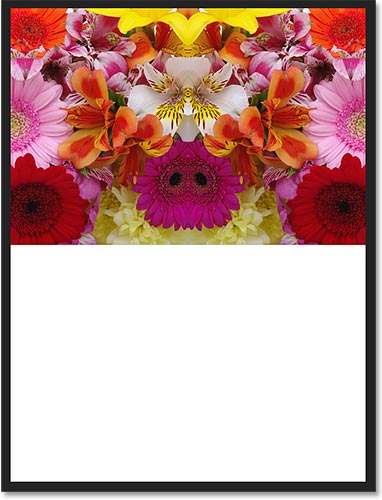
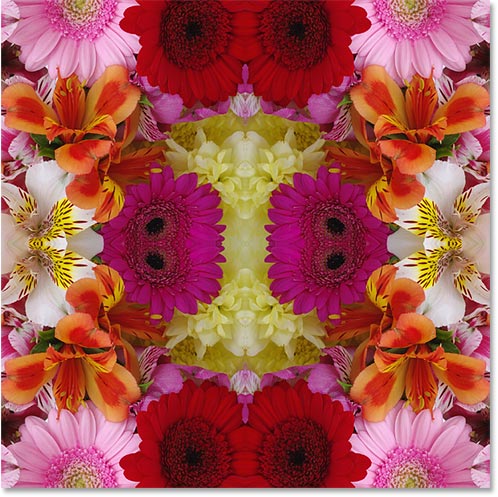
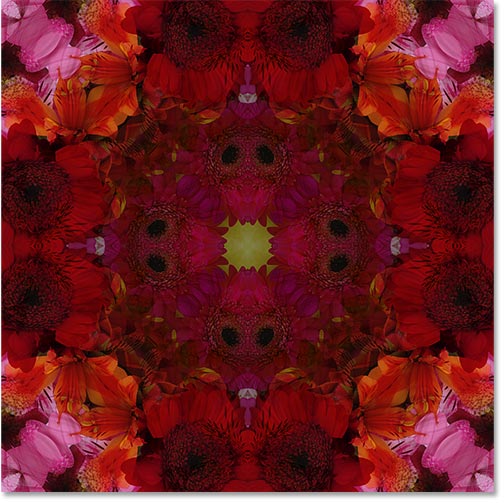
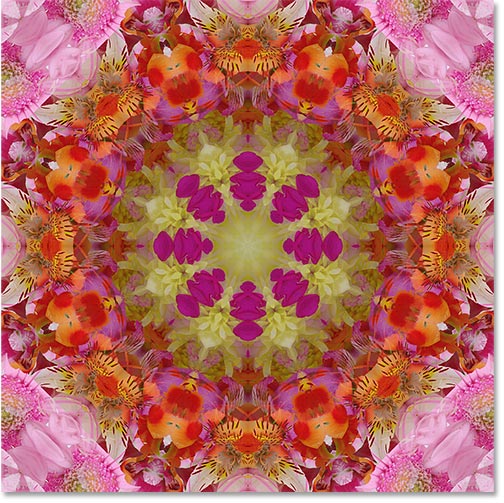
Here's the photo I'll be using (flowers photo from Adobe Stock):
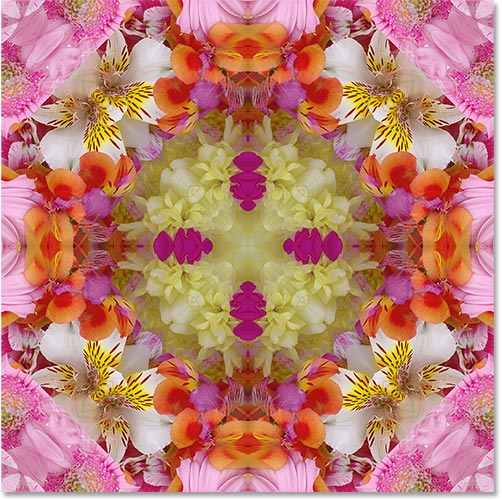
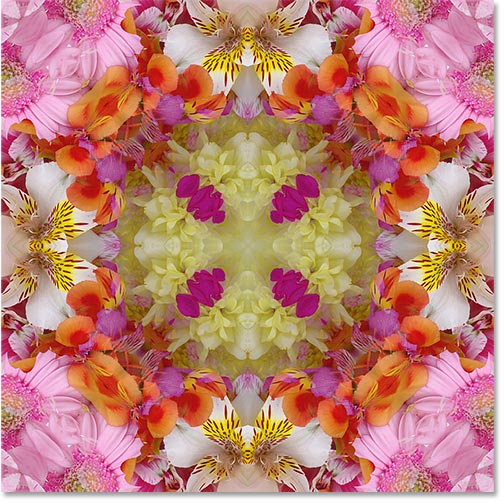
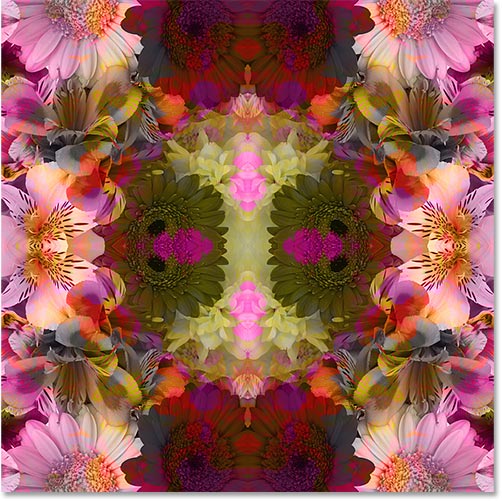
And here's just one example of the type of design we can create from it in just a few easy steps. We'll see other examples as we go along. Every photo will give you unique results, so once you know how to create the effect, give it a try with different types of images to see what you can come up with:
Let's get started!
How To Flip, Mirror And Rotate Images In Photoshop
For this tutorial, I'm using Photoshop CC but every step is compatible with Photoshop CS6 and earlier.
You can also follow along with my video of this tutorial on our YouTube channel. Or download this tutorial as a PDF and get my new Complete Guide to Layer Blend Modes as a bonus!
Step 1: Crop The Photo If Needed
To begin, let's crop away any areas of our image that we don't really need for this effect. If you don't need to crop your image, you can skip ahead to Step 2.
In general, you'll want to crop in tight around your subject, removing any surrounding areas of low detail (like clear blue skies) that won't really add anything to the final result. In my case, the image I'm using doesn't really have any areas of low detail. In fact, it's practically blooming with detail (a little flower humor there). I could just use the entire photo the way it is and end up with a really crazy design. But to simplify things a bit, I'm going to crop some of the flowers away.
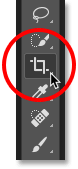
To crop your image, select Photoshop's Crop Tool from the Toolbar along the left of the screen:
With the Crop Tool selected, make sure that Delete Cropped Pixels is checked in the Options Bar since we need to actually delete the cropped pixels, not just hide them from view (note: the Delete Cropped Pixels option is only available in Photoshop CC and CS6. If you're using an earlier version, Photoshop deletes the pixels by default so you don't need to worry about it):
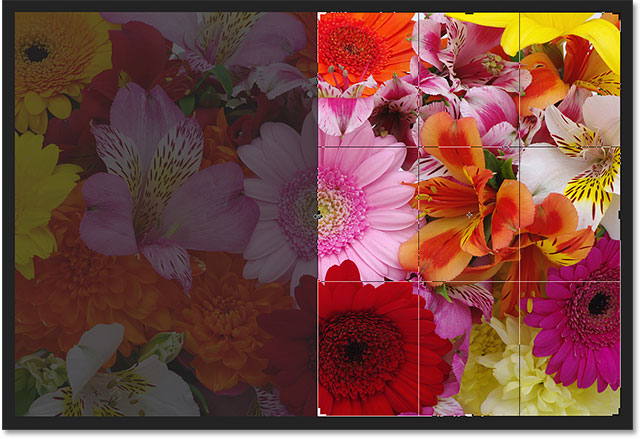
Then, click and drag out a cropping border around the area you want to keep. In my case, I'll drag the border around the right side of the image. This means I'll be keeping the right side and cropping the left side away:
Press Enter (Win) / Return (Mac) on your keyboard when you're ready to crop the image:
Step 2: Duplicate The Background Layer
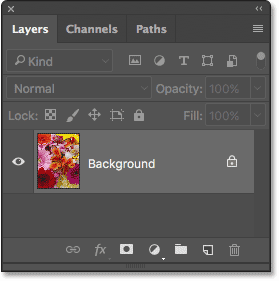
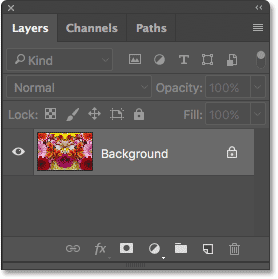
If we look in our Layers panel, we see our image sitting on the Background layer, currently the only layer in the document:
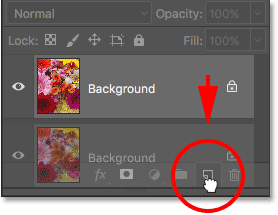
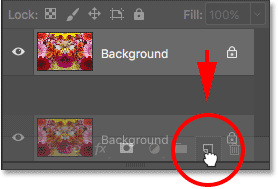
We need to create a copy of this layer. To do that, click on the Background layer and drag it down onto the New Layer icon at the bottom of the Layers panel (second icon from the right):
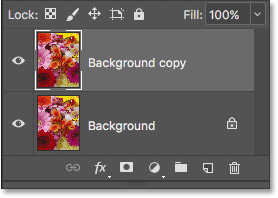
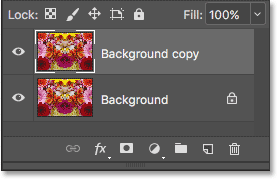
Photoshop makes a copy of the Background layer, names it "Background copy" and places it above the original:
Step 3: Double The Width Of The Canvas
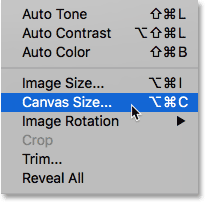
Go up to the Image menu at the top of the screen and choose Canvas Size:
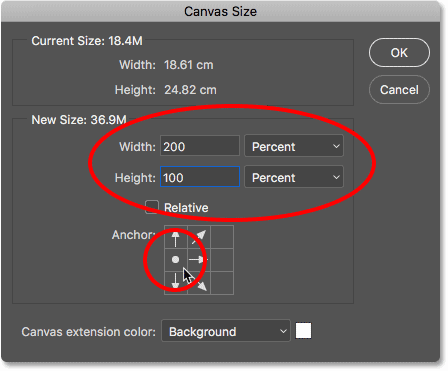
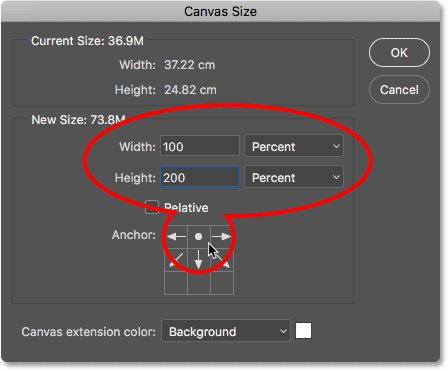
This opens Photoshop's Canvas Size dialog box which we'll use to add more canvas space around our photo. We need to double the current width of our canvas, and we want all of the extra canvas space to appear to the right of our image. To do that, set the Width value to 200 percent and leave the Height at 100 percent (which will leave the height of the canvas at its current size). Leave the Relative option unchecked. To force the extra canvas space to the right of the photo, click on the left middle square in the Anchor grid:
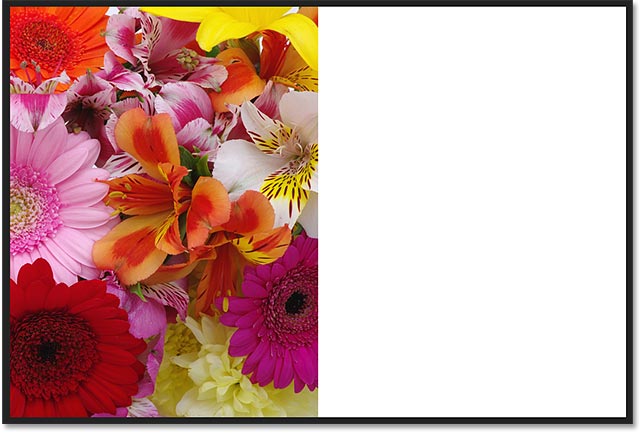
Click OK when you're done to close out of the dialog box. Photoshop doubles the width of the canvas, adding all of the extra space to the right of the photo. By default, Photoshop fills the extra canvas space with white. If, for some reason, yours isn't white, don't worry because it's not important:
Step 4: Drag The Photo On The "Background copy" Layer To The Right
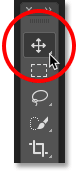
Now that we've added our extra canvas space, we need to drag the copy of our photo on the "Background copy" layer into the new area. Select Photoshop's Move Tool from the Toolbar:
Make sure the "Background copy" layer is selected in the Layers panel. Hold down your Shift key, then click on the photo and drag it over to the right side of the original image. Holding the Shift key as you drag will limit the direction you can move, making it easy to drag straight across. When you're done, release your mouse button, then release your Shift key. You should now see two copies of the photo sitting beside each other:
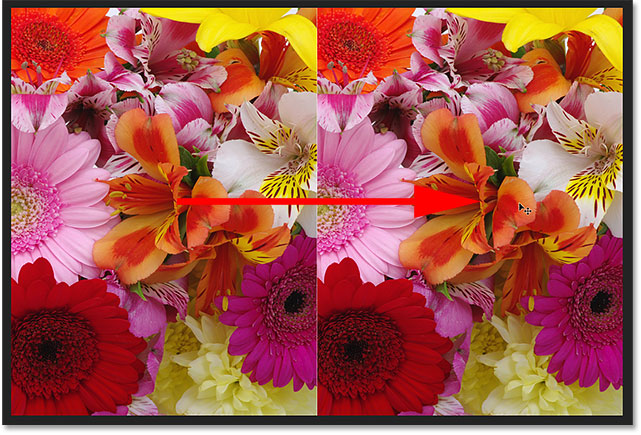
Step 5: Flip The Image On The Right Horizontally
So far, all we have are two identical twins. Let's create our first mirror effect by flipping the image on the right horizontally so it appears as a reflection of the one on the left. To do that, go up to the Edit menu at the top of the screen, choose Transform, and then choose Flip Horizontal:
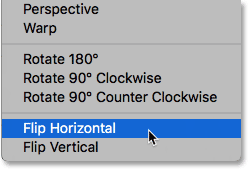
The photo on the right instantly becomes a mirror reflection of the photo on the left, creating our first effect:
Step 6: Merge The Two Layers Together
So far, so good, but as they say, but we've only just begun. Let's merge our two layers into a single layer by going up to the Layer menu at the top of the screen and choosing Merge Down:
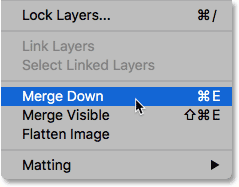
Nothing will seem to have happened in the document, but if we look at our Layers panel, we see that our two layers have been merged into a single Background layer:
Step 7: Duplicate The Layer
Just as we did back in Step 2, let's duplicate the Background layer by clicking on it and dragging it down onto the New Layer icon:
Photoshop again duplicates the Background layer, names it "Background copy" and places it above the original:
Step 8: Double The Height Of The Canvas
We're going to create another reflection of our image, this time vertically. For that, we need to double the height of our canvas and have the new canvas space appear below our existing image. Let's once again bring up the Canvas Size dialog box by going up to the Image menu at the top of the screen and choosing Canvas Size:
When the dialog box appears, set the Width to 100 percent (which will leave the width at its current size) and the Height to 200 percent. Again, leave the Relative option unchecked. To force the extra space to appear below the image, click on the top middle square in the Anchor grid:
Click OK to close out of the dialog box. Photoshop adds the additional canvas space below the image. If you can't see the entire canvas at this point because it's now too big to fit on your screen, go up to the View menu and choose the Fit on Screen command, or press Ctrl+0 (Win) / Command+0 (Mac) on your keyboard. Photoshop will zoom the document out to whatever level is needed for it to fit:
Step 9: Drag The Image Below The Original
With the Move Tool still selected and the "Background copy" layer selected in the Layers panel, click on the image and drag it down into the extra canvas space. Press and hold your Shift key as you drag to limit the direction you can move, making it easy to drag the photo straight down:
Step 10: Flip The Bottom Image Vertically
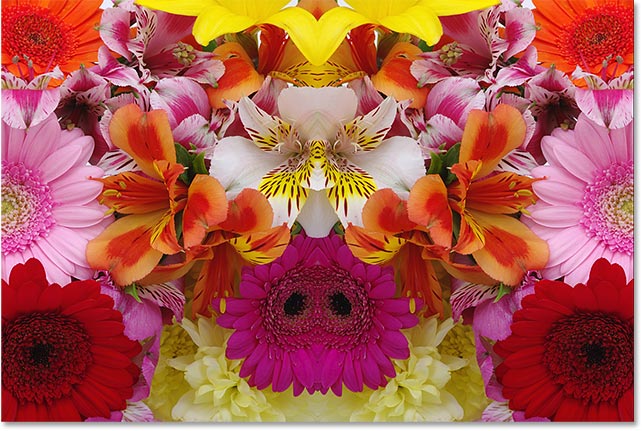
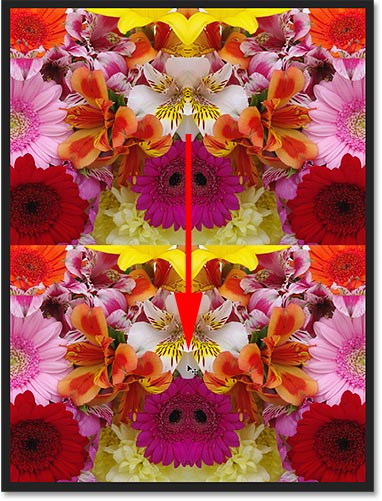
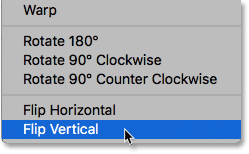
To turn the bottom image into a mirror reflection of the top one, go up to the Edit menu, choose Transform, and then choose Flip Vertical:
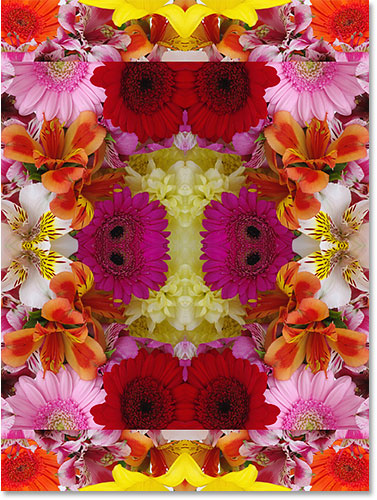
We now have our second mirror reflection, this time vertically. Things are already starting to look interesting:

Step 11: Merge Both Layers Onto A New Layer
So far, all we've been doing is making copies of the image and flipping them horizontally or vertically. Let's see how much further we can take things by rotating copies of the image and trying out different layer blend modes!
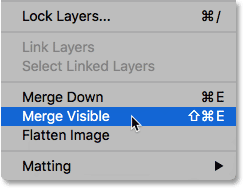
First, let's merge both of our existing layers onto a brand new layer. To do that, press and hold the Alt (Win) / Option (Mac) key on your keyboard. While still holding the key down, go up to the Layer menu at the top of the screen and choose Merge Visible near the bottom of the list:
Normally, the Merge Visible command would have merged our two layers into a single layer, just like the Merge Down command did earlier. But by holding down the Alt / Option key as we selected Merge Visible, we told Photoshop to create a brand new layer and merge our existing layers onto the new layer.
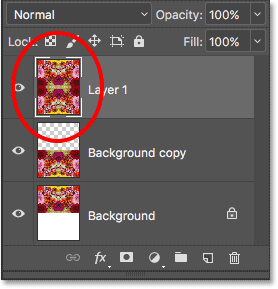
We can see in our Layers panel that we now have a third layer, named "Layer 1", and we can see in its preview thumbnail that it holds a merged copy of the images from the original two layers below it:
Step 12: Rotate The New Layer 90° Clockwise
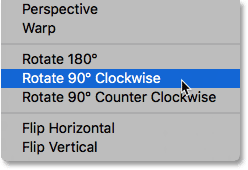
Let's rotate the image on "Layer 1". Go up to the Edit menu, choose Transform, and then choose Rotate 90° Clockwise:
This will rotate the layer 90° clockwise, leaving the two layers below it in their original orientation:
Step 13: Crop The Document Around The Rotated Image
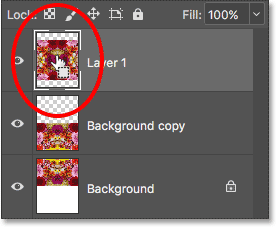
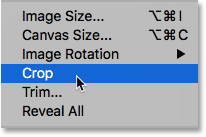
Next, we'll crop the document around the rotated image. Press and hold the Ctrl (Win) / Command (Mac) key on your keyboard and click directly on the preview thumbnail for "Layer 1" in the Layers panel:
This loads a selection outline around the rotated image. With the selection in place, go up to the Image menu at the top of the screen and choose Crop:
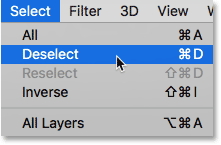
Photoshop crops away the areas above and below the image. To remove the selection outline since we no longer need it, go up to the Select menu at the top of the screen and choose Deselect, or press Ctrl+D (Win) / Command+D (Mac) on your keyboard:
Now that we've cropped away the top and bottom, all we can see now is our rotated image. We'll fix that next as we start experimenting with Photoshop's layer blend modes:
Step 14: Experiment With Layer Blend Modes
At this point, things start to become a bit more experimental and a matter of personal taste. Currently, the image on "Layer 1" is completely blocking the layers below it from view, which isn't what we want. We need to blend our top layer in with the layers below it, and we can do that by changing the layer's blend mode.
You'll find the Blend Mode option in the upper left of the Layers panel. It doesn't say "Blend Mode" anywhere but it's the option that's set to Normal by default. "Normal" means that the layer is not blending at all with the layers below it. It's just blocking them from view. Let's try out a few different blend modes to see what we get. I'll start by changing my blend mode from Normal to Multiply:
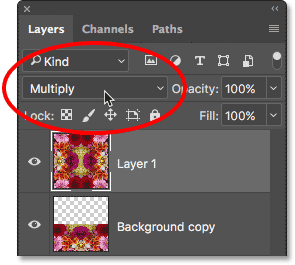
The Multiply blend mode does a nice job of blending my images together to create an interesting design. But since Multiply is one of several blend modes in Photoshop that has the effect of darkening the overall image, we can see that the effect it created is quite a bit darker than what we had before:
I'll try a different blend mode, this time Lighten:

Lighten is one of several blend modes that make the overall image brighter. It works by comparing the pixels on the selected layer with the pixels on the layers below it and then keeping whichever pixels are lighter. Here we see that it has definitely brightened things up, and given me another interesting design. Personally, I like this one much better:
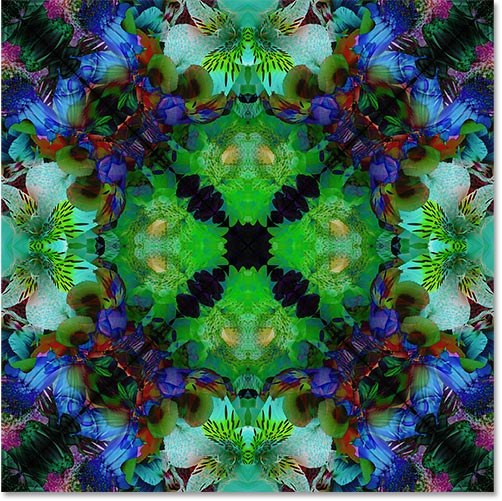
If you want something more psychedelic, try either the Difference or Exclusion blend modes. I'll try Difference:
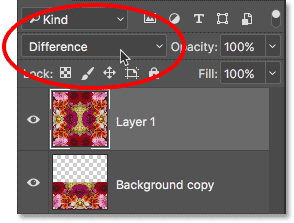
The Difference blend mode looks for differences between the layer and the layers below it, and then displays those differences as different colors. True to its name, the result definitely looks different:
Cycling Through Blend Modes From The Keyboard
So far, I've just been clicking on the Blend Mode option in the Layers panel and then choosing random ones to try out from the list. But here's a much easier way to try out the blend modes. Make sure you still have the Move Tool selected. Then, simply press and hold the Shift key on your keyboard and use the + and - keys to cycle up or down through the list.
After trying them all out, I think I'll stick with the Lighten blend mode. You may prefer a different blend mode for your image, but in this case, Lighten gives me the result I like the best.
Step 15: Merge Both Layers Onto A New Layer
Let's try making one more copy of the image, rotating it and then changing its blend mode to see what we get. First, we'll merge all three of our layers onto a new layer. Once again press and hold your Alt (Win) / Option (Mac) key as you go up to the Layer menu and choose Merge Visible:
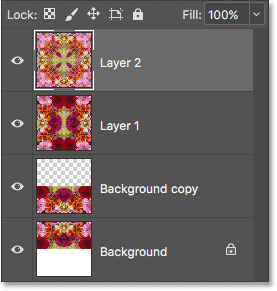
This merges all three layers onto a fourth layer, "Layer 2", above them:
Step 16: Rotate The New Layer 45°
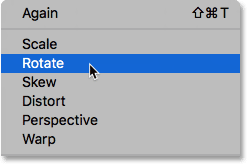
With "Layer 2" selected, go up to the Edit menu, choose Transform, and then choose Rotate:
Then, in the Options Bar along the top of the screen, enter 45.0 into the Angle input box to tell Photoshop to rotate the image on "Layer 2" by 45° clockwise:
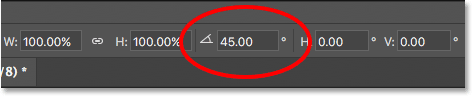
Press Enter (Win) / Return (Mac) on your keyboard once to accept the angle that you've entered, then press Enter (Win) / Return (Mac) a second time to exit out of the Rotate command. Here's my design with the top image now rotated:
Step 17: Change The Blend Mode
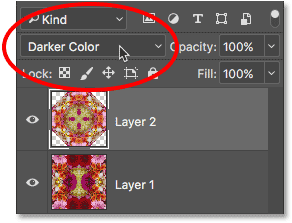
Finally, try out different blend modes just like we did before to see how each one affects the way the rotated image on "Layer 2" blends in with the layers below it. Again, the easiest way to do that is by holding down your Shift key and using the + and - keys to cycle through the blend modes.
After trying them all out, I'm going to go with the Darker Color blend mode this time. Like the Multiply blend mode that we tried earlier, Darker Color also darkens the image, but it's a bit more advanced. It works by comparing the pixels on the selected layer with the pixels from the layers below it, and then it keeps whichever pixels are darker:
And here's the result:
Of course, you can always go back at this point and change the blend mode for "Layer 1" if you want to keep experimenting. To do that, I'll click on "Layer 1" to select it. Then, I'll change its blend mode to something completely different, like Luminosity:
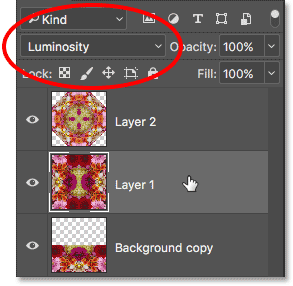
The Luminosity blend mode mixes the luminance (the brightness values) of the selected layer with the colors from the layers below it, and here we see that it creates a very different result from the previous examples we've looked at:
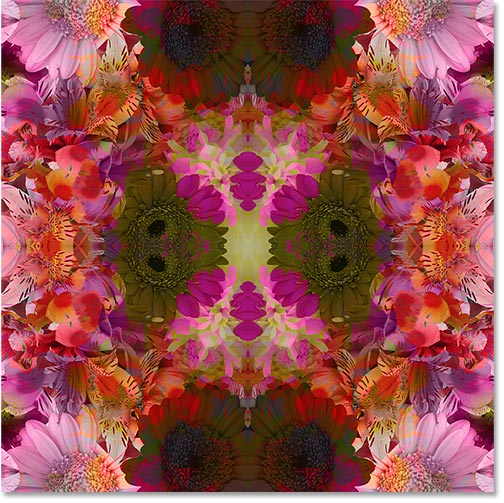
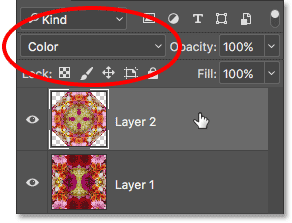
Finally, I'll click on "Layer 2" to reselect it. Then I'll change its blend mode to Color:
Photoshop's Color blend mode is the opposite of Luminosity. It blends the color of the selected layer with the luminance of the layers below. In other words, it colorizes the image, giving us yet another unique result:
Of course, you don't need to know how each of Photoshop's 27 different layer blend modes (as of Photoshop CC 2017) work to create this effect. All you really need to know is how to cycle through them and choose the one you like the best! However, there are a handful of blend modes you'll use all the time in your Photoshop work. To learn all about them, check out our Photoshop's Five Essential Blend Modes tutorial.
And there we have it! That's how to create interesting designs and patterns with an image simply by flipping, rotating and mirroring it, and experimenting with layer blend modes, in Photoshop! For similar tutorials, see our Mirror Image Effect or our Blend Textures With Photos tutorials. Or visit our Photo Effects section for more Photoshop effects tutorials!