How To Create Twirl Art In Photoshop
In this tutorial, I'll show you how to turn your photos into colorful, abstract twirl art effects in Photoshop! Twirl art is where we take an image, blur it, and then twirl it around its center. We then make a copy of the effect, twirl it in the opposite direction, and then blend the two versions together. We can even take things further and mirror the effect to create symmetrical twirl art!
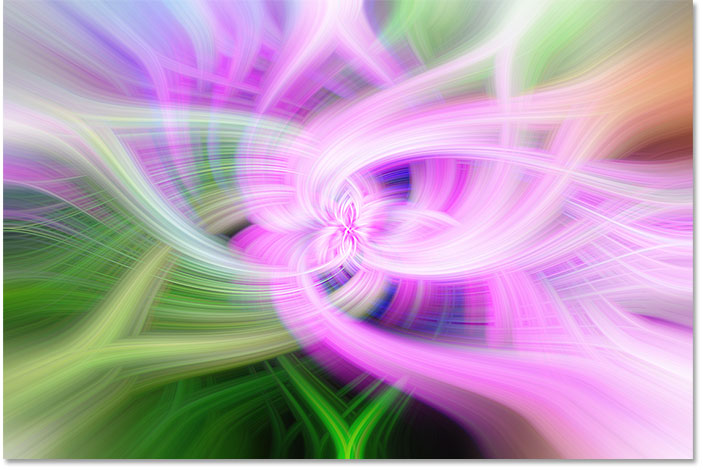
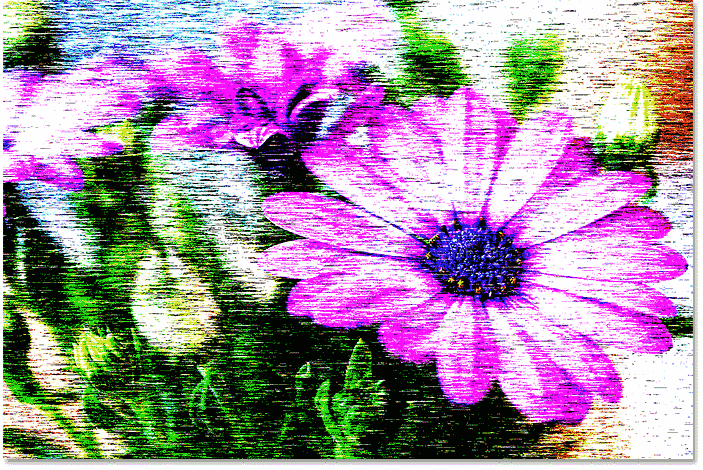
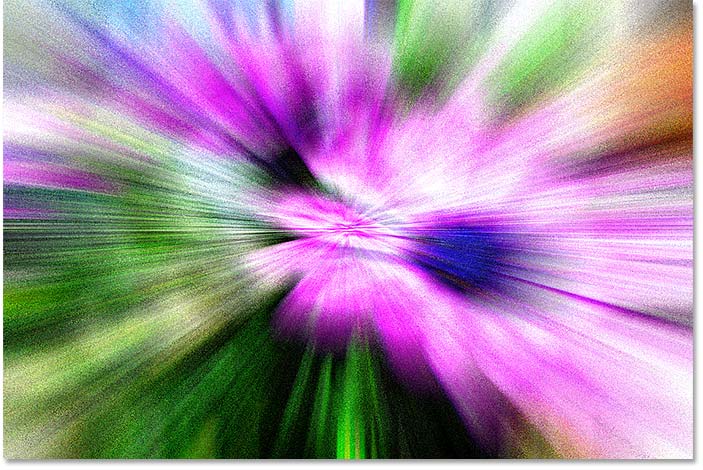
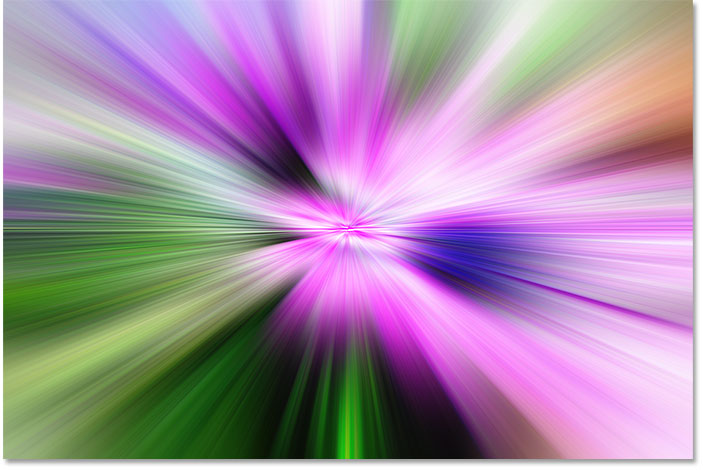
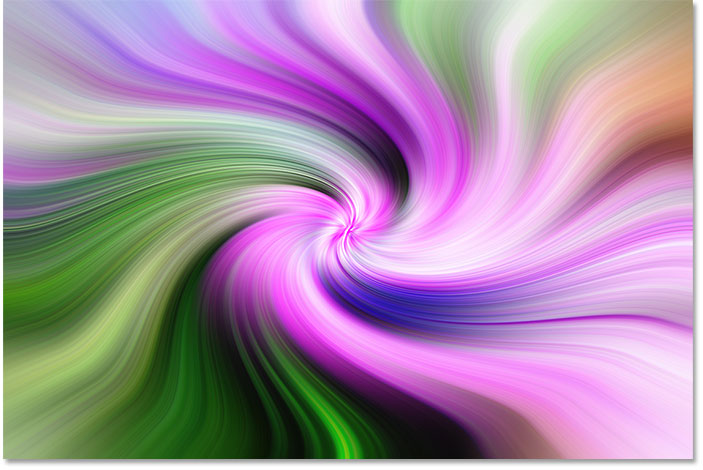
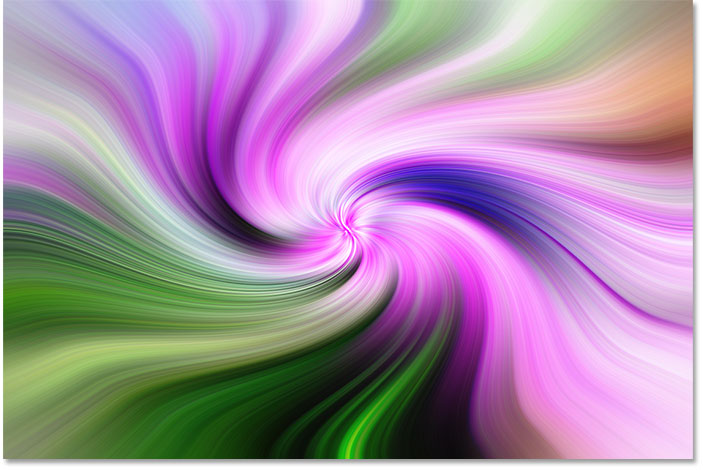
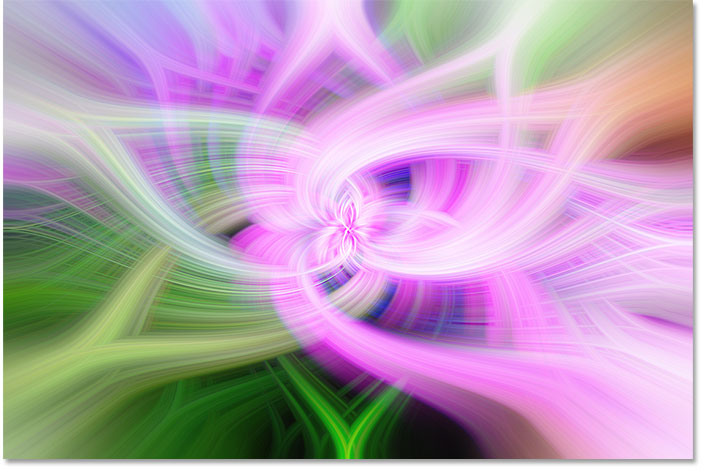
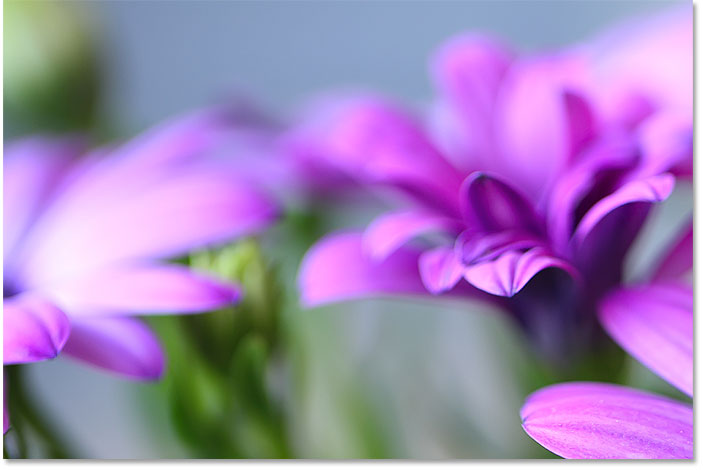
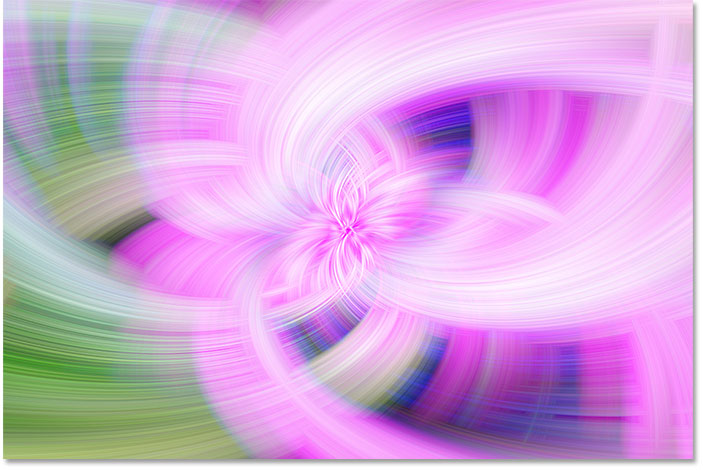
Here's an example of what the main effect will look like when we're done. The colors will depend entirely on your image:
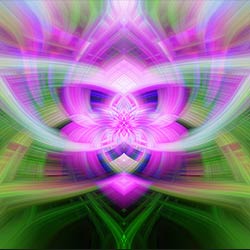
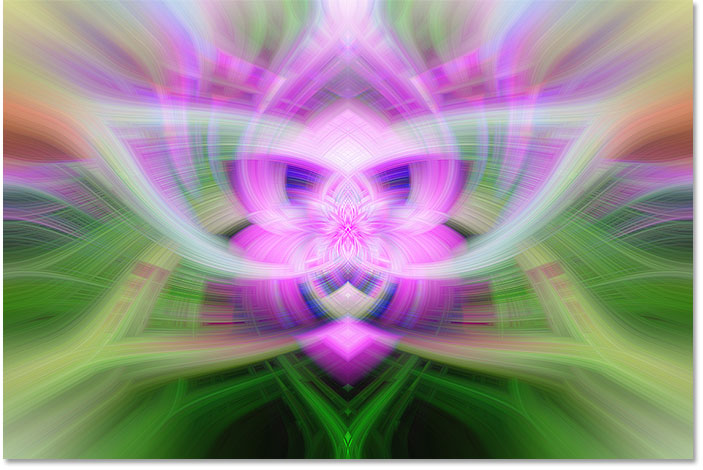
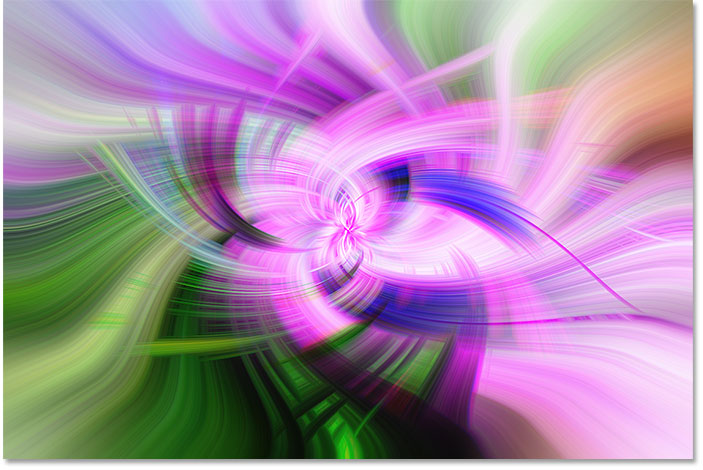
And here's the symmetrical version. We'll learn how to make both versions in this tutorial.
Let's get started!
How To Create Twirl Art In Photoshop
For this tutorial, I'm using Photoshop CC but any version from CS3 and up will work. You can also follow along with my video of this tutorial on our YouTube channel. Or download this tutorial as a print-ready PDF!
Step 1: Open your image
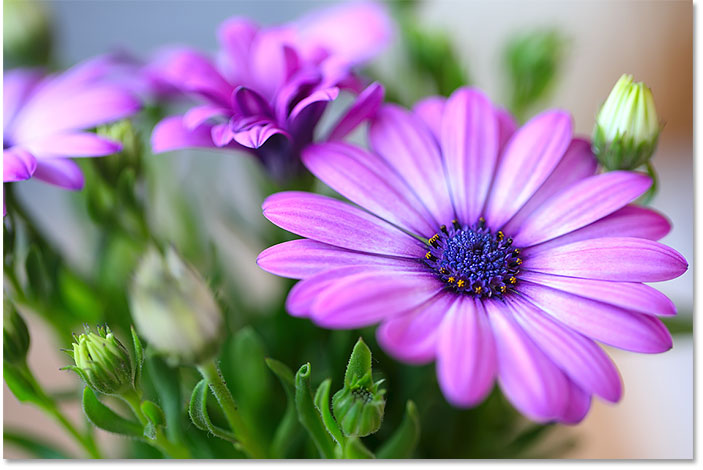
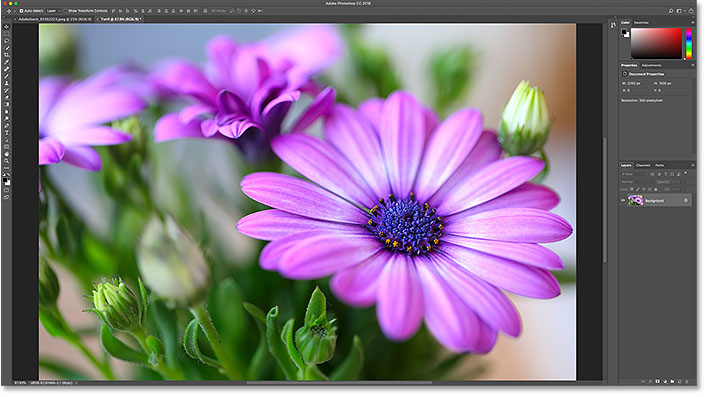
Open the image you want to use for your twirl art effect. I'll use this image that I downloaded from Adobe Stock:
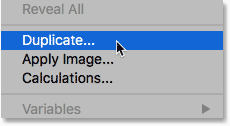
Step 2: Duplicate the image
The first thing we'll want to do is duplicate and resize our image. The reason is that, to create the twirl art effect, we'll be using smart filters, and we'll be experimenting with their settings. Smart filters can be very demanding on your computer, and a large, high resolution image can really slow things down. What you'll want to do instead is work on a separate, smaller version of your image. Once you're happy with the results, you can easily replace the smaller version with the original, full size version, as we'll see how to do later. If you're already working with a small image, you can skip this step.
To duplicate the image, go up to the Image menu in the Menu Bar and choose Duplicate:
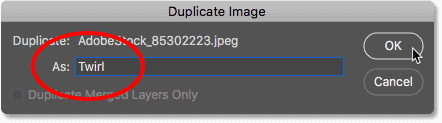
In the Duplicate Image dialog box, name the image "Twirl", and then click OK:
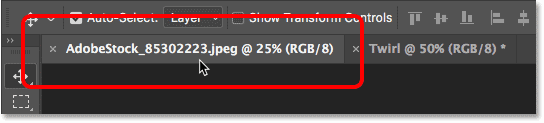
A copy of the image opens in a separate document which we can see by looking at the document tabs along the top:

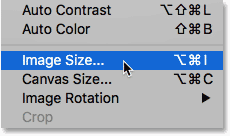
Step 3: Resize the image
To resize the image and make it smaller, go back up to the Image menu and this time, choose Image Size:
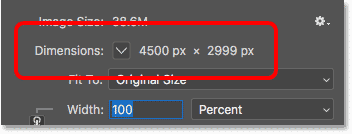
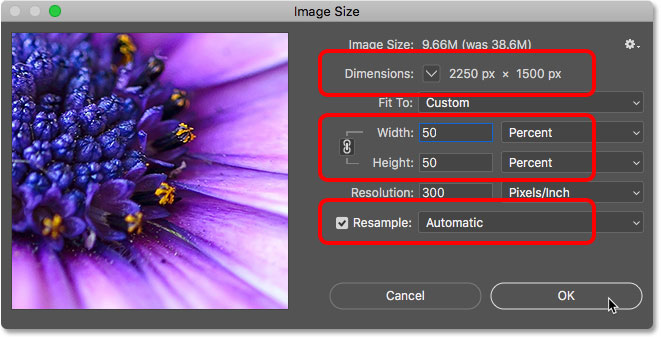
This opens the Image Size dialog box. If we look at the Dimensions in the upper right, we see that my image currently has a width of 4500 px and a height of 2999 px:
To reduce the size of the image, first make sure that the Resample option is checked and that it's set to Automatic. Then, enter a new size into the Width and Height fields. I'll set both of them to 50 Percent. In the Dimensions section at the top, we see that this will reduce the width of my image to 2250 px and the height to 1500 px, which should keep things running faster. Click OK to resize the image and close the dialog box:
I'll zoom in on the image by going up to the View menu and choosing Fit on Screen:
And now we're ready to create the twirl art effect:
Related: How to enlarge images without losing quality in Photoshop CC
Step 4: Convert the image into a smart object
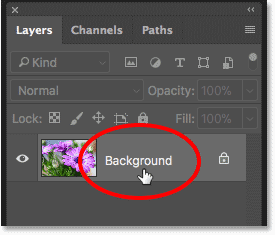
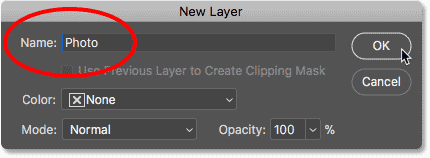
Before we can start adding smart filters, we first need to convert our image into a smart object. In the Layers panel, we see the image on the Background layer. Double-click on the name "Background" to rename it:
In the New Layer dialog box, name the layer "Photo" and then click OK:
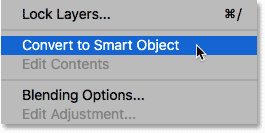
Then, click the menu icon in the upper right of the Layers panel:
And choose Convert to Smart Object:
A smart object icon appears in the lower right of the "Photo" layer's preview thumbnail, letting us know that the layer is now a smart object:
Step 5: Apply the Mezzotint filter
The first filter we'll apply is Mezzotint. Go up to the Filter menu, choose Pixelate, and then choose Mezzotint:
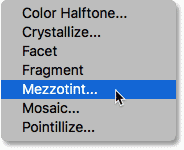
This opens the Mezzotint filter's dialog box. This filter adds random, high contrast and highly saturated strokes, lines or dots to the image depending on which setting you choose for the Type option at the bottom. This will add more detail, contrast and color to the effect. There's no "correct" setting to choose here, so we'll come back later and experiment. For now, I'll choose Long Strokes. Click OK to close the dialog box:
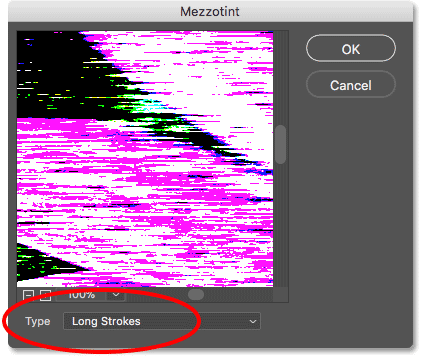
And here's what the Mezzotint effect looks like:
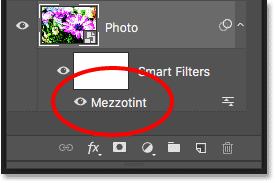
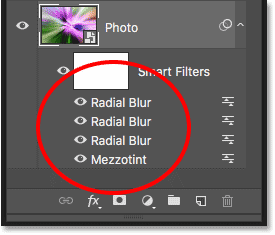
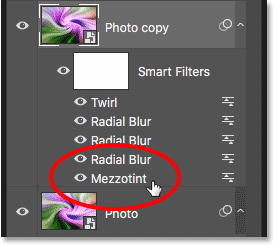
If we look in the Layers panel, we see the Mezzotint filter listed as our first smart filter:
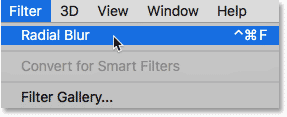
Step 6: Apply the Radial Blur filter
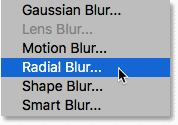
Next, we need to blur the image using Photoshop's Radial Blur filter. And to create the amount of blur we need, we'll run the filter three times. Go up to the Filter menu, choose Blur, and then choose Radial Blur:
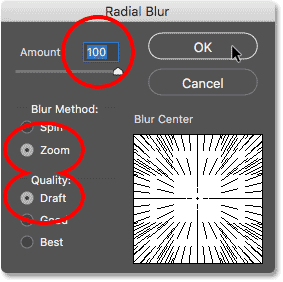
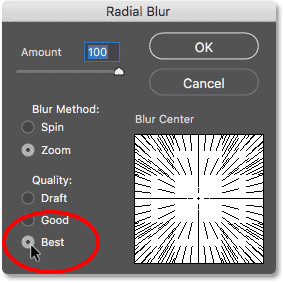
In the Radial Blur dialog box, set the Amount to 100, the Blur Method to Zoom, and the Quality to Draft. Using the lowest quality setting will let the filter run as quickly as possible:
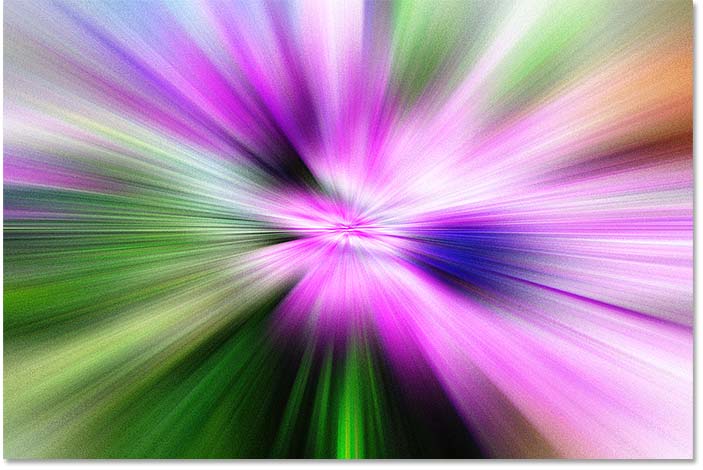
Click OK to close the dialog box and apply the filter. And here's what the first pass of Radial Blur looks like. The result is very noisy because we had the quality set so low, but we'll clean it up in a moment:
Step 7: Apply Radial Blur a second time
To apply Radial Blur a second time, go back up to the Filter menu, and because Radial Blur was the last filter we used, you'll find it at the top of the list:
Leave all of the settings the same (Amount at 100, Blur Method set to Zoom and Quality at Draft), and just click OK:
Photoshop applies the filter a second time, and here's the result. It still looks noisy, but we'll clean it up next:
Step 8: Apply Radial Blur a third time
Go back up to the Filter menu and once again choose Radial Blur:
This time, leave the Amount set to 100 and the Blur Method set to Zoom, but change the Quality from Draft to Best:
Click OK to run the filter a third time. Since we've increased the quality, the filter will take a bit longer to run, but the final result looks much better, and the noise from the first two passes is gone:
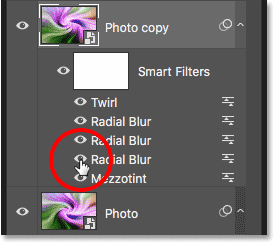
In the Layers panel, we see all three passes of the Radial Blur filter listed as separate smart filters above the Mezzotint filter:
Related: Create a Radial Blur action zoom effect!
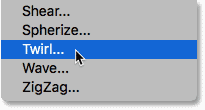
Step 9: Apply the Twirl filter
To add the twirl to the twirl art effect, we'll use Photoshop's Twirl filter. Go up to the Filter menu, choose Distort, and then choose Twirl:
In the Twirl dialog box, use the Angle slider at the bottom to twist and twirl the image around its center. Drag to the right to twirl clockwise or to the left to twirl counterclockwise. The further you drag, the greater the effect. I'll set my Angle value to 120 degrees:
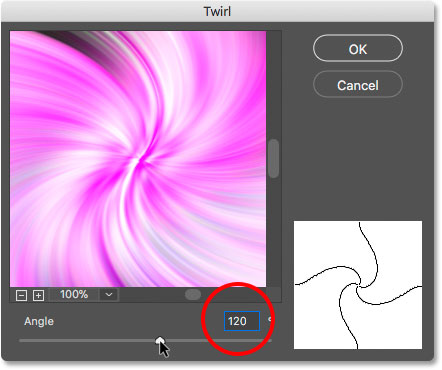
Click OK to close the dialog box, and here we see the image swirling around its center:
Step 10: Edit the effect
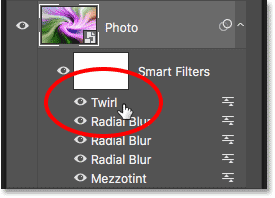
In the Layers panel, we see the Twirl filter listed as a smart filter above the others. If you want to try a different twirl amount at any time, double-click on the Twirl filter's name to re-open its dialog box. Drag the Angle slider left or right, and then click OK to accept it:
You can also go back and try different settings for the Mezzotint filter. Double-click on it's name to re-open the dialog box:
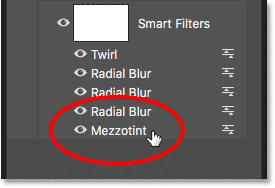
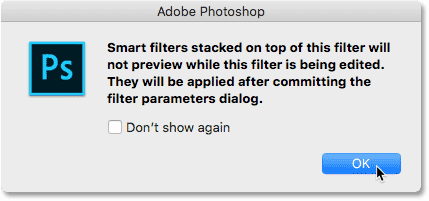
Photoshop will pop open a message telling you that your other smart filters will be turned off while you're editing the Mezzotint filter. That's because Photoshop applies smart filters from bottom to top. So in this case, it's applying Mezzotint first, then each of the three Radial Blur filters, and then the Twirl filter. To show an accurate preview of the Mezzotint filter, it needs to turn off those other filters temporarily. Click OK:
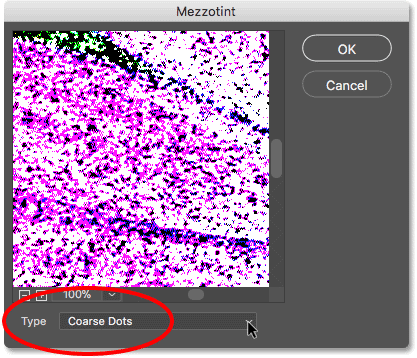
In the Mezzotint filter dialog box, I'll change the Type from Long Strokes to something different, like Coarse Dots, and then I'll click OK to accept it:
Photoshop turns the other smart filters back on, and here's the result. The Coarse Dots setting creates an effect with less contrast and color saturation, but we also see more detail in the lines:

Comparing the two settings
You can quickly compare your new filter setting with the previous setting by pressing Ctrl+Z (Win) / Command+Z (Mac) on your keyboard. Press it once to undo your last step and view the previous filter setting (Long Strokes). Press it again to redo the step and view the new setting (Coarse Dots). In my case, I like the high contrast version better, so I'll stick with Long Strokes. You can try out the other Type settings as well to see which one you like best for your image.
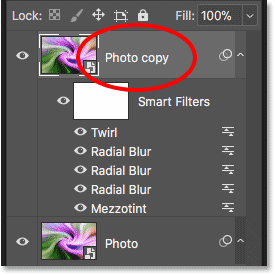
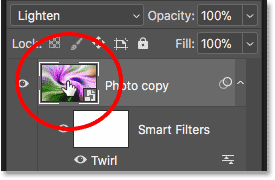
Step 11: Duplicate the smart object
Next, we need to make a copy of our smart object. In the Layers panel, click on the smart object and drag it down onto the New Layer icon:
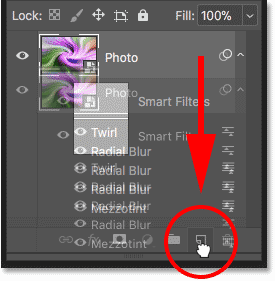
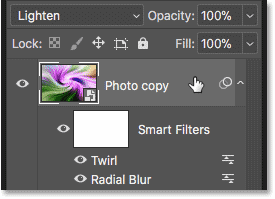
A copy, with all of our smart filters applied, appears above the original:
Step 12: Twirl the copy in the opposite direction
Double-click on the Twirl smart filter below the copy to open its dialog box:
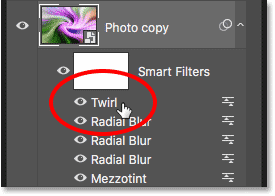
Drag the Angle slider left or right so that the copy is twirling in the opposite direction. Since I used a value of 120 degrees for my original twirl, I'll set the copy to -120 degrees. Of course, you don't have to make them exact opposites. I'm just keeping things simple. Click OK to close the dialog box:
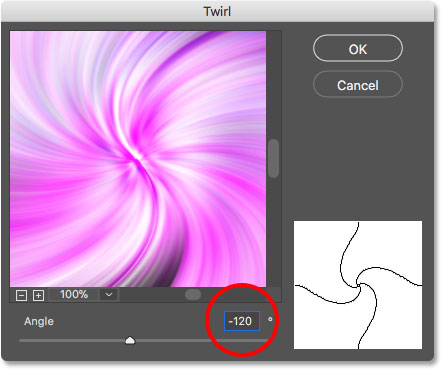
And here's the result, with the copy swirling in the opposite direction:
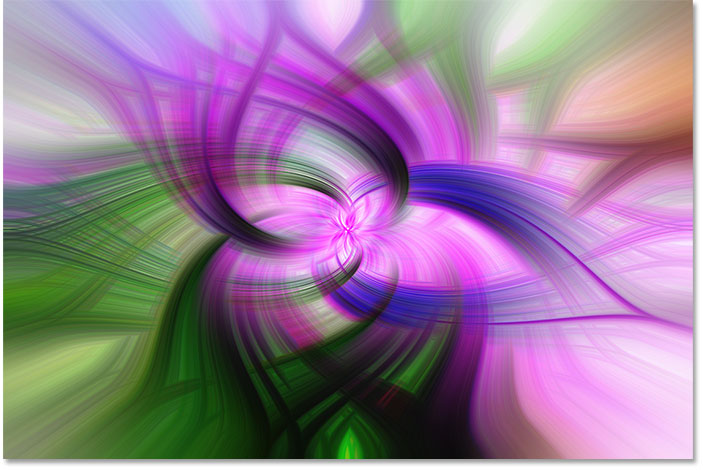
Step 13: Blend the two twirl effects together
To create the real twirl art effect, we need to blend both of our twirls together. We can do that by changing the blend mode of the "Photo copy" smart object. You'll find the Blend Mode option in the upper left of the Layers panel. By default, it's set to Normal. The three blend modes that usually work best for this effect are Darken, Lighten and Pin Light. I'll start with Darken:
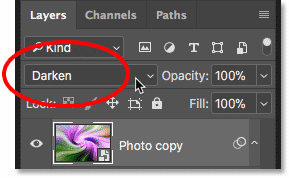
The Darken blend mode looks at both layers, or both smart objects in this case, and keeps whichever pixels between them that are darker:
Next, I'll try the Lighten blend mode:

Lighten is the opposite of Darken. It keeps whichever pixels between the two layers that are lighter:
And if I switch to the Pin Light blend mode:

We see that Pin Light creates a combination of the Darken and Lighten modes:
For this image, I think the Lighten blend mode works best, so I'll go with that:
Step 14: Experiment again with the filter settings
At this point, you can still go back and experiment with different filter settings for either of the two smart objects. Just double-click on a Twirl or Mezzotint filter to re-open its dialog box and make your changes. For example, I'll double-click on the Mezzotint filter for the "Photo copy" smart object:
Photoshop again pops open the message telling me that the smart filters above it will be turned off while I'm editing the filter. I'll click OK to accept it:
Then, I'll change the Type option from Long Strokes to the same Coarse Dots setting we tried earlier:
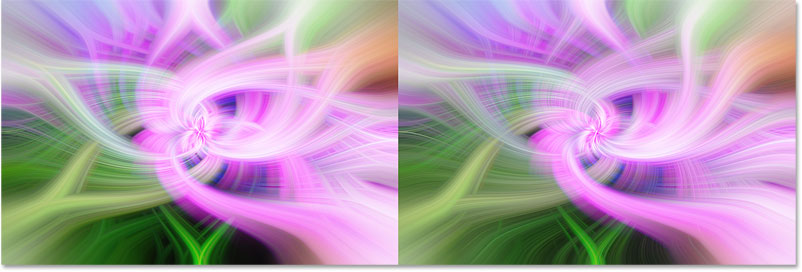
Here's a comparison of the two settings. The original Long Strokes setting is on the left and Coarse Dots is on the right. Again, the Coarse Dots version shows less contrast but more detail. Press Ctrl+Z (Win) / Command+Z (Mac) on your keyboard to switch between the two. I think I still like the higher contrast version better, so I'll stick with Long Strokes for both smart objects:
You can also try turning off one of the Radial Blur filters for the "Photo copy" smart object. This will add a bit more sharpness to the effect and bump up the contrast. You'll want to leave the top Radial Blur filter on (the one directly below the Twirl filter) since that's the one we applied with the highest quality. But you can turn off either (or both) of the other two Radial Blur filters below it by clicking the filter's visibility icon. Click it again to turn the filter back on:
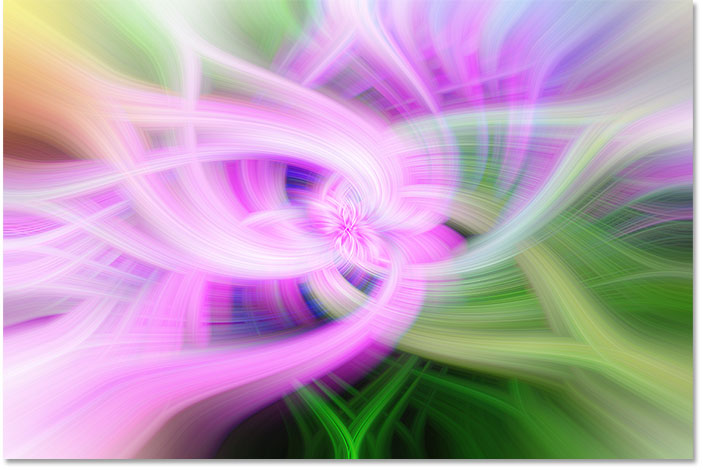
And here, after turning off one of the Radial Blur filters, is my final Twirl Art effect. We'll learn how to upscale the effect to the high resolution version next:
Creating The High Resolution Version
If you created a smaller version of your image back at the beginning of the tutorial, then once you're happy with the twirl effect, you'll want to swap out the smaller version with the original high resolution image. Here's how to do it.
Step 15: Select the original image document
First, switch over to the document that holds your original image by clicking on its tab:
Step 16: Select and copy the image
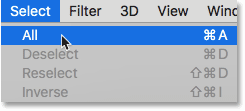
Select the image by going up to the Select menu and choosing All:
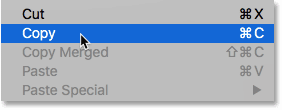
Then go up to the Edit menu and choose Copy:
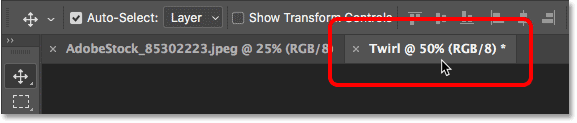
Step 17: Switch back to the "Twirl" document
Switch back to the twirl effect's document by clicking its tab:
Step 18: Replace the contents of the smart object
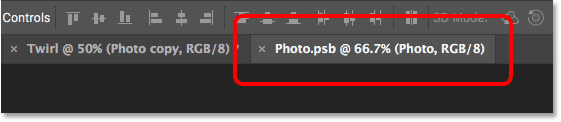
In the "Twirl" document, double-click on either of the smart object thumbnails in the Layers panel:
This opens the contents of the smart object, which currently holds the small version of the image, in a separate document named "Photo.psb":
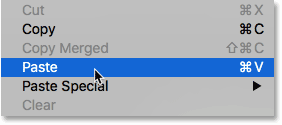
Paste the original, full size image into the document by going up to the Edit menu and choosing Paste:
Since the original image is larger than the smaller version, it won't initially fit. Much of it will be cropped away:
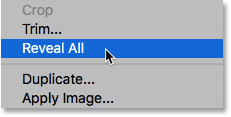
To view the entire image, go up to the Image menu and choose Reveal All:
Photoshop expands the size of the canvas so that the entire image is visible:
Step 19: Save and close the "Photo.psb" document
To officially replace the contents of the smart object with the original image, we need to save the document. Go up to the File menu and choose Save:

A progress bar will appear letting you know that Photoshop is updating the contents of the smart object:
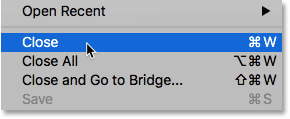
When Photoshop is done saving the document, you can close it by going up to the File menu and choosing Close:
Step 20: Render the high resolution twirl effect
Back in the "Twirl" document, we have the same problem where much of the effect is being cropped away. Again, it's because the original image is much larger than the smaller version we were using:
To reveal the entire effect, go back up to the Image menu and once again choose Reveal All:
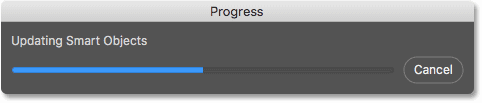
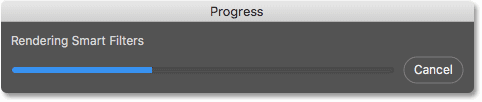
Another progress bar will appear, this time telling you that Photoshop is rendering the smart filters. This part may take some time:
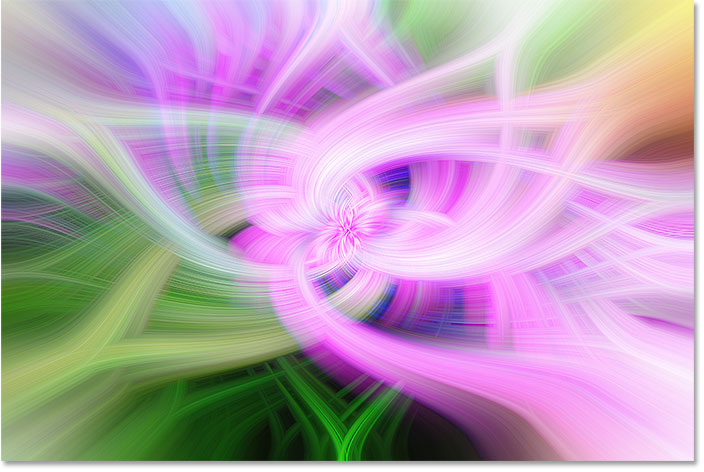
When it's done, the final result appears in its more detailed, high-resolution glory:
Creating Symmetrical Twirl Art
At this point, the main twirl art effect is complete. But let's take it one step further and create a symmetrical version. Here's how to do it.
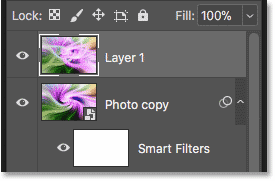
Step 21: Merge both smart objects onto a new layer
In the Layers panel, make sure the "Photo copy" smart object at the top is selected:
Then, on your keyboard, press Shift+Ctrl+Alt+E (Win) / Shift+Command+Option+E (Mac) to merge both smart objects onto a new layer above them. This time, we're working with a normal layer, so you won't see any smart filters listed below it:
Step 22: Flip the layer horizontally
Go up to the Edit menu, choose Transform, and then choose Flip Horizontal:
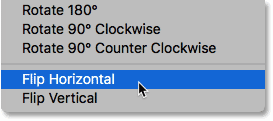
This flips the effect horizontally:
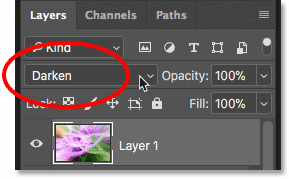
Step 23: Change the blend mode of the merged layer
Finally, to blend the flipped version in with the original, simply change the blend mode of the merged layer ("Layer 1") to either Darken, Lighten or Pin Light. Choose the one that gives you the best result. With my image, the Darken mode works best:
And here, after changing the blend mode of the merged layer, is my symmetrical twirl art effect:
And there we have it! That's how to create twirl art, and symmetrical twirl art, using smart filters and layer blend modes in Photoshop! For a similar effect, check out our Flip, Mirror and Rotate Images tutorial. Or visit our Photo Effects section for more tutorials!