Turn a Photo to a Pencil Sketch in Photoshop
In this tutorial, I show you how easy it is to turn a photo into a pencil sketch with Photoshop. We'll start by turning the image into a black and white sketch, and then I'll show you three different ways to add color to your sketch, including how to use the photo's original colors, a single color, and a gradient!
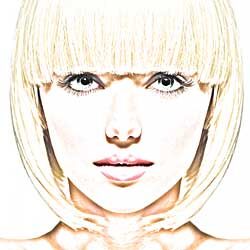
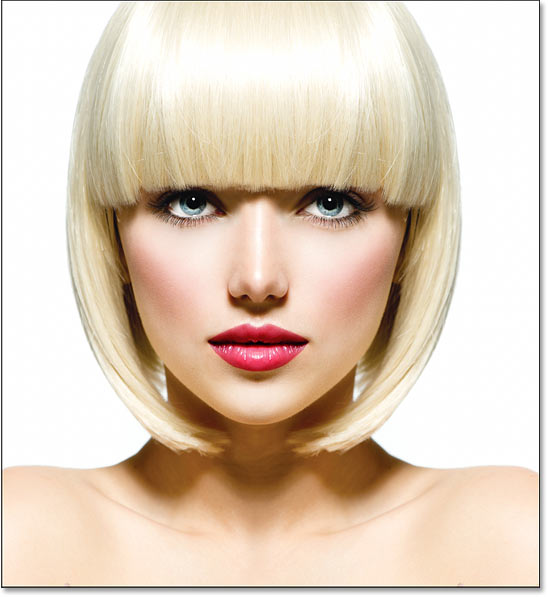
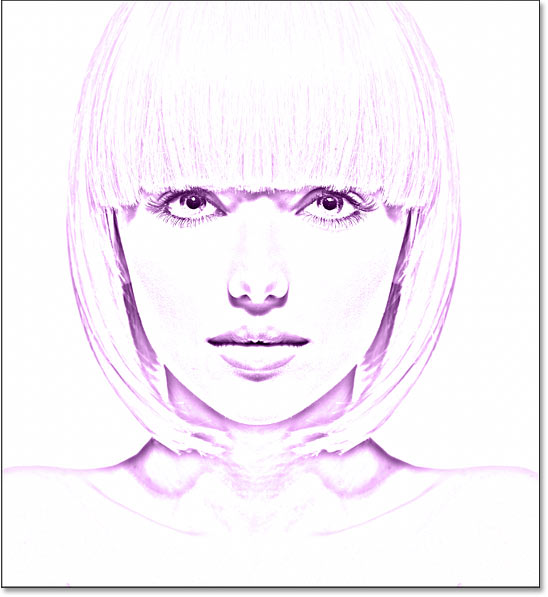
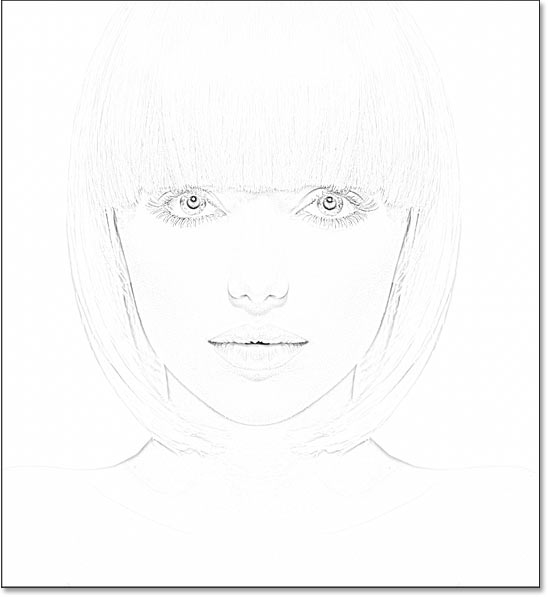
You can follow along with any portrait image. I'll use this image from Adobe Stock:
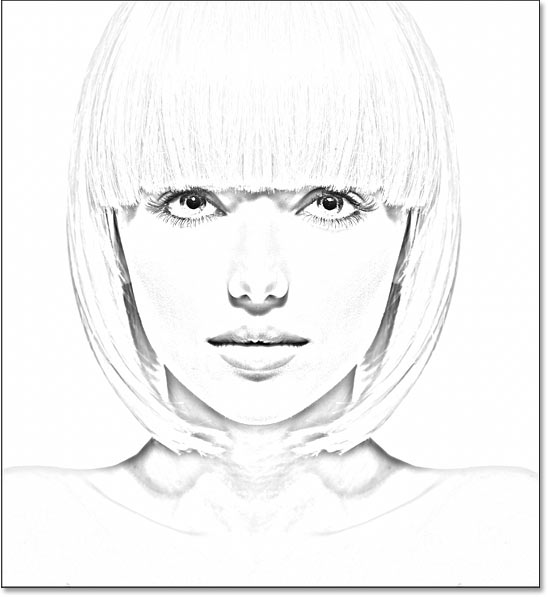
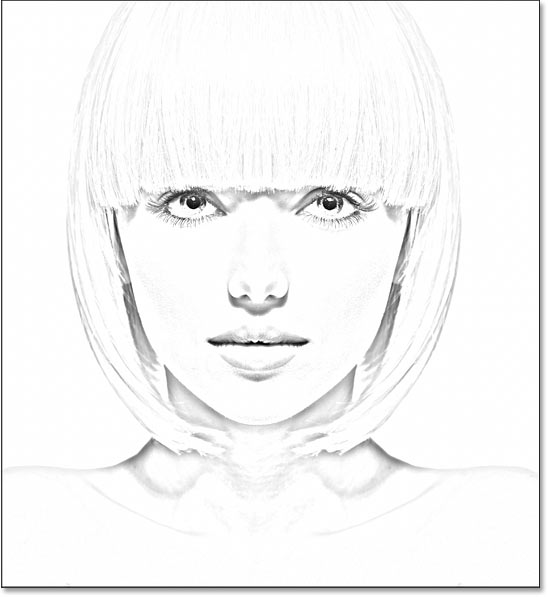
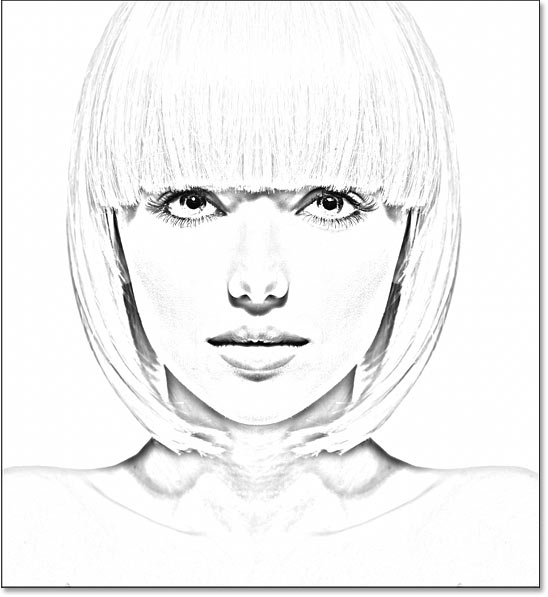
Here's how the photo will look as a black and white sketch:
And once we have the black and white version, we'll start adding color.
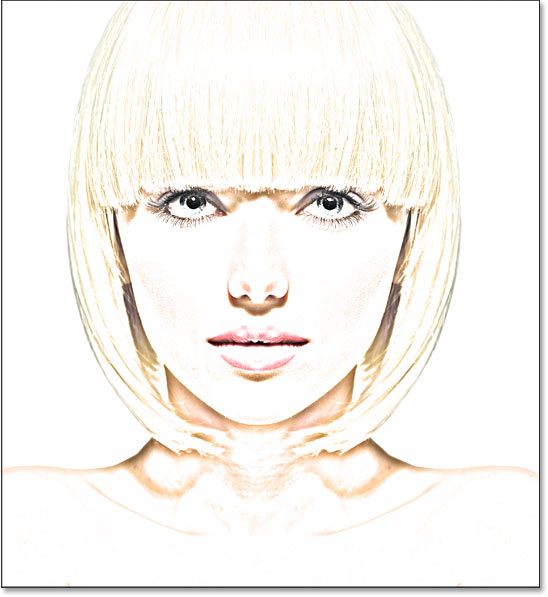
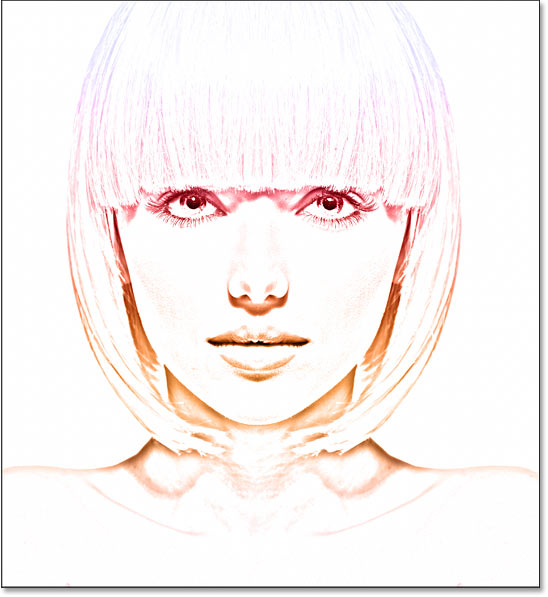
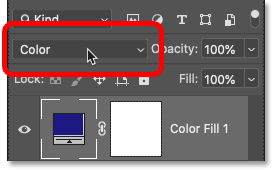
Here's the sketch using colors from the original photo:
Here's the effect using a single color (you can choose any color you like):
And finally, here's the sketch using colors from a gradient. At the end of the tutorial, I show you how to switch between all four versions of the sketch so you can choose the one you like best:
Let's get started!
How to turn the photo into a pencil sketch
I used Photoshop 2021 but every step works with Photoshop 2022 and 2023. You can get the latest Photoshop version here.
These first steps will turn the image into a black and white sketch.
Step 1: Duplicate the Background layer
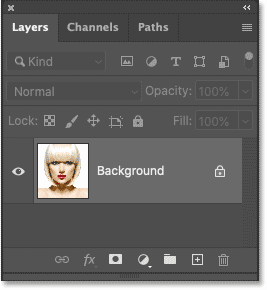
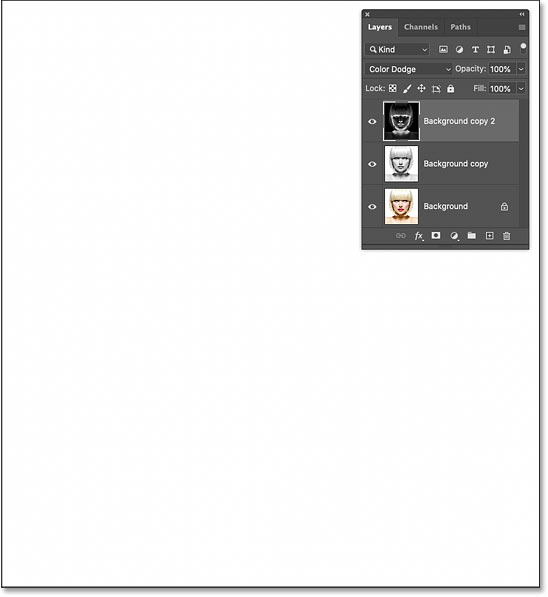
We'll start in Photoshop's Layers panel where the image appears on the Background layer:
We'll need this image when we add color to the sketch later on. So to keep it safe, we'll make a copy of it.
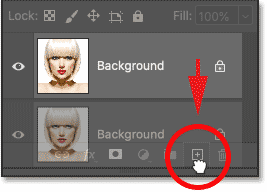
Click on the Background layer and drag it down onto the New Layer icon:
A copy appears above the original:
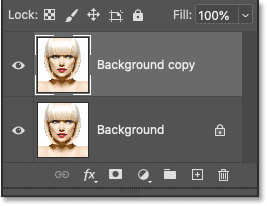
Background copylayer.
Step 2: Desaturate the layer
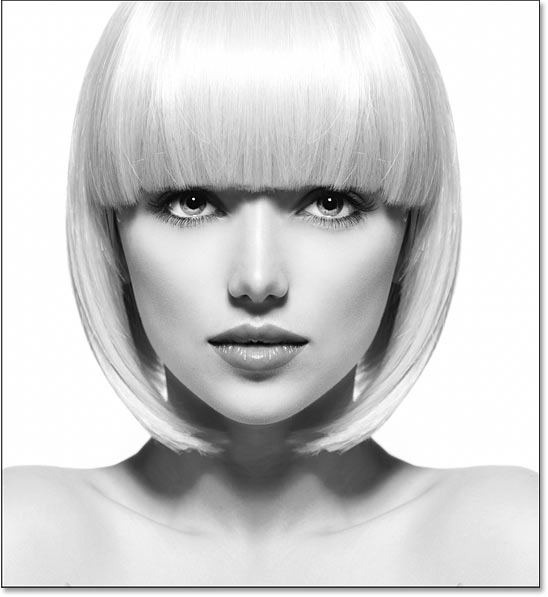
Next, we'll remove all the color from the Background copy
layer using Photoshop's Desaturate command.
Go up to the Image menu in the Menu Bar along the top of the screen, choose Adjustments, and then choose Desaturate:
Photoshop desaturates the image, leaving us with a black and white version of our photo:
Step 3: Duplicate the desaturated layer
Back in the Layers panel, make a copy of the desaturated version by dragging the Background copy
layer down onto the New Layer icon:
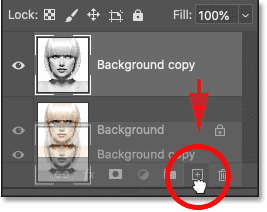
And again, the copy appears above the original:
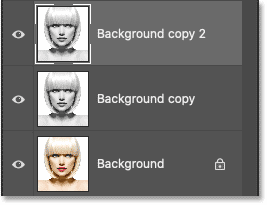
Background copy 2layer appears at the top.
Related: Learn more about Layers in Photoshop!
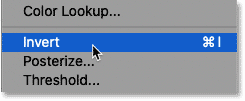
Step 4: Invert the layer
We need to invert the brightness levels on this layer, making light areas dark and dark areas light. For that, we'll use Photoshop's Invert command.
Go up to the Image menu, choose Adjustments, and then choose Invert:
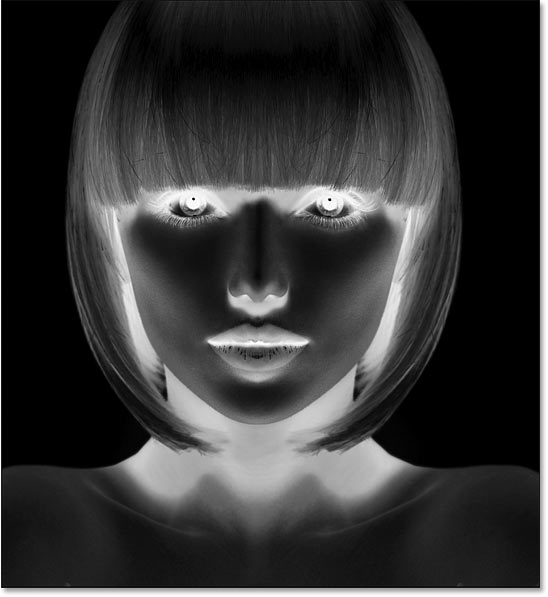
This inverts the image, creating a film negative effect:
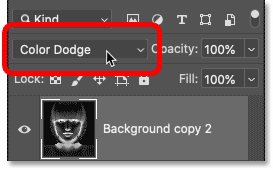
Step 5: Change the layer's blend mode to Color Dodge
In the Layers panel, change the blend mode of the inverted layer from Normal (the default) to Color Dodge:
The document turns completely white, although you may see a few scattered areas of black depending on your image:
Now Available: My Layer Blend Modes Complete Guide PDF!
Step 6: Convert the layer into a smart object
To create the sketch effect, we'll blur the inverted layer using Photoshop's Gaussian Blur filter. But to keep the filter settings editable, we'll apply Gaussian Blur as a smart filter. And to do that, we first need to convert the layer into a smart object.
In the Layers panel, click the menu icon in the top right corner:
And choose Convert to Smart Object from the menu:
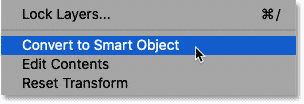
An icon appears in the layer's preview thumbnail, telling us that the layer is now a smart object and we're ready to apply the filter:
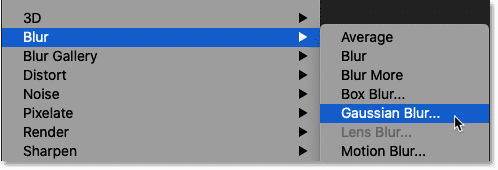
Step 7: Apply the Gaussian Blur filter
Go up to the Filter menu in the Menu Bar, choose Blur, and then choose Gaussian Blur:
Then in the Gaussian Blur dialog box, drag the Radius slider along the bottom to blur the layer's contents. The sketch effect you achieve will depend on the amount of blur you apply. Lower radius values will create a sketch with fine thin lines, while larger values create more photo-realistic sketches.
For example, if I choose a fairly low radius value of 10 pixels:
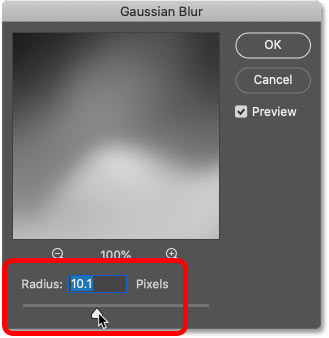
I end up with this effect here with very fine lines:
But if I increase the value to something much higher, like 45 pixels:
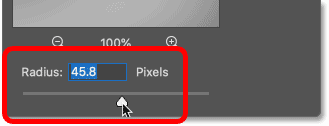
The effect looks more like the original photo. The radius value you need will depend on your image and the look you're going for. So keep an eye on your image as you drag the slider to judge the results.
In my case, I'll go with the second, more photo-realistic version. Click OK when you're done to close the Gaussian Blur dialog box:
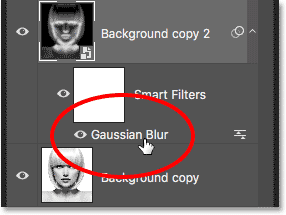
How to edit the Gaussian Blur setting
Since we applied the Gaussian Blur filter to a smart object, the Layers panel shows it listed as a smart filter below the smart object. You can double-click on the words Gaussian Blur
at any time to re-open the filter's dialog box and experiment with different settings:
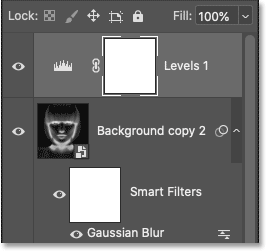
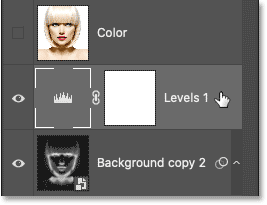
Step 8: Add a Levels adjustment layer
At this point, the sketch may look too bright with too little contrast. But we can darken it very easily using a Levels adjustment layer and a layer blend mode.
Still in the Layers panel, click the New Fill or Adjustment Layer icon:
And choose Levels from the list:
Photoshop adds a Levels adjustment layer above the smart object:
Step 9: Change the blend mode to Multiply
Then to darken the sketch, simply change the blend mode of the adjustment layer from Normal to Multiply:
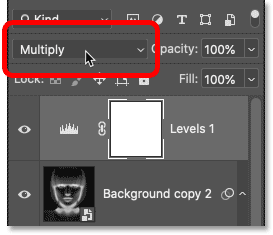
The Multiply blend mode is one in a group of blend modes that darken the overall image. And right away, the sketch appears much darker:
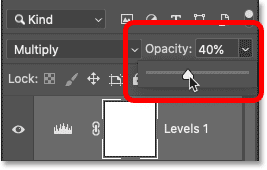
How to fine-tune the brightness
If the sketch looks too dark, lower the adjustment layer's Opacity value, located directly across from the Blend Mode option in the Layers panel. The more you lower the opacity from 100%, the more the layers below the adjustment layer will show through, brightening the sketch back up.
I'll lower mine to around 40%:
And with that, we have our black and white version of the sketch! Up next, I'll show you a few different ways add color:
Coloring the sketch with the photo's original colors
These next steps will add color to the sketch using colors from the original photo. After that, I'll show you how to color the sketch with a single color, and then with a gradient.
Step 10: Duplicate the Background layer again
In the Layers panel, make a copy of the original image by dragging the Background layer (the original one at the bottom) down onto the New Layer icon:
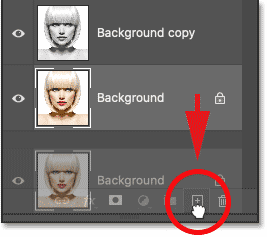
The copy (Background copy 3
) appears between the Background and Background copy
layers:
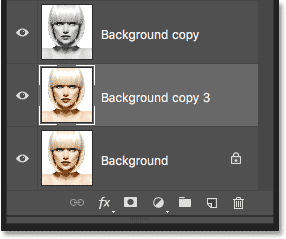
Background copy 3layer.
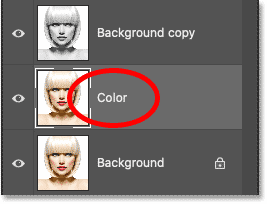
Step 11: Rename the new layer Color
At this point, our Layers panel is cluttered with copies of the Background layer. And they all have names like Background copy
, Background copy 2
, Background copy 3
that tell us nothing about what the layer is being used for. So let's rename our new layer to something more descriptive.
Double-click directly on the name Background copy 3
to highlight it:
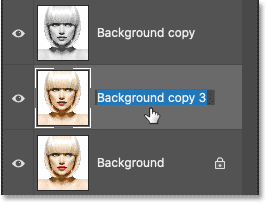
Then change the name to Color
. Press Enter (Win) / Return (Mac) on your keyboard to accept it:
Step 12: Move the Color
layer above the adjustment layer
We need the image to appear above the sketch. So click on the Color
layer and drag it above the Levels adjustment layer. When a blue line appears above the adjustment layer, release your mouse button:
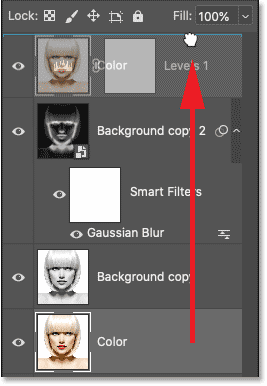
Colorlayer to the top.
The image temporarily blocks the sketch from view:
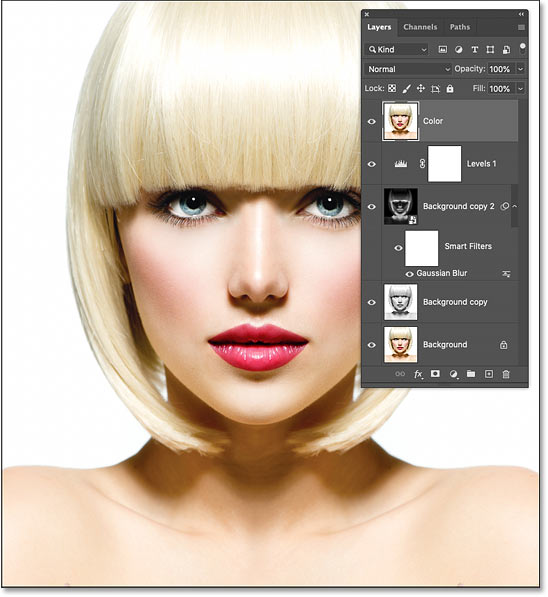
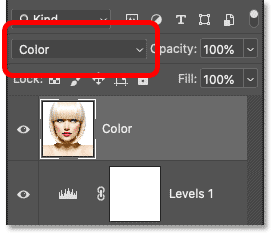
Step 13: Change the blend mode to Color
To blend the colors from the image into the sketch, change the blend mode of the Color
layer from Normal to Color:
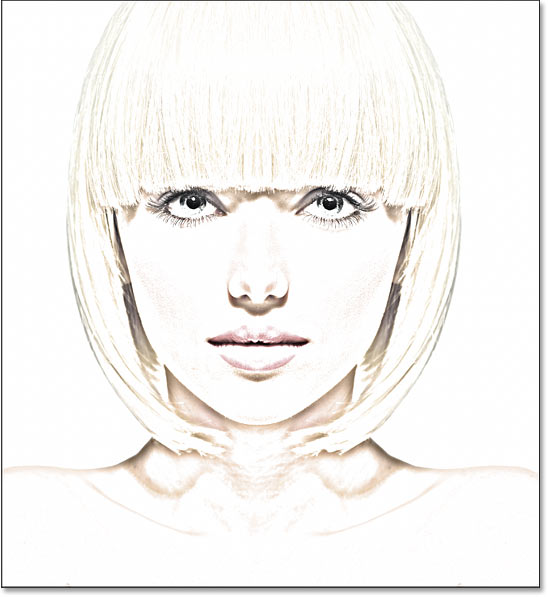
The Color blend mode tells Photoshop to blend only the color from the active layer with the layers below it. And just like that, we've added the original colors back to the sketch:
How to fine-tune the color intensity
If the color is too strong, lower the layer's opacity. I'll lower mine to 50%:
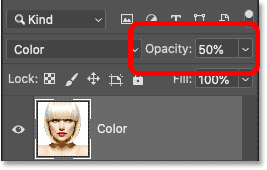
With the opacity lowered, the colors appear more subtle. And that's how to color the sketch using the photo's original colors:
Learn More: The five layer blend modes you need to know!
How to color the sketch with a single color
If you like the way your sketch looks with the colors from the photo, you can stop here. Otherwise, let's look at a second way to add color, this time using a single color. Then we'll finish off the tutorial by learning how to color the sketch with a gradient.
Step 14: Turn off the Color
layer
Before we go any further, turn off the Color
layer that we used in the previous steps by clicking its visibility icon (the eyeball) in the Layers panel:
Colorlayer.
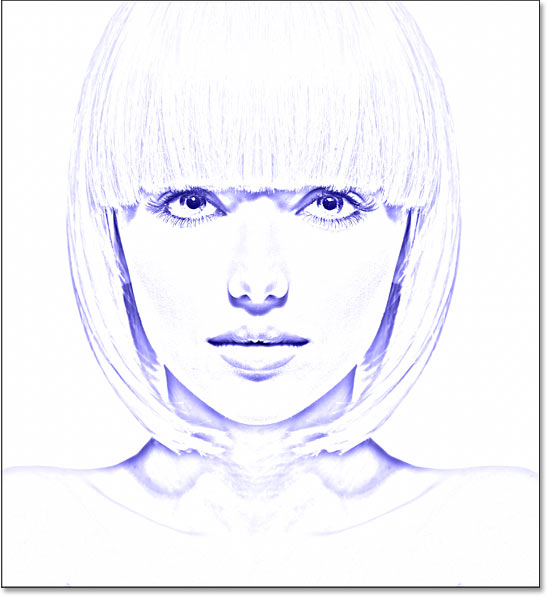
Step 15: Add a Solid Color fill layer
To color the sketch with a single color, we'll use a Solid Color fill layer. Click on the New Fill or Adjustment Layer icon at the bottom of the Layers panel:
Then choose Solid Color from the list:
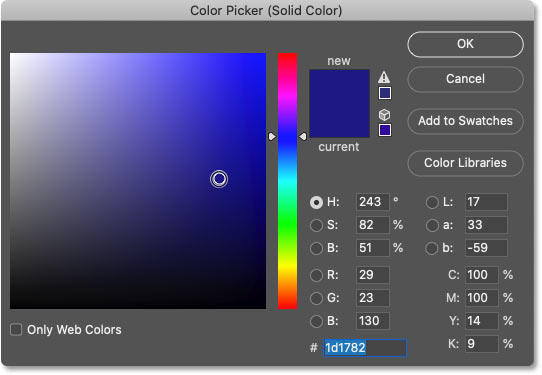
Photoshop opens the Color Picker where we choose the color we need. Don't worry about choosing the wrong color because you can always come back and choose a different one, as we'll see in a moment.
I'll try a shade of blue. Click OK when you're done to close the Color Picker:
In the Layers panel, the Solid Color fill layer appears above the other layers. And in the document, the color you selected temporarily blocks the sketch from view:
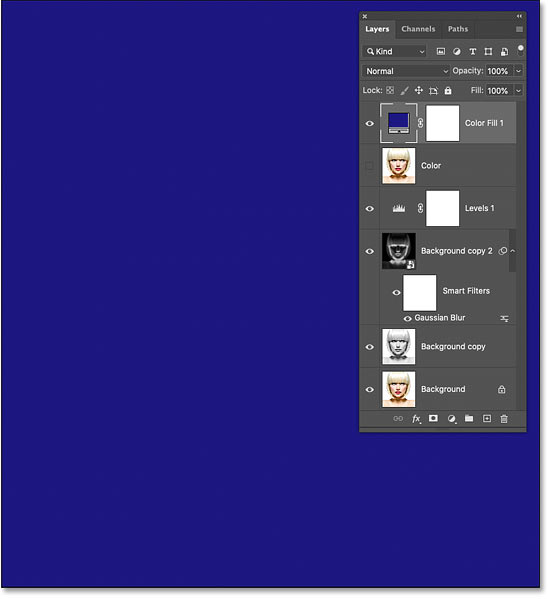
Step 16: Change the blend mode to Color
To blend the color into the sketch, change the fill layer's blend mode to Color:
And here's the result with the sketch colored in blue:
How to change the color
To try a different color, double-click on the fill layer's color swatch in the Layers panel:
And then choose a new color from the Color Picker. As long as the Color Picker remains open, you can keep selecting different colors and see a live preview in the document.
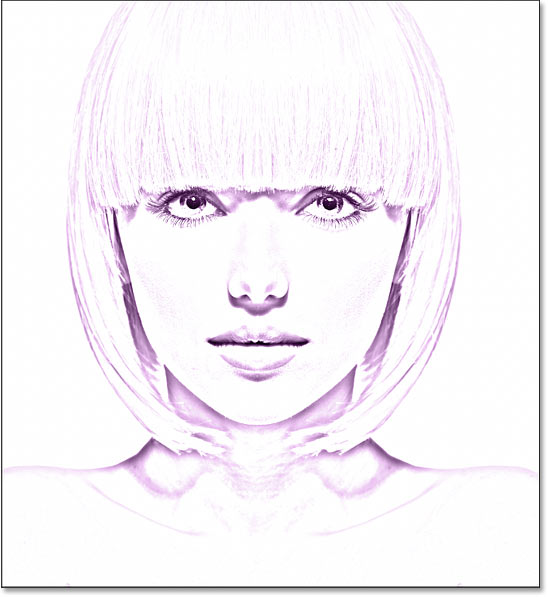
I'll go with a shade of purple. When you're done, click OK to close the Color Picker:

And now my sketch is colored in purple:
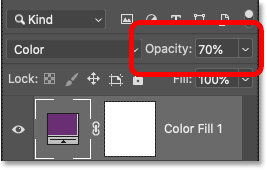
Adjusting the color's intensity
If the color is too intense, lower the fill layer's Opacity value. I'll lower it to 70%:
And that's how to add a single color to your sketch! Up next, we'll finish things off by learning how to color the sketch with a gradient, and then I'll show you how to switch between all these different versions to choose the one you like best:
How to color the sketch with a gradient
At this point, we've learned how to convert the photo to a black and white sketch, how to bring back the original colors from the photo, and how to add a single color. We'll finish off this tutorial by learning how to color the sketch with a gradient.
I won't cover how to create your own custom gradients here. Instead, we'll use one of Photoshop's built-in gradients. And in the most recent versions of Photoshop (from 2020 and up), there are lots of new gradients to choose from.
Step 17: Turn off the Solid Color fill layer
First, if you've been following along from the beginning, turn off the Solid Color fill layer we used in the previous steps by clicking its visibility icon in the Layers panel:
This restores the black and white version of the sketch:
Step 18: Add a Gradient Fill layer
To color the sketch with a gradient, we'll use a Gradient fill layer. And we'll add the fill layer directly above the Levels adjustment layer. So first, click on the Levels adjustment layer in the Layers panel to make it active:
Then click once again on the New Fill or Adjustment Layer icon:
And choose Gradient from the list:
Step 19: Select a gradient
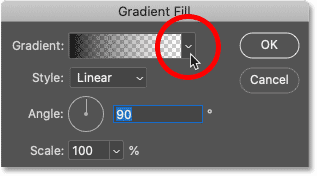
In the Gradient Fill dialog box, choose a gradient by clicking the small arrow next to the gradient swatch:
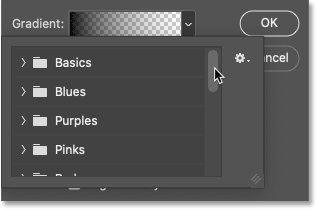
This opens the Gradient picker with lots of new gradients that were added back in Photoshop 2020. The gradients are divided into groups based on theme (Basics, Blues, Purples, and so on):
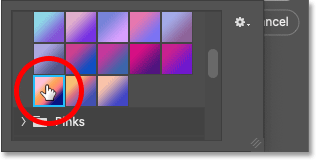
To open a group, click the arrow next to the group's folder icon. I'll twirl open the Purples group:
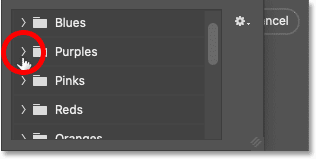
Then to select a gradient inside the group and close the Gradient picker, double-click on the gradient's thumbnail:
The gradient settings
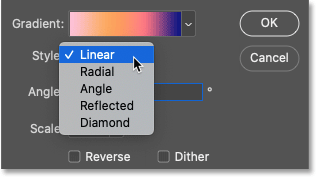
Back in the Gradient Fill dialog box, you can change the Style of the gradient from Linear (the default) to Radial, Angle, Reflected or Diamond:
You can Reverse the order of the gradient colors:

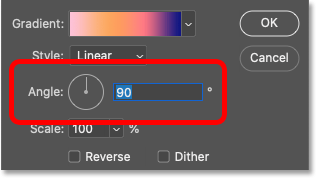
And you can change the Angle of the gradient. I'll leave mine at the default of 90 degrees:
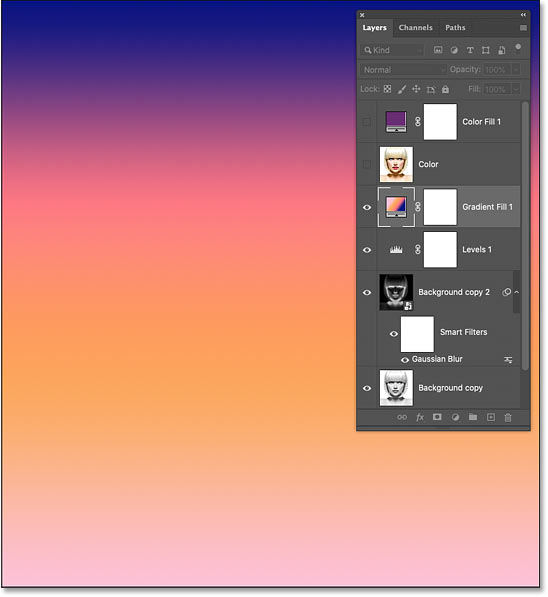
Click OK when you're done to close the Gradient Fill dialog box. The gradient temporarily blocks the sketch from view:
Step 20: Change the Blend Mode to Color
Back in the Layers panel, the Gradient fill layer appears above the Levels adjustment layer. To blend the gradient colors in with the black and white sketch, change the blend mode of the Gradient fill layer from Normal to Color:
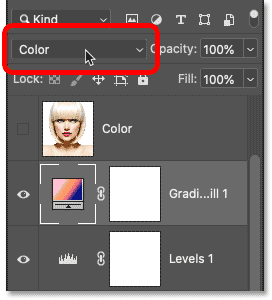
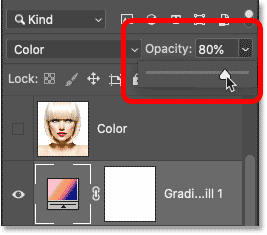
Then adjust the intensity of the colors if needed by lowering the layer's opacity:
And here's my sketch using the gradient colors:
How to choose a different gradient or edit the settings
To try a different gradient or edit any of the gradient options (Style, Reverse, Angle), double-click on the Gradient fill layer's color swatch. This will re-open the Gradient Fill dialog box where you can make any changes you need:
How to switch between the sketch color effects
Now that we've colored the sketch with a gradient, what if you want to go back to the colors from the original photo, or the single color version, or even the black and white version? Here's how to switch between the different effects.
Restoring the black and white sketch
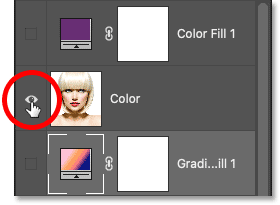
To hide all the color effects and return to the black and white version, simply turn off the Color
layer, the Solid Color fill layer and the Gradient fill layer using their visibility icons. I already have the Color
and Solid Color layers turned off, so I'll turn off the Gradient fill layer as well:
With all three color effect layers turned off, I'm back to my black and white sketch:
Restoring a color version of the sketch
Then to turn on one of the color effects, click its visibility icon. I'll turn on my Color
layer. Make sure you turn on only one color effect at a time, otherwise they will blend together:
Colorlayer.
And with the Color
layer turned on, we're back to the photo's original colors:
And there we have it! That's how to turn a photo into a black and white pencil sketch, along with a few different ways to color the sketch, in Photoshop! Check out my Photo Effects section for more tutorials!