
How to Fix Nano Banana in Photoshop 2026
Nano Banana (and Nano Banana Pro) are now in Photoshop's Generative Fill, but the result often shifts out of alignment with your image. This tutorial shows you several ways to fix it.
Download the PDF: How to Fix Nano Banana in Photoshop 2026
As of Photoshop 2026, Google’s Gemini 2.5 (Nano Banana) and Nano Banana Pro are now available in Generative Fill, pushing AI-powered image editing to a whole new level.
But Nano Banana has one big drawback — its results often shift out of alignment with the original image.
In this tutorial, we’ll look at the problem and I’ll show you a few ways to fix it, including how to line up the Nano Banana result manually and how to let Photoshop auto-align everything for you.
Which Photoshop version do I need?
To use Nano Banana, you’ll need Photoshop 2026 (version 27.0 or higher).
You can get Photoshop here or use the Creative Cloud Desktop app to make sure that your copy is up to date.
Using Nano Banana in Photoshop
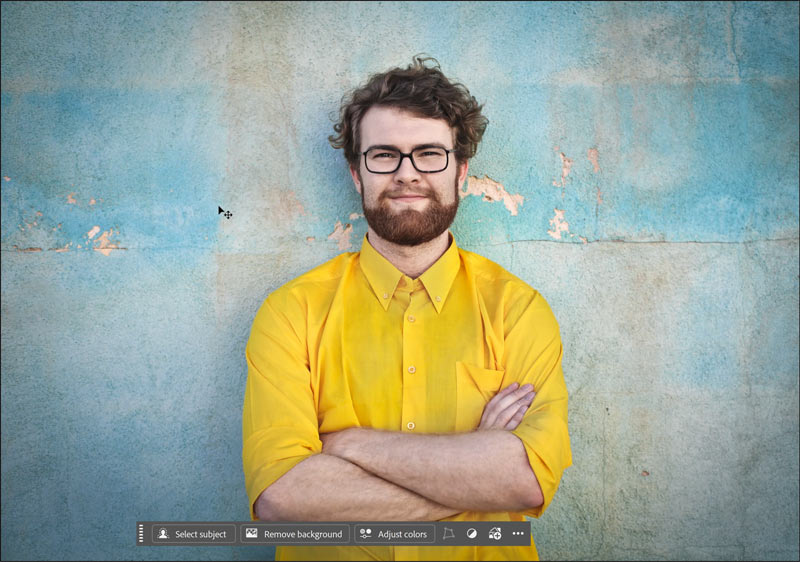
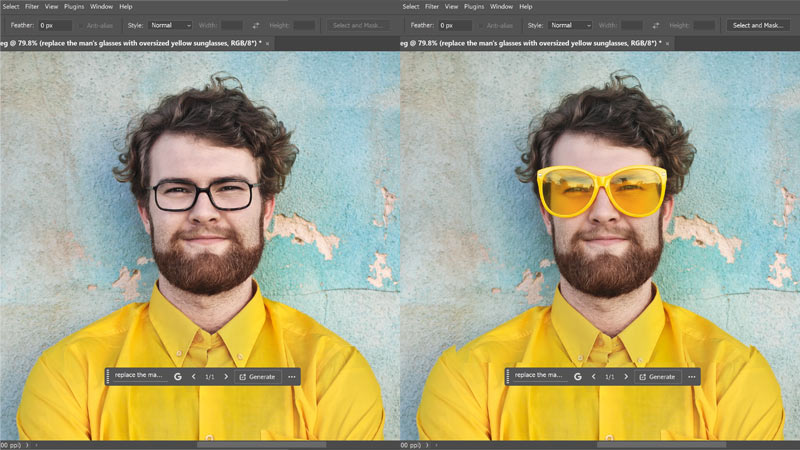
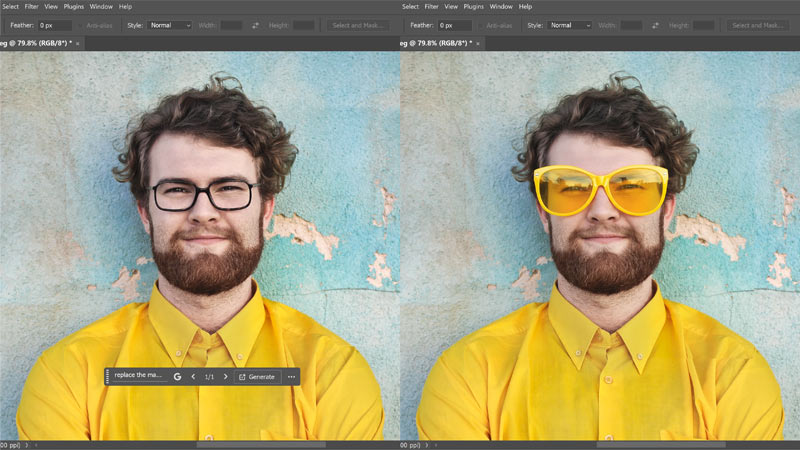
With this image (from Adobe Stock), I want to use Nano Banana in Generative Fill to replace the man’s glasses with oversized sunglasses that better match his yellow shirt.
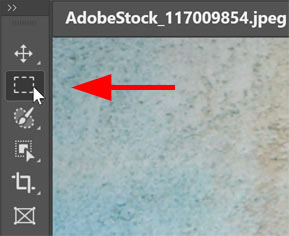
I’ll start by selecting the Rectangular Marquee Tool from the toolbar.
Then I’ll drag a selection around his face. Since Nano Banana can only see what’s inside the selection, be sure to include some of the surrounding area for context, otherwise it may struggle with the result.
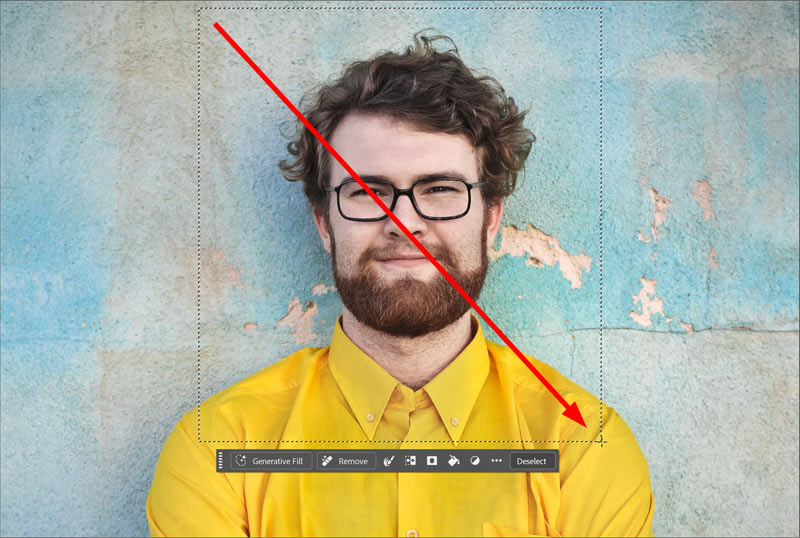
With my selection in place, I’ll click Generative Fill in the Contextual Task Bar.

For my prompt, I’ll type replace the man’s glasses with oversized yellow sunglasses
.

Next, I’ll click the AI model icon beside the prompt box and choose Gemini 2.5 (Nano Banana) from the list.
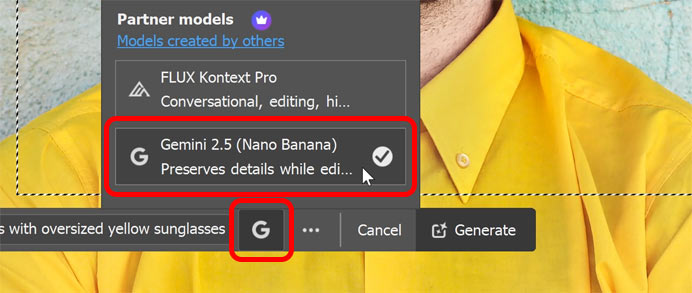
Then I’ll click Generate.

Nano Banana’s alignment problem
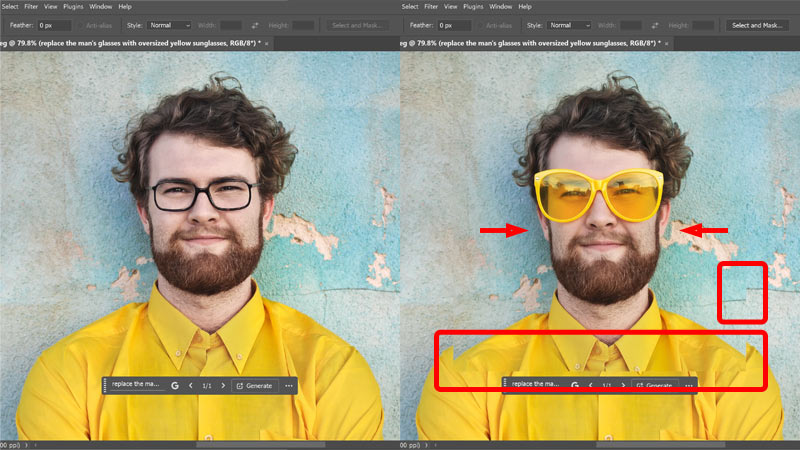
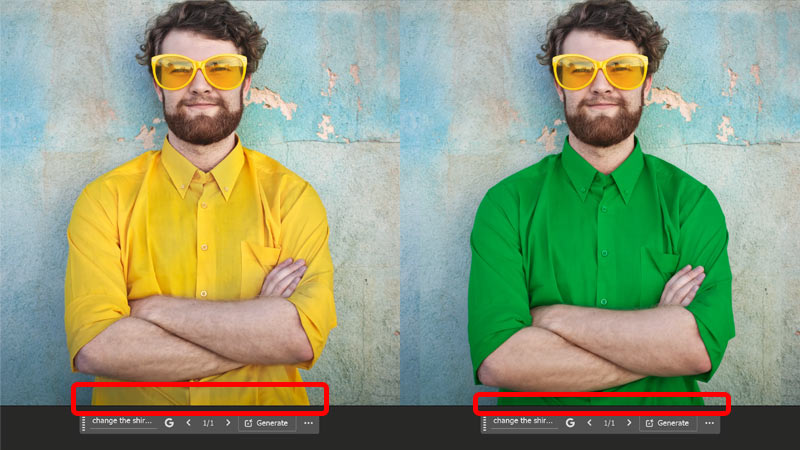
Here’s the result. Nano Banana did replace the glasses with oversized yellow sunglasses. The original image is on the left, Nano Banana on the right.
But the problem is that the new content is not aligned with the original image. Instead it has shifted downward and been stretched vertically.
If you look along the edges where the Nano Banana result and the original image meet, it’s easy to see that the details in the shirt and the background no longer line up. And his face is longer and thinner than it should be.
Fix #1: Align the Nano Banana result manually
One way to fix Nano Banana’s alignment problem is to manually line up the Generative Fill result with the original image.
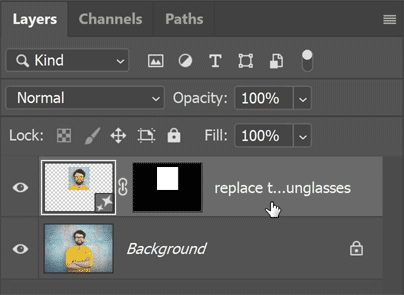
Step 1: Select the Generative layer
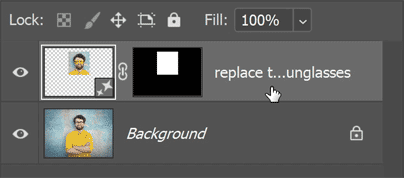
In the Layers panel, make sure the Generative layer is active.
Step 2: Change the blend mode to Difference
Then change the layer’s blend mode from Normal to Difference.
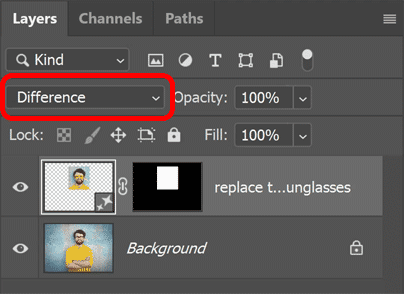
With Difference mode, any areas that don’t match the original image appear as color, while areas that are aligned appear black. It’s an easy way to spot the problems.
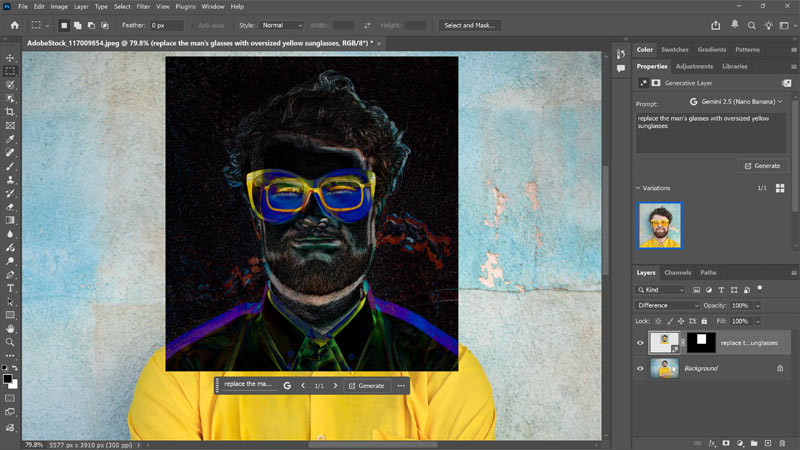
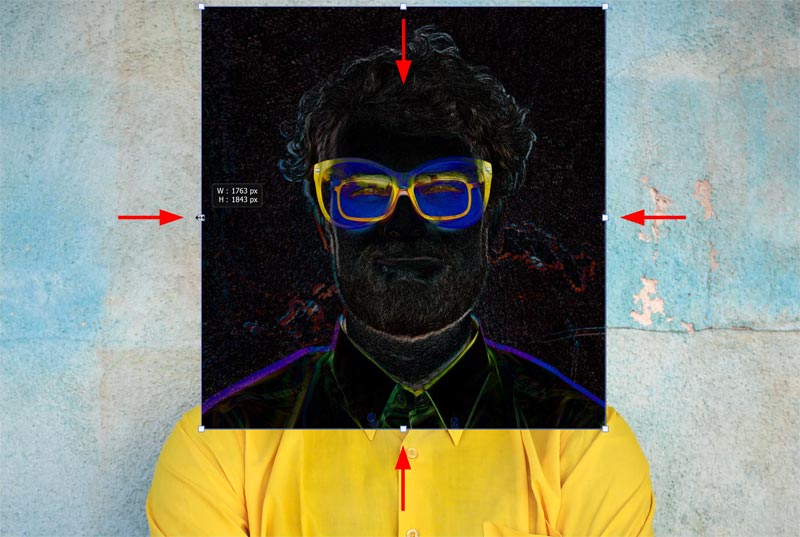
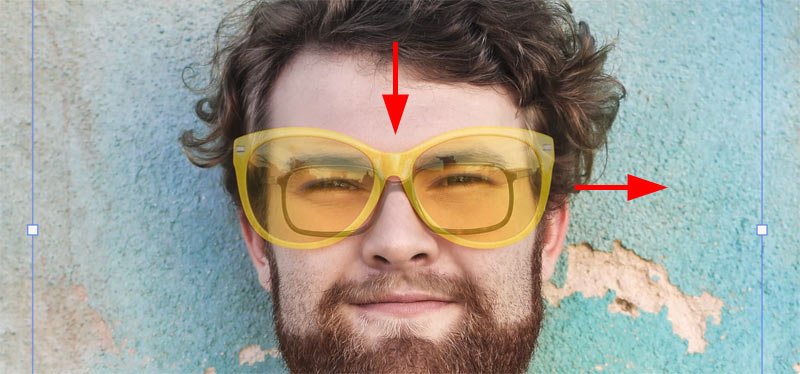
Step 3: Use Free Transform to reposition and resize
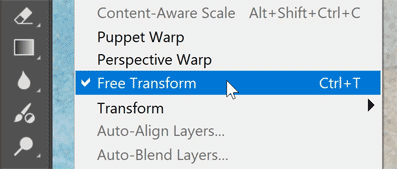
Go up to the Edit menu and choose Free Transform.
Drag inside the bounding box to reposition the Nano Banana result, and drag the corner or side handles to scale, stretch, or nudge it into place.
Your goal is to line up the details and turn as much of the color to black as possible.
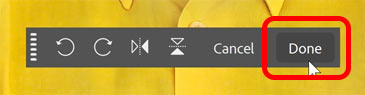
Step 4: Click Done
When you’ve done all you can, click Done in the Contextual Task Bar.
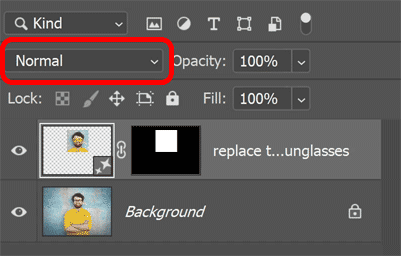
Step 5: Switch the blend mode back to Normal
In the Layers panel, change the blend mode from Difference back to Normal.
Step 6: Compare the result
Toggle the Generative layer on and off to see how well it lines up with the original.
Depending on your image, this manual method can work very well. But in my case, while the result is better than it was initially, it’s still not aligned.
I could keep trying, or I can let Photoshop align the contents automatically, which we’ll look at next.
Fix #2: Use Auto-Align Layers
Photoshop includes a powerful feature called Auto-Align Layers which can automatically reposition and reshape one layer so it lines up with the contents of another. We can use it to bring the Nano Banana result back into alignment with the original image.
Step 1: Rasterize the Generative layer
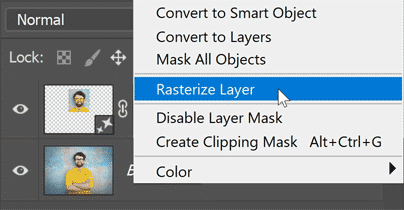
Auto-Align Layers won’t work with a Generative layer, so we need to rasterize it (convert it to a normal pixel layer).
In the Layers panel, right-click on the Generative Layer.
Choose Rasterize Layer from the menu.
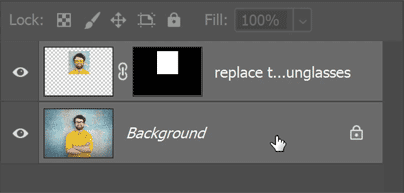
Step 2: Select both layers
With the rasterize layer still active, hold Shift on your keyboard and click the Background layer to select them both.
Step 3: Choose Auto-Align Layers
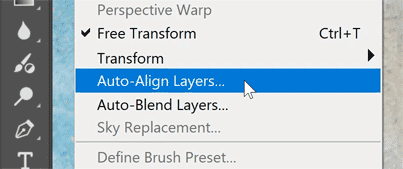
Go up to the Edit menu and select Auto-Align Layers.
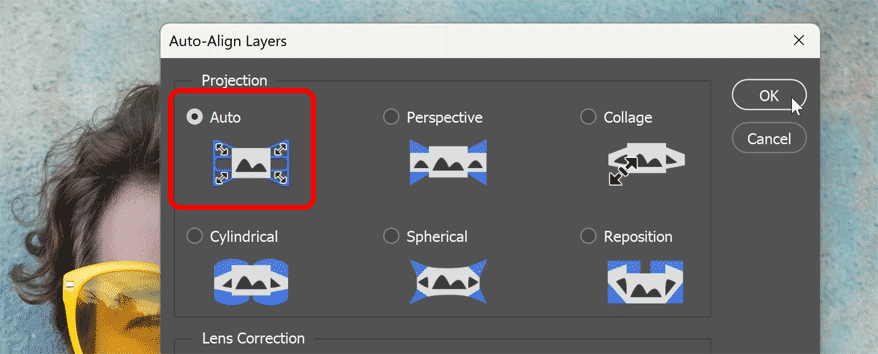
Step 4: Choose Auto and click OK
In the dialog box, leave Auto selected and click OK.
Step 5: Compare the result
Photoshop analyzes both layers and tries to align the overlapping areas. And it usually does a great job, as it did here.
In this comparison, with the original image on the left and the auto-aligned Nano Banana result on the right, the two versions match very closely. It’s not quite perfect, but the alignment is much better than what I achieved manually, and Photoshop did the work for me.
Fix #3: Use a layer mask
After you align the Nano Banana result with the original image as closely as possible, you can fine-tune it even more by using a layer mask. A mask lets you keep only the part you need and hide any surrounding areas that are still slightly out of alignment.
In my example, I only need the yellow sunglasses. So I can safely hide the rest of what Nano Banana created—his face, hair, shirt, and background—while keeping the sunglasses visible.
Step 1: Select the layer
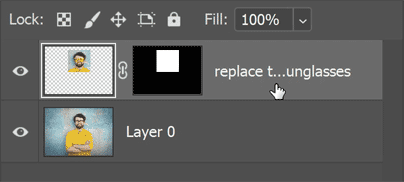
In the Layers panel, select the Generative layer (if you used the manual method) or the rasterized layer (if you used Auto-Align Layers).
Step 2: Place the layer into a group
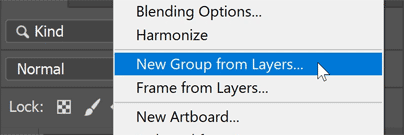
Click the Layers panel menu icon.
Choose New Group from Layers.
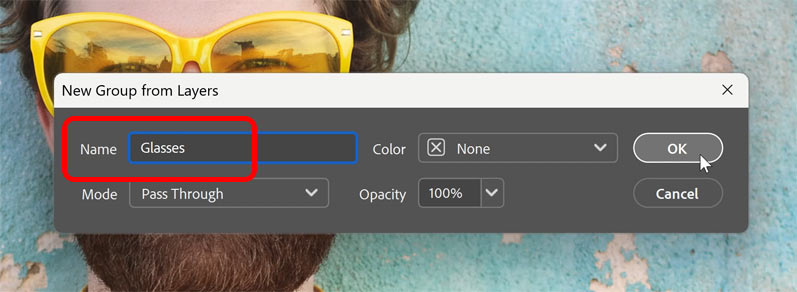
Name the group. I’ll name mine Glasses
. Then click OK.
The layer is now inside the group.
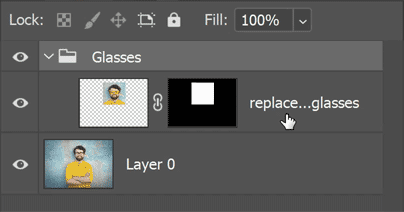
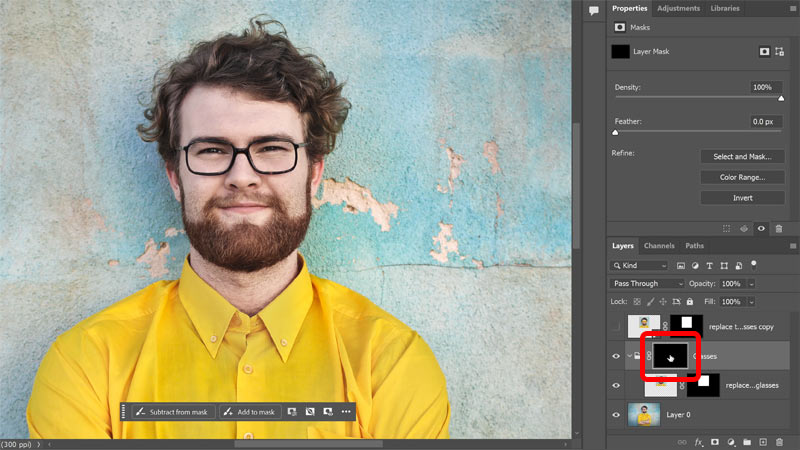
Step 3: Add a black-filled layer mask to the group
With the group selected, click the Add Layer Mask icon at the bottom of the Layers panel.
Photoshop adds a white-filled layer mask to the group, which keeps everything visible.
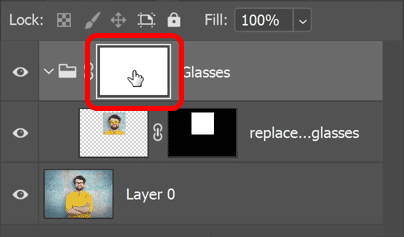
To fill the layer mask with black, make sure the layer mask thumbnail is selected. Then in the Properties panel, click Invert.
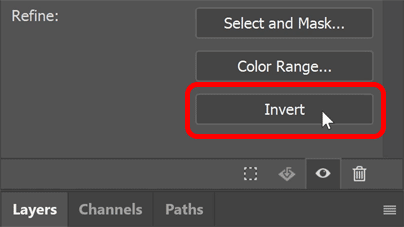
The layer mask is now filled with black and the Nano Banana result is hidden.
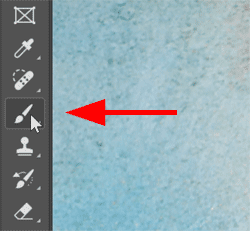
Step 4: Select the Brush Tool
Choose the Brush Tool in the toolbar.
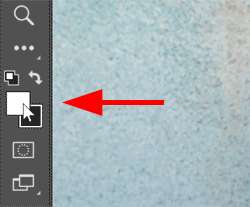
Step 5: Set the Foreground contents to white
Still in the toolbar, make sure your Foreground color is set to white so you can paint on the mask with white to reveal the content.
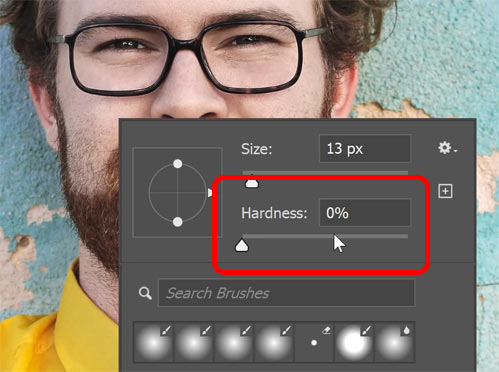
Step 6: Set the brush hardness to 0%
With the Brush Tool active, right-click in the document and lower the Hardness to 0% for a soft-edge brush.
Step 7: Paint to reveal the Nano Banana content
Resize the brush using the left and right bracket keys ( [ and ] ) on your keyboard.
Then simply paint over the area you want to reveal. In my case, I’m painting only over the yellow sunglasses so everything else stays hidden.

Fix #4: Nudge the Nano Banana content into place
In my example, the sunglasses are still sitting a bit too high on his face. Here’s how to make small adjustments to the alignment using the arrow keys on your keyboard.
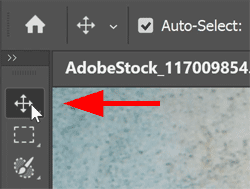
Step 1: Select the Move Tool
Choose the Move Tool from the toolbar.
We’re not going to drag the image with it; we just need the Move Tool active so we can nudge the layer using the arrow keys.
Step 2: Lower the opacity of the layer group
In the Layers panel, make sure the layer group is selected.
Then lower the group’s Opacity until you can see the original image through it. I’ll lower mine to about 6%.

Step 3: Nudge the Nano Banana content
Use the up, down, left, or right arrow keys on your keyboard to nudge the content into position.
I’m using his eyes as my reference point to line up the sunglasses.
Step 4: Restore the opacity to 100%
When you’re done, raise the layer group’s opacity back to 100% in the Layers panel.

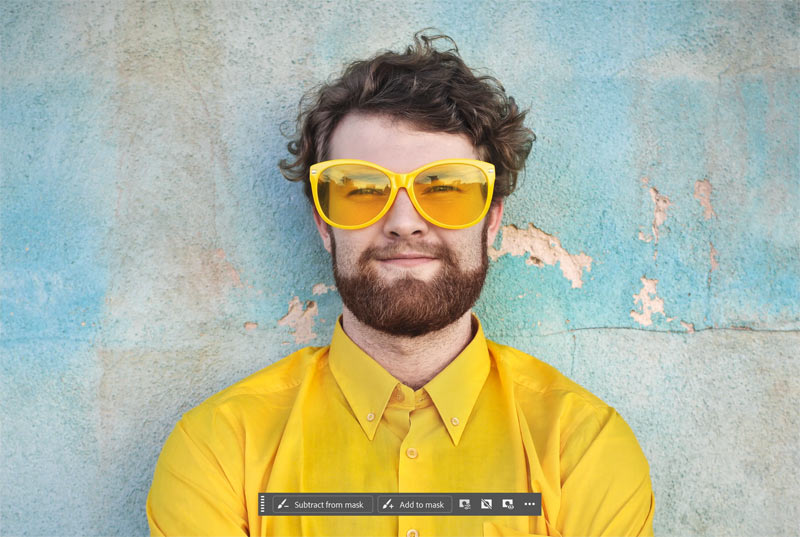
Final result
Here is my completed Nano Banana edit with the sunglasses now properly aligned.
When Nano Banana’s alignment can’t be fixed
All four methods we used to align Nano Banana’s result work well when the area you’re replacing sits comfortably inside the image, like the sunglasses example. But if the content you want to change sits right along the edge of the image, Nano Banana’s alignment issue can be nearly impossible to fix.
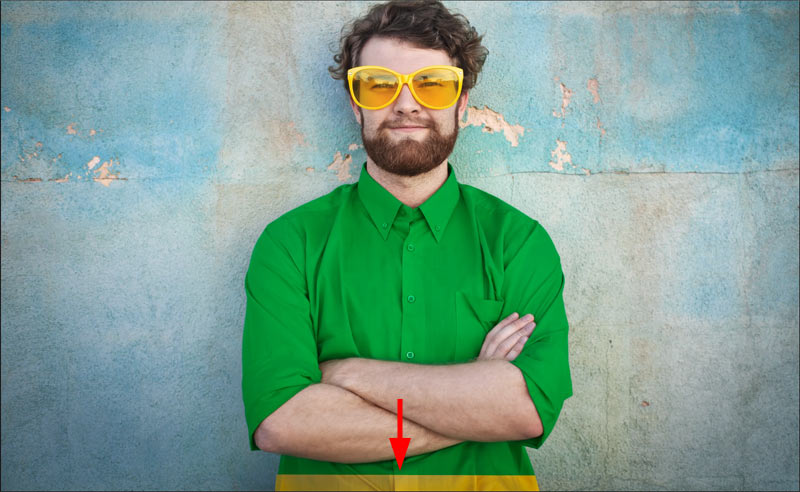
For example, in this case I used Nano Banana to change the shirt color from yellow to green.
At first it looks like Nano Banana did a great job. But when you look closer, you can see that it stretched the result vertically again, causing part of the green shirt to extend off the bottom edge of the image.
Notice how little of the green shirt remains below his arm compared to the original yellow shirt.
After using Auto-Align Layers to align the green shirt with the original yellow shirt, the bottom of the green shirt that extended off the bottom edge is now missing.
To fix it, I would need to either crop the image or try again.
Summary
And there we have it. Hopefully a future Photoshop or Nano Banana update will fix the alignment issue. For now, as long as the area you’re editing is not along the edge of the image, use the methods we covered in this tutorial to move everything back into place.
I hope this tutorial was helpful. Don't forget — all of my Photoshop tutorials are available to download as PDFs!
Related tutorials:
- How to use Generative Upscale in Photoshop 2026
- Blend anything with Harmonize in Photoshop 2026
- How to Upscale AI Images with Photoshop’s Generative Upscale