
Perspective Shadow Text Effect In Photoshop
In this Photoshop text effects tutorial, we'll learn how to create a popular, classic effect by giving text a perspective shadow as if a light source behind the text was casting a shadow onto the ground in front of it. I'll be using Photoshop CS5 throughout this tutorial, but any recent version will work.
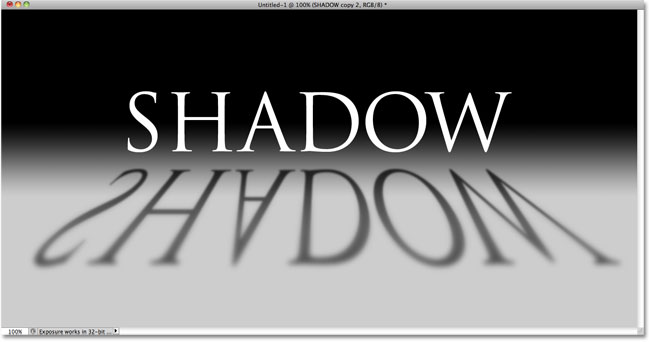
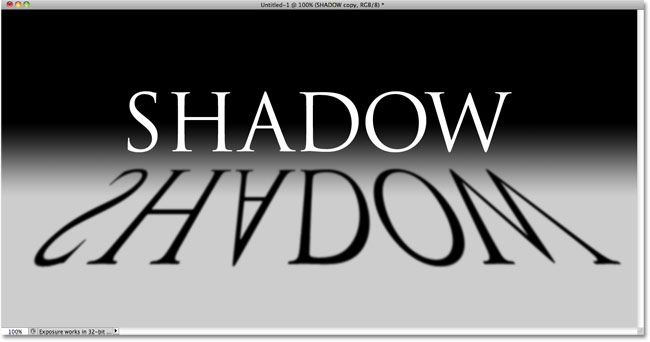
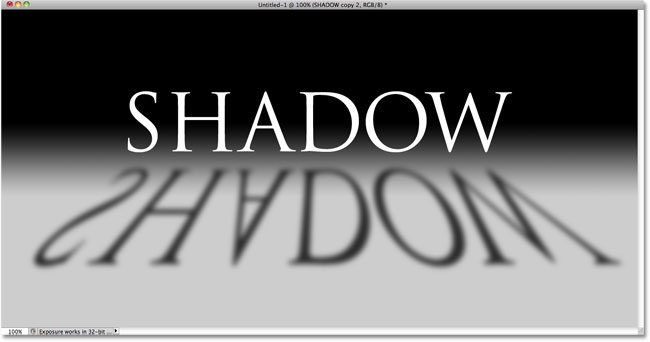
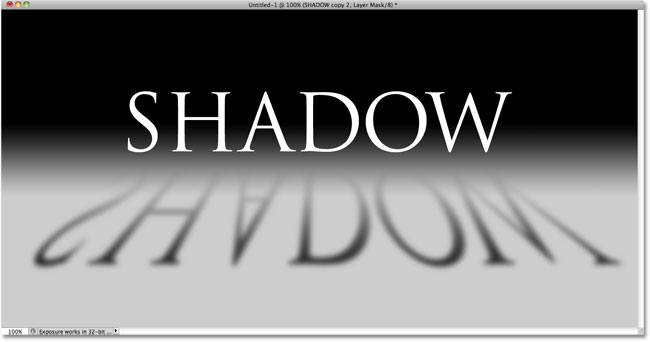
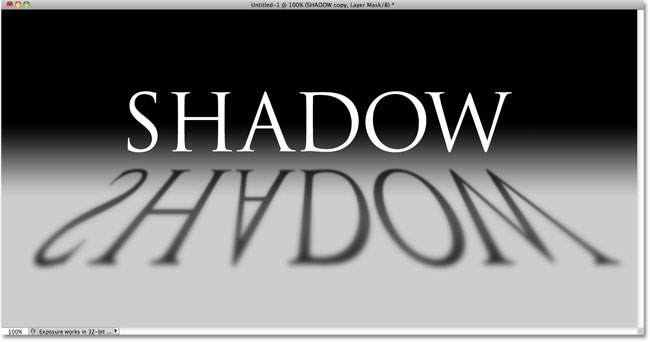
Here's what the final result will look like:
Let's get started!
Step 1: Duplicate The Text Layer
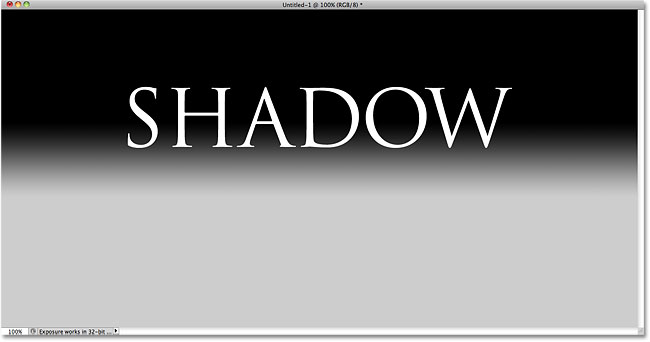
To begin with, I've gone ahead and added some text in front of a background filled with a simple black-to-gray gradient. You can create this perspective shadow effect with any background colors or image you like:
If we look in the Layers panel, we see that my text is sitting on its own text layer above the Background layer:
We need to make a copy of the text, so with the text layer selected in the Layers panel (selected layers are highlighted in blue), go up to the Layer menu in the Menu Bar at the top of the screen, choose New, and then choose Layer via Copy. Or, for a much faster way to choose the same command, use the keyboard shortcut Ctrl+J (Win) / Command+J (Mac):
Nothing happens in the document window, but a copy of the text layer appears above the original in the Layers panel:
Step 2: Drag The Copy Below The Original
Click on the copy of the text layer in the Layers panel and drag it directly below the original text layer. When you see a highlight bar appear between the original text layer and the Background layer, release your mouse button to have Photoshop snap the layer into its new position:
Step 3: Rasterize The Text
In a moment, we're going to reshape the text so it looks more like a perspective shadow, but Photoshop won't let us do that while the text is still text. We need to first convert the text into pixels, which is known in Photoshop-speak as rasterizing it. To do that, go up to the Layer menu, choose Rasterize, and then choose Type:
Step 4: Flip And Move The Text
With the copy of the original text now converted to pixels, go up to the Edit menu and choose Free Transform, or press Ctrl+T (Win) / Command+T (Mac) to access Free Transform with the keyboard shortcut:
This places the Free Transform box and handles (little squares) around the text in the document window. Right-click (Win) / Control-click (Mac) anywhere inside the document window and choose Flip Vertical from the contextual menu that appears:
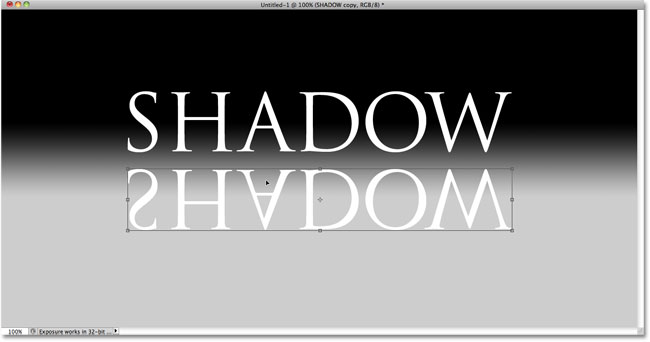
This flips the text upside down in the document window:
Next, click anywhere inside the Free Transform bounding box, hold down your Shift key, then drag the text down below the original text. Holding the Shift key as you drag limits the direction you can drag in, making it easier to drag straight down. I'm going to add some space between the original and flipped versions of the text so it will appear as if my original text is hovering in the air above the shadow:
Step 5: Stretch And Reshape The Text
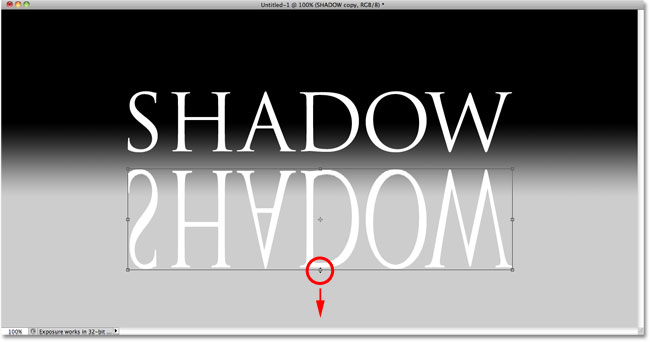
Click on the handle in the bottom center of the Free Transform box and drag it downward to stretch the text vertically:
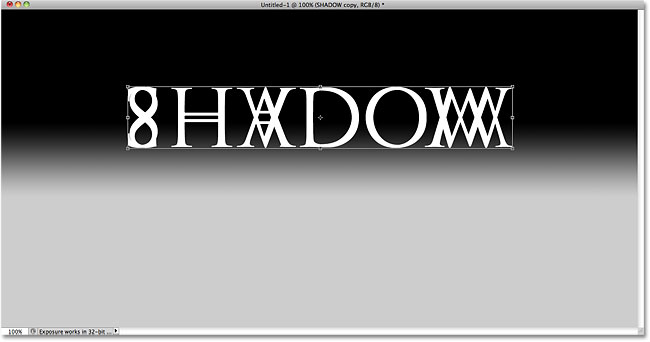
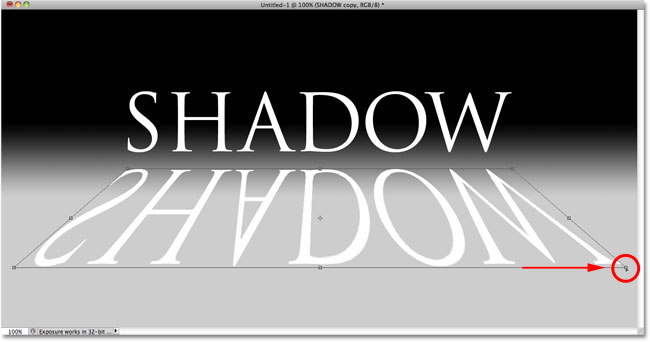
Then, with Free Transform still active, once again right-click (Win) / Control-click (Mac) anywhere inside the document window and choose Perspective from the contextual menu:
With Perspective selected, click on either the bottom left or bottom right handle and drag it outward horizontally. As you drag one of the handles, the other handle will extend out in the opposite direction, giving the text a 3D perspective. Press Enter (Win) / Return (Mac) when you're done to complete the transformations:
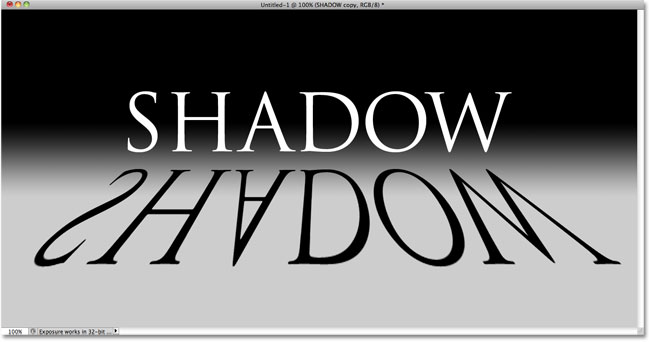
Step 6: Fill The Text With Black
Press the letter D on your keyboard to quickly reset Photoshop's Foreground and Background colors if necessary, which will set your Foreground color to black. Then press Shift+Alt+Backspace (Win) / Shift+Option+Delete (Mac) to fill the flipped and reshaped text with the Foreground color (black):
Step 7: Apply The Gaussian Blur Filter
Go up to the Filter menu, choose Blur, then choose Gaussian Blur:
When the Gaussian Blur dialog box appears, drag the Radius slider along the bottom towards the right to add just a slight amount of blur to the shadow. Keep an eye on the image in the document window as you drag the slider to judge the results, since the amount of blurring you add will depend on the size and resolution of your image, but all we're going for here is a subtle effect. I'm going to set my Radius value to 2 pixels:
Click OK when you're done to exit out of the dialog box. Your shadow text should now have a slight blur applied:
Step 8: Lower The Layer Opacity
Since most shadows don't appear as a solid color, lower the opacity of the layer to add a little transparency to the shadow. You'll find the Opacity option in the top right of the Layers panel. Lower it to around 80%:
Step 9: Duplicate The Shadow Layer
Press Ctrl+J (Win) / Command+J (Mac) to quickly duplicate the blurred shadow layer. A copy of it will appear above the original in the Layers panel:
Step 10: Apply The Gaussian Blur Filter Again
Shadows tend to spread out and grow softer as they move further away from the source, so let's add even more blurring to our copy of the shadow. We'll then use a couple of layer masks to blend the two shadow layers together. First, hide the original shadow layer temporarily by clicking on its layer visibility icon (the eyeball) in the Layers panel. This will make it easier to see what we're doing:
Since the Gaussian Blur filter was the last filter we applied, we can access it again quickly by pressing Ctrl+Alt+F (Win) / Command+Option+F (Mac). This time, add even more blurring to the shadow by dragging the Radius slider further to the right. I'm going to set my Radius value this time to around 6 pixels. As before, the value you use may be different and will depend on your image, so judge the results in the document window as you drag the slider:
Click OK when you're done to exit out of the dialog box. Your shadow should now look similar to this:
Step 10: Add A Layer Mask
Click on the Layer Mask icon at the bottom of the Layers panel to add a layer mask to the layer:
A layer mask thumbnail will appear beside the layer's main preview thumbnail:

Step 11: Drag Out A Black-To-White Gradient On The Layer Mask
Select Photoshop's Gradient Tool from the Tools panel:
With the Gradient Tool selected, right-click (Win) / Control-click (Mac) anywhere inside the document window and choose the black-to-white gradient by clicking on its thumbnail (third from the left, top row). Press Enter (Win) / Return (Mac) when you're done to close out of the Gradient Picker:

We want this extra blurry version of the shadow to gradually fade into view as it extends away from the text, so click with the Gradient Tool at the very top of the shadow to set the starting point for the gradient, then hold down your Shift key and drag straight down to the bottom of the shadow. Release your mouse button when you reach the bottom to set the end point for the gradient. Holding the Shift key as you drag once again limits the direction you can drag in, making it easier to drag straight down:
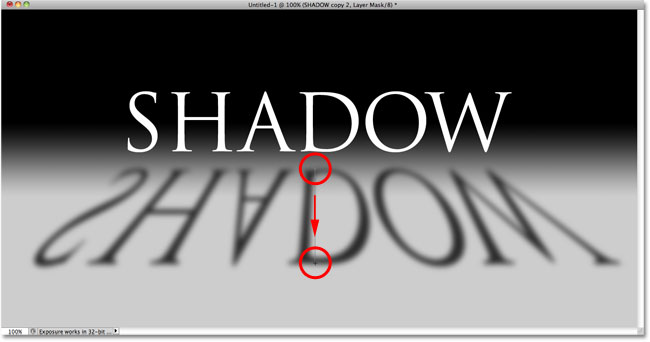
Since we dragged out the gradient on the layer mask, not the layer itself, the gradient is controlling the visibility of the shadow, which now slowly fades into view as it moves further away from the text:
Step 12: Copy The Layer Mask Onto The Original Shadow Layer
Click once again on the layer visibility icon for the original shadow layer so it's visible inside the document:
Click on the layer mask thumbnail in the Layers panel, hold down Alt (Win) / Option (Mac), then drag the mask down onto the original shadow's layer below it. When you see a highlight box appear around the original shadow's layer, release your mouse button to copy the mask onto the layer. You'll now see identical layer mask thumbnails on both shadow layers:
Step 13: Invert The Layer Mask
We need the original shadow to fade away as it moves further from the text, exactly the opposite of what it's doing right now, so click on the new layer mask thumbnail on the original shadow layer in the Layers panel to select it. Then press Ctrl+I (Win) / Command+I (Mac), which will invert the gradient on the layer mask, so black becomes white and white becomes black:
With both shadow layers now blended together, the shadow appears softer as it moves away from the text:
Step 14: Lower The Opacity Of The Top Shadow Layer
Finally, click on the top shadow layer (the copy of the shadow) in the Layers panel to once again select it, then lower its opacity to around 60%:
And with that, we're done! Here is our final "perspective shadow" text effect:
Where to go next...
And there we have it! Visit our Text Effects or Photo Effects sections for more Photoshop effects tutorials!