
Warm Golden Sunsets With Gradient Maps In Photoshop
Before we begin... This version of our Warm Golden Sunsets tutorial is for Photoshop CS5 and earlier. For Photoshop CC and CS6, see our fully updated version, which includes a video of this tutorial.
In this Photoshop Effects tutorial, we're going to look at how to easily improve and enhance a photo of a sunset using a Gradient Map! When I think of the perfect sunset photo, my mind immediately fills with lots of warm reds, oranges and yellows as the sun gently sets across the water or beyond the hills. Sunsets are one of the most commonly photographed aspects of nature, and yet photos rarely manage to capture their intense beauty. What was once a sky filled with rich, golden hues often ends up looking cooler, less vivid, and ultimately less interesting.
Here's a photo I took one summer evening at the beach:
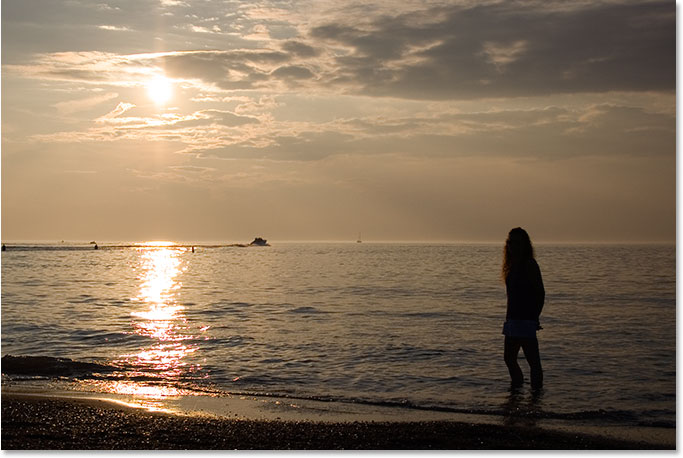
I like how the sun is getting ready to dip below the horizon as a boat heads out across the lake, but the colors are quite muted and dull. They could definitely use a little help.
Here's how the photo will look after a quick and easy adjustment using a Gradient Map:

Step 1: Add A "Gradient Map" Adjustment Layer
If you've been following along with our tutorials for a while, you know that in most cases, the very first thing we do is duplicate the Background layer, which allows us to work on the image without harming the original pixel information. In this case though, we're going to be using one of Photoshop's adjustment layers, and one of the great things about adjustment layers is that they allow us to work non-destructively. In other words, we get to work on the image without actually touching it! Photoshop gives us a complete preview of what the image looks like after making our adjustments, whether we're using a Levels or Curves adjustment layer to improve overall image contrast, a Hue/Saturation adjustment layer to colorize an image, or a Threshold adjustment layer to find the lightest and darkest parts of the image, but all of the work is actually being done inside the adjustment layer itself. None of it is being done directly to the image.
We'll save a big discussion about adjustment layers for another tutorial, but for now, just know that nothing we do with the Gradient Map adjustment layer we're about to add will harm the image in any way, which is why there's no need to first duplicate our Background layer.
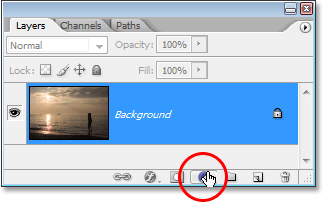
Before we can do anything with our adjustment layer though, we first need to add it, so click on the New Adjustment Layer icon at the bottom of the Layers palette:
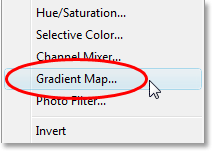
Then choose Gradient Map from the list of adjustment layers that appears:
Step 2: Click On The Gradient Preview Area To Edit The Gradient
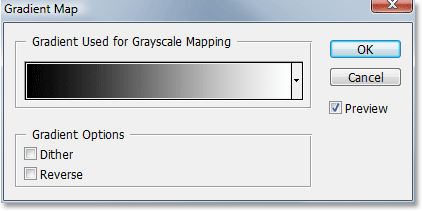
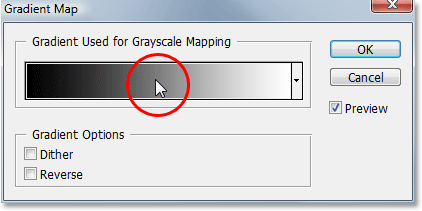
This brings up Photoshop's Gradient Map dialog box:
Photoshop's Gradient Map feature gets its name from what it does. It allows us to "map", or assign, different colors to different tonal values in the image. We can use a Gradient Map to make all dark areas in an image one color, all light areas a different color, and all mid-tone areas yet another color. We can say "I want all dark areas to be blue", for example, and "I want all light areas to be red, and all mid-tones to be green". I'm just using random examples, of course. You can choose any colors you like! In fact, you can divide the tonal range of an image into a rainbow of colors if you want, and since we're working with gradients (hence the name "Gradient Map"), Photoshop will create smooth transitions between the colors for us.
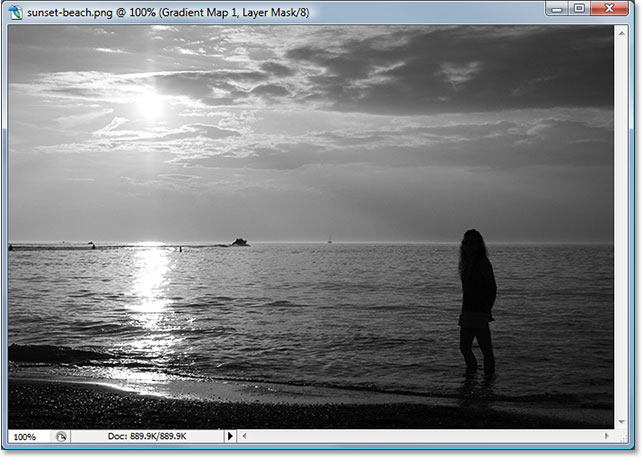
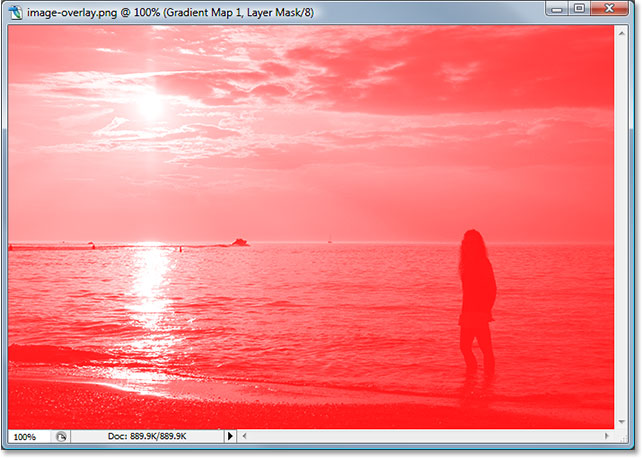
When the Gradient Map dialog box appears, it will most likely be set to the "Foreground to Background" gradient as we can see above, going from black on the left to white on the right (assuming that your Foreground and Background colors are currently set to the defaults). If we were to map this gradient to our image, we'd instantly convert our image into black and white. In fact, if you look at your image in the document window, you'll see that all the color is now gone (as long as the Preview option is selected in the dialog box):
Of course, this isn't what we want. We want to add reds, oranges and yellows to our sunset, not convert it to black and white, so the first thing we need to do is edit the gradient. To do that, click directly on the gradient preview area:
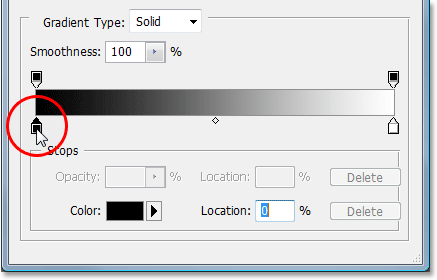
This will bring up the Gradient Editor which we'll look at next.
Step 3: Set The Dark Areas In The Image To Red
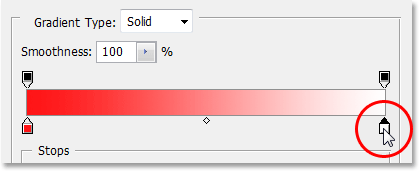
When Photoshop's Gradient Editor appears, you'll see another gradient preview area in the bottom half of the dialog box. We're going to change the colors of the gradient, starting with the black color on the left. Double-click on the black color stop on the bottom left of the gradient preview area:
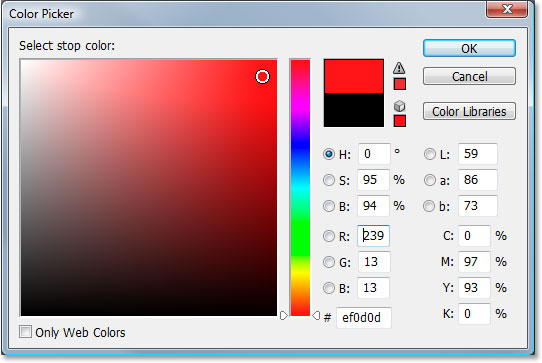
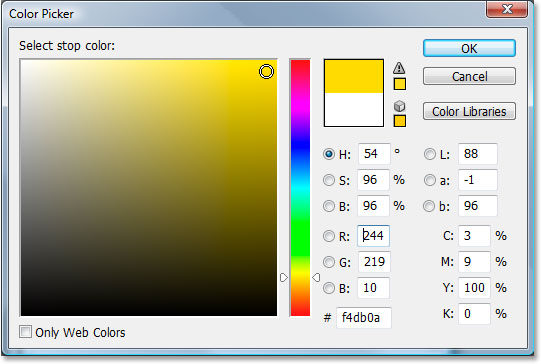
This brings up Photoshop's Color Picker. Choose a nice red color for the dark areas of the image:
You'll see all the dark areas of your image become red in your document window:
Click OK to exit out of the Color Picker when you're done, but don't exit out of the Gradient Editor just yet. We still have to change the color for the light areas.
Step 4: Set The Light Areas In The Image To Yellow
Next, we're going to change the color of the light areas in the image. Double-click on the white color stop on the bottom right of the gradient preview area:
The Color Picker will appear once again. This time, choose a bright yellow for the light areas:
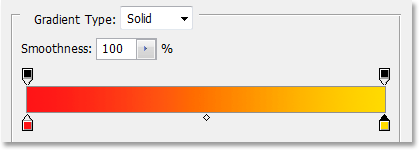
Click OK to exit out of the Color Picker once you've chosen your color. If we look at our gradient preview area in the Gradient Editor now, we can see that we've changed the gradient from black and white to red and yellow, with Photoshop blending the two colors together for us, giving us a nice orange color in the mid-tones:
Click OK to exit out of the Gradient Editor at this point, and then click OK to exit out of the Gradient Map dialog box as well. Here's what our image looks like now after editing our gradient:
Unfortunately, the colors aren't really blending in with the photo all that well, but we're going to fix that using Photoshop's layer blend modes and the Opacity option next!
Step 5: Change The Blend Mode Of The Gradient Map Layer To "Overlay"
We've added our Gradient Map adjustment layer and successfully edited the colors that are being mapped to our sunset photo using Photoshop's Gradient Editor. The only problem now is that the colors are much too strong. There's two things we can do to fix that, and we're going to be combining both of them to give us complete control over the final result.
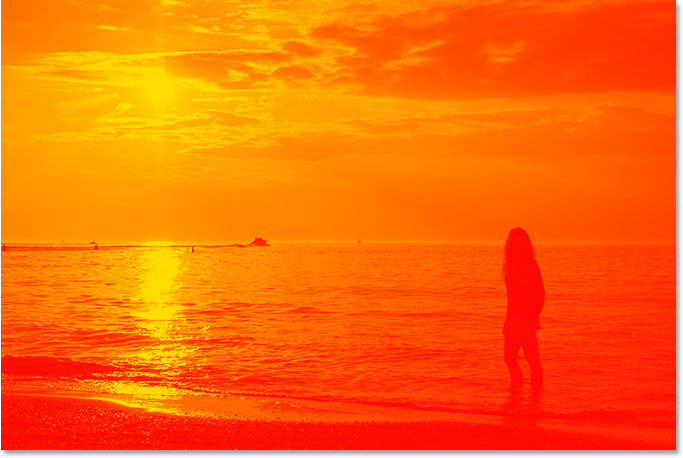
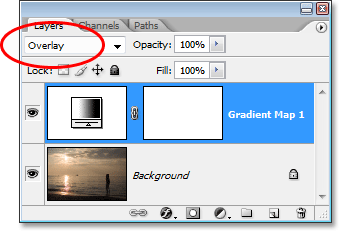
First, we need to change the blend mode of the Gradient Map adjustment layer. If we look in our Layers palette, we can see that we now have two layers - the Background layer which contains our photo and the Gradient Map adjustment layer above it. Make sure you have the Gradient Map layer selected, then go up to the blend mode option in the top left corner of the Layers palette, click on the down-pointing arrow to the right of the word "Normal", and select Overlay from the list of blend modes that appears:
If you recall from our recent tutorial on Photoshop's Five Essential Layer Blend Modes, the Overlay blend mode is part of the Contrast group of blend modes, and one of it primary purposes is to boost the contrast in an image, making light areas lighter and dark areas darker. If we look at our image now, we can see that the contrast has definitely been increased. The reds, oranges and yellows from our gradient are blending in better with the photo at this point, but the colors are still much too intense:
Step 6: Lower The Opacity Of The Gradient Map Layer
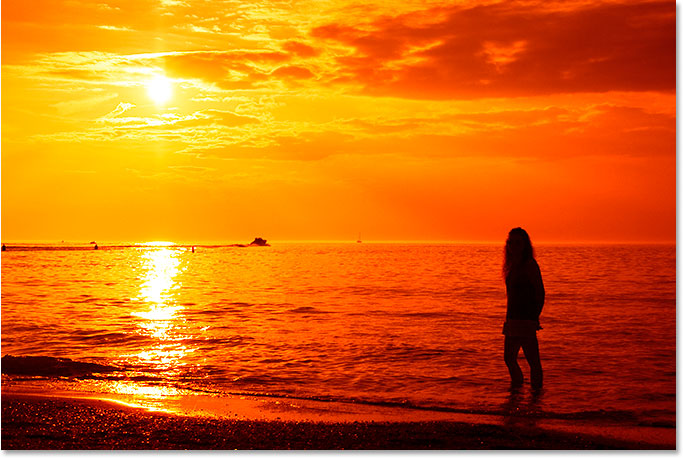
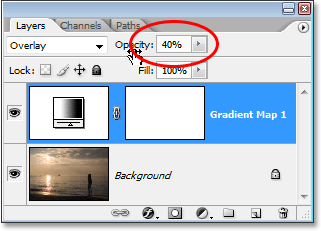
To reduce the intensity of the colors so it looks more like a sunset and less like a nuclear explosion, all we need to do is lower the opacity of the Gradient Map layer. The Opacity option is located at the top of the Layers palette, directly to the right of the blend mode option. I'm going to lower my opacity all the way down to 40%. You may need to set yours to a different value depending on your image:
Once you've lowered the opacity of the adjustment layer to fine-tune the result, you're done! Here's my original image once again for comparison:
And here is our final "warm, golden sunset" result:
And there we have it! That's how to use a gradient map to enhance the sunsets in your images with Photoshop! Check out our Photo Effects section for more Photoshop effects tutorials!