
Extreme Contrast Photo Effect With Photoshop
In this Photoshop Effects tutorial, we're going to learn how to use layers, layer blend modes, some noise, a little sharpening, and a simple adjustment layer to easily give a photo an "extreme contrast" effect.
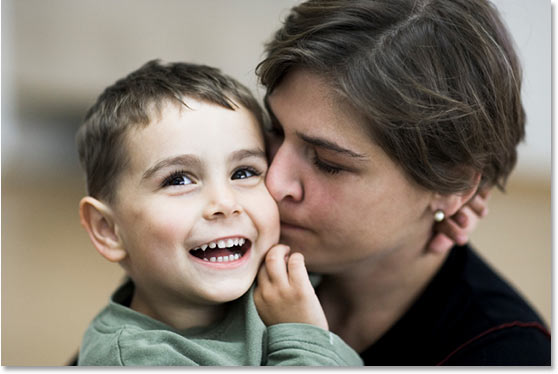
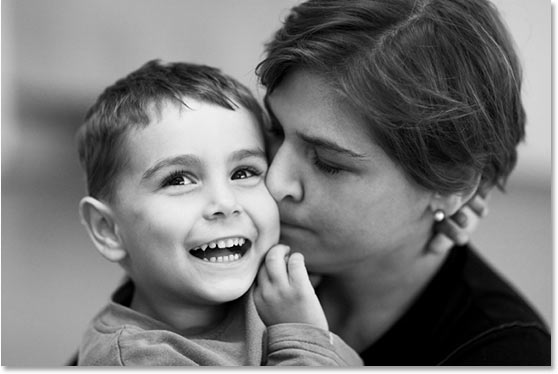
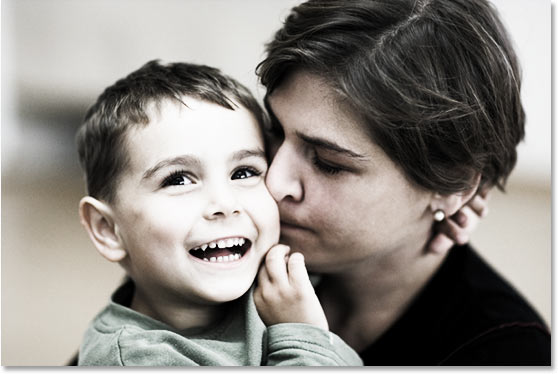
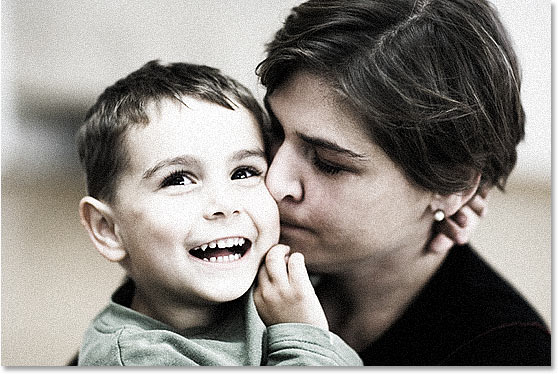
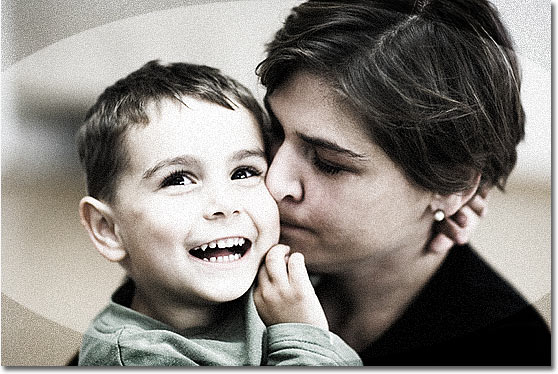
Here's the photo I'll be using for this tutorial:
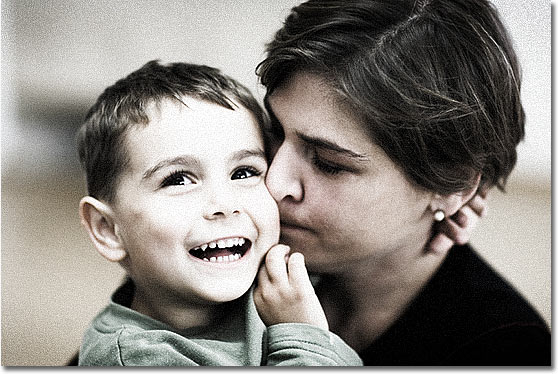
And here's the "extreme contrast" effect we're aiming for:
This tutorial is from our Photo Effects series. Let's get started!
Step 1: Duplicate The Background Layer
The first thing we're going to do is duplicate our Background layer. We can see in the Layers palette that we only have one layer at the moment, which is the Background layer, and it contains our original image:
We're going to duplicate it, and for that, we can use the keyboard shortcut Ctrl+J (Win) / Command+J (Mac). We now have a copy of the layer above the Background layer which Photoshop has named "Layer 1":
Step 2: Desaturate The New Layer
We're going to quickly remove the colors from our new layer to create a black and white version of the image. To do that, use the keyboard shortcut Shift+Ctrl+U (Win) / Shift+Command+U (Mac). The image will now appear in black and white in the Document Window:
Step 3: Duplicate The Desaturated Layer
With "Layer 1" selected in the Layers palette, press Ctrl+J (Win) / Command+J (Mac) to duplicate it, so we'll now have two black and white layers in the Layers palette:
Step 4: Change The Blend Mode Of The New Layer To 'Screen' And Lower The Opacity To 50%
With "Layer 1 copy" selected, go up to the layer blend mode options in the top left of the Layers palette. We're going to change the blend mode of this layer from "Normal" to "Screen" so that the image appears lighter. To do that, click on the down-pointing arrow to the right of the word "Normal" and select Screen from the list:
Once you've changed the blend mode, move over to the Opacity option in the top right of the Layers palette and lower the opacity of the layer to 50% to reduce the brightness:

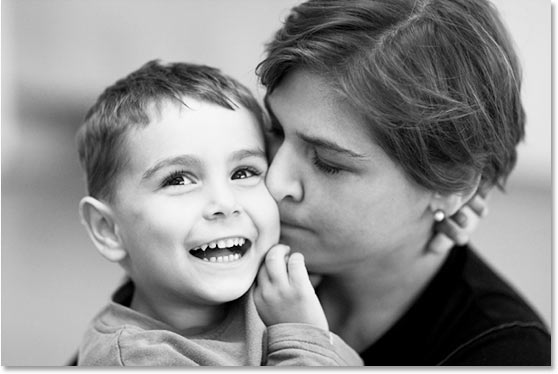
Here's my image after changing the blend mode to "Screen" and lowering the opacity:
Step 5: Duplicate The Original Background Layer And Move It To The Top Of The Layers Palette
Click back on the original Background layer (the bottom layer) in the Layers palette to select it. Then press Ctrl+J (Win) / Command+J (Mac) to create another copy of it, which will appear directly above it. This time, Photoshop has named the new layer "Background copy":
Currently, the new "Background copy" layer is below the two black and white layers, but we need it to be above them. Moving the layer is easy. Just use the keyboard shortcut Shift+Ctrl+] / Shift+Command+] to quickly jump the layer to the top of the layer stack:
Step 6: Change The Layer's Blend Mode To Either "Overlay" Or "Color Burn"
With the "Background copy" layer still selected at the top of the Layers palette, go back to the layer blend mode options and change it's blend mode to either Overlay or Color Burn. Depending on the image you're using, one of these two blend modes will make the image look either too bright or too dark, so use the one that looks best. I'm using "Overlay" for my image, since "Color Burn" makes it too dark:
You may find, after changing the blend mode, that the color in your image is now too strong, so lower the opacity of the layer a little to reduce some of the color saturation if needed. I'm going to lower mine to about 75%:
Again, it will depend on your image and what you think looks best.
Here's my image at this point:
With the "Background copy" layer still selected, press Shift+Ctrl+Alt+E (Win) / Shift+Command+Option+E (Mac) to merge all the layers onto a brand new layer at the top of the Layers palette, which Photoshop has named "Layer 2":
Step 8: Add Noise To The Merged Layer
With the merged layer selected, go up to the Filter menu at the top of the screen, select Noise, and then select Add Noise. This brings up Photoshop's "Add Noise" filter dialog box:
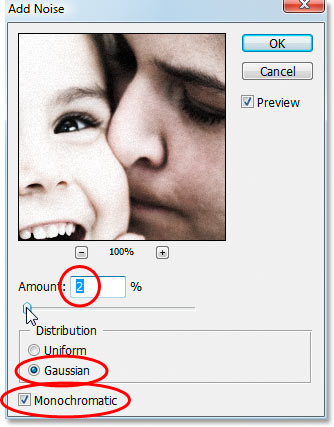
When the dialog box appears, enter an Amount value of somewhere between 2-5% depending on the resolution of your image. I'm using a low resolution image for this tutorial, so I've set mine to 2%. If you're using a higher resolution image, which you probably are, set it closer to 5%. Set the Distribution option to Gaussian, and make sure the Monochromatic option at the bottom is checked so we don't end up with color noise. Click OK to apply the noise and exit out of the dialog box.
Here's my image after applying noise:

Step 9: Sharpen The Image To Enhance The Noise
Normally when working on images in Photoshop, we do everything we can to reduce or remove noise, but for this effect, we want to enhance it, and we can do that by sharpening the image. Go up to the Filter menu once again, this time choose Sharpen and then choose Smart Sharpen. This brings up the "Smart Sharpen" dialog box:
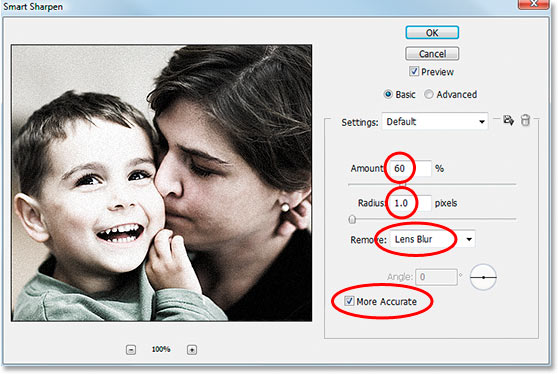
When the dialog box appears, enter an Amount value of somewhere around 55-60%, a Radius value of 1 pixel, set the Remove option to Lens Blur, and finally, make sure More Accurate is checked at the bottom. Then click OK to exit out of the dialog box and apply the sharpening.
If you're using a version of Photoshop prior to CS2, you can use the "Unsharp Mask" filter instead by going up to the Filter menu, choosing Sharpen, and then choosing Unsharp Mask. Enter an Amount value of around 150%, a Radius value of 1 pixel and a Threshold value of 0.
Here's my image after applying the sharpening using Smart Sharpen:
Step 10: Add A "Curves" Adjustment Layer And Set Its Blend Mode To "Multiply"
The main effect is finished at this point, but we're just going to darken the edges a bit to enhance it even further. Click on the New Adjustment Layer icon at the bottom of the Layers palette:
Then select Curves from the list:
When the Curves dialog box appears, simply click OK to exit out of it. We don't need to make any changes. All we need is the Curves adjustment layer itself in the Layers palette, which we're going to use to darken the image. To do that, go up to the blend mode options at the top of the Layers palette once again and change the blend mode for the Curves layer from "Normal" to Multiply:
As soon as you change the blend mode, your image will appear darker:

Step 11: Drag Out A Large Oval Selection Inside The Image
Grab the Elliptical Marquee tool from the Tools palette (it's hiding behind the Rectangular Marquee tool by default) and drag out a large oval selection inside the document, making it so large that the edges extend out past the left and right of the image:

Step 12: Fill The Selection With Black On The Curve Adjustment's Layer Mask
With the Curves adjustment layer still selected, press D on your keyboard to reset your Foreground and Background colors. Normally this would result in your Foreground color being black and your Background color being white, but because the layer mask on the Curves adjustment layer is currently selected (you can see that it has a highlight border around it to indicate that it's selected), we get the exact opposite. White becomes your Foreground color and black becomes your Background color whenever you reset your colors with a layer mask selected.
So with black as your Background color and the Curves adjustment layer selected in the Layers palette, use the keyboard shortcut Ctrl+Backspace (Win) / Command+Delete (Mac) to fill the selection with black. You're not covering the image itself with black. Instead, you're filling the area on the Curve adjustment's layer mask with black, which will cause the Curves adjustment to be hidden inside the area you selected, allowing the original lighter version of the image below it to show through. Only the corners of the image remain darker:
Step 13: Soften The Edges With The "Gaussian Blur" Filter
All that's left to do now is to soften the transition between the lighter image in the center and the darker edges in the corners, and we can do that with the "Gaussian Blur" filter. Go up to the Filter menu, choose Blur, and then choose Gaussian Blur to bring up the Gaussian Blur dialog box:
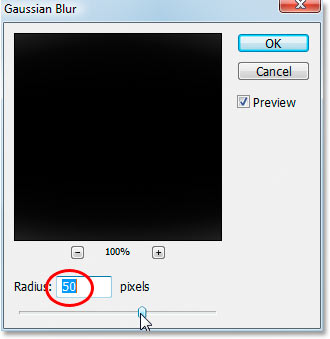
As I mentioned, I'm using a low resolution image for this tutorial, so for me, a Radius value of about 50 pixels blurs the edges out nicely. If you're using a high resolution image, you'll probably want to use a setting of 150 pixels or higher. The idea is simply to blur out the edges so they transition nicely from darker in the corners to lighter as you move towards the center of the image. Keep an eye on the image itself to see a preview of the blurring effect as you're dragging the slider bar at the bottom.
When you're happy with the blur amount, click OK to exit out of the Gaussian Blur dialog box, and you're done! Here is the finished "extreme contrast" effect:
And there we have it! That's how to create an extreme contrast photo effect with Photoshop! Visit our Photo Effects section for more Photoshop effects tutorials!