
Reducing 5 O’Clock Shadow And Beard Stubble In Photoshop
In this Photoshop photo editing tutorial, we're going to learn how to reduce the appearance of 5 o'clock shadow and beard stubble in a photo.
Of course, if the photo is of a guy out in the rugged outdoors and he's dressed like he's off to wrestle with a mountain lion, you may not want to remove the stubble. But in other types of photos, it may just make him look like he could use a rest, or maybe he's been resting a little too much, in which case you'll want to remove it, or at least reduce it. We're going to see how to do that here.
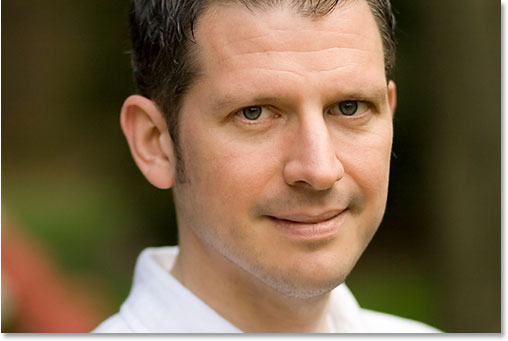
Here's the image I'll be using for this tutorial:

And here's how he'll look when we're done:

This tutorial is part of our Portrait Retouching collection. Let's get started!
Step 1: Duplicate The Background Layer
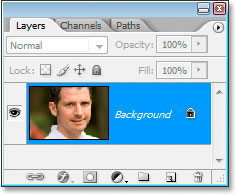
The first thing I always do is duplicate my Background layer so that I don't run the risk of losing my original image information. Right now all I have in my Layers palette is my Background layer:
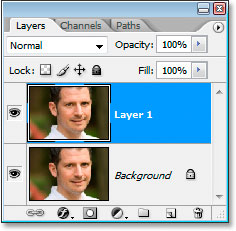
I'm going to quickly duplicate the Background layer using the keyboard shortcut Ctrl+J (Win) / Command+J (Mac), and now I have two layers - the original Background layer on the bottom and the copy above it:
Step 2: Use The "Dust & Scratches" Filter To Blur Away The Stubble
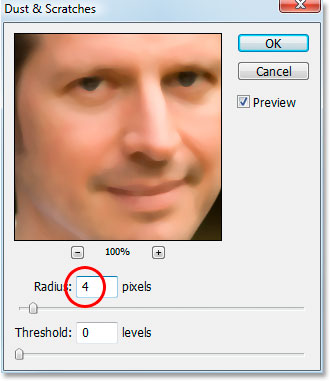
Go up to the Filter menu at the top of the screen, select Noise, and then select Dust & Scratches, which brings up the Dust & Scratches dialog box. We're going to use it to blur away the stubble.
To do that, increase the Radius value until the stubble is no more. Here, I've used a Radius value of 4 pixels:
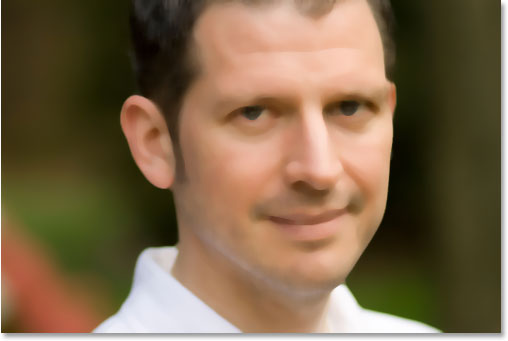
You're going to end up blurring out the entire photo at this point, but that's okay. Ignore the rest of the photo and focus only on the stubble areas. Once you've smoothed those areas out, click OK.
Here's my image after applying the Dust & Scratches filter:
Step 3: Create A Pattern From The Image
We're going to create a pattern out of the blurred image. We'll be using the pattern with the Healing Brush in a moment, but for now, go up to the Edit menu at the top of the screen and choose Define Pattern.
This will bring up the Pattern Name dialog box. Go ahead and name it whatever you like. I've named mine "stubble":

Click OK once you've entered a name, and the pattern is created.
Step 4: Undo The "Dust & Scratches" Filter
We need to revert the image back to the way it was before we applied the Dust & Scratches filter at this point, so to do that, use the keyboard shortcut Ctrl+Z (Win) / Command+Z (Mac) to undo the filter.
Step 5: Select The Healing Brush And Set It To Use The Pattern
Grab you're Healing Brush from the Tools palette. Then, up in the Options Bar at the top of the screen, set the Source for the Healing Brush to Pattern:

Click on the Pattern preview thumbnail to the right of the word "Pattern", and then click on the pattern you created to select it. It will be the last pattern in the list:
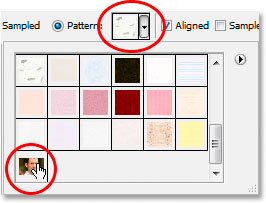
Finally, make sure the Aligned and Sample All Layers options are selected:

Step 6: Add A New Blank Layer
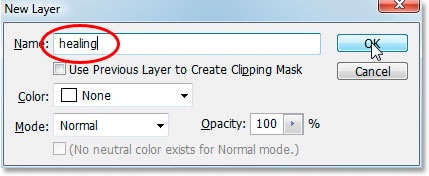
Add a new blank layer using the keyboard shortcut Ctrl+Shift+N (Win) / Command+Shift+N (Mac). This will bring up Photoshop's New Layer dialog box. Name the new layer "healing" and click OK:
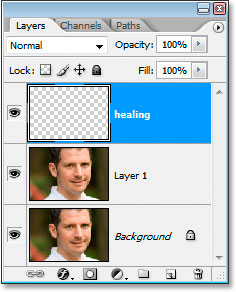
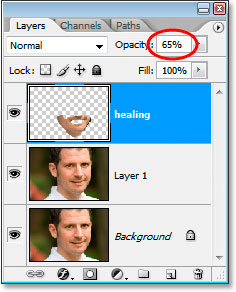
You should now have a new blank layer named "healing" at the top of the Layers palette:
Step 7: Lower The Opacity Of The "Healing" Layer To 50%
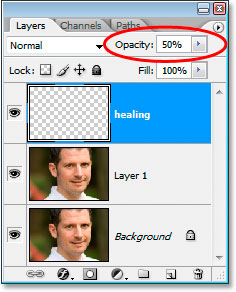
Before we start applying the Healing Brush to the image, we need to lower the opacity of the "healing" layer, otherwise the healing will be too intense. To do that, with the "healing" layer selected, go up to the Opacity option in the top right of the Layers palette and enter in a value of 50%:
Step 8: Paint Over The Stubble With The Healing Brush
Begin painting over the stubble areas with the Healing Brush. If you need to change the size of the brush, use the left and right bracket keys to increase or decrease the brush size as you paint. Continue painting with the Healing Brush until you've covered up all the stubble areas. Use short brush strokes and make sure to release the mouse button after each one to give Photoshop a chance to apply the healing.
Here's my image after covering up all the stubble areas with the Healing Brush:
Step 9: Adjust The Opacity Of The "Healing" Layer If Needed
The man in the photo I'm using has quite a bit of stubble and it's still showing a bit too much, so I'm going to reduce it further by increasing the opacity of the "healing" layer to about 65%. You won't necessarily need to change your opacity, but increase or decrease it if needed:
Here's the image after increasing the opacity value. The stubble is a bit less noticeable now:

The problem is, the bottom area of his face is looking a little blurry. I'm going to fix that next.
Step 10: Use The "Blend If" Sliders So The "Healing" Layer Only Affects The Dark Stubble
Right now, my "healing" layer is affecting not only the man's stubble, it's also affecting a lot of his skin, causing things to look a bit blurry. What I really want is for the healing layer to affect only the stubble and leave his skin alone. How can I do that? Well, his stubble is very dark, while his skin is much lighter, which means I should be able to use Photoshop's Blend If sliders to limit the "healing" layer to only the darkest parts of his face, which is the stubble. Let's try it.
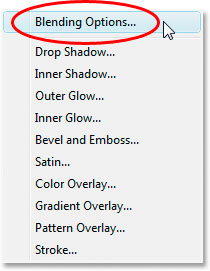
With the "healing" layer selected, I'm going click on the Layer Styles icon at the bottom of the Layers palette:
Then I'll choose Blending Options from the top of the list:
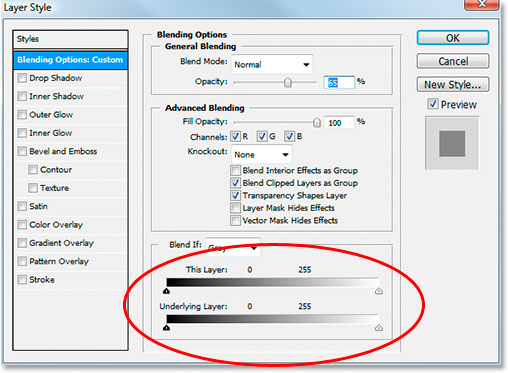
This will bring up the Layer Style dialog box, set to the Blending Options. The Blend If sliders are found at the very bottom of the center column, directly below the "Advanced Blending" options:
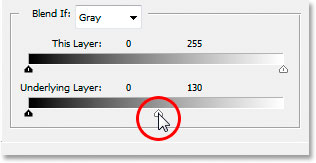
Drag the bottom white slider towards the left. As you drag further and further, you'll see the original skin texture begin to re-appear in the image. Continue dragging towards the left until the point where the stubble itself begins to show:
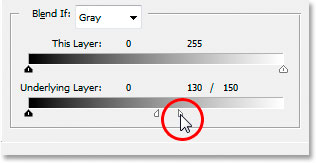
Now we need to soften the transition area between where the original skin texture is showing and where the "healing" layer begins. To do that, hold down Alt (Win) / Option (Mac) and begin dragging the white slider back towards the right. As soon as you start dragging, the slider will split in two and you'll be dragging just the right half. Continue dragging to the right a little to create a nice smooth transition area. When you see too much of the original skin texture beginning to look blurry again, you've gone too far:
When you're happy with how the image looks, click OK to exit out of the Layer Style dialog box, and you're done! Here's my original image once again:
And here's my final result with some of the skin texture brought back:
And there we have it! That's how to reduce the appearance of 5 o'clock shadow and beard stubble in Photoshop! Check out our Photo Retouching section for more Photoshop image editing tutorials!