
Photoshop CS3 Smart Filter Blend Modes And Opacity
So far in our look at smart filters inside Photoshop CS3, we've seen the basics of how to apply smart filters, and we've seen how easy it is to go back and edit the settings of a smart filter any time you want without any loss of image quality. Each smart filter in Photoshop CS3 comes with its own blend mode and opacity settings, which are completely independent of the blend mode and opacity settings of the smart object to which it's been applied, and also completely independent of any other smart filter(s) you've applied to the object.
In this third tutorial, we'll look at how to access those smart filter blend mode and opacity settings inside Photoshop CS3.
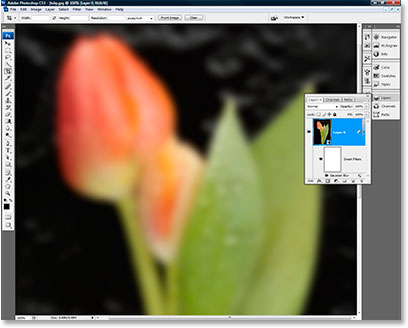
Once again, here's the image we're using, opened inside Photoshop CS3:

And here's where we left off at the end of our previous tutorial, after having first applied a slight Gaussian Blur filter to the image and then using the editing capabilities of smart filters to go back and increase my blur radius from 3 pixels to 13 pixels, without losing any quality or damaging any pixels inside the image:
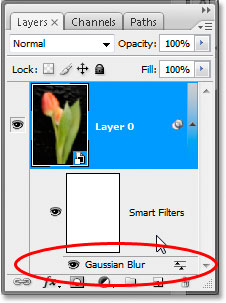
And again, here's our Layers palette inside Photoshop CS3 showing us that the Gaussian Blur smart filter has been applied:
As I mentioned in the previous tutorial, I've added this blurring to the image because my ultimate goal is to achieve a nice soft glow effect to the flower, and I'm almost there. The first thing I needed was the blurring. Now, I need to change the blend mode of the Gaussian Blur filter from Normal, its default setting, to Soft Light.
In order to achieve this effect prior to Photoshop CS3, I would have duplicated the layer with the image on it, added my Gaussian Blur filter to the duplicate layer, and then changed the blend mode and opacity settings of that layer, but with smart filters in CS3, things are even easier. With my Gaussian Blur being a smart filter, I now have access to blend mode and opacity settings specifically for the filter itself, and here's how to access them:
Step 1: Double-click The 'Filter Blending Options' Icon To The Right Of The Smart Filter's Name
Directly to the right of the smart filter's name in the Layers palette, you'll see an icon that resembles two little slider bars on top of each other. This is the Filter Blending Options icon (it's circled in red in the screenshot below):
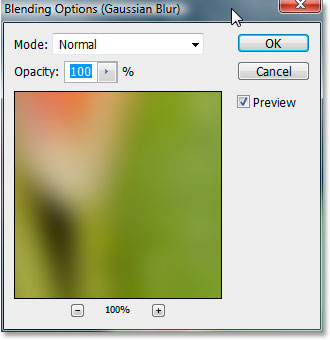
Double-click on this icon to bring up the smart filter's Blending Options dialog box, as shown below:
Before we continue, it's important to mention that you need to double-click directly on the Filter Blending Options icon, not the filter's name. Clicking the name will allow you to edit its settings, which is fine if that's what you want to do, but it's not what we want here. To get to the blend and opacity settings, you have to click the icon to the right of the filter's name.
Having said that, we can see that the Blending Options dialog box for the smart filter gives us two options at the top, Mode (which is the blend mode), and below that, Opacity, the exact same options we'd have for a normal layer or a smart object inside Photoshop's Layers palette, except that here, we're adjusting these options for the smart filter itself, not the smart object it's being applied to.
Step 2: Select A Different Blend Mode From the Drop Down List
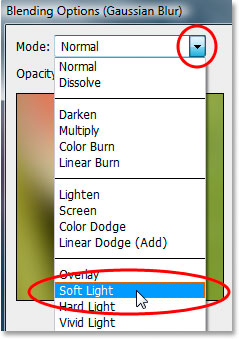
Selecting a new blend mode for a smart filter is done exactly the same way as if you were changing the blend mode of a layer or smart object. By fault, the Normal blend mode is selected. To change it, simply click on the down-pointing arrow directly to the right of the word "Normal", which brings up the drop-down list of all the available blend modes, and choose the one you want. In this case, I want Soft Light, so I'll select it from the list:
And now we can see that "Soft Light" is showing where it previously said "Normal", telling me that I have the Soft Light blend mode selected for my filter:
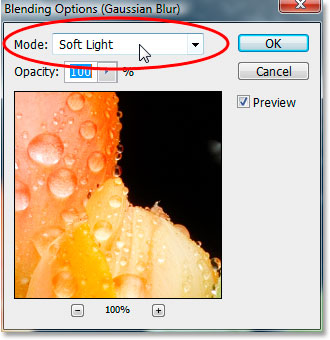
And here's what my image looks like with the new blend mode applied to Gaussian Blur:

Step 3: Use The Same Blending Options Dialog Box To Lower The Smart Filter's Opacity Setting If Needed
If I want to, I can reduce the impact of the Gaussian Blur smart filter by lowering it's Opacity setting. To do that, all I need to do is double-click on the Filter Blending Options icon to the right of the filter's name in the Layers palette once again, which again brings up the Blending Options dialog box. Of course, if I hadn't clicked OK to close it after changing the blend mode in the previous step, I wouldn't have to bother re-opening it to change the opacity because it would still be open and I could change both settings at once, which is usually what you would do.
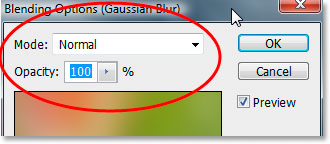
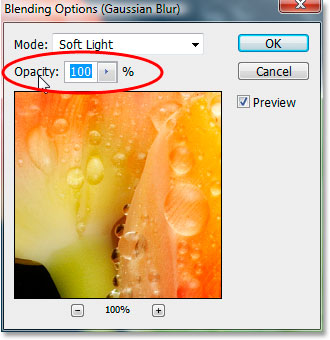
The Opacity setting option is located directly beneath the Blend Mode option:
You can change the Opacity setting here in exactly the same ways you can change a layer's opacity at the top of the Layers palette. Either type a new opacity value directly into the input box, click the right-pointing arrow to the right of the input box and then drag the slider bar that appears to set the new value, or use the "scrubby slider" by simply clicking and dragging your mouse left and right directly over the word "Opacity" to set the new value.
I'll just type in my new opacity value of 75%:

And here's my result, my original image with a soft glow effect added simply by adding a Guassian Blur smart filter to it, changing the filter's blend mode to Soft Light, and lowering the opacity value of the filter to 75%:

And that's how easy it is to apply a smart filter to a photo, go back and edit the filter's settings, and then change the blend mode and opacity of the smart filter, in Photoshop CS3. Remember, to edit a smart filter's settings, double-click on the name of the filter in the Layers palette, and to change the blend mode or opacity, double-click on the Filter Blend Options icon to the right of the name.