
An Easy Way To Find Neutral Gray In A Photo With Photoshop
When it comes to color correcting images in Photoshop, removing color casts from the highlight and shadow areas is usually pretty straightforward since it's quite easy to find the brightest and darkest areas in an image. But what about the midtones? How do you find that area in the image that's supposed to be neutral gray? Usually, you guess and hope for the best, since Photoshop doesn't seem to have any way of easily pointing out those midtone gray areas for us. Or does it?
Of course it does! The only problem is that it's not very obvious how to go about it, but as we'll see in this tutorial, just because it isn't obvious doesn't mean it isn't easy to do.
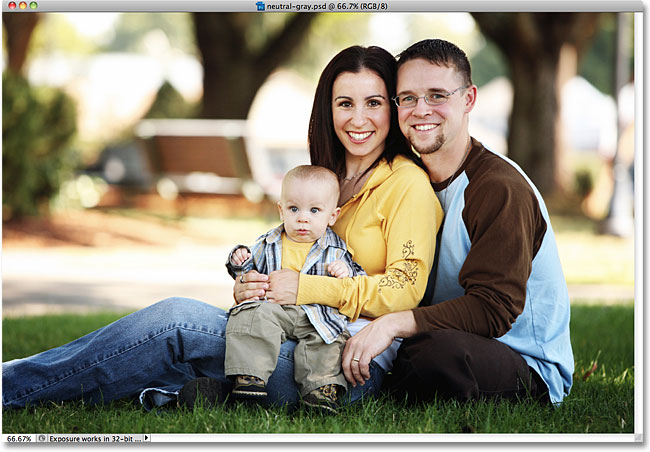
Here's the image I'll be using for this tutorial:
Important: One thing to note up front here is that not all images actually have any areas in them that are supposed to be neutral gray, and obviously, you can't find what's not there, so if that's the case with your photo, no technique for finding midtone gray will work. In cases where it's unlikely that anything in the photo should be gray, your best bet is to color correct the highlights and shadows and leave the midtones alone. If there is an area that's supposed to be neutral gray, though, this technique will find it.
And now with that little disclaimer out of the way, let's get started! I'll be using Photoshop CS5 throughout this tutorial, but any recent version will work.
Step 1: Add A New Layer
With our photo open inside Photoshop, the first thing we need to do is create a new blank layer, so click the New Layer icon at the bottom of the Layers panel to create a new blank layer above the Background layer:
Nothing will happen in the document window, but we can see in the Layers panel that Photoshop has added a new blank layer named "Layer 1":

Step 2: Fill The New Layer With 50% Gray
Next, we need to fill our new layer with 50% gray, the same gray we're looking for in our image. To do that, go up to the Edit menu at the top of the screen and choose Fill:

This opens Photoshop's Fill dialog box. Select 50% Gray from the drop-down list at the top of the dialog box:

Click OK when you're done to close out of the dialog box. Photoshop fills the new layer with gray, temporarily hiding the photo below it from view in the document window:

Step 3: Change The New Layer's Blend Mode To 'Difference'
Go up to the Blend Mode option in the top left of the Layers panel and change the blend mode for Layer 1 from Normal to Difference:

The Difference blend mode isn't one that's used too often since it tends to make images look, well, different (some may even say frightening), as we see with my image after changing the blend mode to Difference:

Believe it or not though, there is a method to the madness. The way the Difference blend mode works is that it compares the layer with the layer(s) below it and looks for differences between them (hence the name). Any areas in the layer which are different from the layer(s) below it show up as strange colors in the image, which is where the purples, blues and yellows are coming from, but any areas which are identical between the layers show up as black, or at least almost black if they're not 100% identical but still pretty darn close to it. In other words, with the Difference blend mode, any areas between the layers which are identical become the darkest parts of the image, and we can now use that to locate any areas that are supposed to be neutral gray!
How? Simple! We're now comparing our image on the Background layer with the layer above it that's filled with 50% neutral gray, which means that any areas in our image which are closest to that midtone gray color will now appear as the darkest parts of our image. So now, finding a midtone gray area is as easy as finding the darkest part of the image!
Step 4: Add A Theshold Adjustment Layer
Click on the New Adjustment Layer icon at the bottom of the Layers panel:
Choose Threshold from down near the bottom of the list of adjustment layers:

If you're using Photoshop CS5 as I am, the Threshold controls will appear in the Adjustments Panel, new to CS5. In Photoshop CS4 or earlier, the Threshold dialog box will appear. Click on the little white triangle at the bottom and drag it all the way to the left:

This will turn the image in the document window completely white:

Now slowly drag the triangle towards the right until you begin to see black areas appearing in your image. The first black areas that appear are the neutral gray areas you're looking for (assuming, as I mentioned at the beginning of the tutorial, that there actually are areas of gray in the photo). Continue dragging the triangle until an area of black becomes just big enough that you'll be able to click on it to select it, which we'll be doing in a moment. This is the exact same way you would normally find the darkest parts of the image when you're removing any color casts from the shadow areas, but now, thanks to the Difference blend mode, these darkest areas represent the areas closest to midtone gray. Click OK when you're done to exit out of the Threshold dialog box (Photoshop CS5 users can simply leave the Adjustments Panel open):

Step 5: Click On The Black Area With The Color Sampler Tool
Select Photoshop's Color Sampler Tool from the Tools panel. By default, it's nested behind the Eyedropper Tool, so click and hold on the Eyedropper Tool for a second or two until a fly-out menu appears, then select the Color Sampler Tool from the list:

With the Color Sampler Tool selected, click on an area of black in the image to add a marker. Zoom in on the area first if it makes it easier to select your black area, as I've done here:

Step 6: Delete The 50% Gray and Theshold Layers
Our layer filled with 50% gray and our Theshold adjustment layer have served their purpose and are no longer needed, so with the Threshold adjustment layer currently selected in the Layers panel, hold down your Shift key and click on Layer 1 below it to select both layers at once. Then drag them down on to the Trash Bin icon at the bottom of the Layers panel to delete them:

Step 7: Add A Levels Or Curves Adjustment Layer
Click once again on the New Adjustment Layer icon at the bottom of the Layers panel and this time, select either Levels or Curves, you're choice. Either one will do. I'll use Levels:

Step 8: Select The 'Set Gray Point' Eyedropper
As with the Threshold adjustment layer, Photoshop CS5 users will find the controls for Levels or Curves in the Adjustments Panel, while CS4 and earlier users will see the Levels or Curves dialog box appear. Click on the Set Gray Point eyedropper to select it (it's the middle of the three eyedropper icons):

Step 9: Click With The Eyedropper On The Marker In The Image
With the Set Gray Point eyedropper selected, simply click directly on the small marker in the image (the one we added a moment ago with the Color Sampler Tool) and Photoshop will neutralize the colors in that spot, effectively removing any color cast from the midtones.
Personally, I don't find the eyedropper icon to be very helpful when trying to click on a marker, so you may want to press the Caps Lock key on your keyboard which will change the icon from an eyedropper to a target symbol, identical to the marker's icon, making it easy to line them up over top of each other and then click. I'll leave mine set to the eyedropper icon here just to make it easier to see in the screenshot:

And with that one click, any color cast in the image's midtones has been neutralized:

Step 10: Remove The Marker
To remove the color sampler marker from the image when you're done, with the Color Sampler Tool selected, simply click on the Clear button in the Options Bar at the top of the screen (don't worry if you forget to remove the marker since it won't print anyway):

And there we have it! Our midtones are now color corrected without any guess work thanks to Photoshop's often overlooked Difference blend mode. Check out our Photo Retouching section for more Photoshop image editing tutorials!