
Photoshop Fashion Retouch – Shadowy, Sultry Eyes
When it comes to grabbing our attention, nothing seems to have the power to captivate us more than a person's eyes, and in this Photoshop tutorial, we're going to learn a fashion retouching technique to see how easy it is to give someone's eyes a shadowy, sultry look to them. We're also going to be bringing out their colors, adding some highlights, and generally making them look sharper. Keep in mind that this is an "icing on the cake" type of effect, to be done only after an image has already been corrected for tone and color.
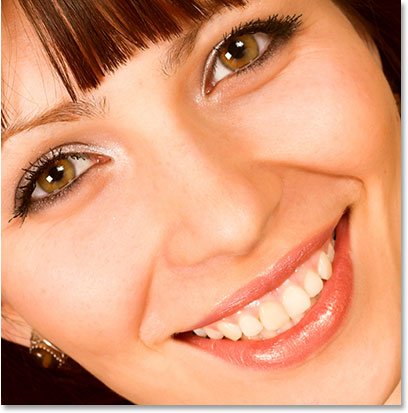
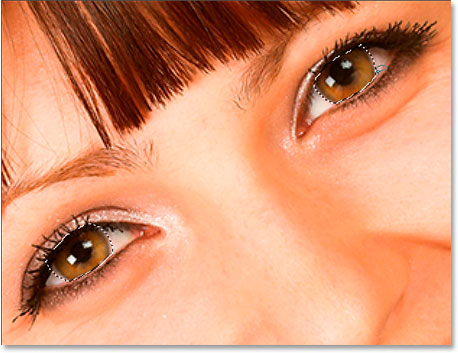
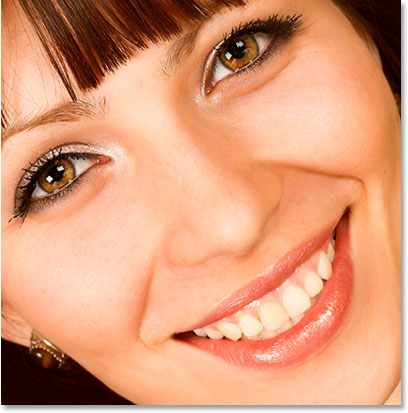
Here's the image I'll be using for this tutorial:
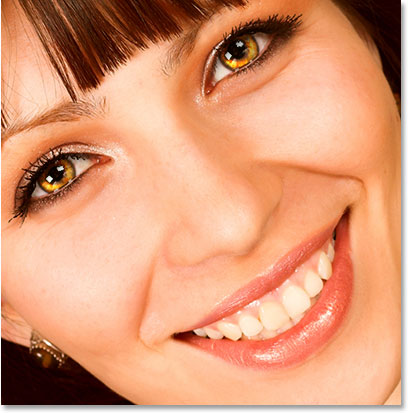
And here's our final effect:
This tutorial is part of our Portrait Retouching collection. Let's get started!
Step 1: Create A New Layer And Name It "Shadows"
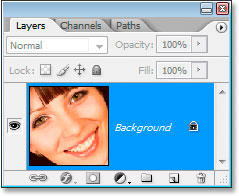
With my image open in Photoshop, I currently have one layer, the Background layer, containing my image:
I need to create a new blank layer which is going to hold the shadows, so I'm going to use the keyboard shortcut Ctrl+Shift+N (Win) / Command+Shift+N (Mac) to bring up the New Layer dialog box:
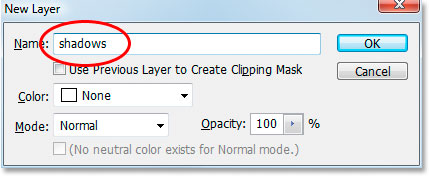
I'm going to name my new layer "shadows", as circled in red above, and then click OK. Photoshop adds my new blank "shadows" layer above my Background layer:

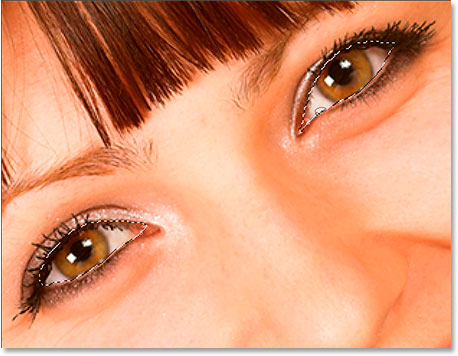
Step 2: Select Both Eyes With The Lasso Tool
Grab the Lasso tool from the Tools palette or press L on the keyboard, and then draw a selection around one of the eyes. When you're done, hold down Shift to add to the initial selection and select the second eye as well. Holding Shift tells Photoshop not to throw away the selection around the first eye when you begin selecting the second one:
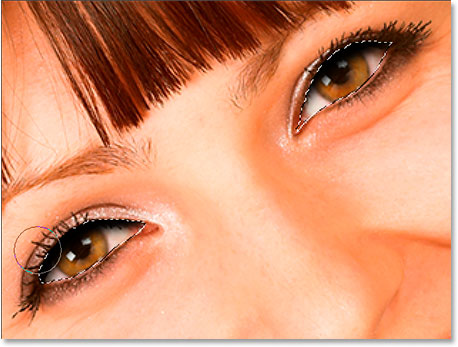
Step 3: Paint With Black Along The Top Edge Of Both Eyes
We're going to add shadows to the tops of the eyes. Make sure the "shadow" layer is selected in the Layers palette, then grab the Brush tool from the Tools palette or press B on the keyboard to select it. Use a fairly large, soft-edged brush, somewhere around 40-50 pixels depending on the size of your image, and paint along the top edge of both eyes to add a shadow. Don't worry about painting above the eye by mistake because the black will only appear inside the selection we created:
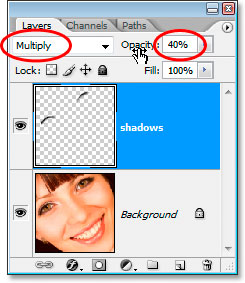
Step 4: Change The Blend Mode To "Multiply" And Lower The Opacity
With the shadows painted, change the blend mode of the "shadows" layer from "Normal" to Multiply and lower the opacity of the layer to around 40%:
We don't need to have the eyes selected anymore, so press Ctrl+D (Win) / Command+D (Mac) to deselect them.
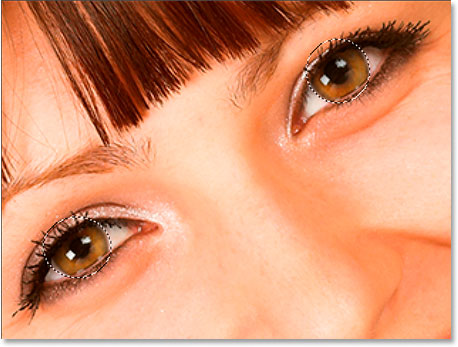
Step 5: Select The Iris In Both Eyes
Grab the Elliptical Marquee Tool from the Tools palette and drag out a selection around each iris, making sure again to hold down the Shift key when you go to select the second one so you don't lose your selection around the first one:
You'll probably end up selecting parts of the area above and below the eyes as well as I have here, so switch back to the Lasso tool, hold down Alt (Win) / Option (Mac), which is the keyboard shortcut for accessing the "Subtract From Selection" option, and drag around each area above and below the eyes that you didn't want to select. Each time you release the mouse button, that part of the selection will disappear. When you're done, you'll be left with just the area around each iris selected:
Step 6: Copy The Iris In Both Eyes To A New Layer
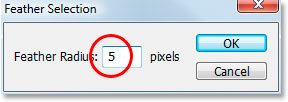
We need to copy the iris in both eyes to a new layer, so first, let's soften our selection a little bit by going up to the Select menu at the top of the screen and choosing Feather, which brings up the Feather dialog box. Enter a value of about 5 pixels and then press OK:
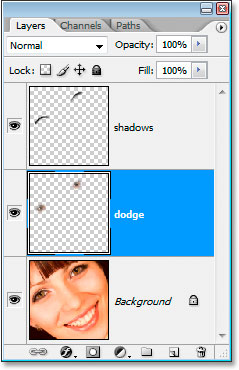
Next, click on the Background layer in the Layers palette to select it. Then use the keyboard shortcut Ctrl+Alt+J (Win) / Command+Option+J (Mac) to copy the selection onto a new layer above the Background layer. When the New Layer dialog box appears, rename the layer "dodge", since we'll be using the Dodge tool on this layer in a moment. Your Layers palette should now look similar to this:
Step 7: Apply The Unsharp Mask Filter To The Dodge Layer
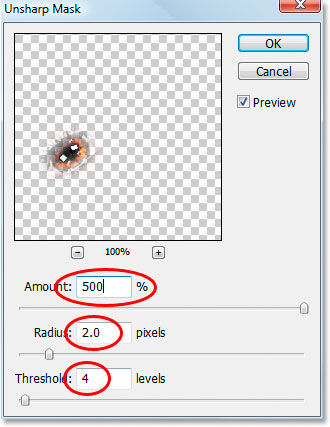
Before we use the Dodge tool, we're going to apply the Unsharp Mask filter. With the "dodge" layer selected, go up to the Filter menu at the top of the screen, select Sharpen, and then select Unsharp Mask. When the Unsharp Mask dialog box appears, enter an Amount of 500%, a Radius value of 2 pixels, and a Threshold value of 4 levels:
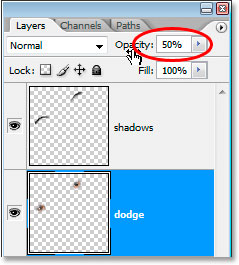
Step 8: Lower The Opacity Of The "Dodge" Layer To 50%
The sharpening is too strong at this point, so lower the opacity of the "dodge" layer to 50%:
Here's our image after applying the Unsharp Mask filter and lowering the opacity to 50%:
Step 9: Add A Highlight In The Lower Right Of Each Iris With The Dodge Tool
Now we're going to use the Dodge tool, and we're going to use it to add a highlight to the lower right of each iris. Grab the Dodge tool from the Tools palette or press O on the keyboard to quickly select it. With the Dodge tool selected, look up in the Options Bar at the top of the screen and make sure that Range is set to Highlights and Exposure is set to 50%:

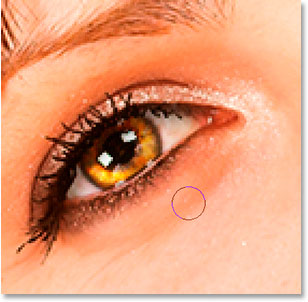
Then, with a smaller soft-edged brush of around 10 pixels (again it will depend on the size of your image), paint a few strokes over the area in the bottom right of each iris. Each stroke you paint will increase the amount of lightening in that area, and it's easy to overdo it with the Dodge tool, so be careful not to go too far, especially if there already is a bit of a highlight in the image:

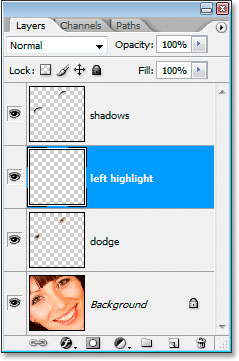
Step 10: Add A New Blank Layer Above The "Dodge" Layer
Make sure the "dodge" layer is selected in the Layers palette, hold down Alt (Win) / Option (Mac) and click on the New Layer icon at the bottom of the Layers palette. When the New Layer dialog box appears, name the new layer "left highlight", since we'll be using it to add a highlight to the left of each iris, and then click OK:
Step 11: Add A Highlight Along The Left Side Of Each Iris
We're going to add a highlight to the left side of each iris this time. First, make sure the "left highlight" layer is selected in the Layers palette. Then set white as your foreground color if it isn't already by first pressing D and then pressing X. Then once again using a soft-edged brush at a size roughly the same as what you used a moment ago for the Dodge tool, paint a white highlight on the left side of each iris. It will look completely fake at first:
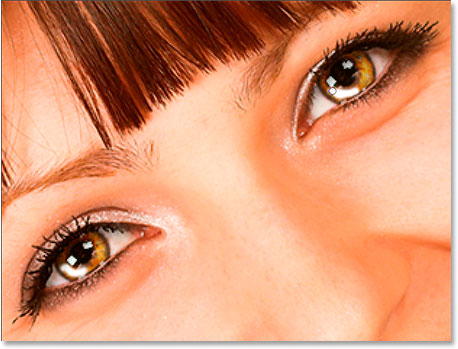
Doesn't exactly look realistic just yet, but we'll fix that in the next step.
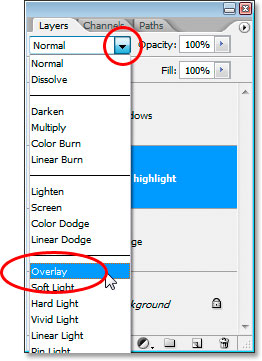
Step 12: Change The Blend Mode Of The "Left Highlight" Layer to "Overlay"
With the "left highlight" layer selected, go up to the blend mode option in the top left of the Layers palette and change the blend mode from "Normal" to Overlay:
Now things are looking better:

Step 13: Add A New Blank Layer Above The "Left Highlight" Layer
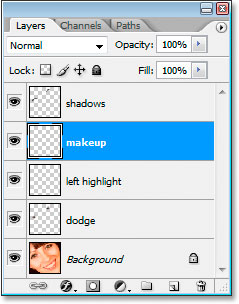
We're going to add one more new blank layer, this time above the "left highlight" layer. So with the "left highlight" layer selected, let's use the keyboard shortcut this time, Ctrl+Shift+N (Win) / Command+Shift+N (Mac) to bring up the New Layer dialog box, and this time, name the new layer "makeup". Click OK to add the new layer:
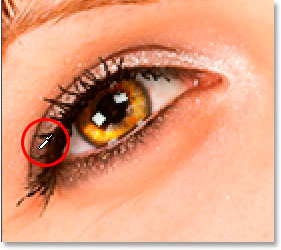
Step 14: Sample A Darker Color From Around The Eyes
Grab the Eyedropper tool from the Tools palette or press I to quickly select it, then click on an area in the shadows around the eyes that is darker than the person's natural skin tone. Don't select anything black, we just want a darker color. We're going to use this color for some makeup:
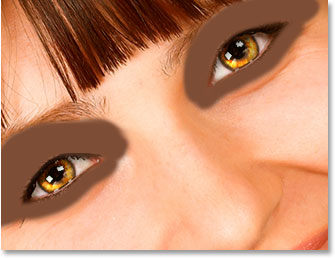
Step 15: Paint With The Sampled Color Around And Above The Eyes To Add Makeup
Switch back to the Brush tool and paint areas around and above the eyes with the color your sampled to add some makeup. It won't look very good just yet but that's okay:
And there we go, we're done!
Just kidding.
Step 16: Apply The Gaussian Blur Filter To The "Makeup" Layer
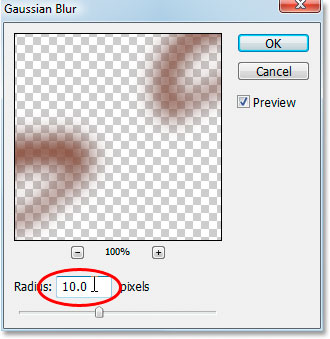
Let's smooth out the makeup first, and we'll do that with the Gaussian Blur filter. Go back up to the Filter menu, select Blur and then select Gaussian Blur. When the Gaussian Blur dialog box pops up, set the Radius value at the bottom to around 10 pixels, and then click OK:
Step 17: Change The Blend Mode Of The "Makeup" Layer To "Soft Light"
Let's get that makeup looking a whole lot better by changing the blend mode. With the "makeup" layer selected, go back up to the blend mode options in the top left of the Layers palette and change its blend mode from "Normal" to Soft Light:

Step 18: Clean Up Any Problems With The Makeup
All that's left to do at this point is clean up any rough spots with the makeup. To do that, grab the Eraser tool from the Tools palette or by pressing E on your keyboard, and with the "makeup" layer selected and the Eraser tool set to a soft-edged brush, simply go around and erase any unwanted areas:
Once you've cleaned up the makeup, you're done! Here, for the sake of comparison, is the image we started with:
And here is our final "fashion retouched" result:
And there we have it! That's how to give eyes a shadowy, sultry look in Photoshop! Check out our Photo Retouching section for more Photoshop image editing tutorials!