
Easy Soft Glow Effect With Photoshop
Soft glow effects are a great way to enhance your photos, especially portrait shots, and creating them in Photoshop is easy. Yet the steps you take to create them can mean the difference between a static result (meaning one that can't easily be changed or edited later) and one that's much more flexible, where you can experiment and fine-tune the effect until you get it looking just right.
Both ways of creating the soft glow effect can be completed very quickly, but which one you choose will depend a lot on your current skill level and how comfortable you are with Photoshop's more advanced features (like Smart Objects and Smart Filters).
In this tutorial and the next, I'll show you both ways of doing things, beginning here with the static version that's best for beginners. In the next tutorial, we'll learn how to create the exact same effect but with much more control over the final result.
Even if you're new to Photoshop, I encourage you to try out both ways of adding a soft glow to your images to get a feel for how powerful and flexible Photoshop can be once you go just a little bit beyond the basics. As always, I'll cover everything step-by-step so no matter what your skill level, you can easily follow along.
If you want to jump straight into the more advanced version, check out the next tutorial in this series, Editable Soft Glow With Smart Filters In Photoshop. Otherwise, let's begin with the basics!
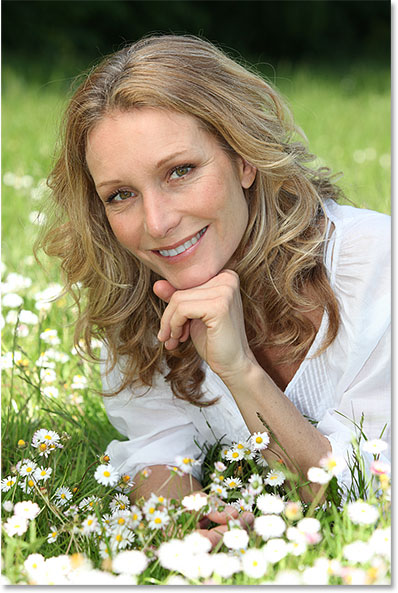
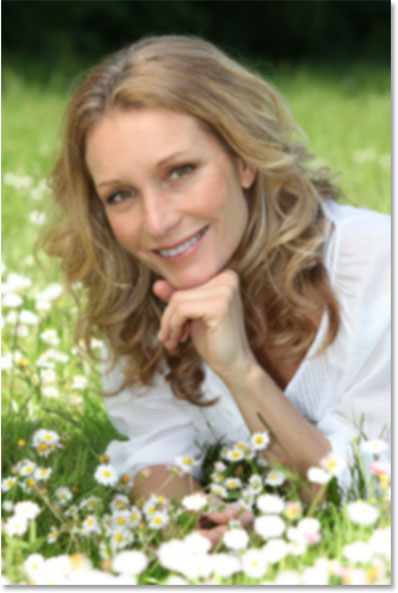
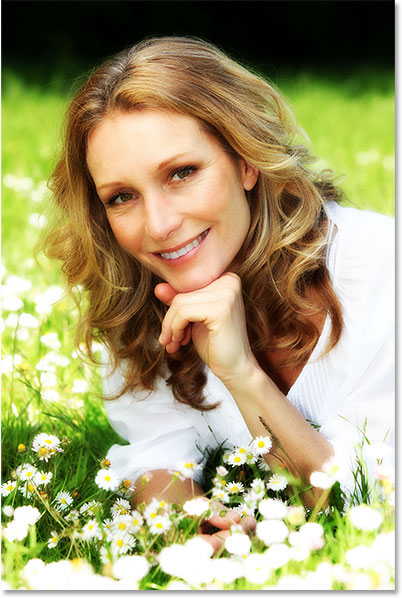
Here's the photo I'll be using (woman in field portrait photo from Shutterstock):
Here's how it will look with the glow applied. Not only does the effect help to soften the photo, including the woman's skin, but it also enhances the overall contrast and makes the colors appear more vibrant:

This tutorial is part of our Portrait Retouching collection. Let's get started!
Step 1: Duplicate The Background Layer
With my image newly opened in Photoshop, if we look in my Layers panel, we see the photo sitting on the Background layer, currently the only layer in my document:
The first thing we need to do for our soft glow effect is make a copy of the Background layer, and the easiest way to do that is to click on the Background layer and drag it down onto the New Layer icon at the bottom of the Layers panel (it's the second icon from the right):
Release your mouse button when your hand cursor is directly over the New Layer icon. Photoshop will make a copy of the Background layer, name the new layer "Background copy" and place it above the original:
Step 2: Rename The New Layer
It's always a good idea to rename layers in your Layers panel so you have a better sense of what's on each layer and what it's being used for. Let's give the "Background copy" layer a more descriptive name. To rename a layer, simply double-click directly on its name in the Layers panel. This will highlight the current name:
Since we'll be using this layer to create our soft glow effect, let's name it "Soft Glow". Press Enter (Win) / Return (Mac) on your keyboard when you're done to accept the name change:
Step 3: Apply The Gaussian Blur Filter
To create the actual soft glow effect, we'll first apply some blurring to the "Soft Glow" layer. Then we'll change the way the blurred layer mixes with the original image below it by changing its blend mode.
To blur the layer, we'll use Photoshop's Gaussian Blur filter. Go up to the Filter menu in the Menu Bar along the top of the screen, choose Blur, and then choose Gaussian Blur:
This opens the Gaussian Blur dialog box, which lets us control the amount of blur being applied to the layer using the Radius slider along the bottom. The further you drag the slider to the right, the stronger the blur effect will appear. Photoshop gives us a live preview of the effect in the document, so keep an eye on your image as you drag the slider to judge the results.
We don't want to blur the image so much that our subject becomes unrecognizable. We're just trying to soften things up a bit, so lower radius values tend to work best. Keep in mind, though, that the blur amount that works best for your specific image may be different from mine and will depend a lot on its size, with larger photos needing more blurring than smaller ones. Generally, for a subtle glow effect, a radius value of somewhere around 10 pixels should work well:

Here's what my blur effect looks like with a radius value of 10 pixels. Notice that while the photo looks softer than it did before, we can still make out plenty of detail. We'll see even more detail once we change the layer's blend mode in the next step:
For an even softer, more dream-like glow effect, try a larger radius value of around 20 pixels:
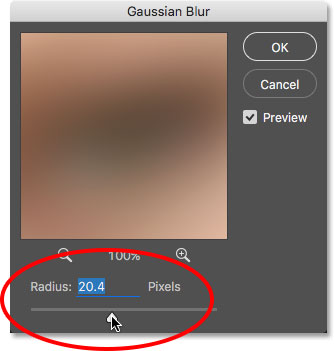
Here's my blurring effect using a 20 pixel radius. We can still make out detail in the photo, but the blurring is definitely stronger this time. Choosing the right amount of blur is really a personal choice and will depend on the image. In my case, I think this is too much so I'll go with the smaller 10 pixel radius. When you're happy with the results, click OK to close out of the Gaussian Blur dialog box:

Step 4: Change The Blend Mode To Soft Light
Now that we've blurred the "Soft Glow" layer, let's change the way it interacts with the original image on the Background layer below it. We do that by changing its blend mode. You'll find the Blend Mode option in the upper left of the Layers panel. By default, it's set to Normal. Click on the word "Normal" to bring up a menu of other blend modes and choose Soft Light from the list:
The Soft Light blend mode in Photoshop does two things; it boosts the overall contrast in the image, and it enhances the colors, making them appear more vibrant. Here's my image with the blend mode set to Soft Light, giving everything a warm, subtle glow:

For a stronger effect, try the Overlay blend mode instead. The Overlay blend mode is very similar to Soft Light, boosting contrast and color, but where Soft Light is more subtle, Overlay is more intense:
Here's my result with the Overlay blend mode. Overlay may work better with a different image, but in this case, it's too strong so I'll go with Soft Light instead:
Step 5: Lower The Layer Opacity
To fine-tune the effect, simply lower the layer's opacity. You'll find the Opacity option in the upper right of the Layers panel, directly across from the Blend Mode option. The default opacity value is 100%. The more you lower it, the more the original photo below the "Soft Glow" layer will show through. In other words, we’ll see more of the original image and less of the blurred image.
To change the opacity value, click on the small arrow to the right of the current value, then drag the slider. I'll lower mine to around 75%, but again, you'll want to keep an eye on your image as you drag the slider to judge the results:
Here, after lowering the opacity, is my final soft glow effect:
And there we have it! That's the quick and easy way to add a soft glow effect to an image with Photoshop!
But, now that I'm done, well, what if I don't really like the result? I went with a subtle glow, but what if a stronger, more "dreamy" glow would have worked better? How can I go back and change it? I mean, I can easily change the blend mode from Soft Light to Overlay (and vice versa), and I can try changing the layer's Opacity value, but that's not really what I want to do. I want to go back and adjust the amount of blurring I applied with the Gaussian Blur filter way back in Step 3. How do I do that?
The short answer is, I can't, and that's where the problem with this way of creating the soft glow effect comes in. As soon as we clicked OK to close out of the Gaussian Blur filter, we committed the blur effect to the layer. In other words, we made a permanent change, or at least, one that can't easily be undone. A better way to work would be to keep the entire effect, including the Gaussian Blur filter, fully editable from start to finish. That way, even after the effect is completed, we could still go back and try different blur amounts to make sure we're getting the best result possible.
So how do we do that? We do it by taking advantage of Photoshop's powerful Smart Objects and Smart Filters. They may sound intimidating, but they're actually very simple to use. In fact, they're every bit as easy to use as normal layers and filters in Photoshop, but they give us much more flexibility.
In the next tutorial, we'll learn how to create this exact same soft glow effect while keeping every step completely editable. So if you're ready to take your Photoshop skills to the next level, head on over to the Editable Soft Glow With Smart Filters tutorial. See you there!