
Using Text To Shadow Itself In Photoshop
In this Photoshop text effects tutorial, we're going to see how easy it is to add some visual interest to text in Photoshop by using a copy of the exact same text to shadow itself.

Let's get started!
Step 1: Create A New Blank Document
First, let's create a new blank Photoshop document. Go up to the File menu at the top of the screen and choose New, or simply use the keyboard shortcut Ctrl+N (Win) / Command+N (Mac). Either method will bring up Photoshop's New Document dialog box. Enter in whatever size you need for your document. I'm going to enter a Width of 6 inches, a Height of 4 inches, and a Resolution of 300 pixels/inch, but again, you can enter whatever size you need. I'm also going to set my Background Contents to White so that white appears as my background color in the document. Click OK when you're done to exit out of the dialog box. Your new blank document will appear on your screen.
Step 2: Select The Type Tool
Next, select the Type Tool from the Tools palette, or press the letter T to select with the keyboard shortcut:
Step 3: Select A Font, Size And Color For Your Text
With the Type Tool selected, go up to the Options Bar at the top of the screen and choose whichever font you'd like to use. I'll use Tahoma Bold at a size of 60 pt. You, of course, can use whichever font you prefer, and the size you choose may be different depending on the font you choose, as well as on the size of the document you're working with:
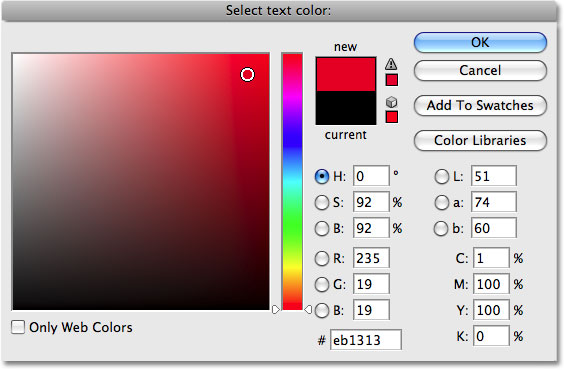
Then, to select a color for the text, click on the color swatch in the Options Bar.
This will bring up Photoshop's Color Picker. Select a nice, bright color for your text. I'll choose a bright red color. Once you've chosen your color, click OK in the top right corner of the dialog box to exit out of it:
Step 4: Add Your Text
With the font and text color chosen, click inside the document and add your text. I'll type the word "SHADOW". When you're done, click on the checkmark in the Options Bar to accept the text and edit out of text editing mode:

Once you've added your text, your Layers palette will show the text on its own layer directly above the Background layer.
Step 5: Duplicate The Text Layer
We're going to use the exact same text to shadow itself, and to do that, we'll need a copy of the text, which means we need to duplicate our text layer. Make sure you have the text layer selected in the Layers palette (selected layers are highlighted in blue), then press Ctrl+J (Win) / Command+J (Mac) to duplicate the layer. A copy of the text layer will appear above the original:
Step 6: Select The Original Text Layer
Since our original text layer is below the copy, we'll use the original text layer for our shadow effect. Click on the original text layer in the Layers palette to select it:

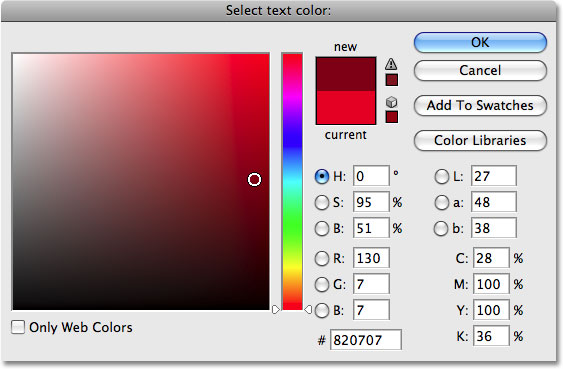
Step 7: Choose A Darker Version Of The Text Color To Use As The Shadow
With the original text layer selected in the Layers palette and the Type Tool still selected, click again on the color swatch in the Options Bar at the top of screen and select a different color from the Color Picker. We're going to use this color as a shadow effect for the text, so choose a darker version of your original color. Here, I'm choosing a darker red:
When you're done. click OK to exit out of the Color Picker. It won't look like much has happened in your document window just yet because the copied text layer is over top of the original text layer and hiding it from view, but we're going to fix that in the next step.
Step 8: Select The Move Tool
In order to create our shadow effect, we need to move the original text slightly so we can see it below the copy of the text that's sitting above it. Let's move the original text down and to the right. Not too much, just enough to create a shadow effect. To move the text, we'll need Photoshop's Move Tool, so select it from the top of the Tools palette or press the letter V on your keyboard to select it with the shortcut:

Step 9: Nudge The Original Text Layer Down And To The Right
We needed to select the Move Tool, but we don't actually need to use it to move our text. You could click inside the document and drag the text down and to the right with your mouse, but in this case, an easier way might simply be to use the arrow keys on your keyboard to nudge the text. Press the Down arrow key a few times to nudge the original text downward, then click the Right arrow key the same number of times to nudge it to the right. I'm going to press my Down arrow key 10 times, then the Right arrow key 10 times, to nudge my text and create my shadow effect:

Remember, you still need to select the Move Tool first even if you're going to use the arrow keys to move an object.
If you want, you can create a second shadow simply by following the same steps. Duplicate the original text layer by pressing Ctrl+J (Win) / Command+J (Mac), then click on the original text layer in the Layers palette to reselect it. Switch back to the Type Tool (since the Move tool is currently selected), click on the color swatch in the Options Bar and select an even darker shade of the color from the Color Picker. Select the Move Tool, then use the arrow keys on the keyboard to nudge the text down and to the right.
Here's my text after following the steps to add a second shadow effect:
Where to go next...
And there we have it! Check out our Text Effects or Photo Effects sections for more Photoshop effects tutorials!