
Editable Blurred Type With Layer Styles In Photoshop
In this Photoshop tutorial, we'll learn how to create fully editable blurred type using layer styles! Specifically, we'll see how to use the technique to add blurry shadow text to an image. Now, if you've been using Photoshop for a while, you may be thinking, "Blurred text? Can't you just blur it with the Gaussian Blur filter?", and yes, you can, but there's a big drawback to doing that.
Photoshop won't let us apply Gaussian Blur (or any other filter) to type without first converting the type into pixels (a process known as rasterizing the type), and once it's been converted to pixels, the text is no longer editable. In this tutorial, we'll look at a different way to blur text, one that gives us the same results we'd achieve with Gaussian Blur but without the need to rasterize it, which means our type remains fully editable even after we've blurred it so we can still go back and make any changes we need! How is it possible to create blurred yet editable text? Thanks to layer styles, it's actually very easy!
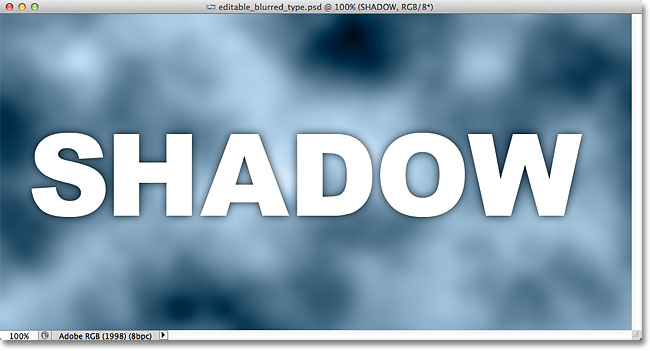
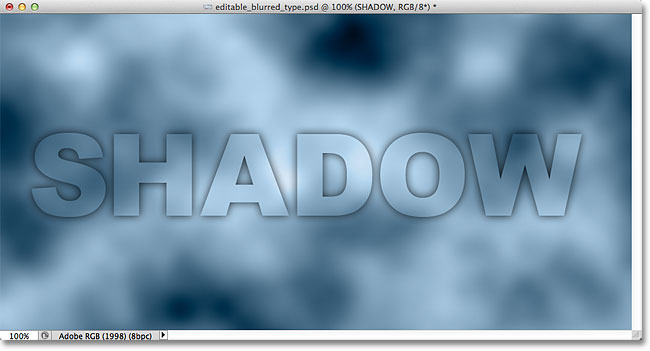
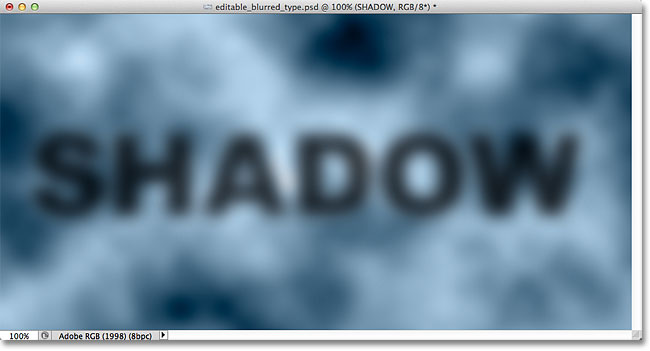
Here's a document I have open on my screen containing a single layer of text (the word "SHADOW") in front of a background image:
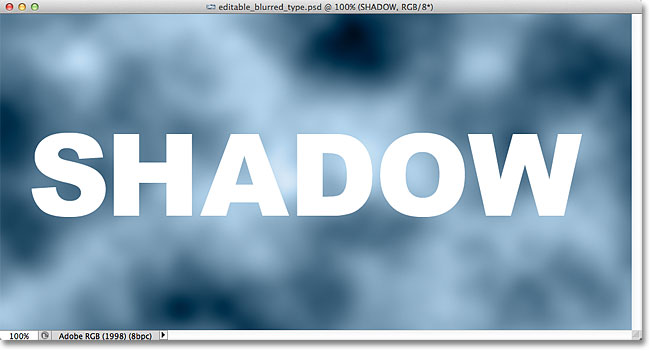
If we look in my Layers panel, we see the text on the Type layer sitting above the image on the Background layer, and we see that the Type layer is currently active (highlighted in blue):
Before we learn how to create editable blurred type, let's quickly see what happens when I try to blur my text using the Gaussian Blur filter. I'll select it by going up to the Filter menu in the Menu Bar along the top of the screen, then I'll choose Blur, and then Gaussian Blur:
As soon as I select the Gaussian Blur filter, Photoshop pops open a warning box telling me that the text on the Type layer will need to be rasterized, and that it will no longer be editable type when we're done. That's not what I want, so I'll click the Cancel button to cancel the filter:
Let's look at a how to blur the text using Photoshop's layer styles!
Step 1: Add A Drop Shadow
With your document open and the Type layer selected, click on the Layer Styles icon at the bottom of the Layers panel:
Then select Drop Shadow from the top of the list of layer styles that appears:
Step 2: Lower The Distance To 0px
This opens Photoshop's Layer Style dialog box set to the Drop Shadow options in the middle column. Lower the Distance value all the way down to 0px by dragging the slider all the way to the left. The Distance option controls how far away the shadow appears from the object that's casting the shadow. Setting Distance to 0px will place the shadow directly behind the text:
If we look at the text in the document window, we can see the shadow poking out around the edges of the letters:
Step 3: Switch To The Blending Options
Don't close out of the Layer Style dialog box yet because we still have a couple more things to do. Click directly on the words Blending Options in the upper left corner of the dialog box. The Drop Shadow options in the middle column will be replaced with the Blending Options:
Step 4: Lower The Fill Opacity to 0%
With the Blending Options now appearing in the middle column, lower the Fill Opacity value down to 0% by dragging the slider all the way to the left. This Fill Opacity option is the exact same Fill option found in the top right corner of the Layers panel. As we learned in the Layer Opacity vs Fill tutorial, the Fill value controls the transparency of the actual contents of the layer but has no effect on any layer styles that are applied to it. By lowering the Fill value of the Type layer, we're making the actual text itself transparent, but the Drop Shadow layer style will remain fully visible:
If we look again at the document window, we see that the letters themselves have become fully transparent, while the drop shadow is still visible. The problem is, even though the text is transparent, it's still blocking most of the drop shadow behind it from view. All we can see of the shadow is the small part sticking out around the edges. We'll fix that in a moment:
Step 5: Switch Back To The Drop Shadow Options
Click directly on the words Drop Shadow below the Blending Options in the upper left of the dialog box to switch back to the Drop Shadow options. Make sure you click directly on the words, not inside the checkbox to the left of the words, otherwise you won't get access to the options (and you'll turn the drop shadow off):
Step 6: Disable "Layer Knocks Out Drop Shadow"
If you look down at the bottom of the Drop Shadow options, you'll see an option called Layer Knocks Out Drop Shadow. By default, this option is turned on, and with it enabled, the drop shadow remains hidden behind the actual contents of the layer (in this case, the text), even if we make the contents transparent. Click on the checkbox to remove the checkmark and turn the option off:

And now, the text itself is completely hidden and no longer blocking the drop shadow from view:

Step 7: Adjust The Size Of The Shadow
If we were blurring the text using the Gaussian Blur filter, we would adjust the amount of blurring by dragging the Radius slider. With our layer styles technique, we adjust the blurring by controlling the size of the drop shadow using the Size option. By default, Size is set to 16 px. Drag the slider towards the right to increase the value and make the shadow larger, which will add more blurring to the text, or drag it to the left to lower the Size value and reduce the blur effect:
Here's my blur effect after increasing the Size value to 29px:
When you're happy with the amount of blurring, click OK in the top right corner of the Layer Style dialog box to close out of it and complete the effect.
Both The Text And The Effect Remain Editable
Layer styles are live, non-destructive effects, which means we can go back at any time and make changes. If, after you've closed out of the Layer Style dialog box, you realize you need to make further adjustments to the amount of blurring, simply double-click on the Drop Shadow effect that's listed below the Type layer in the Layers panel (again, click directly on the words themselves):
This will re-open the Layer Style dialog box to the Drop Shadow options so you can make any changes you need to the Size value. When you're done, click OK to close back out of the dialog box:
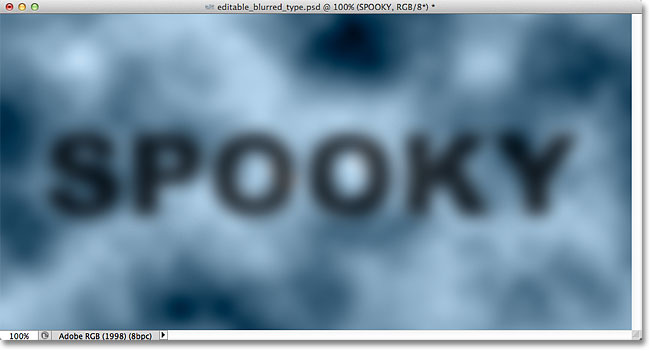
The text itself also remains fully editable, even with the blurring effect applied. Simply select it with the Type Tool, enter your new text, then press Ctrl+Enter (Win) / Command+Return (Mac) on your keyboard to accept it. The blurring effect is automatically applied to the updated text:
Where to go next...
And there we have it! That's how to create a fully editable blurred text effect using layer styles in Photoshop! Check out our Text Effects or Photo Effects sections for more Photoshop effects tutorials!