
Using A Photo To Mask Itself With Photoshop
In this Photoshop Effects tutorial, we're going to learn how to use a photo as a layer mask, essentially using the image to mask itself, something that Photoshop doesn't normally allow us to do. We'll be using it to give the image a nice soft glow effect, but if you experiment on your own, you'll find lots of creative ways to use this technique.
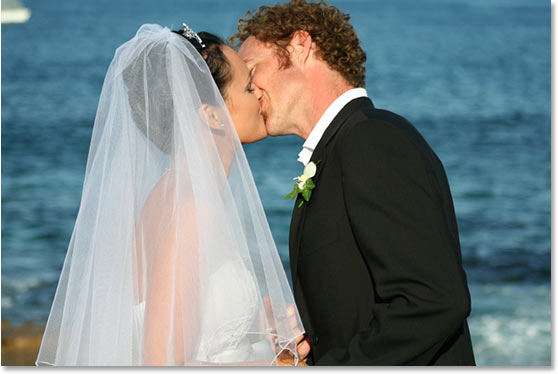
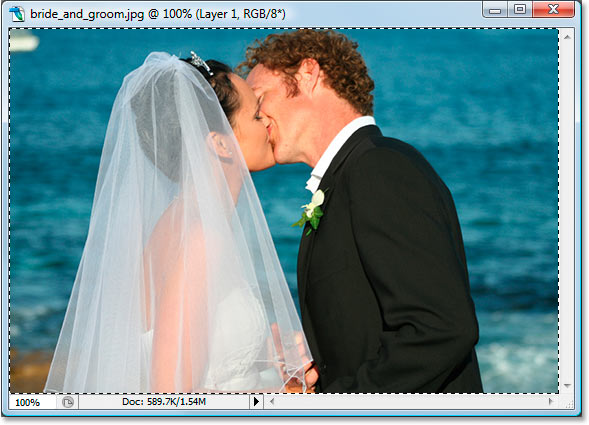
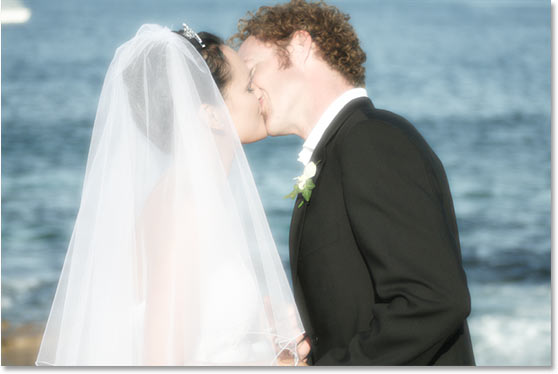
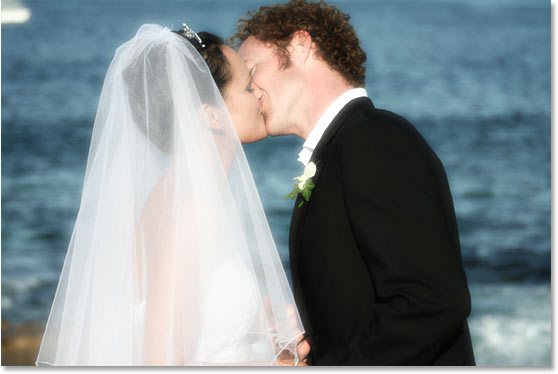
Here's the photo I'll be using for this tutorial:
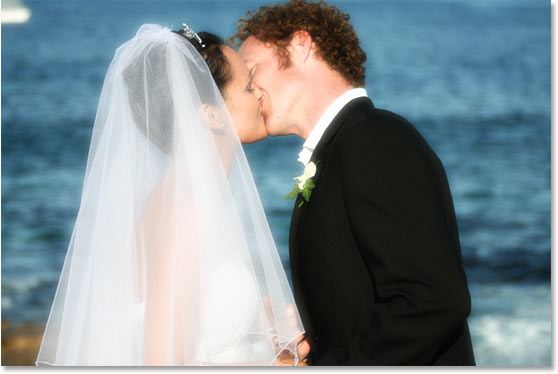
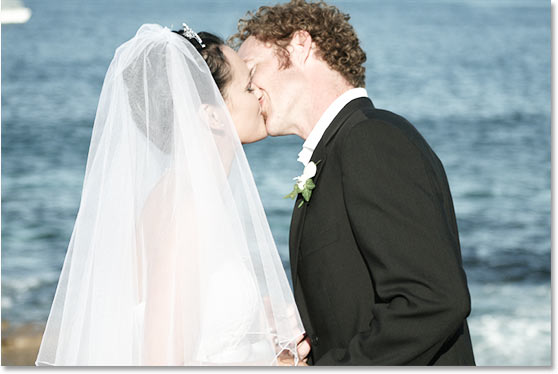
And here's the finished result:
This tutorial is from our Photo Effects series. Let's get started!
Step 1: Duplicate The Background Layer
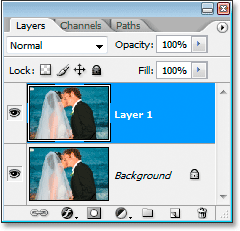
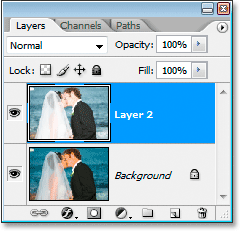
As always, the first thing we're going to do is duplicate the Background layer so we're not touching our original pixel information. To do that, use the quick keyboard shortcut Ctrl+J (Win) / Command+J (Mac), and Photoshop will go ahead and give us a copy of our Background layer, which it names "Layer 1":
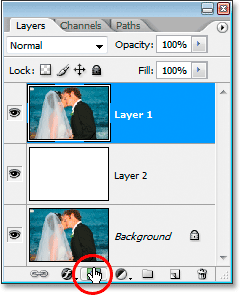
Step 2: Add A New Layer Below The Duplicate Background Layer
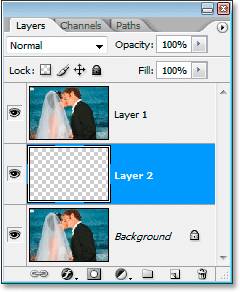
We're going to add a new layer between the Background layer and "Layer 1". Normally Photoshop adds new layers above the currently selected layer in the Layers palette, but we can tell Photoshop to add the new layer below it instead by holding down Ctrl (Win) / Command (Mac) and then clicking the New Layer icon at the bottom of the Layers palette:
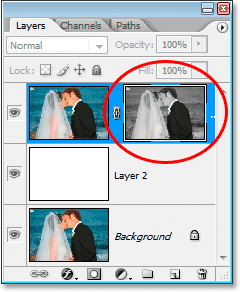
We now have a new blank layer between the Background layer and "Layer 1":
Step 3: Fill The New Layer With White
Press D on your keyboard to reset your Foreground color to black and your Background color to white. Then, with the new blank layer selected, use the keyboard shortcut Ctrl+Backspace (Win) / Command+Delete (Mac) to fill the layer with the Background color, which in this case is white. You won't see anything happen in the Document Window since "Layer 1" is blocking the new layer from view, but if you look in the Layers palette, you'll see the layer's thumbnail preview area now filled with white:

Step 4: Copy The Image
Click on "Layer 1" in the Layers palette to select it. We're going to copy the image onto the clipboard. To do that, first press Ctrl+A (Win) / Command+A (Mac) to select the entire layer. You'll see a selection box around the edges of the Document Window to indicate that the entire area has been selected. Then press Ctrl+C (Win) / Command+C (Mac) to copy the image onto the clipboard:
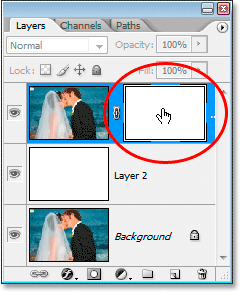
Step 5: Add A Layer Mask
With "Layer 1" still selected, click the Add Layer Mask icon at the bottom of the Layers palette:
Step 6: Paste The Image Into The Mask
We're going to paste the image we just copied a moment ago into the mask and use it to mask itself. Normally, Photoshop doesn't allow us to paste images directly into layer masks, but we can if we select the mask by holding down Alt (Win) / Option (Mac) and then clicking on the layer mask's thumbnail in the Layers palette to select it:
This will turn your Document Window completely white, and that's because you're now looking at the layer mask itself, not the layer contents (the image). With the mask itself visible, we can now paste the image into it using the keyboard shortcut Ctrl+V (Win) / Command+V (Mac). The image will appear in black and white in the Document Window:
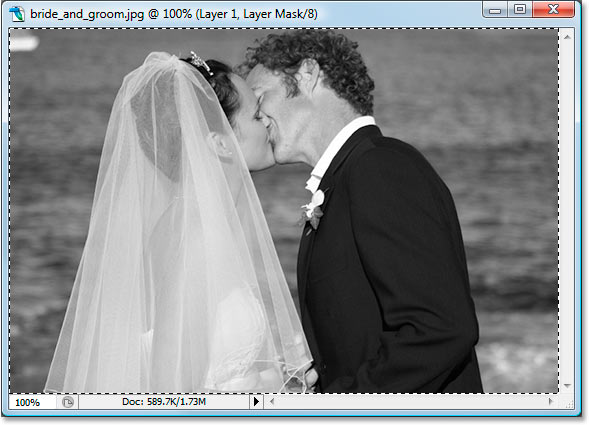
It appears in black and white because again, we're currently looking at the layer mask in the Document Window, not the layer contents, and layer masks use only black, white, and gray. We can also see the image now inside the layer mask's thumbnail in the Layers palette:
Press Ctrl+D (Win) / Command+D (Mac) to deselect the image at this point.
Step 7: Invert The Layer Mask
If you click on Layer 1's thumbnail to select it, you'll see the image itself appear once again in the Document Window. The image is now being masked by a copy of itself, and it's being masked onto the white-filled layer below it, making it look something like this:
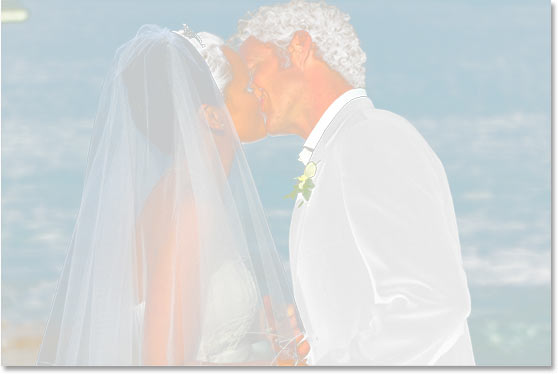
Not exactly what we want, so we're going to invert the layer mask, making light areas dark and dark areas light. To do that, first click back on the layer mask's thumbnail once again to select it. No need to hold down "Alt" or "Option" this time. Then with the layer mask selected, use the keyboard shortcut Ctrl+I (Win) / Command+I (Mac) to invert the mask. Your image in the Document Window should now look much better:
Step 8: Apply The Gaussian Blur Filter To The Layer Mask
The give our image a soft glow effect, all we need to do is blur the layer mask, and for that, we'll use the Gaussian Blur filter. With the layer mask still selected, go up to the Filter menu at the top of the screen, select Blur, and then select Gaussian Blur. This will bring up the Gaussian Blur filter's dialog box:
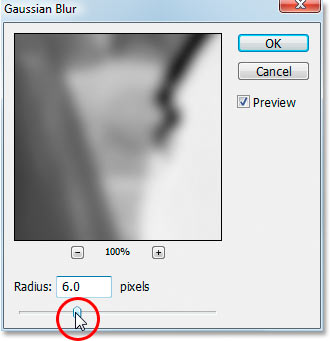
Drag the slider bar at the bottom of the dialog box left and right to increase or decrease the Radius value. The higher the Radius value, the more blur that's applied, which creates the glow effect. You can see a preview of the glow effect in the Document Window as you're dragging the slider. Drag the slider until you're happy with the effect. I'm using a low resolution image for this tutorial, so for me, a Radius value of about 6 pixels gives me a nice glow. If you're using a high resolution image, you'll probably want to use a value of 8 or higher. Click OK when you're done to exit out of the Gaussian Blur dialog box.
Here's my image after applying the Gaussian Blur filter:
Step 9: Merge "Layer 1" And The White-Filled Layer Below It
Press Ctrl+E (Win) / Command+E (Mac) to merge "Layer 1" with the white-filled layer below it, which combines both layers onto a single layer. You won't see anything different in the Document Window, but you'll see in the Layers palette that the two layers are now one:
Step 10: Duplicate The Merged Layer And Change Its Blend Mode To Multiply
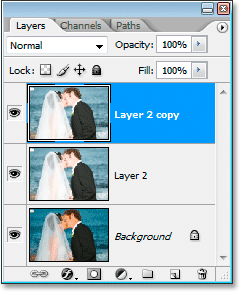
The image is looking too light and washed out at the moment, so we're going to fix that. First, with the new merged layer selected in the Layers palette, press Ctrl+J (Win) / Command+J (Mac) to duplicate it:
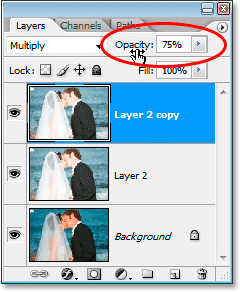
Then go up to the Blend Mode options in the top left of the Layers palette, click the down-pointing arrow to the right of the word "Normal", and change the blend mode of the new layer to Multiply:

This will darken the image, giving it more contrast and bringing back some of the color that was washed out. If you find your image now looks a bit too dark, simply lower the Opacity of the layer in the top right of the Layers palette. I'm going to lower mine to about 75%:
Here's my image after changing the blend mode to Multiply and lowering the opacity:
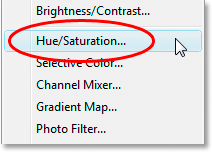
Step 11: Boost The Color With A Hue/Saturation Adjustment Layer
The image is looking good, except for one thing - the colors are a bit dull. We can give them a boost using Hue/Saturation. To do that, click on the New Adjustment Layer icon at the bottom of the Layers palette:
Then choose Hue/Saturation from the list of Adjustment Layers:
This brings up Photoshop's Hue/Saturation dialog box. I'm going to increase the Saturation by about 25% by dragging the Saturation slider bar to the right. Keep an eye on your image in the Document Window to see a preview of what's happening with your colors as you drag:
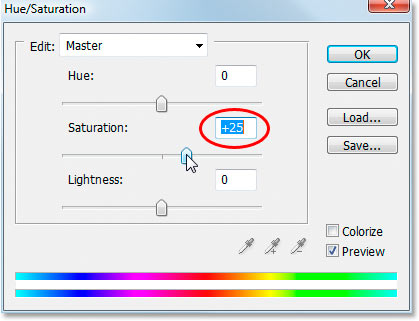
When you're happy with your Saturation value, click OK to exit out of the dialog box, and you're done! Here is my final result:
And there we have it! This is just one example of what you can do by using an image as its own layer mask. Experiment on your own by applying different filters to the mask or to the image itself, using different colors or other images for the background, flipping the mask vertically or horizontally, whatever you can think of. You're bound to find lots of creative uses for it. Visit our Photo Effects section for more Photoshop effects tutorials!