
How to Blend Anything with Harmonize in Photoshop 2026
Harmonize in Photoshop 2026 blends any object or person into your scene by matching the color, lighting, shadows, and even reflections. Learn how to composite images with Harmonize and see how it compares with Generative Fill and Gemini 2.5 (Nano Banana).
Download the PDF: How to Blend Anything with Harmonize in Photoshop 2026
If you’ve ever created a composite in Photoshop, taking a person or object from one photo and placing them into another, you know how challenging and time-consuming it can be. Even with a perfect selection, the new element can still look like it was copied and pasted. If the color, lighting or shadows don’t match the background, the illusion falls apart and the composite looks fake.
But what if Photoshop could adjust all of those things with a single click? Well, in Photoshop 2026 it can thanks to a game-changing new feature called Harmonize. And the results are nothing short of jaw-dropping.
Harmonize uses AI to analyze your image and automatically adjusts the color, lighting, shadows and contrast of the element you placed into the scene so it blends naturally with its new surroundings. Harmonize can even add reflections of the element into the background so it looks like your subject was really there.
With Harmonize, you can create professional photorealistic composites in seconds. And in this tutorial, I’ll show you exactly how to use it.
But Harmonize is not the only new compositing feature in Photoshop 2026. Generative Fill’s new partner models — Gemini 2.5 (Nano Banana) and FLUX Kontext Pro — push AI image creation to a whole new level. So as a bonus, once we’ve blended our new subject into the scene with Harmonize, we’ll use Generative Fill and Nano Banana to add the final touch.
Which Photoshop version do I need?
To use Harmonize, you'll need Photoshop 2026 (version 27.0 or higher).
You can get Photoshop 2026 here or use the Creative Cloud Desktop app to make sure that your copy is up to date.
How to use Harmonize in Photoshop 2026
Here is my step-by-step guide to using Harmonize to blend any element into its background, including a look at a problem you may run into and how to fix it.
Step 1: Open your background image
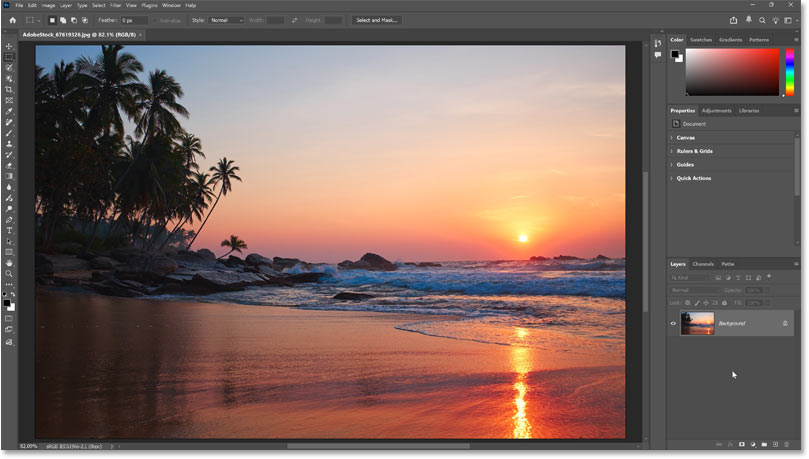
Open the image that will serve as the background for your composition.
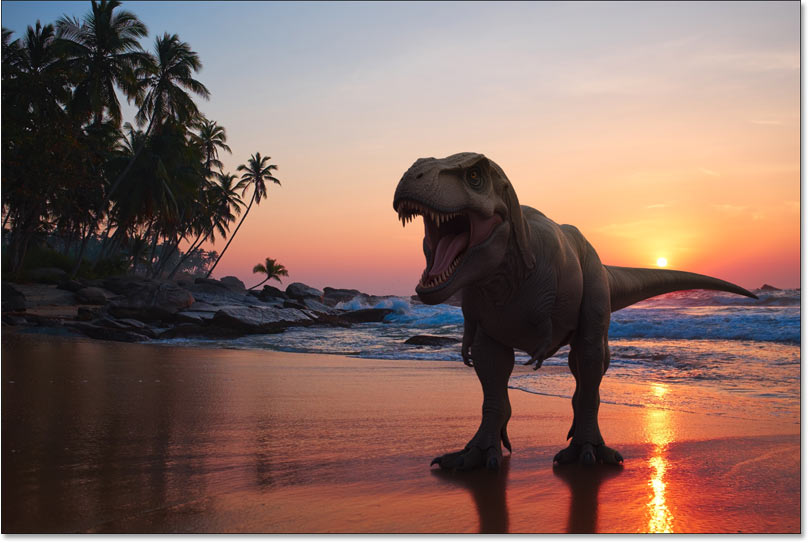
I’ll use this photo of a tropical beach at sunset (credit: Adobe Stock).
Step 2: Place your second image into the document
Now we need the image that contains the new element for the composite.
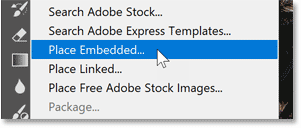
To add the second image into the same document, go up to the File menu in the Menu Bar and choose Place Embedded.
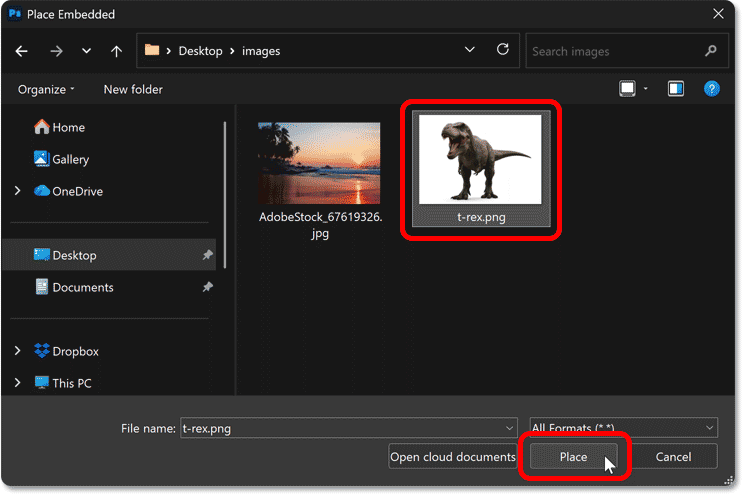
I’m going to add a dinosaur onto the beach, so I’ll select my T-Rex image and click Place.
Photoshop places the second image into the document and adds transform handles around it in case we need to resize it.
I created this T-Rex on the Adobe Firefly website using Gemini 2.5 (Nano Banana) and then upscaled it in Photoshop using Generative Upscale.
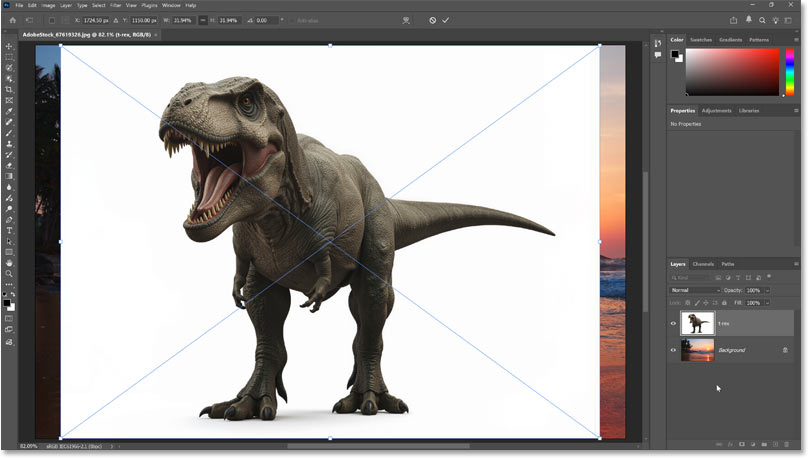
Don’t resize the image yet. It will be easier after we remove the background. Instead just click the check mark in the Options Bar to accept it.

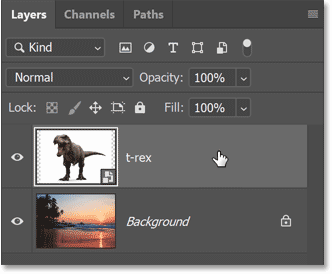
In the Layers panel, you’ll see the new image on its own layer above the background.
The icon in the thumbnail’s corner tells us that Photoshop converted the layer to a smart object, which means we can resize the image later without losing quality.
Step 3: Remove the background
Before I can place my T-Rex onto the beach, I need to remove that white background. These days, removing a background is easy, especially in Photoshop 2026 thanks to the improvements to the Select Subject and Remove Background commands.
I’ll make sure I have my T-Rex layer selected in the Layers panel. Then I’ll click Remove Background in the Contextual Task Bar.

Remove Background is the same as Select Subject except that instead of just selecting the subject, it goes a step further and removes the background.
It takes just a few seconds, and now the background is removed.

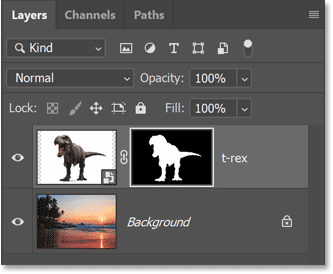
Back in the Layers panel, notice that Photoshop did not actually delete the background. Instead it selected our subject (in this case the T-Rex) and used a layer mask to hide everything else on the layer.
Step 4: Resize and reposition the element
Before we run Harmonize, it’s important that we get the size and placement of the element exactly where we need it since Harmonize will blend it into the background at that exact size and location.
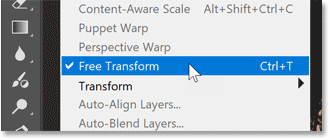
With your top layer selected, go up to the Edit menu in the Menu Bar and choose Free Transform.
In the Options Bar, make sure the link icon between the Width and Height fields is selected so you won’t distort the shape of the element as you resize it.
Then drag any of the transform handles to resize it and drag inside the transform box to move it.
I’ll make the T-Rex a bit smaller and move it to the right.
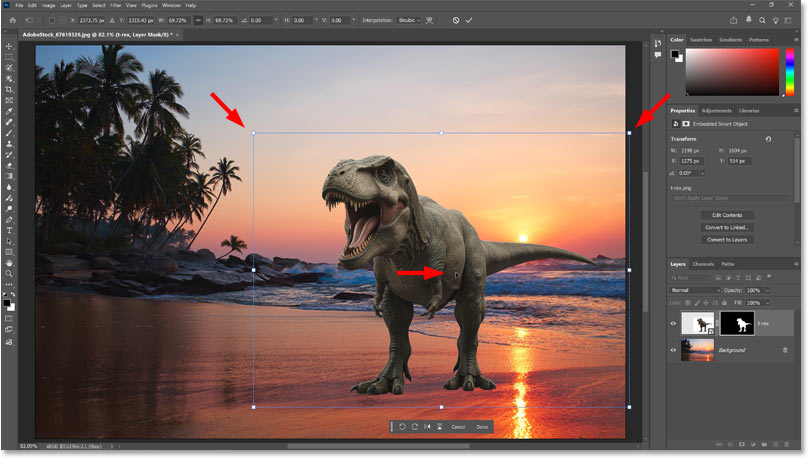
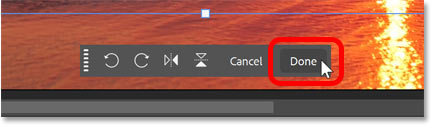
When you’re happy with how it looks, click Done in the Contextual Task Bar (or the check mark in the Options Bar) to accept it.
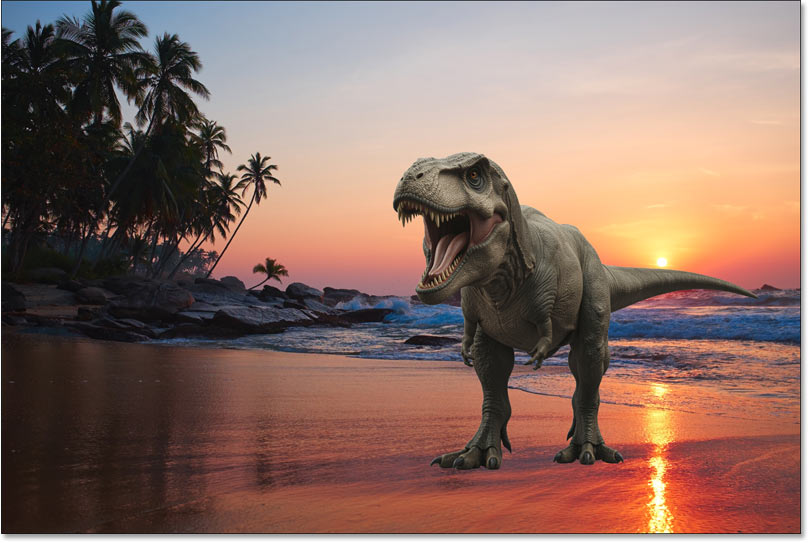
The problem: The composition looks fake
So far so good. I’ve added my T-Rex onto the beach, resized it and moved it into position. But it sure doesn’t look realistic, and not just because it’s a dinosaur. The real issue is the mismatch between the colors and the lighting in the two images.
The background photo has strong directional lighting from the sunset, but the lighting on the T-Rex is fairly flat. The sunset scene is filled with warm orange and pink highlights along with cooler magenta and blue shadows, while the T-Rex is mostly greenish grey. There should also be a clear reflection of the T-Rex in the wet sand, yet there is no reflection at all. These issues break the illusion that the T-Rex was really there.
In the past it would have taken a lot of work to fix all of this. But with the new Harmonize feature in Photoshop 2026, we can fix everything with just a single click.
Step 5: Click Harmonize
To blend the new element into the background, click the Harmonize button in the Contextual Task Bar.

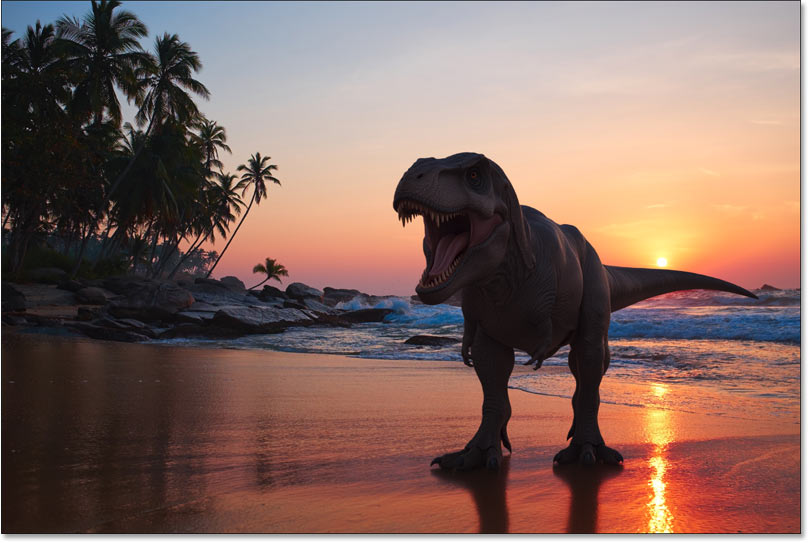
Harmonize uses a new Adobe Firefly AI model to automatically match the color, lighting, shadows and contrast of the element to its background. It even creates a reflection of the T-Rex in the wet sand. Harmonize is easily one of the most impressive AI features in Photoshop so far.
If you’re thinking the dinosaur looks a little too dark, I’ll show you how to fix that in a moment.

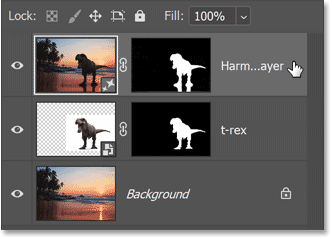
In the Layers panel, notice that Harmonize generated a new version of the entire image on its own Harmonize layer above the others. And it added a layer mask to hide most of the new image and reveal only the updated areas (the T-Rex and its reflection).
Step 6: Try all three variations or generate more
Harmonize gives you three variations to choose from, similar to Generative Fill.
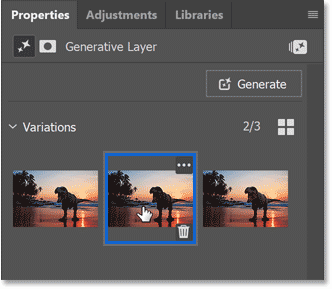
Click the thumbnails in the Properties panel to preview each variation and choose the one you like best. If you’re not seeing the variations, make sure the Harmonize layer is selected in the Layers panel.
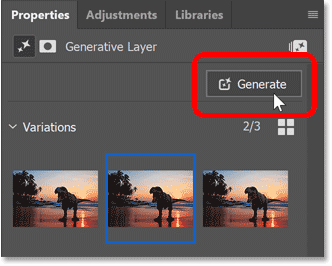
You can also click Generate in the Properties panel to create three new variations if you want more options.
I like this second variation the best. The lighting on the T-Rex is a bit better and it has warmer colors.
How to bring back some of the highlights
One issue I’ve noticed with Harmonize is that it can sometimes flatten the highlights and make the subject too dark. In my image, even though the T-Rex is facing away from the sun, it still looks darker than it should. Or at least, darker than I'd like it to be.
So here’s what I came up with to bring some of the highlights back, and it gives us a chance to look at another new feature in Photoshop 2026: the Color and Vibrance adjustment layer.
Step 1: Drag the element’s original layer above the Harmonize layer
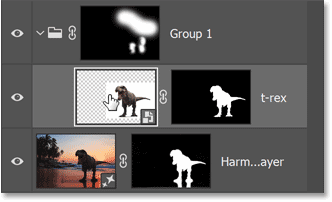
In the Layers panel, I’ll click on my original T-Rex layer and drag it above the Harmonize layer.
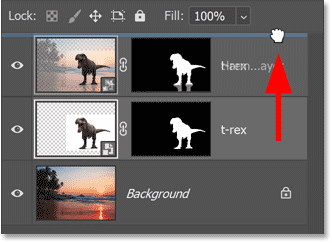
The reflections in the sand are still visible from the Harmonize layer beneath it, but the dinosaur itself is back to the flat lighting and that greenish grey color.

Step 2: Place the layer into a group
Next I need to place the original T-Rex layer into a layer group.
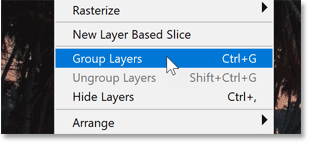
So with the layer selected, I’ll go up to the Layer menu in the Menu Bar and choose Group Layers.
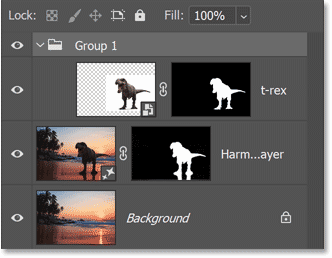
Back in the Layers panel, my original T-Rex is now inside its own group.
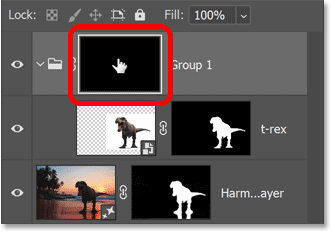
Step 3: Add a black-filled layer mask to the group
I need to hide the contents of the group (the T-Rex layer).
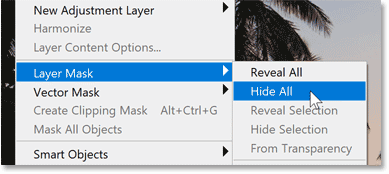
I can do that by going up to the Layer menu, choosing Layer Mask and then Hide All.
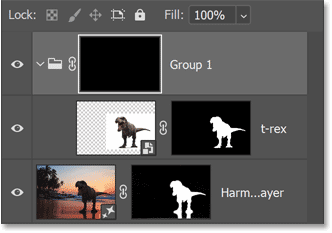
Photoshop adds a layer mask to the group and fills it with black, which hides everything inside the group.
Step 4: Select the brush tool and a soft round brush
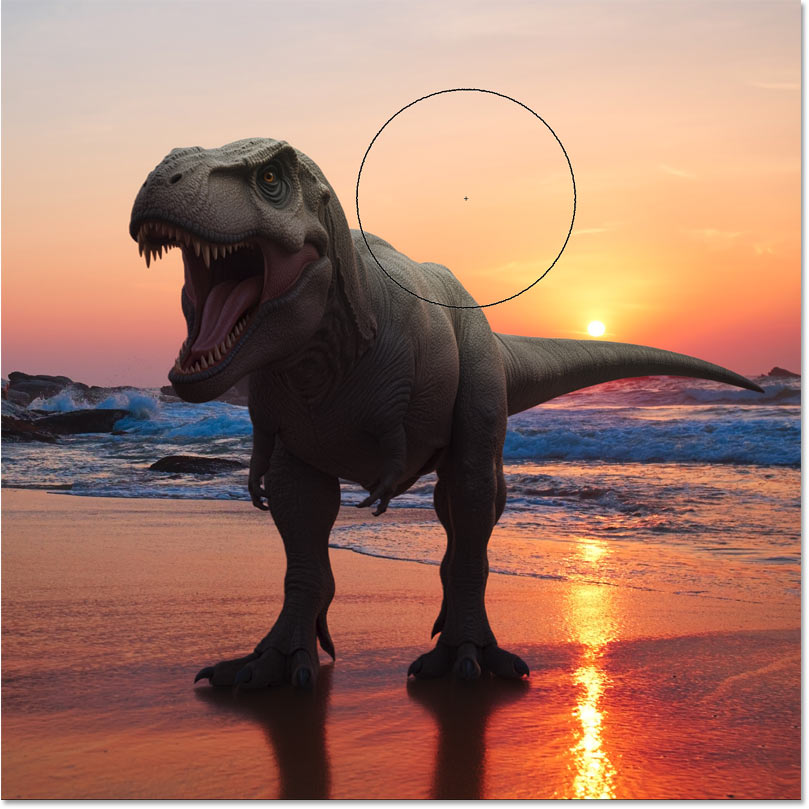
Now I want to bring back some of the brightness from the original T-Rex layer, but only along the top of the dinosaur where the sunlight would naturally hit.
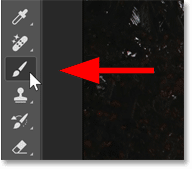
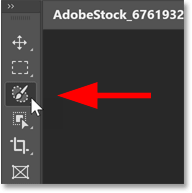
To do that, I’ll select the Brush Tool from the toolbar.
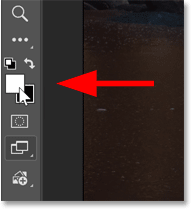
Still in the toolbar, I’ll make sure my Foreground color (the brush color) is set to white so I can paint with white on the group’s layer mask.
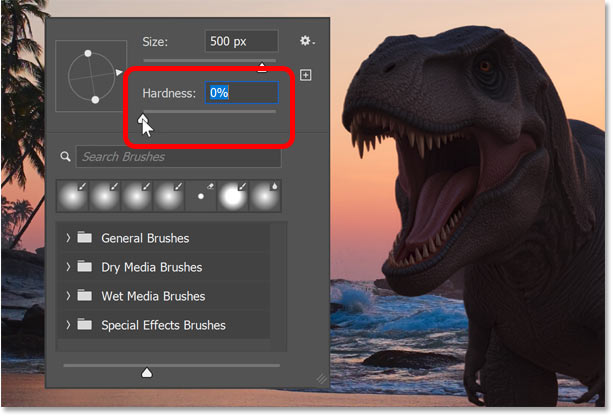
Then with the Brush Tool active, I’ll right-click inside the document to open the Brush Presets.
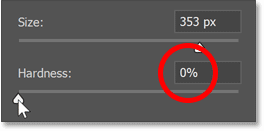
I already have the default round brush selected but I need soft edges, so I’ll lower the Hardness to 0 percent.
Step 5: Paint on the mask to brighten those areas
In the Layers panel, I’ll make sure the layer group’s mask is selected.
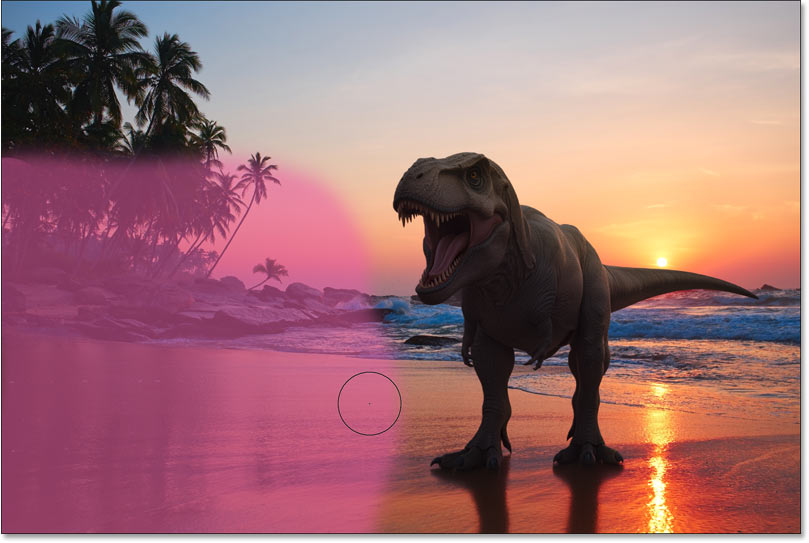
Then with a large brush, and with the center of my brush positioned well above the T-Rex so only the lower edge overlaps him, I’ll paint a few brush strokes along the top of the dinosaur to bring back some of the original brightness.
I’ll switch to a smaller brush and paint along the edges of his legs to restore a bit of highlight there as well.

If the effect looks too bright, lower the opacity of the layer group in the Layers panel.
I’ll lower the opacity to 50 percent.
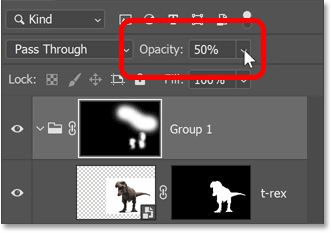
That looks much better.

Step 6: Add a Color and Vibrance adjustment layer
The only problem is that by restoring some of the original T-Rex layer, I also brought back some of the dinosaur’s original grey and lost some of the Harmonize color effect. So I’ll fix that manually using the new Color and Vibrance adjustment layer in Photoshop 2026.
First I’ll select the original T-Rex layer inside the group to make it active.
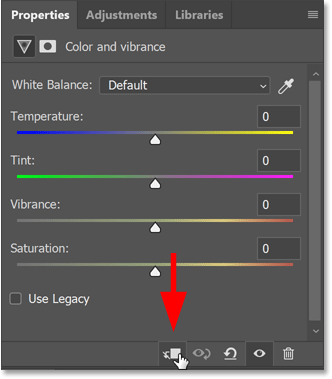
Then I’ll go to the Adjustments panel and choose Color and Vibrance.
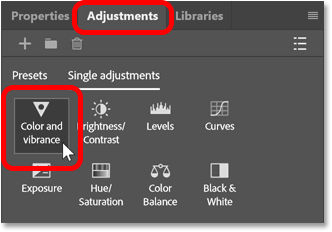
Photoshop adds the Color and Vibrance adjustment layer directly above the T-Rex layer inside the group.

Step 7: Create a clipping mask
The controls for Color and Vibrance open in the Properties panel. Color and Vibrance used to include just the Vibrance and Saturation sliders, but Adobe added Temperature and Tint in Photoshop 2026.
I need this adjustment layer to affect only the T-Rex layer below it. So before I do anything else, I’ll click the Create Clipping Mask icon at the bottom of the Properties panel.
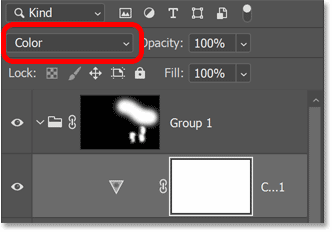
Step 8: Change the blend mode of the adjustment layer to Color
Since I want to affect only the colors in the image and not the brightness, I’ll change the adjustment layer’s blend mode from Normal to Color.
Step 9: Adjust the sliders
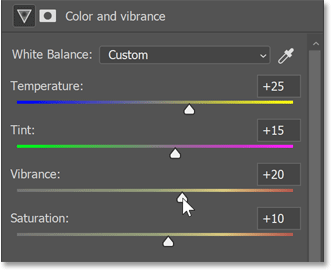
Back in the Properties panel, I can drag the sliders to try to match the color in those brighter areas of the T-Rex with the background image.
I’ll move the Temperature slider to the right to add more yellow, and the Tint slider to the right to add more magenta. I’ll also increase Vibrance and Saturation to match the intensity of the sunset.
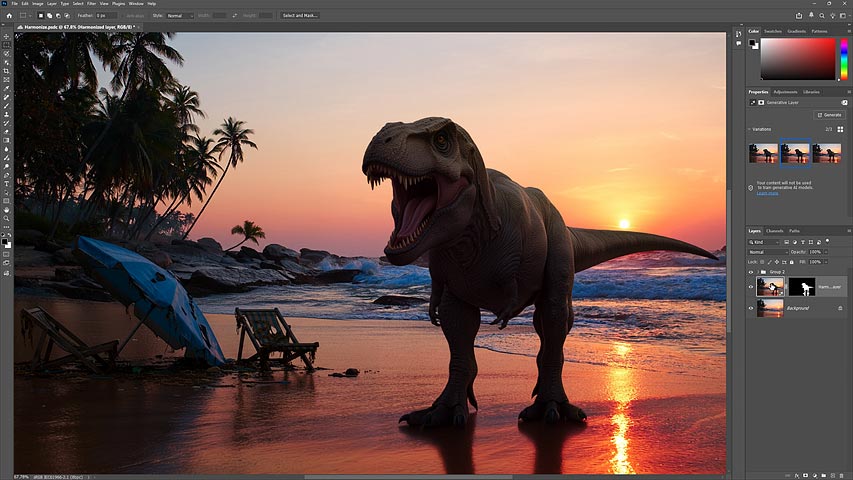
And here is the final result. The brighter areas along the top of the T-Rex now look warmer and blend more naturally with the sunset.
Using Generative Fill and Nano Banana to add more elements
Thanks to the new Harmonize feature in Photoshop 2026 and a few manual adjustments, the T-Rex now blends much more naturally into the background.
Now I want to fill the empty space in the bottom left corner with a couple of damaged and abandoned beach chairs and an umbrella, as if they were remnants from before the dinosaur apocalypse.
Harmonize works great when you already have the element you want to add to the scene, like my T-Rex. But for something like broken beach chairs, it’s easier to use Generative Fill, especially in Photoshop 2026 when we can use partner models like Gemini 2.5 (Nano Banana) or FLUX Kontext Pro to generate what we need. For this example, I’ll use Nano Banana.
Step 1: Select an area of the image
To use Generative Fill, we need a selection—either of the entire image or a smaller area.
Since Nano Banana currently has a resolution limit of just 1024x1024 pixels, and I want the generated result to look as sharp and detailed as possible, I’ll select only the bottom left corner.
I’ll grab the Selection Brush from the toolbar.
In the Options Bar, I’ll open the Brush Options.
I’ll make sure the Hardness is set to 0 percent. This is very important because if your selection edge is too hard, Generative Fill will create a harsh, obvious transition between the original image and the AI-generated content.
Then I’ll paint over the area in the lower left corner to select it. Selections made with the Selection Brush appear in magenta rather than the traditional marching ants
selection outline.
Step 2: Click Generative Fill
With the selection in place, I’ll click Generative Fill in the Contextual Task Bar.

Step 3: Add your prompt and choose your AI model
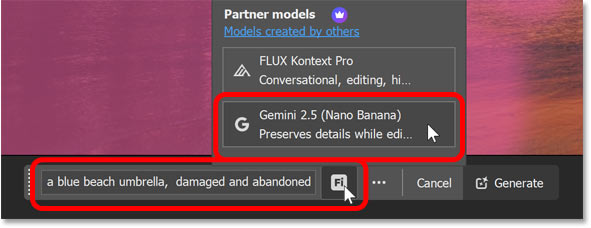
For my prompt, I’ll type two beach chairs and a blue beach umbrella, damaged and abandoned
.
I want Generative Fill to use the Nano Banana partner model. So before I click Generate, I’ll click the AI model icon next to the prompt box and choose Gemini 2.5 (Nano Banana).
Step 4: Click Generate
With my prompt entered and my AI model selected, I’ll click Generate.

Unlike Adobe’s own Firefly model which gives us three variations to choose from, partner models like Nano Banana and FLUX Kontext Pro generate only a single variation each time. So you may need to click Generate a few times to get the result you want.
In my case it took three tries, but I’m happy with this third result. Nano Banana did an amazing job creating the broken chairs and umbrella, even adding reflections in the sand, and the colors match the rest of the image perfectly.

Summary
And there we have it. That’s how to use the new Harmonize feature in Photoshop 2026 to blend an element naturally into the scene, how to make manual adjustments to the Harmonize result, and how to use Generative Fill with Gemini 2.5 (Nano Banana) to add brand new elements directly into the composition.
Related tutorials:
- Using the Remove Tool with Generative AI
- Remove distracting people with AI in Camera Raw
- Remove Wires and Cables from Photos with AI