
Cropping Images In Photoshop CS6
One of the great new features in Photoshop CS6 is the improved and enhanced Crop Tool. If you've been using earlier versions of Photoshop to crop your photos, you'll find quite a few changes with CS6, all designed to make cropping and straightening images easier and more flexible than ever before. In this tutorial, we'll learn how it works!
Selecting The Crop Tool
As with previous versions of Photoshop, to crop an image, we start by selecting the Crop Tool, either by clicking on its icon in the Tools panel along the left of the screen or by pressing the letter C on the keyboard. I'll select it from the Tools panel:
The Crop Handles
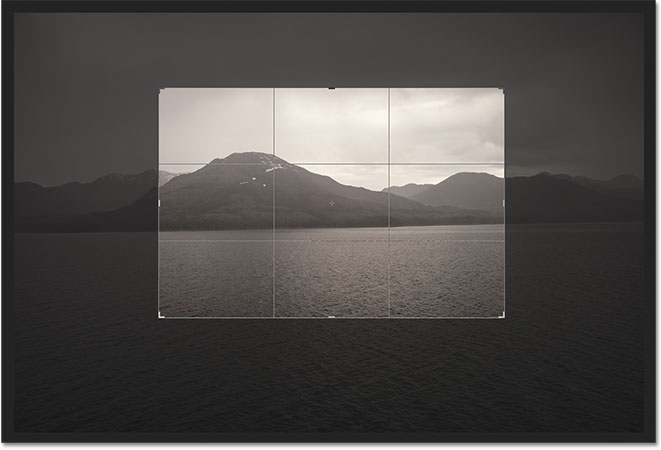
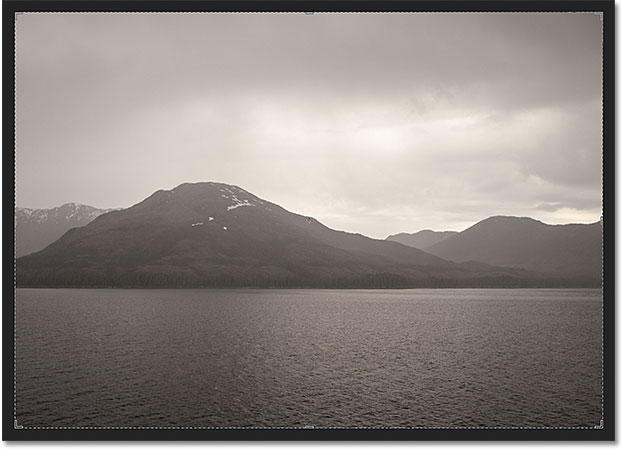
If you've used earlier versions of Photoshop, the first difference you'll notice with CS6 is that as soon as you choose the Crop Tool, Photoshop automatically places a crop box and handles around your image. You'll find a crop handle in each of the four corners as well as at the top, bottom, left and right. They look a little bit different than they did in previous versions, but they work exactly the same way:
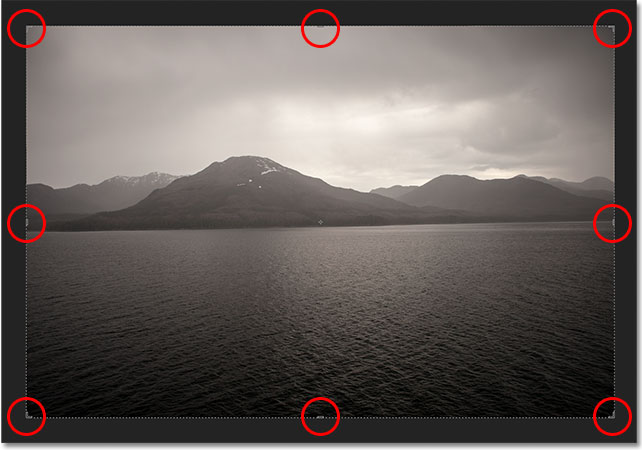
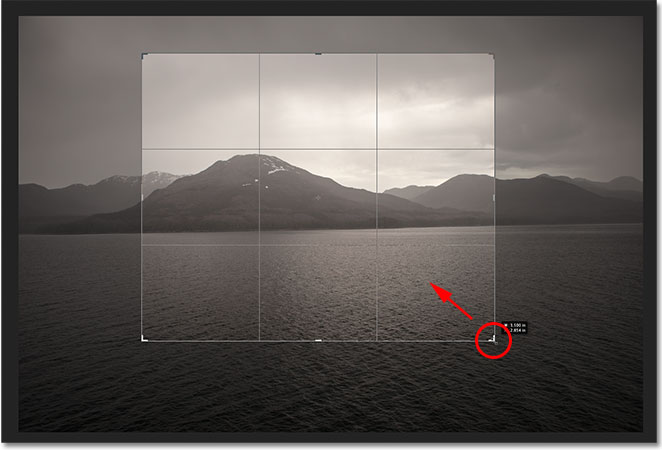
We can click on any of the handles and, with the mouse button held down, drag them around to resize and reshape the crop box. The area inside the crop box is the part of the image you'll keep. Everything outside the box will be cropped away. Photoshop darkens the area outside the crop box so it's easier for us to see which part of the image we're keeping:
One thing to note before we continue is that you don't necessarily have to use the initial crop handles that Photoshop CS6 places around the image. They're added purely for convenience. Just as in previous versions of Photoshop, you can also click anywhere inside the image with the Crop Tool and, with your mouse button held down, drag out your own crop box which you can then resize and reshape by dragging any of the handles. The choice is yours.
Choosing An Aspect Ratio
By default, Photoshop CS6 lets us drag the handles freely in any direction so we can reshape the crop box into any size we need. But more often than not, we want to crop a photo into a standard frame size, like 4x6 or 8x10. If you look up near the far left of the Options Bar along the top of the screen, you'll find the Aspect Ratio option which, by default, is set to Unconstrained. If you click on the word "Unconstrained", you'll open a menu with various aspect ratios we can choose from. I'll choose the 2x3 (4x6) ratio as an example:
Photoshop instantly snaps the crop box into the aspect ratio we chose. We can then resize the box by dragging the handles knowing that our aspect ratio is safely locked in place:
If you need to crop your image to a less common aspect ratio, one not found in the list, you can easily create your own custom aspect ratio by entering the values you need into the width and height boxes directly to the right of the list:

Portrait Or Landscape Orientation
To quickly rotate your crop box from landscape (horizontal) to portrait (vertical) orientation and vice versa, click the Rotate icon in the Options Bar:

I'll click the icon, and now my crop box has switched from landscape to portrait orientation. To switch back to landscape mode, I can just click the Rotate icon again. There's also a keyboard shortcut for switching between portrait and landscape mode. Press the letter X on your keyboard to jump back and forth between them:

Moving The Image Inside The Crop Box
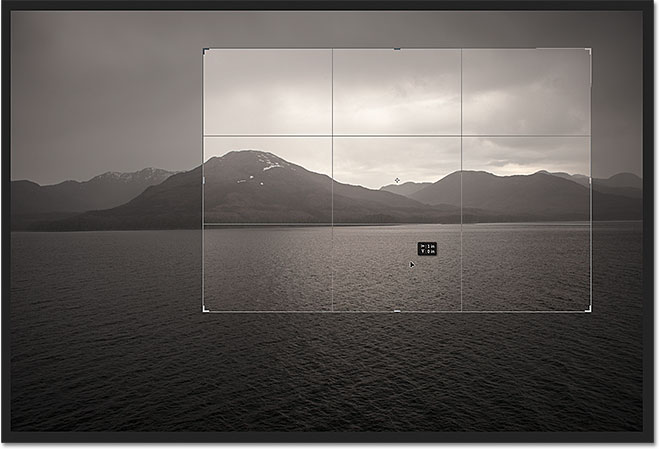
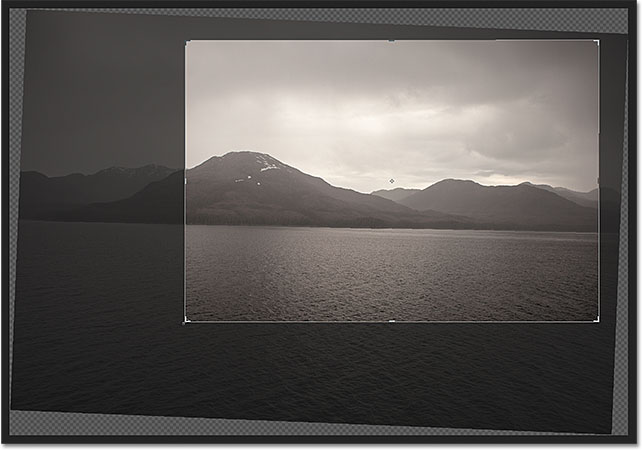
To move and reposition your image inside the crop box, click anywhere inside the box and, with your mouse button held down, drag the image into place. If you've been using an earlier version of Photoshop, you'll notice a big change here with CS6. In previous versions, dragging the mouse would move the crop box around in front of the image while the image itself stayed in place. With CS6, we get the exact opposite. The crop box now stays in place while the image moves around inside of it! It's tough to see in a static screenshot, but my crop box actually hasn't moved. It's the photo itself that's moving as I drag it around with my mouse:
The Overlay
You may have noticed in the screenshots that a grid overlay has been appearing inside my crop box. By default, Photoshop CS6 shows us a 3x3 grid known as the Rule of Thirds, which states that when cropping the image, you should place the main subject of your photo at one of the spots where the horizontal and vertical grid lines intersect. Of course, that's just a general guideline that may or may not work well with your particular image.
The Rule of Thirds is just one of several different overlays in CS6 that we can choose from, and we can select them from the View option in the Options Bar:

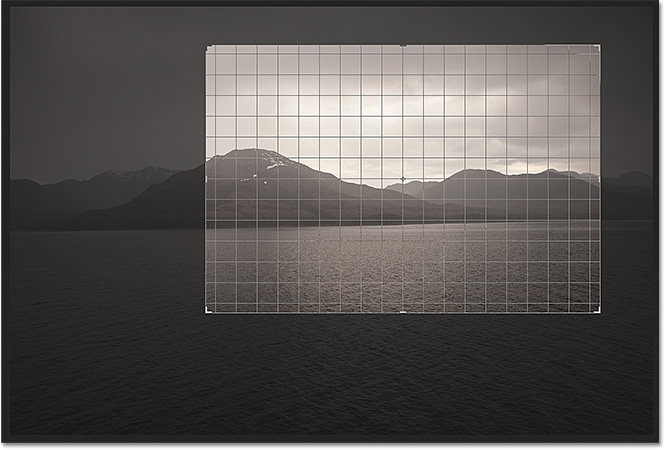
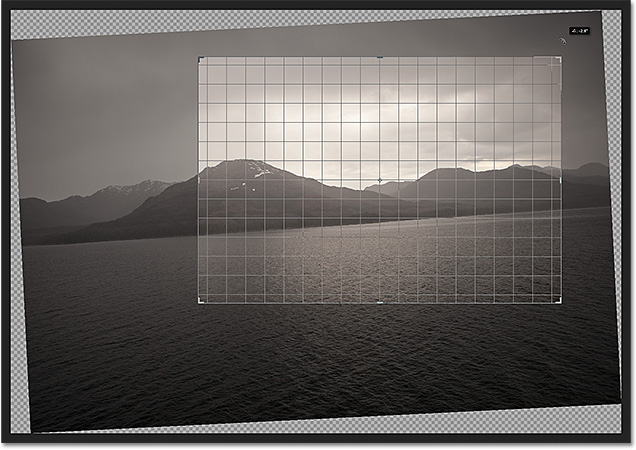
Simply click on the words "Rule of Thirds" (or whichever overlay is currently listed) to open the menu, then choose a different overlay from the list. I'll choose the Grid overlay:
And now we can see a more detailed grid appearing inside my crop box. You can also cycle through the various overlays from your keyboard. Just press the letter O repeatedly to cycle through the list:
If you look below the list of overlays in the View option, you'll find three additional options that control when the overlay actually appears. If you want the overlay to remain on screen at all times, choose Always Show Overlay. The Auto Show Overlay option, which is my favorite, will only show the overlay while you're resizing the crop box or repositioning the image, and will hide the overlay while you're not making any changes so it's not cluttering up the screen. If you don't want the overlay to appear at all, you can turn it off by choosing Never Show Overlay:
Rotating And Straightening The Image
Photoshop CS6 gives us a couple of different ways to straighten an image using the Crop Tool. The first is by simply rotating the image manually. To rotate it, move your mouse cursor anywhere outside of the crop box. You'll see your cursor change into a curved line with an arrow on either end. Then, click outside the crop box and, with your mouse button held down, drag your mouse to rotate the image. The crop box will remain in place while the image itself rotates inside it. Photoshop automatically places a grid overlay inside the crop box to make it easier to judge when the image appears straight:
Another way to straighten an image with the Crop Tool is by using the Straighten option in the Options Bar. Click on it to select it:

With the Straighten option selected, look for something in your image that should be straight, either horizontally or vertically. Click on one end of it to set a starting point, then keep your mouse button held down and drag across to the other end:
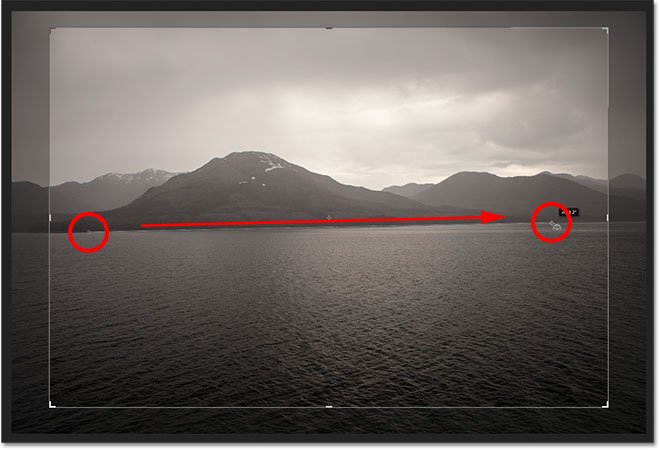
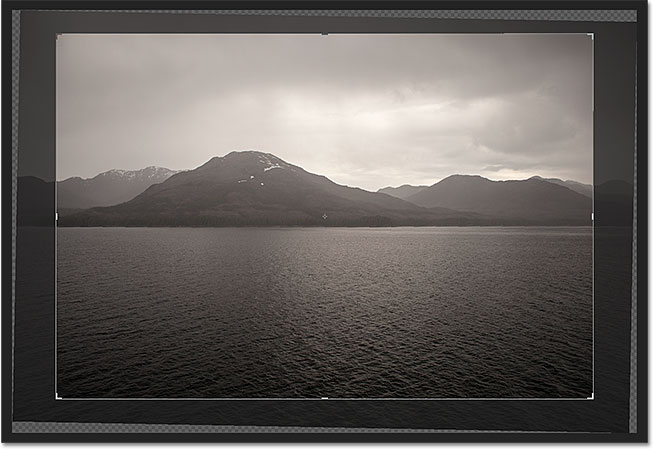
Release your mouse button and Photoshop instantly straightens the image for you:
Undo, Reset And Cancel
If you happen to make a mistake as you're adjusting the crop box or the image, you can undo your last step with the Crop Tool by going up to the Edit menu in the Menu Bar along the top of the screen and choosing Undo, or by pressing the keyboard shortcut Ctrl+Z (Win) / Command+Z (Mac). Or, you can completely reset everything (the crop box, the aspect ratio and any rotation you've applied to the image) by clicking the Reset button in the Options Bar:

If you change your mind and want to cancel the crop completely, click the Cancel button in the Options Bar, or press the Esc key on your keyboard:

Delete Cropped Pixels
One final and very important new feature in Photoshop CS6 we need to look at is the Delete Cropped Pixels option found in the Options Bar:
Selecting this option by clicking inside its checkbox will permanently delete all of the pixels you crop away. That may sound like what you'd want, but this is known as a destructive edit because it makes a permanent, physical change to your image, something you want to avoid whenever possible.
A better, more flexible and non-destructive way to work is to leave the Delete Cropped Pixels option unchecked. That way, Photoshop will keep the cropped pixels and simply hide them from view, allowing you to go back and make changes to your crop at any time! We'll see what I mean in a moment.
Applying The Crop
Once you're happy with your crop, you can apply it either by clicking on the checkmark in the options bar or by pressing Enter (Win) / Return (Mac) on your keyboard:

You'll notice, though, that even after you've applied the crop, the crop box and handles remain around the image:
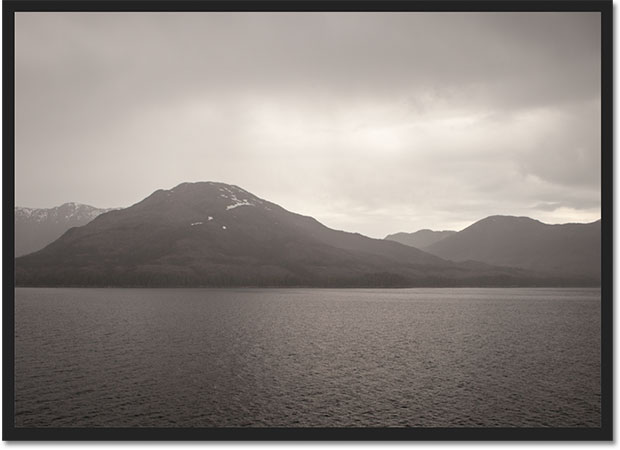
To hide them and view the image on its own, all we need to do is choose a different tool from the Tools panel. The quickest way to do that is to press the letter V on your keyboard which will switch you to the Move Tool, and now the crop box and handles are no longer visible.
Editing The Crop
I mentioned a moment ago that by leaving the Delete Cropped Pixels option in the Options Bar turned off (not checked), Photoshop will simply hide the pixels that were cropped away rather than permanently deleting them. The benefit is that you can go back at any time and re-edit your crop! To do that, just select the Crop Tool again from the Tools panel. The crop box and handles will re-appear around the image. You can click and drag the handles to resize the crop box, click and drag inside the crop box to reposition the image, choose a different aspect ratio from the Options Bar, or make any other changes you need. When you're done, click the checkmark in the Options Bar or press Enter (Win) / Return (Mac) on your keyboard to accept your changes. If you save your file as a Photoshop .PSD document, you'll be able to re-open the file and re-edit your crop any time you want:
And there we have it! That's how to crop and straighten images using the new and improved Crop Tool in Photoshop CS6! Check out our Photo Retouching section for more Photoshop image editing tutorials!