
Photoshop Black and White Conversions – Desaturating The Color Tutorial
In the first in this series of tutorials on the many ways of converting color photos to black and white in Photoshop, we learned how we can quickly remove the color information in an image by converting it to the Grayscale color mode.
In this second tutorial, we'll look at another fast and easy way to remove the color, this time by desaturating the image. There's a couple of ways to go about it, so we'll look at the most basic way first, then we'll see how the second way gives us a little more flexibility and creative freedom with the final result.
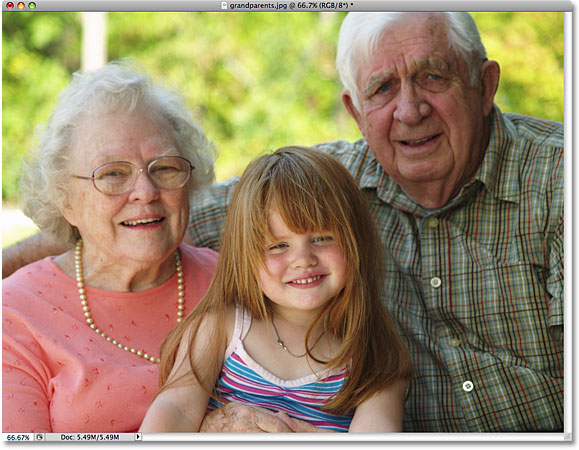
Here once again is the image I'll be using throughout these tutorials so we have an easy way of comparing the results of our various black and white conversion techniques:
The Desaturate Command
The quickest way to desaturate the color in a photo is with Photoshop's Desaturate command, which you'll find by going up to the Image menu at the top of the screen, choosing Adjustments, and then choosing Desaturate:
For an even faster way to select the Desaturate command, simply press the keyboard shortcut Shift+Ctrl+U (Win) / Shift+Command+U (Mac). No matter which way you choose, Photoshop instantly desaturates all the color in the photo, leaving us with a basic black and white version:

Using the Desaturate command was certainly quick and painless, but the problem is, it's also permanent. If we look in our Layers palette, we can see that our photo is sitting on the Background layer, and in the layer preview thumbnail to the left of the layer's name, we see that sure enough, our image is now in black and white:

Since we've made changes directly to the original image, if we save our document and close out of it at this point, the color in the photo will be gone for good. Even if we save the document as a Photoshop .PSD file, there will be no way to bring the original color back. Of course, one way we could have avoided this problem would have been by first duplicating the Background layer to create a copy of the image, then applying the Desaturate command to the copy. But there's an even better way, one that gives us a little more creative freedom with the final result and, as we learned in our Reducing File Sizes With Adjustment Layers tutorial, will help keep the size of our Photoshop document to a minimum, and that's by using a Hue/Saturation adjustment layer!
The Hue/Saturation Adjustment Layer
In a later tutorial in this series, we'll look at how we can use a Hue/Saturation adjustment layer to create more professional, custom black and white versions of color images. Here, we'll simply look at how we can use a Hue/Saturation adjustment layer to not only desaturate the color completely from an image but also how to keep just a hint of the original color for a more creative and interesting result.
First, before we go any further, let's bring back the photo's original color by undoing the Desaturate command, which we can do by going up to the Edit menu at the top of the screen and choosing Undo Desaturate. Or, a faster way to undo your last step is by pressing the keyboard shortcut Ctrl+Z (Win) / Command+Z (Mac) (to undo multiple steps, press Ctrl+Alt+Z (Win) / Command+Option+Z (Mac)):

To add a Hue/Saturation adjustment layer, click on the New Adjustment Layer icon at the bottom of the Layers palette (it's the circle split diagonally between black and white), then choose Hue/Saturation from the list of adjustment layers that appears:

If you're using Photoshop CS4 as I am here, the controls and options for the Hue/Saturation adjustment layer will appear in the Adjustments Panel which is new to CS4. If you're using Photoshop CS3 or earlier, the Hue/Saturation dialog box will appear on your screen.
To desaturate the color, simply drag the Saturation slider all the way to the left:

This gives us the exact same result that we saw with the Desaturate command. With the color removed, we're left with a basic black and white version:

So what's the difference between using the Desaturate command and dragging the Saturation slider? Well, let's say we decide that we don't want a completely black and white image. We'd like to bring back a subtle amount of the photo's original color. With the Desaturate command, unless we duplicated the Background layer first and applied the command to a copy of the image, we'd be out of luck. But with the Hue/Saturation adjustment layer, bringing back some of the color is easy!
Since we're using an adjustment layer, nothing we're doing to our image is permanent. We're free to make as many changes as we like without causing any harm to the original photo (see our Non-Destructive Photo Editing With Adjustment Layers tutorial to learn more). To restore some of the original color, simply drag the Saturation slider back a little towards the right. Keep an eye on your photo in the document window to judge the results as you drag the slider. The further you drag it towards the right, the more color you'll restore. Since we want to bring back just a hint of color, I'm going to drag my Saturation slider a short ways toward the right until the value displayed in the Saturation input box is around -90, which brings back 10% of the original color saturation:
Rather than a completely black and white image, my photo now has more of a muted color effect:

If you're using Photoshop CS3 or earlier, click OK in the top right corner of the Hue/Saturation dialog box when you're done to exit out of it.
Since our black and white effect is entirely contained within the Hue/Saturation adjustment layer, if at any point we want to restore the original full color image, all we need to do is turn off the adjustment layer by clicking on its layer visibility icon (the "eyeball" icon), which you'll find on the far left of the layer in the Layers palette:
The original color is instantly restored:
Click again on the layer visibility icon to turn the adjustment layer back on and switch back to the black and white version.
Up next, we'll look at another fast, fun and interesting way to convert a color photo to black and white in Photoshop, this time using a Gradient Map!