
CS6 Camera Raw – How To Open Raw, JPEG And TIFF Files
As we've learned so far in previous tutorials, Adobe Camera Raw is a plug-in for Photoshop that was initially designed for processing and editing photos captured in your camera's raw file format. Over time, Adobe added the ability for Camera Raw to edit JPEG and TIFF images as well. In this tutorial, we'll learn how to open all three file types in Camera Raw.
As we'll see, opening raw files in Camera Raw is simple and straightforward (as it should be), yet while that's mostly true for opening JPEG and TIFF files, things can get a little confusing if you're used to opening images simply by double-clicking on them. For that, we'll need to take a look at Camera Raw's Preferences to make sure things are set up the way that best fits your style of working.
Opening Raw Files In Camera Raw
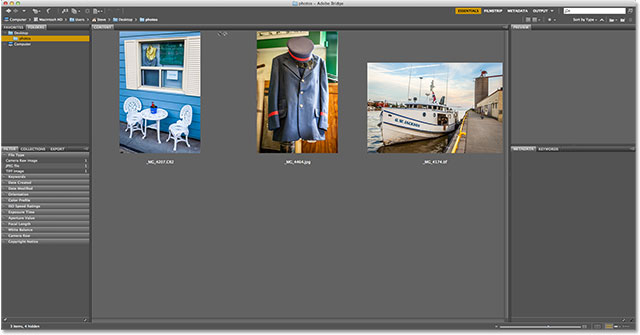
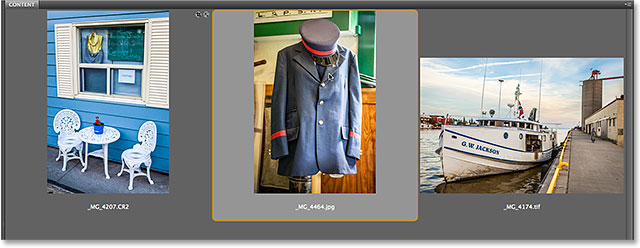
Let's start by learning how to open raw files in Camera Raw. The best way to open any type of image in Camera Raw (or in Photoshop) is with Adobe Bridge, so that's what I'll be using in this tutorial. Here, I have Adobe Bridge (CS6 in this case) open on my screen and I've navigated to a folder on my desktop containing three images. The image on the left is a raw file, the one in the middle is a JPEG, and on the right, we have a TIFF image:
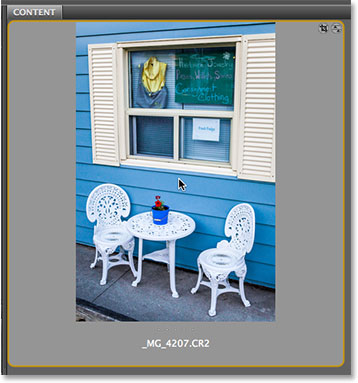
There's a few different ways to open raw files in Camera Raw, and most of these methods can be used to open JPEG and TIFF files as well. First, start by clicking once on the thumbnail of the image you want to open. Here, I've clicked on my raw file on the left:

With the image selected, one way we can open it in Camera Raw is by clicking on the Open in Camera Raw icon at the top of the Bridge interface:
We can also go up to the File menu in the Menu Bar along the top of the screen and choose Open in Camera Raw:
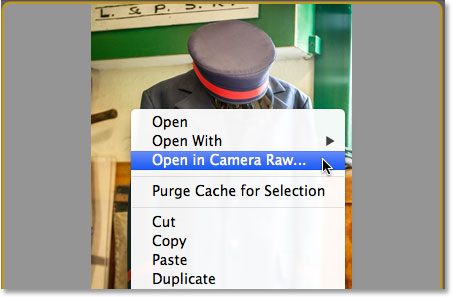
Or, if dragging your mouse cursor all the way to the top of the screen seems like too much effort, you can Right-click (Win) / Control-click (Mac) directly on the image thumbnail and choose Open in Camera Raw from the sub-menu that appears:

Finally, the fastest and easiest way of all to open a raw file in Camera Raw is by simply double-clicking on its thumbnail:
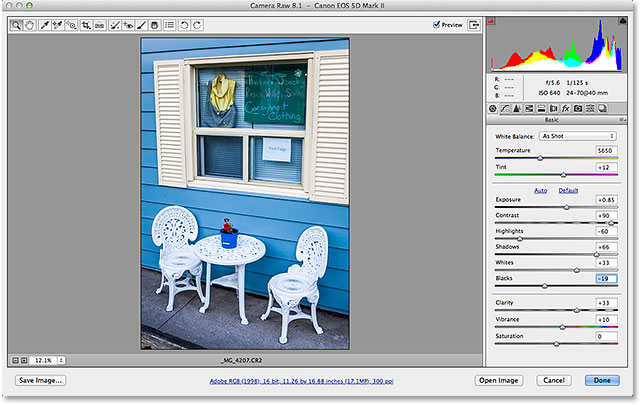
As we learned in the Working With Camera Raw In Adobe Bridge vs Photoshop tutorial, this will open the raw file in Camera Raw, and Camera Raw itself will be hosted either in Photoshop or in Adobe Bridge depending on how you have things set up in the Bridge Preferences:
Opening JPEG And TIFF Files
Most of the methods listed above for opening raw files in Camera Raw also work with both JPEG and TIFF files. Once you've clicked on the thumbnail of the JPEG or TIFF image you want to open, you can click on the Open in Camera Raw icon at the top of the Bridge interface, you can go up to the File menu and choose Open in Camera Raw, or you can Right-click (Win) / Control-click (Mac) directly on the image thumbnail itself and choose Open in Camera Raw from the sub-menu:
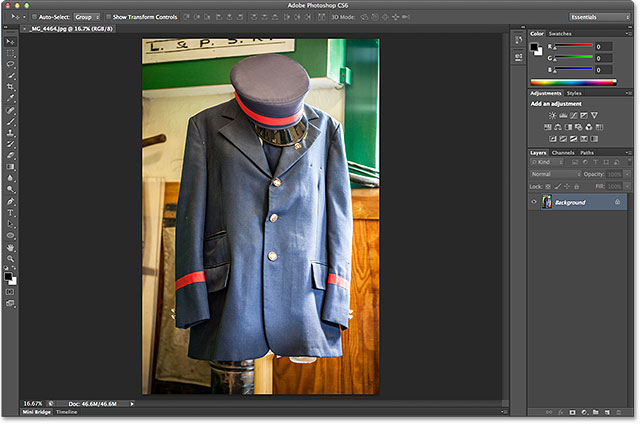
Where things can get a little confusing, though, is if you try to open a JPEG or TIFF image in Camera Raw by double-clicking on the image thumbnail. Here, I'm double-clicking on the JPEG file in the middle:
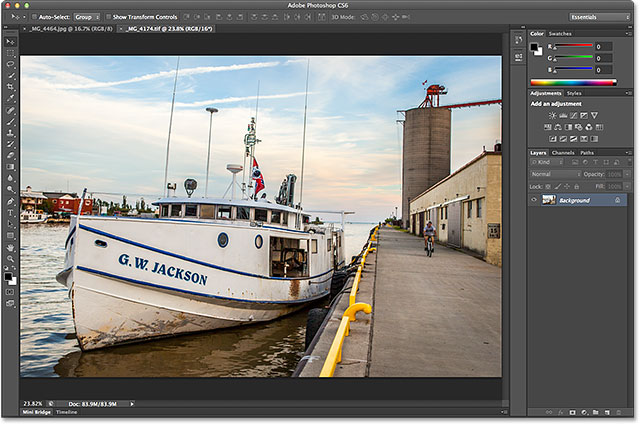
And here's where the problem comes in. Even though Camera Raw fully supports JPEG files, my JPEG image doesn't open in Camera Raw when I double-click on it in Bridge. Instead, it opens directly in Photoshop:
I'll try the same thing with my TIFF image on the right, double-clicking on its thumbnail in Bridge to open it:
And again, we see the same problem. Camera Raw fully supports TIFF files, yet instead of opening in Camera Raw, it opened in Photoshop:
The JPEG and TIFF Handling Options
So what happened? Why did the JPEG and TIFF images not open in Camera Raw when I double-clicked on them? To find the answer, we need to take a quick look at a couple of options in the Camera Raw Preferences. To get to them from Adobe Bridge, on a Windows PC, go up to the Edit menu at the top of the screen and choose Preferences. On a Mac, go up to the Adobe Bridge menu and choose Preferences:
This will open the Camera Raw Preferences dialog box, and if we look down at the very bottom of the dialog box, we see a section called JPEG and TIFF Handling, with separate options for JPEG and TIFF files. These options control what happens with JPEG and TIFF files when we double-click on them in Adobe Bridge (they have no effect on any of the other ways we looked at for opening files in Camera Raw):
By default, the JPEG option is set to Automatically open JPEGs with settings, and the TIFF option is set to the similar Automatically open TIFFs with settings. What this means is that a JPEG or TIFF file will only open in Camera Raw (when we double-click on it in Bridge) if we had previously opened and made changes to it in Camera Raw. In other words, if a JPEG or TIFF file has Camera Raw settings already applied to it, Bridge will assume you want to re-open it in Camera Raw for further editing. If no previous Camera Raw settings are found, Bridge will skip Camera Raw and open the image in Photoshop.
If you click on the JPEG option, you'll see that we have a couple of other behaviors we can choose from. Disable JPEG support will completely disable Camera Raw support for JPEG files (why you'd want to do that, I don't know), while Automatically open all supported JPEGs will open all JPEGs in Camera Raw when we double-click on them in Bridge whether we've worked on them previously in Camera Raw or not. You'll find similar choices for the TIFF option. In my opinion, it's best to leave the JPEG and TIFF options set to their defaults because you won't always have a need to open these types of files in Camera Raw. This way, if you do want to open a new JPEG or TIFF file in Camera Raw (by "new", I mean a file with no Camera Raw settings associated with it), you can easily do so using one of the other methods we looked at earlier, and if you want to open it directly in Photoshop, you can simply double-click on it. Click OK when you're done to close out of the Preferences dialog box:
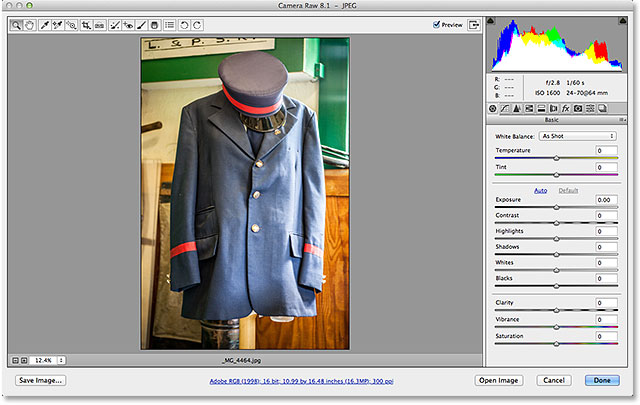
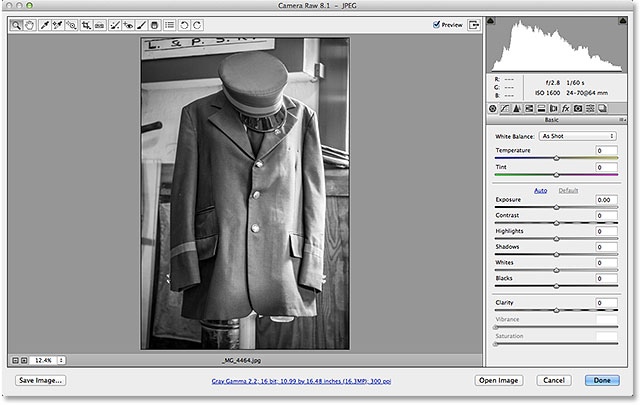
So how do we know if a JPEG or TIFF image already has Camera Raw settings associated with it? To answer that question, I'll select my JPEG file in Bridge by clicking once on its thumbnail, then I'll click the Open in Camera Raw icon at the top of the Bridge interface (just as we saw earlier). This opens my JPEG photo inside the Camera Raw dialog box:
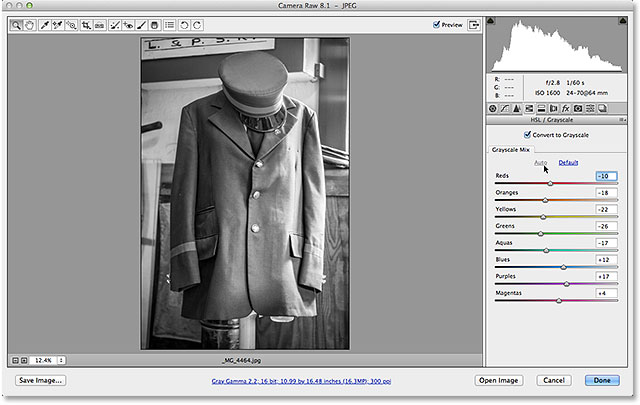
At the moment, my JPEG image does not have any Camera Raw settings saved with it. This is the first time it's being opened and edited in Camera Raw. I'll quickly convert the image to grayscale, just for example purposes, by switching from the Basic panel on the right of the dialog box to the HSL / Grayscale panel (4th panel from the left - click the tabs along the top to switch between panels). With the HSL / Grayscale panel open, I'll select the Convert to Grayscale option at the top, and then I'll click the Auto option to let Camera Raw take its best guess on what the black and white (grayscale) version of the photo should look like:
We can see the results in the preview area. I could tweak the image further on my own, but this is good enough for now:
I'll click the Done button in the lower right corner of the dialog box to apply my Camera Raw settings to the image and close out of it:
See Also: Camera Raw Interface Essentials Tutorial
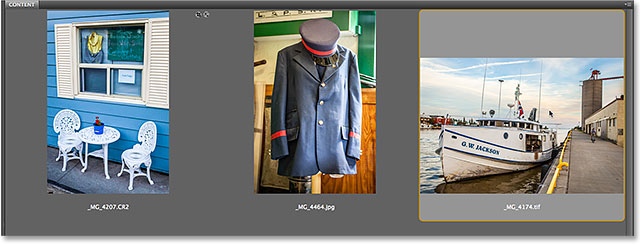
And now, if we look back in Bridge, we see that two things have happened. First, the image thumbnail has been updated to show the changes I made in Camera Raw. Second, and more importantly for our discussion here, if we look in the upper right corner of the thumbnail area, we now see a little slider icon. This icon tells us that the JPEG image now has Camera Raw settings associated with it:
Since the JPEG does now have Camera Raw settings applied, if I double-click on it at this point in Bridge to open it, instead of opening in Photoshop, it re-opens in Camera Raw:
And there we have it! That's how to open all three supported file types - raw files, JPEGs and TIFFs - in Adobe Camera Raw! Check out our Photo Retouching section for more Photoshop image editing tutorials!