
How To Edit Smart Filters in Photoshop CS3
In our previous Photoshop CS3 smart filters tutorial, we looked at how easy it is to add and apply a smart filter to an image inside Photoshop CS3 simply by converting the layer into a smart object and then applying any of Photoshop's filters to the smart object in exactly the same way you'd apply one to a normal layer.
Since you're applying the filter to a smart object, Photoshop CS3 automatically converts the filter into a smart filter for you. That's all there is to it! If you missed the tutorial, you can check it out here.
Of course, there's more to smart filters than just how easy they are to apply. One of the main features of smart filters is that you can go back and change the filter settings long after you first applied them, or change them again and again, as often as you like, without damaging the pixels in the image in any way.
Not only that, but smart filters come with their own blend mode and opacity settings, completely independent from the smart object's blend mode and opacity settings, so you have complete control over how the filter is applied. In this tutorial, we'll look at how to go back and edit the settings of a smart filter in Photoshop CS3, and in the next tutorial, we'll see how to change the filter's blend mode and opacity settings.
Smart Filters: Changing Smart Filter Settings Any Time You Want
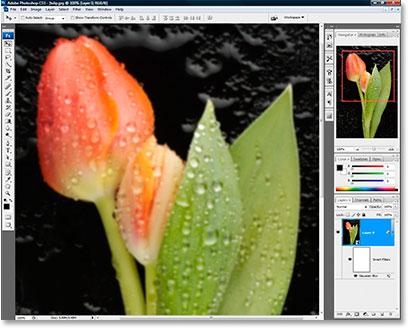
To start off, here's the image I'll be using, which is the same image as in the previous tutorial:

We already covered how to apply a smart filter in the previous tutorial, so we'll move ahead rather quickly here and I'll just go ahead and convert the image to a smart object on my own, and then add a smart filter to my image. Be sure to check out the previous tutorial if you don't know what I'm talking about.
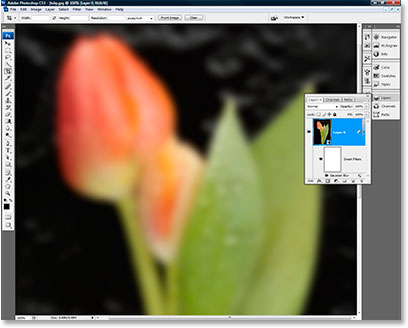
This time, I'll add a Gaussian Blur filter, with a radius of 3 pixels, as shown below:
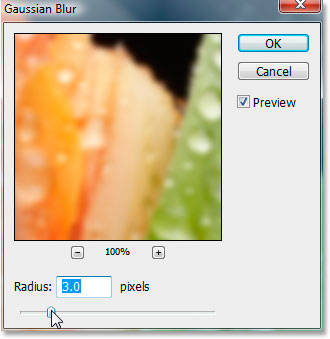
This gave the image a nice little bit of blurring:
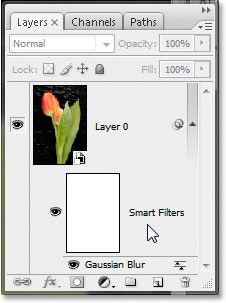
And in my Layers palette, we can see that directly beneath my smart object layer, I now have my Smart Filters section, with the Gaussian Blur filter (which is now a smart filter since it was applied to a smart object) displaying below the smart filter mask thumbnail (the white rectangle):
So far, so good, except that I've made a mistake. The effect I'm ultimately going for here is a nice soft glow on the flower, and in order to achieve that effect, I needed to blur the image more than I did. At this point, you might be thinking "Okay, so just undo the filter effect and redo it. Big deal." And in this particular case, your little attitude problem would be forgiven, because you'd be correct. I could easily just undo the Gaussian Blur and redo it with different settings.
But what if I couldn't undo it so easily? What if I had already done so much more work on the image that in order to undo and redo the filter, I'd have to go back and undo 10 or 20 steps, or 50 steps, or worse! What if I had maxed out my history states and there was no way for me to get back to the step where I applied the filter? What then?
Well, thanks to smart filters, it's not a problem at all, because I can go back any time I want and change the filter settings as if I had set them properly to begin with, and without causing any problems to my image. And it's super easy to do. Just double-click on the name of the filter in the Smart Filters section below the smart object, and the filter's dialog box will appear, allowing you to make whatever changes you need to make. That's it. It's that easy!
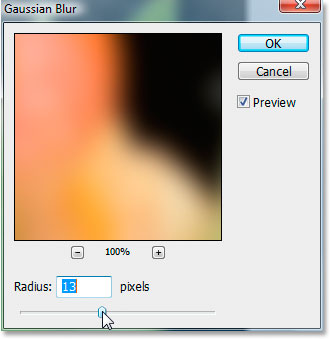
Watch, I'll show you. I'm going to double-click directly where it says "Gaussian Blur" in the Smart Filters section below my smart object (I've highlighted it in yellow in the image below), and when I do, again as you can see in the image below, the Gaussian Blur dialog box pops back up with the 3 pixel radius setting I had previously applied:

Now I can change the blur radius to whatever I want, as if this was the first time I was applying the filter, and not causing any problems with my image. I'll increase the radius value to 13 pixels this time, which will give me more of a blur effect, and then click OK.
And now I have much more of a blur effect added to my image, which is exactly what I need to achieve my soft glow effect, and all I had to do to change my filter setting was double-click directly on the filter's name (in this case, Gaussian Blur), and the filter's dialog box came right back up for me, allowing me to change the settings.
If I want to (which I don't, really, but if I did), I could just as easily go back and change them again, and again, and again, and the pixels in my image are completely safe from harm.
The reason for it is that smart filters work in much the same was as adjustment layers do, in that they don't actually alter the image in any way. Instead, they store a bunch of math (don't worry, you don't need to deal with it) which Photoshop then uses to show us a preview of what our image would look like if these changes were actually applied, without having to apply them. It's pretty amazing stuff, really, but all you and I need to know is that we can make as many changes as we want to our smart filter settings, and again, all you need to do is double-click directly on the filter's name to bring its dialog box back up, and then click OK once you've made your changes.
In our next tutorial, I'll finish off my soft glow effect by showing how to change the blend mode and opacity settings of a smart filter inside Photoshop CS3!