Repeating Patterns In Photoshop – Adding Colors And Gradients
In the previous tutorial, we learned the basics of creating and using simple repeating patterns in Photoshop. We designed a single tile using the Elliptical Marquee Tool and the Offset filter. We then saved the tile as a pattern. Finally, we selected the pattern and used it to fill a layer, with the pattern seamlessly repeating as many times as needed to cover the entire area. This tutorial continues from where we left off, so you may want to complete the previous section where we created and added our "Circles" pattern if you haven't done so already.
The main problem with the repeating pattern we've created so far is that it's not very interesting, and a big reason is that it's nothing more than a black pattern in front of a white background. In this tutorial, we'll learn how to spice things up a bit by adding colors and gradients! As before, I'll be using Photoshop CS5 here, but any recent version of Photoshop will work.
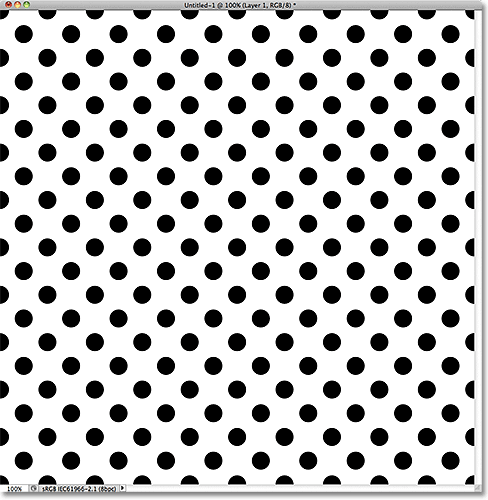
Here's our design as it appears so far:

Adding Solid Colors
Let's start by replacing the white background with a color. We could use Photoshop's Fill command to fill the Background layer with a color, but let's give ourselves more flexibility by using what's called a fill layer (we'll see what I mean by it being more flexible a bit later). First, click on the Background layer in the Layers panel to select it:

With the Background layer selected, click on the New Fill or Adjustment Layer icon at the bottom of the Layers panel:
Select Solid Color from the top of the list of fill and adjustment layers that appears:

As soon as you choose Solid Color from the list, Photoshop will pop open the Color Picker so we can choose the color we want to use. This is the color that will become the new background color for the design. I'm going to choose a medium blue. Of course, you can choose any color you like, but if you want to use the same colors I'm using, look for the R, G and B options (which stand for Red, Green and Blue) near the bottom center of the Color Picker and enter 98 for the R value, 175 for G, and 200 for B:

Click OK when you're done to close out of the Color Picker, and if we look at the design in the document window, we see that we've easily replaced the white background with the new color:

If we look in the Layers panel, we can see what's happened. Photoshop has added a solid color fill layer, which it named Color Fill 1, between the white-filled Background layer and the black circle pattern on Layer 1. The reason we selected the Background layer before adding the fill layer was because Photoshop adds new layers directly above the layer that's currently selected and we needed the fill layer to appear above the Background layer but below the circle pattern. The circles remain black in our document because they're on a layer above the fill layer, which means they're not being affected by it:

We can use another fill layer to add a different color to the circle pattern itself. This time, we need Photoshop to add the fill layer above the circle pattern, so click on Layer 1 to select it:

Then once again click on the New Fill or Adjustment Layer icon at the bottom of the Layers panel and choose Solid Color from the top of the list, just as we did before. Photoshop will again open the Color Picker so we can choose the color we want to use. I'll choose a very light blue this time by entering 216 for the R value, 231 for G and 239 for B:

Click OK to close out of the Color Picker, and just like that, our repeating circles now appear in the new light blue color:

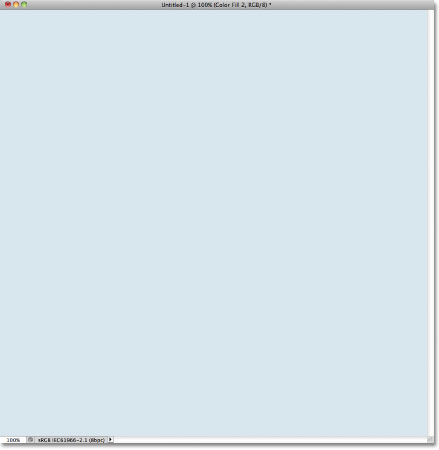
Wait a minute, what happened? Where did our circles go? Where's the background color we just added? Why is everything now light blue? If we look in the Layers panel, we see the problem, and the problem is that Photoshop did exactly what we asked it to do. It added a solid color fill layer named Color Fill 2, filled with the light blue color we chose in the Color Picker, above the circles pattern on Layer 1:

Unfortunately, since the fill layer is sitting above all the other layers in the Layers panel, it's blocking everything else from view in the document, which is why all we see is light blue. We need a way to tell Photoshop that we want our new fill layer to affect only the circles pattern on Layer 1 below it, and we can do that using what's called a clipping mask.
Make sure the Color Fill 2 layer is active in the Layers panel (active layers are highlighted in blue. Click on it to select it if for some reason it's not active). Go up to the Layer menu in the Menu Bar along the top of the screen and choose Create Clipping Mask:

The Color Fill 2 layer will appear indented to the right in the Layers panel, telling us that it's now "clipped" to the contents of the layer below it, meaning that it's now affecting only the circle pattern on Layer 1:

And in the document window, we see the results we were expecting when we added the fill layer. The black circles now appear light blue against the darker blue background:

Changing Colors
Earlier I mentioned that fill layers give us more flexibility than if we were to fill a layer with Photoshop's Fill command, and the reason is because we can change a fill layer's color any time we want! To change the color of a fill layer, simply double-click directly on its thumbnail in the Layers panel. Let's change the color of our background. Double-click on the thumbnail for the Color Fill 1 layer, which is sitting above the Background layer:

This re-opens the Color Picker, allowing us to choose a different color. I'll choose a cherry color this time by entering 204 for my R value, 32 for G and 130 for B:

Click OK to close out of the Color Picker, and the document is instantly updated with our new background color:

Changing the color of the circles is just as easy. Simply double-click directly on the thumbnail for the Color Fill 2 layer:

This again re-opens the Color Picker so we can choose a new color. I'll choose a lighter pink by entering 218 for my R value, 144 for G and 161 for B:

Click OK to close out of the Color Picker, and once again, the document is instantly updated, this time with the new color for the circles:

Adding Gradients To Repeating Patterns
We can also add gradients to our pattern designs, and the steps are very similar. In fact, the only real difference is that instead of adding a Solid Color fill layer, we add a Gradient fill layer! I'll delete the two Solid Color fill layers I've added by clicking on each one and dragging it down onto the trash bin at the bottom of the Layers panel:

With the fill layers gone, the pattern reverts back to its original black and white:

Let's colorize the circles with a gradient. First, click on Layer 1 to select it so the Gradient fill layer we're about to add will be placed above it:

Remember what happened when we added the Solid Color fill layer above the circle pattern? The entire document became filled with the color we chose until we fixed the problem using a clipping mask. We're going to need a clipping mask for our Gradient fill layer as well, but this time, let's take a shortcut. With Layer 1 selected, hold down your Alt (Win) / Option (Mac) key and click on the New Fill or Adjustment Layer icon:
Choose a Gradient fill layer from the list that appears:

Holding down the Alt (Win) / Option (Mac) key while clicking the New Fill or Adjustment Layer icon tells Photoshop to pop open the New Layer dialog box where we can set some options for our Gradient fill layer before it's added. The option we're interested in is the one that says Use Previous Layer to Create Clipping Mask. Click inside its checkbox to select it. With this option selected, the Gradient fill layer will automatically be clipped to Layer 1 below it, saving us from having to do it ourselves later:

Click OK to close out of the New Layer dialog box. The Gradient Fill dialog box will open, which is where we can choose the gradient we want to use. Click on the gradient preview thumbnail:

This opens Photoshop's Gradient Editor. At the top of the dialog box, in the Presets section, is a set of thumbnails showing previews of the ready-made gradients we can choose from. Simply click on a thumbnail to select the gradient. Each time you click on a thumbnail, you'll see a preview of how the gradient will look in the document window. For example, if you want something really bright and colorful, you can try the Spectrum gradient by clicking on its thumbnail:

In the document window, we can see what the Spectrum gradient will look like. Notice that only the circles themselves are being affected by the gradient thanks to that Use Previous Layer to Create Clipping Mask option we selected a moment ago in the New Layer dialog box:

By default, Photoshop doesn't give us many gradients to choose from, but there are other gradient sets available. To find them, click on the small arrow icon above the gradient thumbnails:

Clicking on the arrow opens a menu containing a list of additional gradient sets we can load in. Obviously we won't go through each one of them here since you can easily experiment with them on your own, but as an example, I'll select the Color Harmonies 2 set from the list:

Once you've chosen a gradient set, Photoshop will ask if you want to replace the current gradients with the new set or if you just want to append them, which will keep the current gradients and add the new ones to them. Choose Append:

The new gradients will appear after the original gradients in the Presets area of the Gradient Editor. Just as with the originals, you can select and preview any of the new gradients by clicking on their thumbnail. I'll click on the Blue, Yellow, Pink gradient to select it:

The circle pattern is now colorized with the softer colors of the new gradient:

Once you've found a gradient you like for your repeating pattern, click OK to close out of the Gradient Editor, then click OK to close out of the Gradient fill dialog box.
Changing The Gradient
Just like we saw with the Solid Color fill layer, we can go back and change our gradient at any time. If we look in the Layers panel, we see our Gradient fill layer, which Photoshop named Gradient Fill 1, sitting above the circles pattern on Layer 1. Notice that it's indented to the right, telling us that it's clipped to Layer 1 below it. To change to a different gradient, simply double-click directly on the Gradient fill layer's thumbnail:

This re-opens the Gradient Fill dialog box. To change the gradient, click as we did before on the gradient preview thumbnail:

This will re-open the Gradient Editor, where you can either choose from any of the other currently available gradients or you can load in a different gradient set. I'll click on the small arrow icon to open the menu listing the other gradient sets and this time, I'll choose the Pastels set from the list:

I'll add these new gradients in with the others by selecting Append when Photoshop asks me, and the new gradient thumbnails appear in the Presets area of the Gradient Editor. I'll select the Green, Purple, Blue gradient this time:

With my new gradient selected, I'll click OK to close out of the Gradient Editor, then I'll click OK to close out of the Gradient Fill dialog box. The circles have now changed to the new gradient's colors:

Of course, we don't have to stick with a white background. Here, I've used the steps we covered in the first part of the tutorial to add a Solid Color fill layer above the Background layer. I chose a medium purple from the Color Picker as the new color for my background (R:85, G:80, B:129):

And here, we see the combined efforts of the Gradient fill layer on the circle pattern and the Solid Color fill layer on the background:
